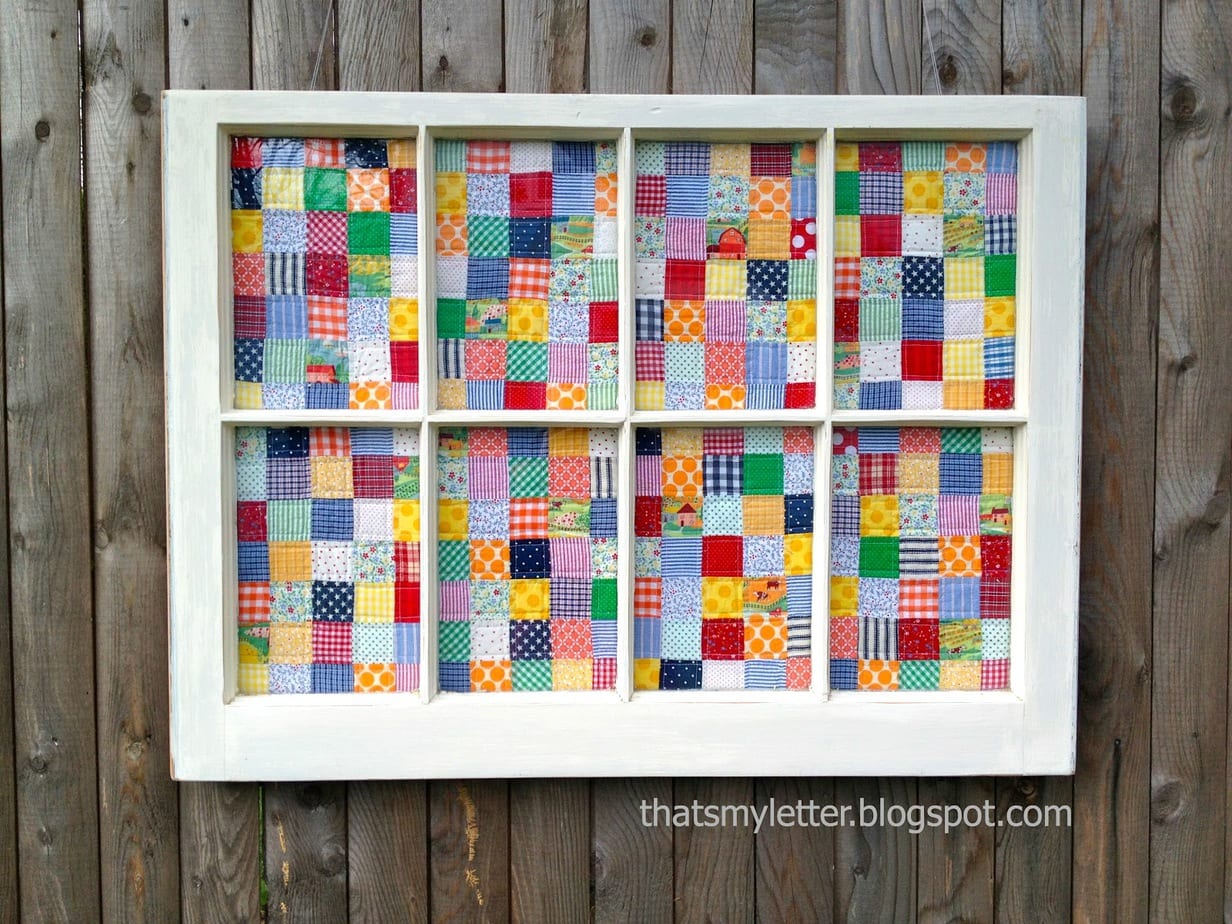
Do you want to transform a plain window into a one-of-a-kind piece of art? Making a window quilt is an easy and fun way to do just that. In this step-by-step guide, we’ll show you how to make a window quilt that will brighten up any room. With a few simple materials and some creativity, you’ll be able to create a beautiful quilt that will bring a unique look to any window.
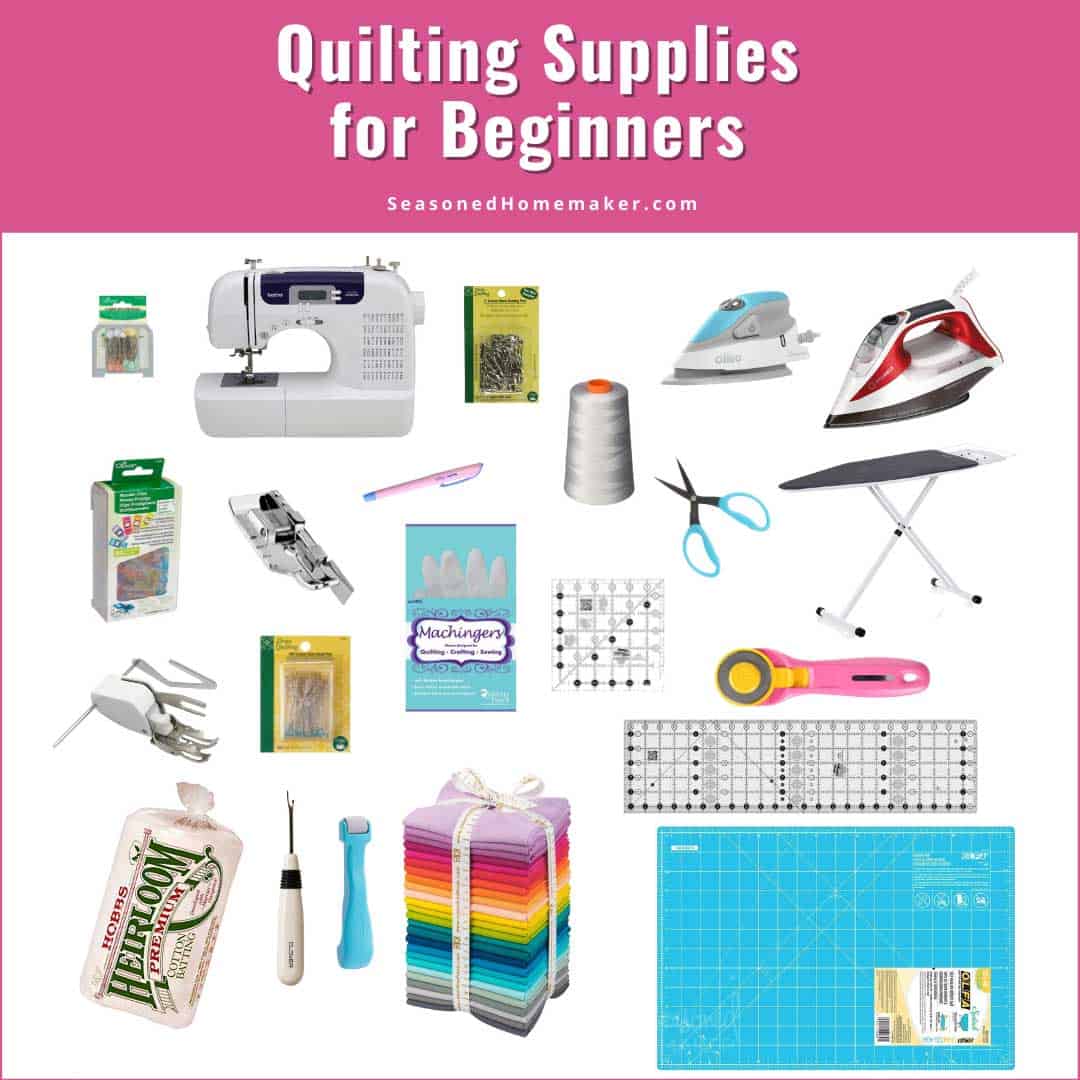
Materials Needed
- Fabric – 1/2 yard of quilt-weight cotton fabric for the top, 1/2 yard of quilt-weight cotton fabric for the bottom, and 1/2 yard of quilt-weight cotton fabric for the backing.
- Binding – 1/2 yard of quilt-weight cotton fabric for the binding.
- Batting – 1/2 yard of quilt-weight cotton batting.
- Thread – All-purpose quilting thread.
- Other Supplies – Quilting ruler, quilting pins, quilting needles, iron, and a sewing machine.
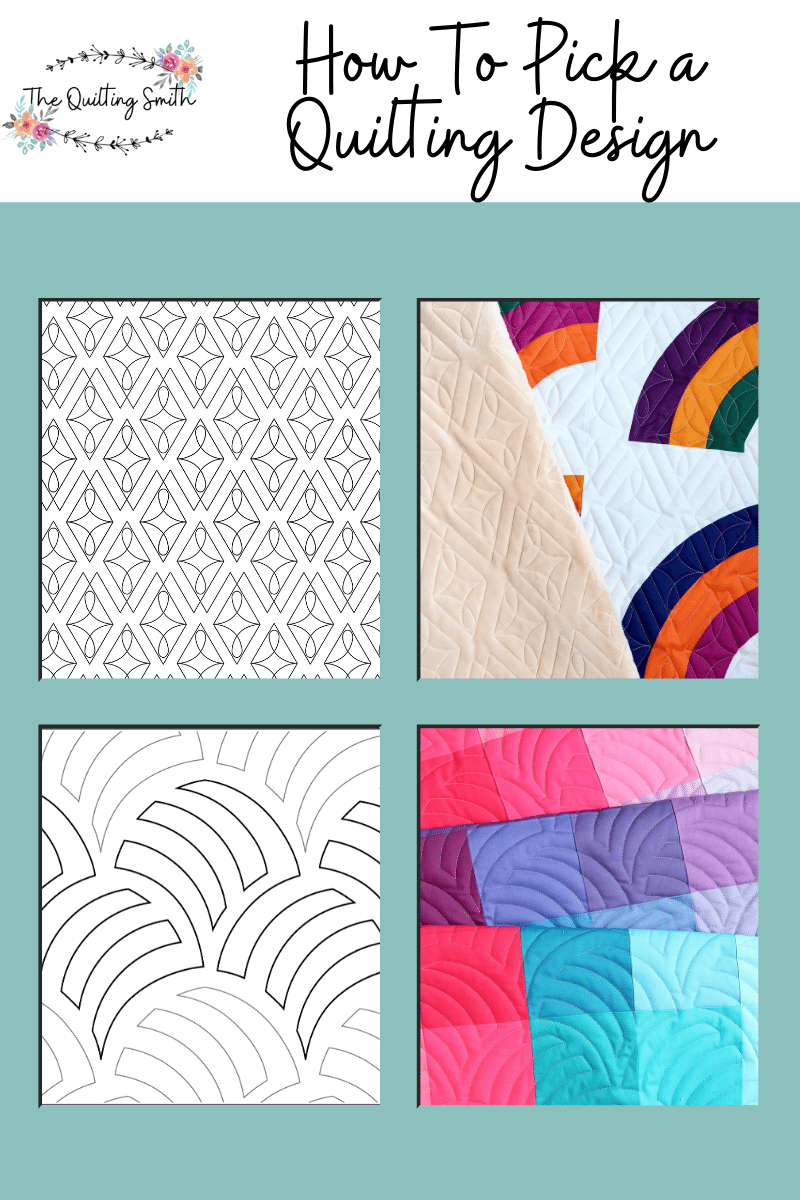
Choose a Design
- Pick a Traditional Pattern: Window pane quilts are typically based on traditional patterns, such as Grandmother’s Flower Garden, Log Cabin, and Drunkard’s Path.
- Choose a Modern Design: If you want something more modern, try a quilt pattern that uses straight lines and geometric shapes.
- Go with a Scenic Theme: You could also create a window pane quilt with a scenic pattern, such as a cityscape, a beach, or a nature scene.
- Experiment with Color: One great thing about window pane quilts is that you can experiment with color. Try using bright colors, pastels, or a mix of both.
When making a window pane quilt, you have a lot of freedom to choose a design that fits your style. You can pick a traditional pattern, such as Grandmother’s Flower Garden, or opt for a modern design with straight lines and geometric shapes. You could also choose a scenic theme, such as a cityscape, beach, or nature scene. Or, you can experiment with color and create a unique window pane quilt with bright colors, pastels, or a mix of both. No matter what design you choose for your window pane quilt, it’s sure to be a beautiful addition to your home.
Measure and Cut the Fabric
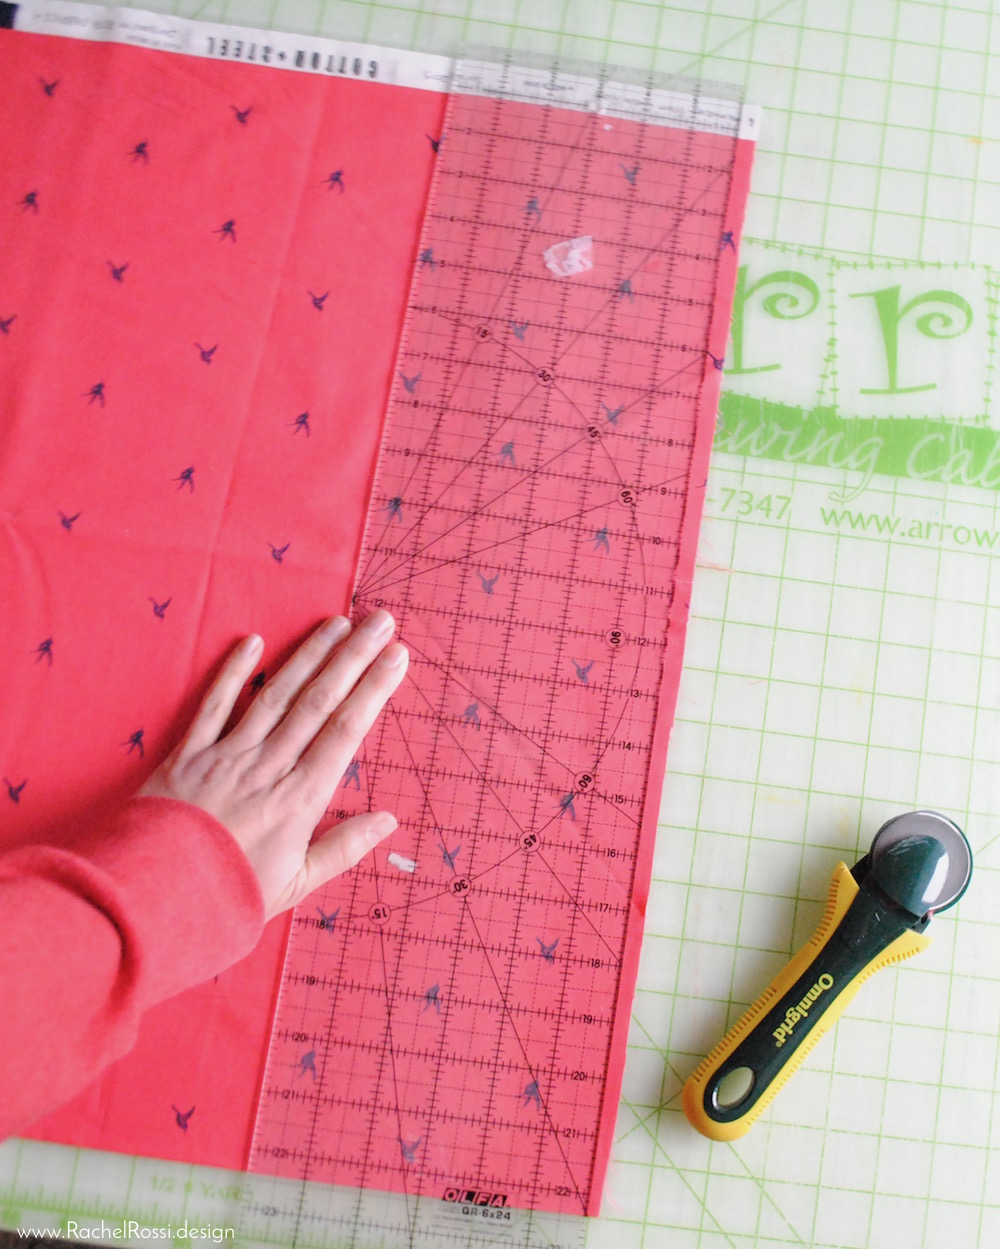
To begin making a window quilt, measure the window, including the frame, and add 1½ inches to each measurement. Cut two pieces of fabric, one for the lining and one for the window, according to the measurements. For example, if the window measures 40 inches wide and 40 inches long, cut two pieces of fabric to 41½ inches wide and 41½ inches long.
| Fabric | Fabric Measurement |
|---|---|
| Lining | 41½ inches wide and 41½ inches long |
| Window | 41½ inches wide and 41½ inches long |
Cut two additional pieces of fabric, one for the top and one for the bottom. The length of these pieces should be equal to the width of the fabric pieces used for the lining and window, but the width should be equal to the length of the fabric pieces used for the lining and window. For example, if the fabric used for the lining and window is 41½ inches wide and 41½ inches long, cut two pieces of fabric to 41½ inches long and 41½ inches wide for the top and bottom.
| Fabric | Fabric Measurement |
|---|---|
| Top | 41½ inches long and 41½ inches wide |
| Bottom | 41½ inches long and 41½ inches wide |
Finally, cut two more pieces of fabric, one for the left side and one for the right side. The width of these pieces should be equal to the width of the fabric pieces used for the lining and window, but the length should be equal to the length of the fabric pieces used for the top and bottom. For example, if the fabric used for the lining and window is 41½ inches wide and 41½ inches long, cut two pieces of fabric to 41½ inches wide and 41½ inches long for the left and right sides.
| Fabric | Fabric Measurement |
|---|---|
| Left Side | 41½ inches wide and 41½ inches long |
| Right Side | 41½ inches wide and 41½ inches long |
The measurements and cuts of the fabric pieces will vary depending on the size of the window you’re using for your quilt. Once the fabric has been cut, you’re ready to start making your window quilt.
Sew the Pieces Together
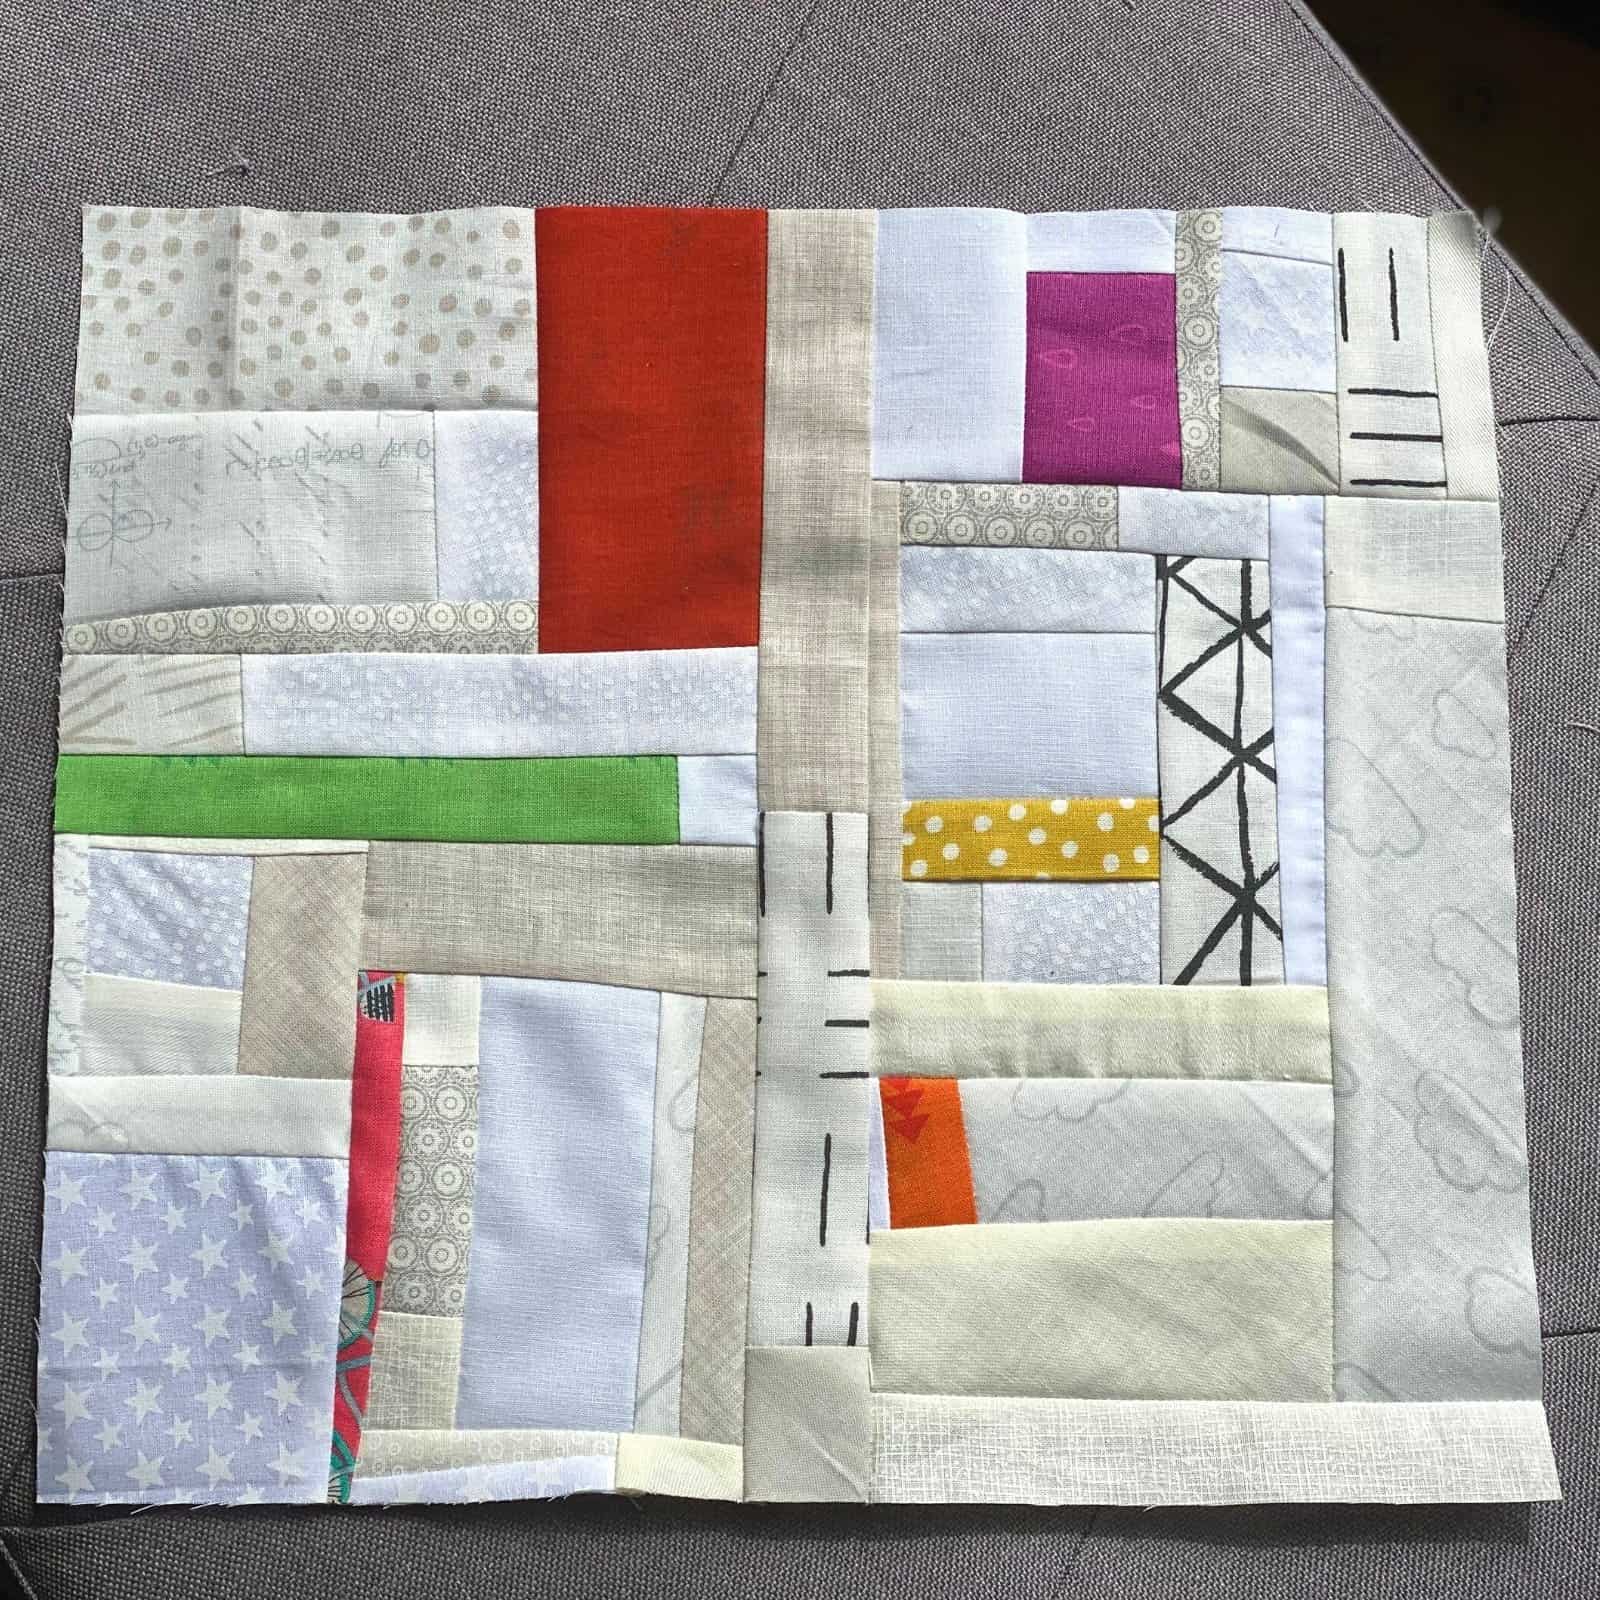
- Layout the quilt pieces: Place the quilt pieces on a flat surface, making sure the edges are lined up correctly. Begin with the outer frame, then add the inner pieces.
- Set up the quilting machine: Set up the quilting machine according to the manufacturer’s instructions. Be sure to adjust the tension and stitch length to the desired settings.
- Sew the pieces together: Begin at one corner of the quilt and sew the pieces together using a straight stitch. Make sure to backstitch at the beginning and end of each seam.
- Press the seams: Once the pieces are sewn together, press the seams open with an iron. This will help to keep the quilt flat and even.
- Trim the excess fabric: Trim any excess fabric from the edges of the quilt using a rotary cutter or scissors.
- Bind the edges: Bind the edges of the quilt with a binding strip to give it a finished look.
This easy attic window quilt pattern how-to will have you creating stunning window quilts in no time. Sewing the pieces together is the most important step in creating a window quilt and requires attention to detail. Setting up the quilting machine correctly, pressing the seams open and trimming the excess fabric are also important steps for creating a beautiful window quilt. With these steps, you can easily create beautiful window quilts for your home.
Baste the Quilt
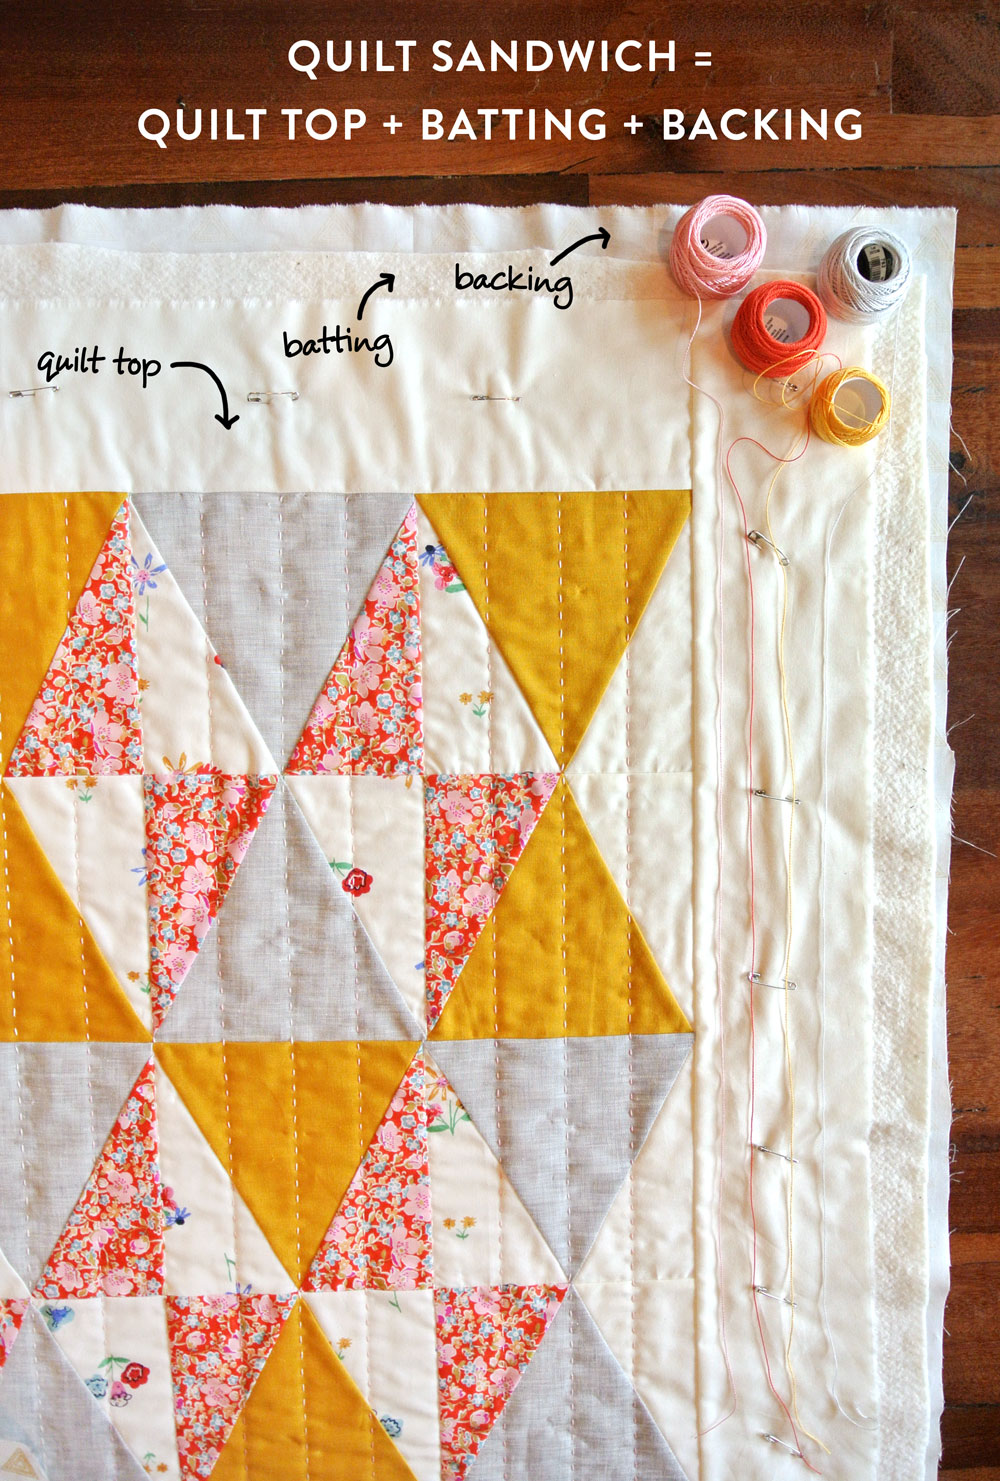
The next step in how to make a window pain quilt is to baste the quilt. Basting involves laying out the quilt top, batting and backing right sides down, and temporarily stitching them together with safety pins, straight pins or quilting clips.
| Fabric | Layers | Type of Fastener |
|---|---|---|
| Quilt Top | 1 | Safety Pins |
| Batting | 2 | Straight Pins |
| Backing | 3 | Quilting Clips |
For larger quilts, begin basting in the center and work outward. Make sure to keep the layers flat and smooth. Use the same amount of pins for all layers. When you’re finished basting, you’re ready to quilt your window pain quilt.
Attach the Window Frame
Cut a piece of thick foam, such as upholstery foam, to the same size as the window. Cut the batting to the same size as the window, plus two extra inches on each side. Place the batting on top of the foam, and then place the window frame on top of the batting. Secure the frame to the foam and batting with a staple gun. Trim any excess batting.
Quilting
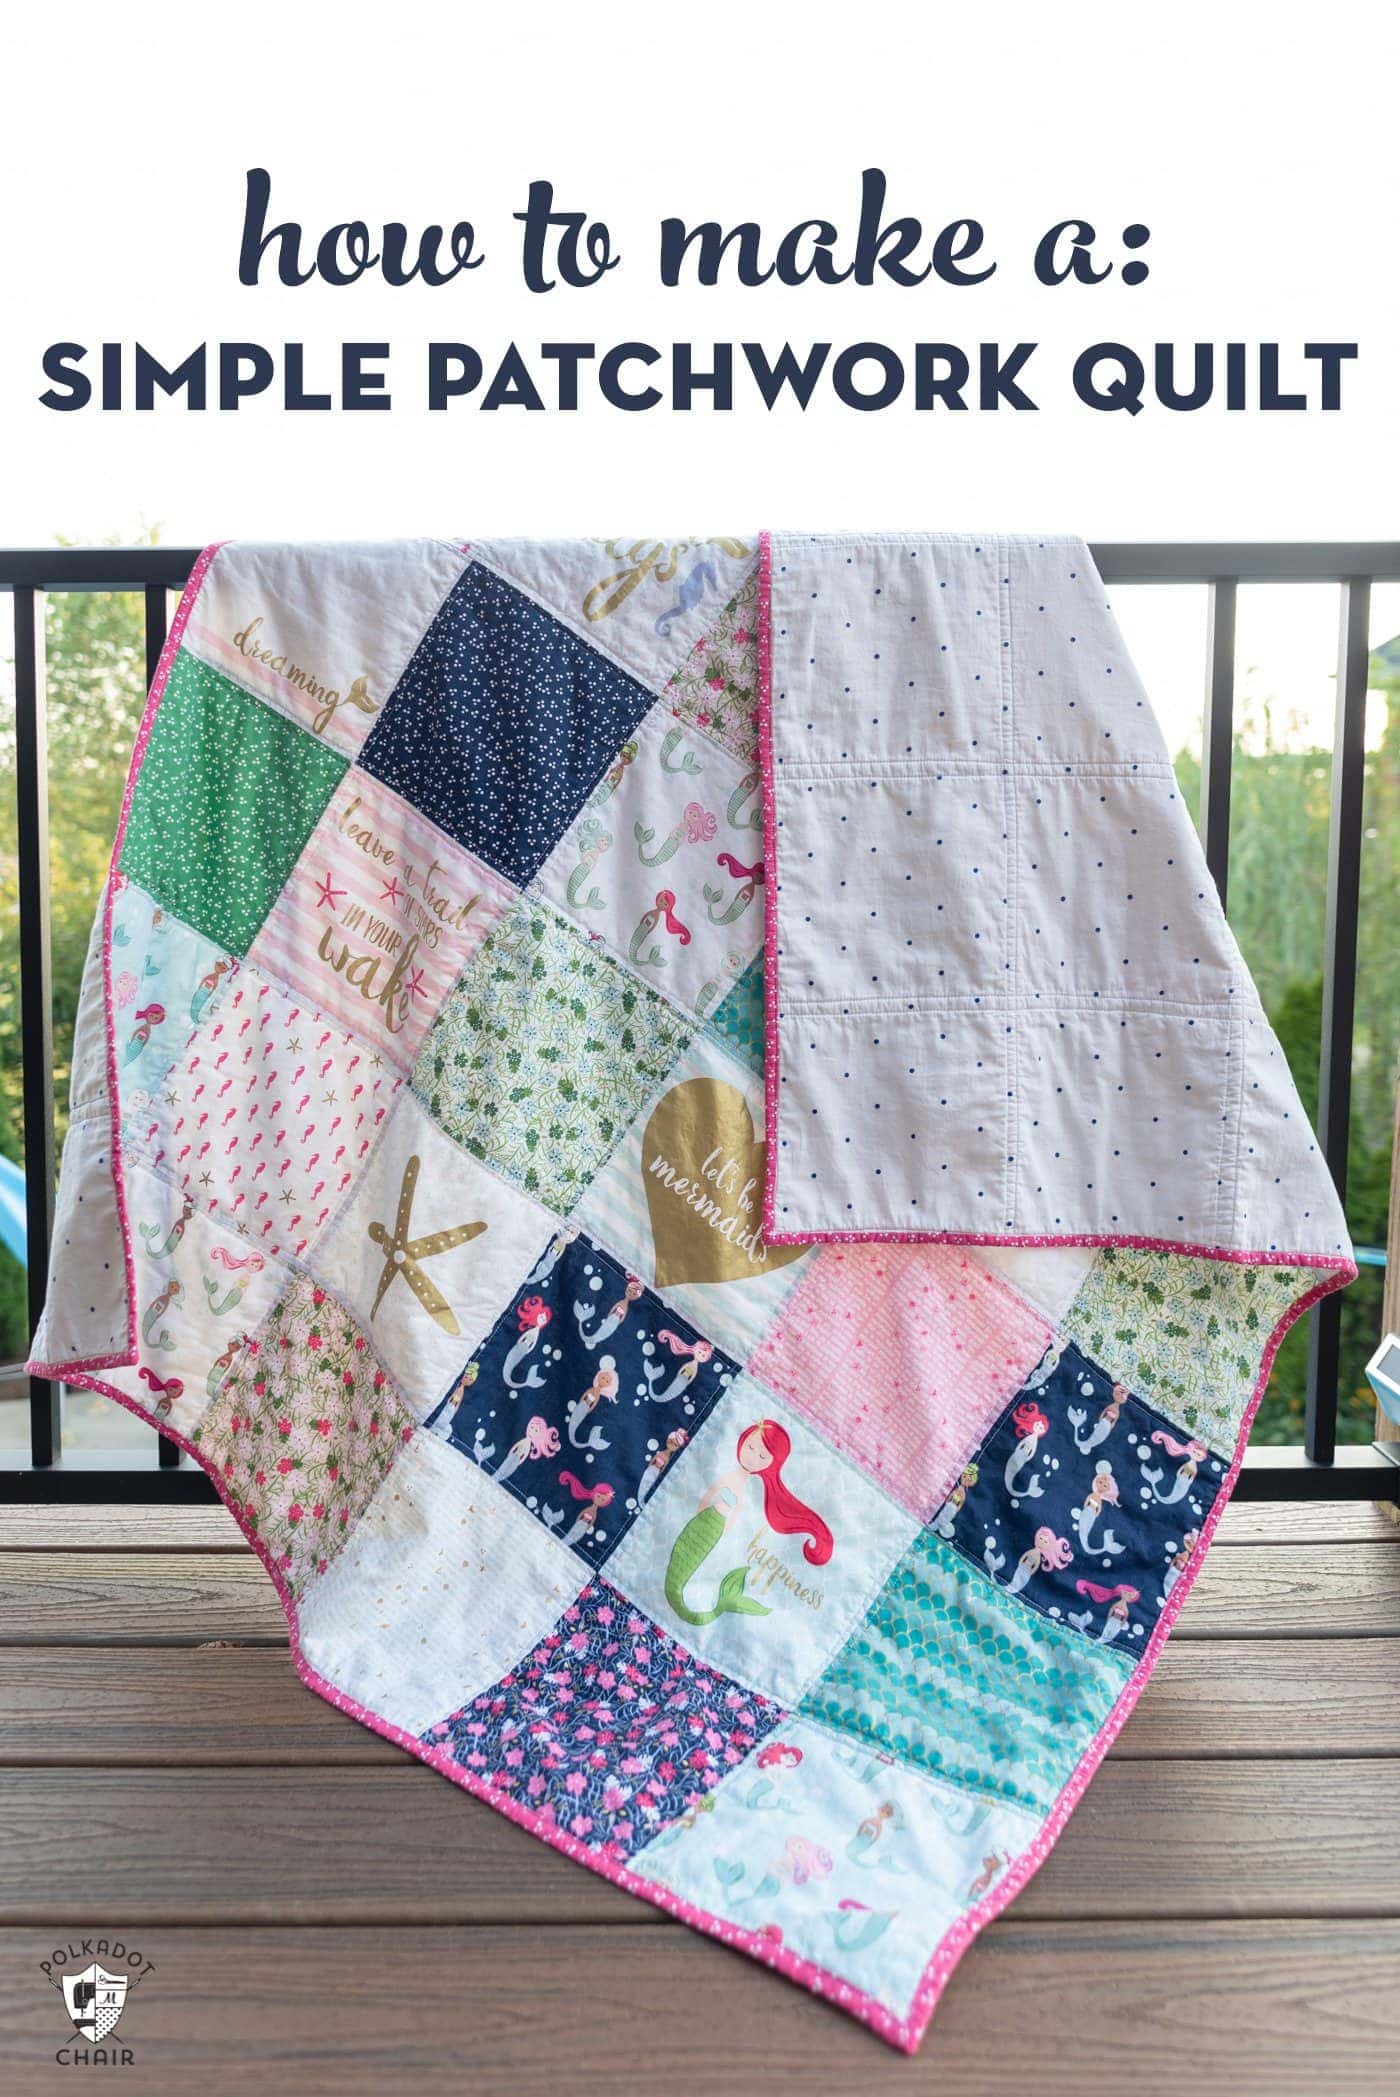
Once all the pieces of fabric have been assembled, they need to be joined together in a process referred to as quilting. This involves stitching the pieces together one by one, either by hand or with a sewing machine. It is important to use the right type of thread for quilting, as this will affect the overall look of the quilt. Stitching should be done as close to the edges of the fabric as possible, so that the quilt looks neat and professional. If using a sewing machine, it is important to use the right stitch length and tension, as this will determine the look of the quilt. After the quilt top is finished, it needs to be backed with either a piece of fabric or batting. The batting will give the quilt a soft and comfortable feel when it is finished. Finally, the edges of the quilt need to be finished off with a binding. This can be done by either machine-stitching or hand-stitching the binding to the quilt.
Finishing Touches
Once the quilt is finished, the last step is the finishing touches. This includes adding the binding, stitching the seam allowances, and pressing the quilt. For binding, use a double-fold binding, which is a strip of fabric that is folded in half lengthwise, and then stitched to the quilt. Stitch the seam allowances by hand, using small stitches and a fine thread. Finally, press the quilt with a warm iron, taking care not to stretch the fabric. This will help ensure that the quilt will last for many years.
| Step | Description |
|---|---|
| Binding | Use a double-fold binding, which is a strip of fabric that is folded in half lengthwise, and then stitched to the quilt. |
| Stitching the seam allowances | Stitch the seam allowances by hand, using small stitches and a fine thread. |
| Pressing | Press the quilt with a warm iron, taking care not to stretch the fabric. |
Frequently Asked Questions
What type of fabric should I use for a window quilt?
For a window quilt, it’s important to choose a lightweight, breathable fabric that will allow light to pass through while still providing insulation. Suitable materials include cotton, linen, muslin, and silk. Consider texture, durability, and care needs when selecting a fabric. Additionally, lining fabric can be used to add structure and extra insulation.
How can I make sure my Window Quilt Hangs Securely?
The most important factor to consider when hanging a window quilt is making sure it is securely attached to the wall. Use strong adhesives, such as heavy-duty mounting tape, to ensure the quilt stays in place. Make sure to measure the quilt and the wall accurately, so you don’t attach the quilt too high or too low. If you’re hanging the quilt from a curtain rod, use strong brackets and screws for a secure fit. Finally, hang the quilt away from windows to prevent the sun from fading the fabric.
What kind of sewing machine should I use for a window quilt?
For a window quilt, it is recommended to use a heavy-duty sewing machine. These machines are designed to handle thick fabrics, multiple layers of materials, and quilting to ensure the quilt is sturdier and will last longer. Here are some features to look for when purchasing a heavy-duty sewing machine:
- Metal Internal Frame: A metal internal frame helps to ensure the machine is strong and stable when sewing thick fabrics.
- High Speed: A higher speed will make the quilting process go faster and smoother.
- Automatic Thread Cutter: An automatic thread cutter removes the need to manually cut the thread each time.
- Adjustable Presser Foot: This feature allows you to adjust the pressure of the fabric when quilting.
- Wide Variety of Stitch Options: A wide variety of stitch options allows you to customize the quilt to your liking.
By taking these features into consideration when purchasing a sewing machine, you can be sure you will have the right machine for your window quilt.
How do I measure my window for the quilt?
- Measure the Width – Measure the width of the window in three sections: the top, middle, and bottom. Take the largest measurement and round it up to the nearest inch.
- Measure the Height – Measure the height of the window in three sections: the left, center, and right. Take the largest measurement and round it up to the nearest inch.
- Add Extra Length – Add an additional 4 inches to the width and 6 inches to the height to ensure the quilt will fit your window properly.
What type of batting should I use for a window quilt?
When making a window quilt, it is important to select a batting that is lightweight and thin. Cotton batting, polyester batting and wool batting are all suitable options. Cotton batting is the most popular choice, as it is easy to work with and produces a good result. For those living in colder climates, polyester batting and wool batting are better suited, as they provide added warmth. Choose a batting with a low loft, and make sure it is the right width for the quilt.
Conclusion
Creating a window quilt is a unique way to add style and a personal touch to your home décor. With the right supplies and a few simple steps, you can make a one-of-a-kind piece of art that will last for years to come. Whether you choose to use traditional fabrics, paper, or a combination of the two, your window quilt will be a beautiful and meaningful addition to your home.


