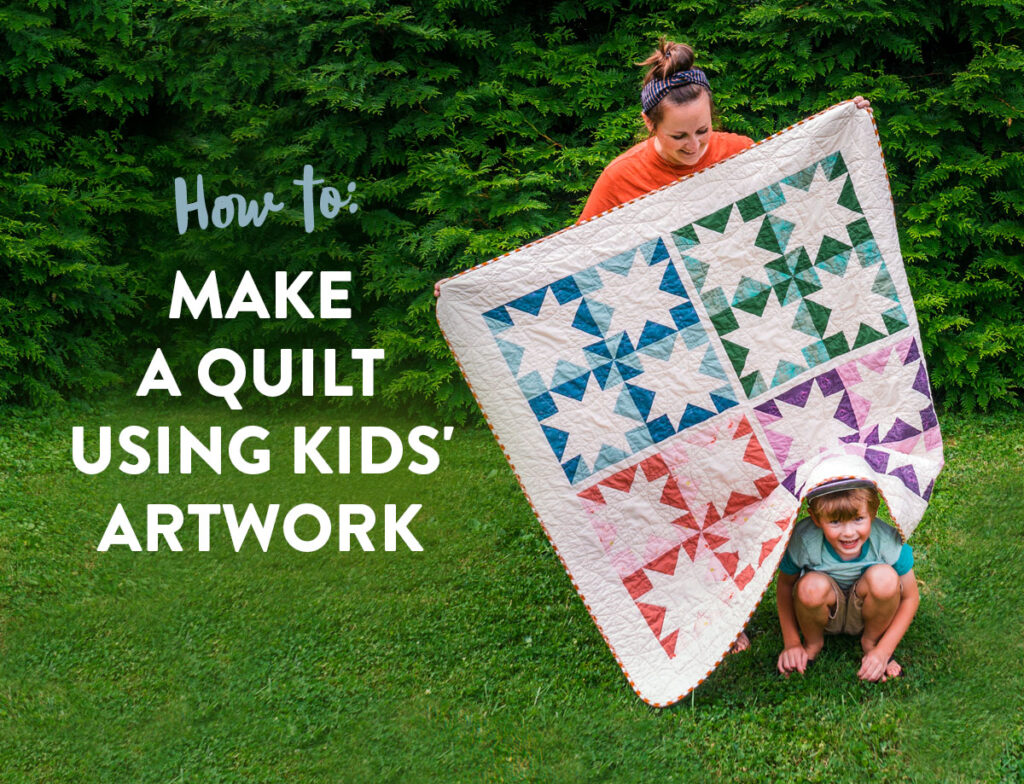
Making an art quilt from a photo is a great way to bring your creative ideas to life and give your home a unique and personal touch. In this article, we will provide a step-by-step guide on how to make an art quilt from a photo. We will discuss the different materials you’ll need, how to transfer your image onto fabric, and how to stitch and assemble your quilt. By the end of this article, you will be able to confidently create a beautiful art quilt from a photo of your own.
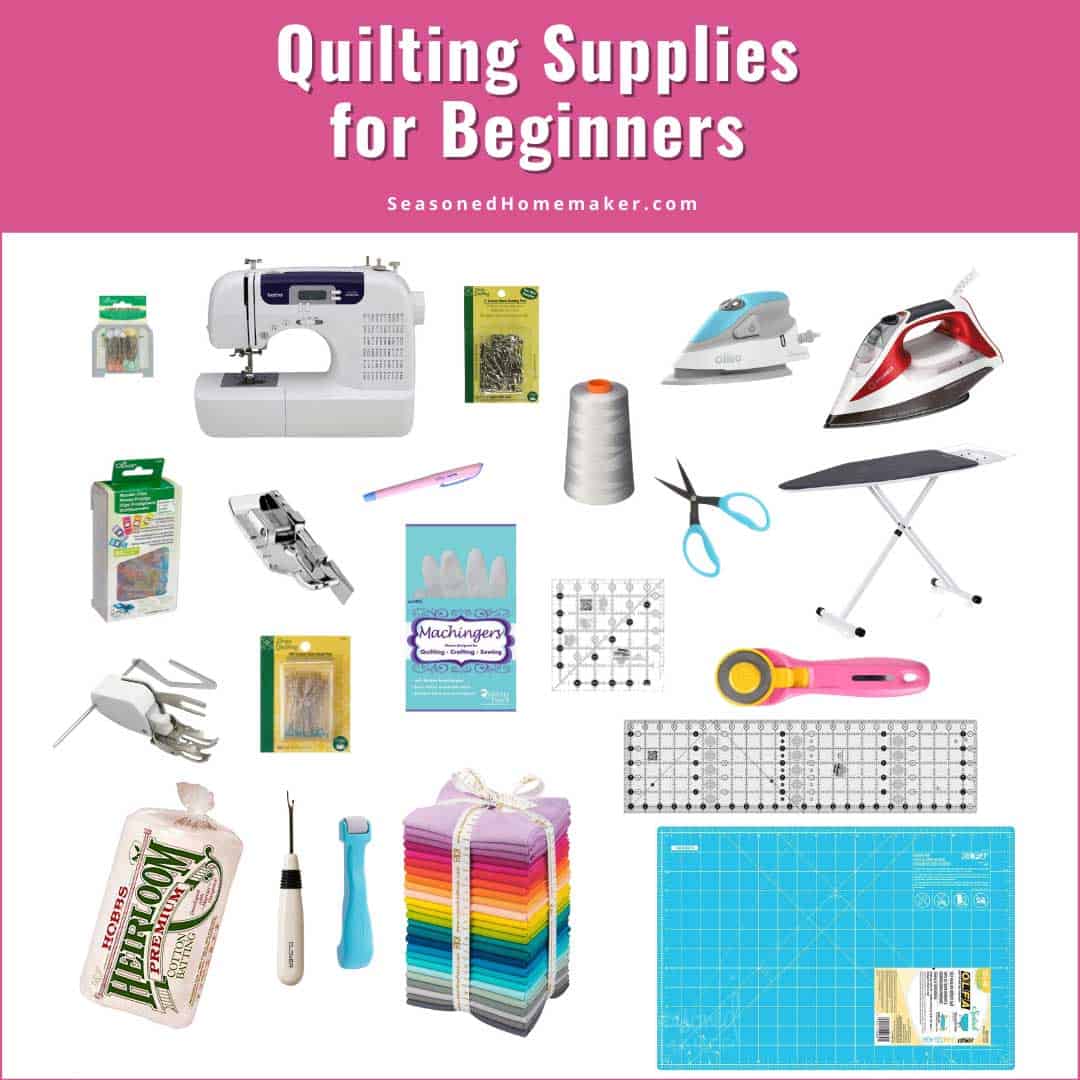
Materials Needed
| Material | Quantity |
| Fabric | 1 yard |
| Fusible webbing | 1/2 yard |
| Copy of photo | 1 print |
| Thread | 2 spools |
| Backing fabric | 1 yard |
| Batting | 1 yard |
| Needle | 1 |
| Scissors | 1 pair |
Make a unique photographic fabric art quilt by following these steps and gathering the necessary materials.
Preparing the Photo
Using the right photo is integral to the success of the art quilt. Choose a photo with distinct shapes, colors, and details that can be easily replicated in fabric. Cut out a paper template of the photo shape and trace it onto a piece of fabric that matches the colors in the photo. With the fabric template, cut out the photo in pieces of fabric with distinct colors and shapes.
Organize the fabric pieces, and arrange them on a piece of fabric to match the photo. Use a light box or a window to place the photo template over the fabric pieces to ensure accuracy. Once the pieces are in the right places, lightly pin them to the background fabric.
Sew the pieces to the background fabric, using a running stitch. After the pieces are attached, trim away any excess fabric and cut a piece of batting to fit the size of the quilt. Layer the batting and the backing fabric and pin them together.
Quilt the fabric and batting together with a running stitch. The stitching should follow the shapes and lines in the photo. Once the quilting is complete, trim away any excess batting and backing fabric.
Transferring the Photo to Fabric
- Choose the fabric – Cotton, linen, or polyester-cotton blend fabric is a good choice for transferring photos to fabric.
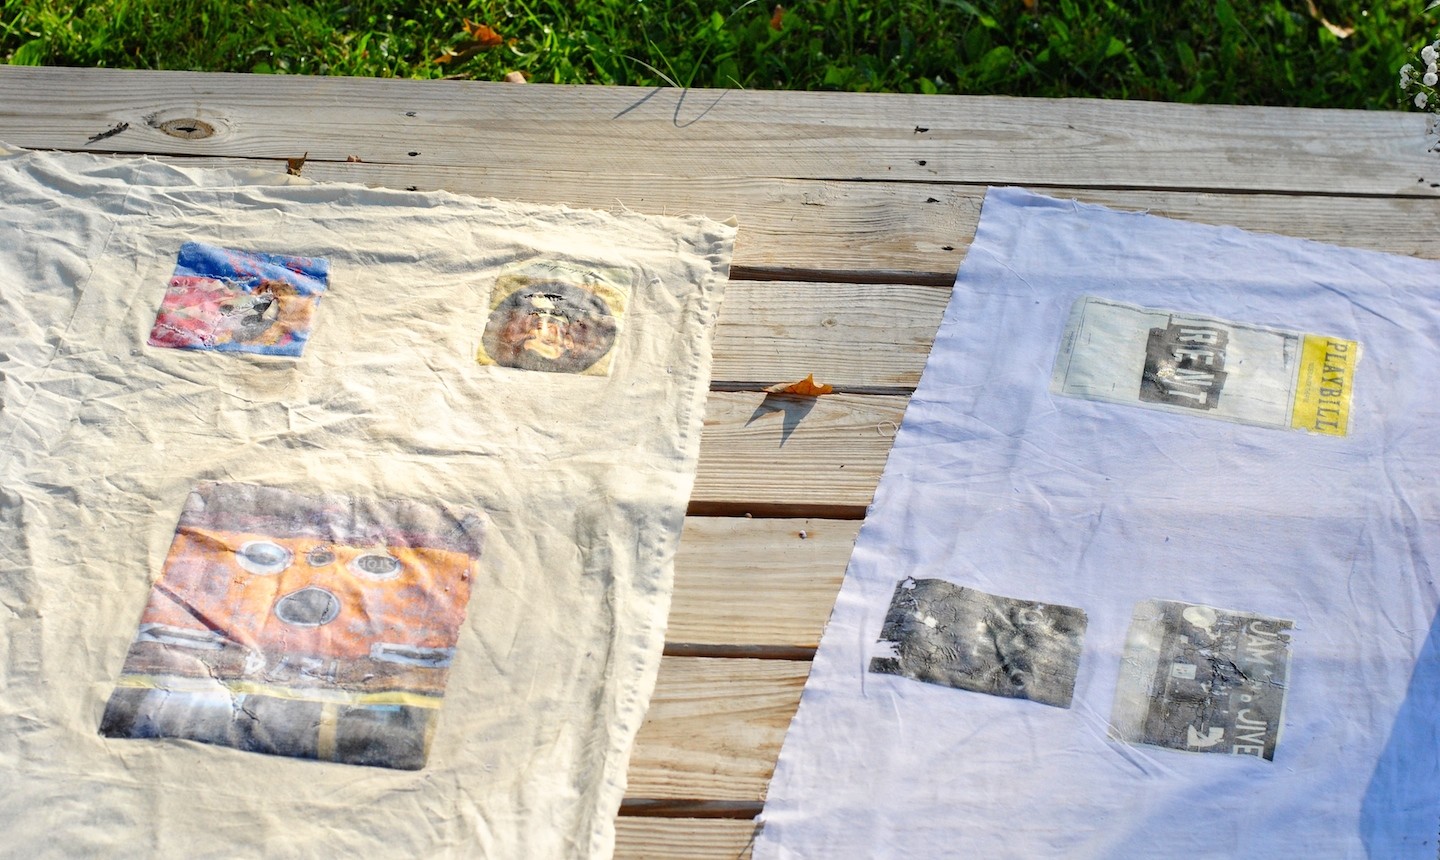
- Print the photo – Print the photo on a laser printer using regular paper.
- Transfer the image – Place the fabric on a hard surface and cover it with a damp cloth. Place the printed photo on the fabric, face down, and cover it with another cloth. Use an iron to press the photo onto the fabric.
- Set the ink – Flip the fabric over and press it with an iron to set the ink.
- Secure the photo – Sew around the photo to secure it to the fabric.
Cutting the Fabric
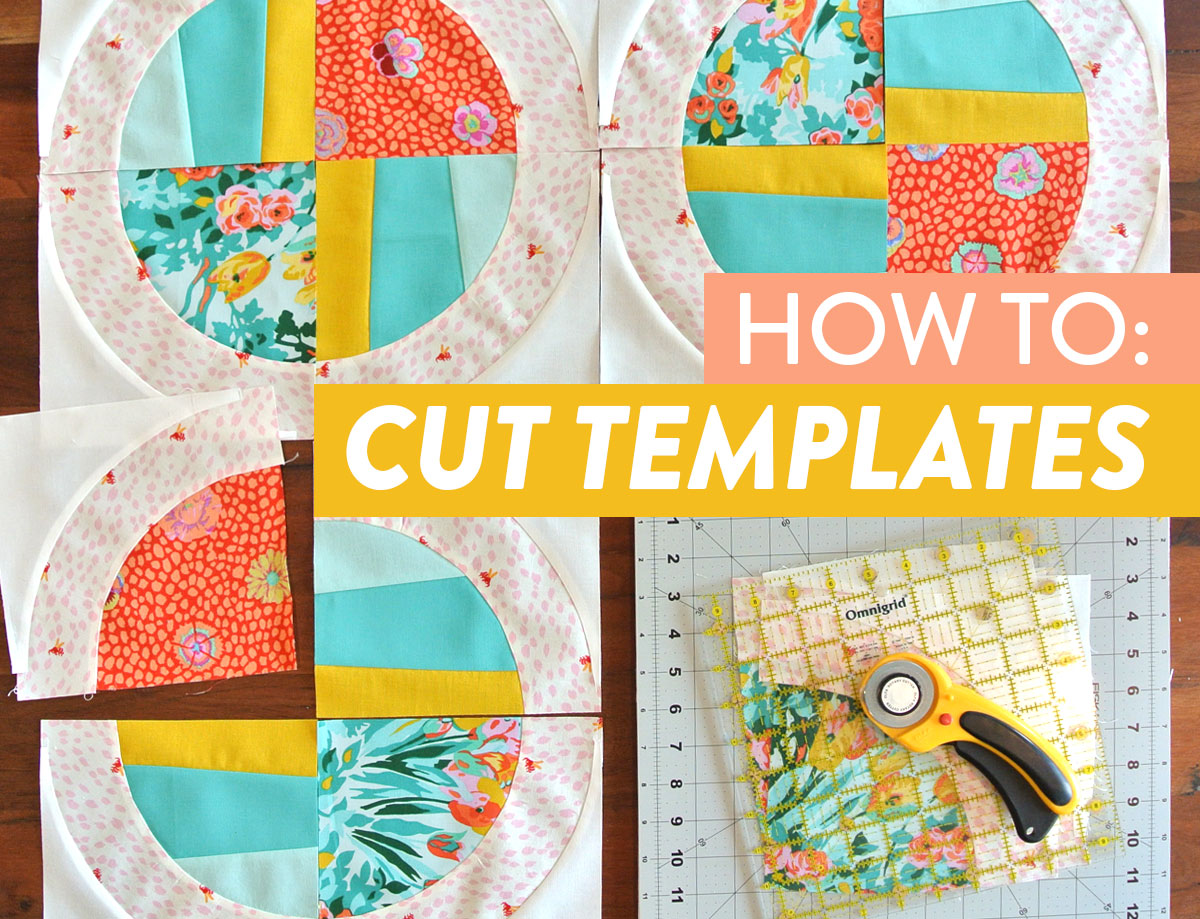
Cut the fabric for your quilt using a ruler and rotary cutter. Cut a square of fabric slightly larger than the photo you wish to quilt. You will need enough fabric for the quilt top, batting, and backing.
Layout: Place the fabric on a table or the floor and arrange it in the desired quilt pattern.
Cutting: Mark the fabric along the lines of the quilt pattern with a fabric marker. Using the ruler and rotary cutter, cut the fabric along the lines.
Piecing: Once the fabric has been cut, begin piecing the quilt top together, one fabric piece at a time. Pin the pieces together and sew the seams. Iron the seams open. Continue piecing the quilt until the desired quilt pattern is complete.
Assembling the Quilt
| Step | Details |
|---|---|
| 1 | Lay out the quilt top fabric on a flat surface. Arrange the fabric pieces in a pleasing pattern. |
| 2 | Pin the fabric pieces together using safety pins or quilting clips. |
| 3 | Sew the fabric pieces together using a sewing machine or by hand. For best results, use a quilting stitch to give the quilt a decorative look. |
| 4 | Iron the quilt top to get rid of any wrinkles and make sure the fabric is laying flat. |
| 5 | Lay the batting on the floor and place the quilt top on top. Pin the batting and quilt top together. |
| 6 | Lay the backing fabric on the floor and place the batting and quilt top on top. Pin the backing fabric, batting, and quilt top together. |
| 7 | Sew the backing fabric, batting, and quilt top together using a sewing machine or by hand. For best results, use a quilting stitch to give the quilt a decorative look. |
| 8 | Iron the quilt to get rid of any wrinkles and make sure the fabric is laying flat. |
| 9 | Add the photo to the quilt. Glue the photo to the quilt top using fabric glue or sew it onto the quilt top using a sewing machine or by hand. |
| 10 | Sew a binding around the edges of the quilt to secure the layers together and give the quilt a finished look. |
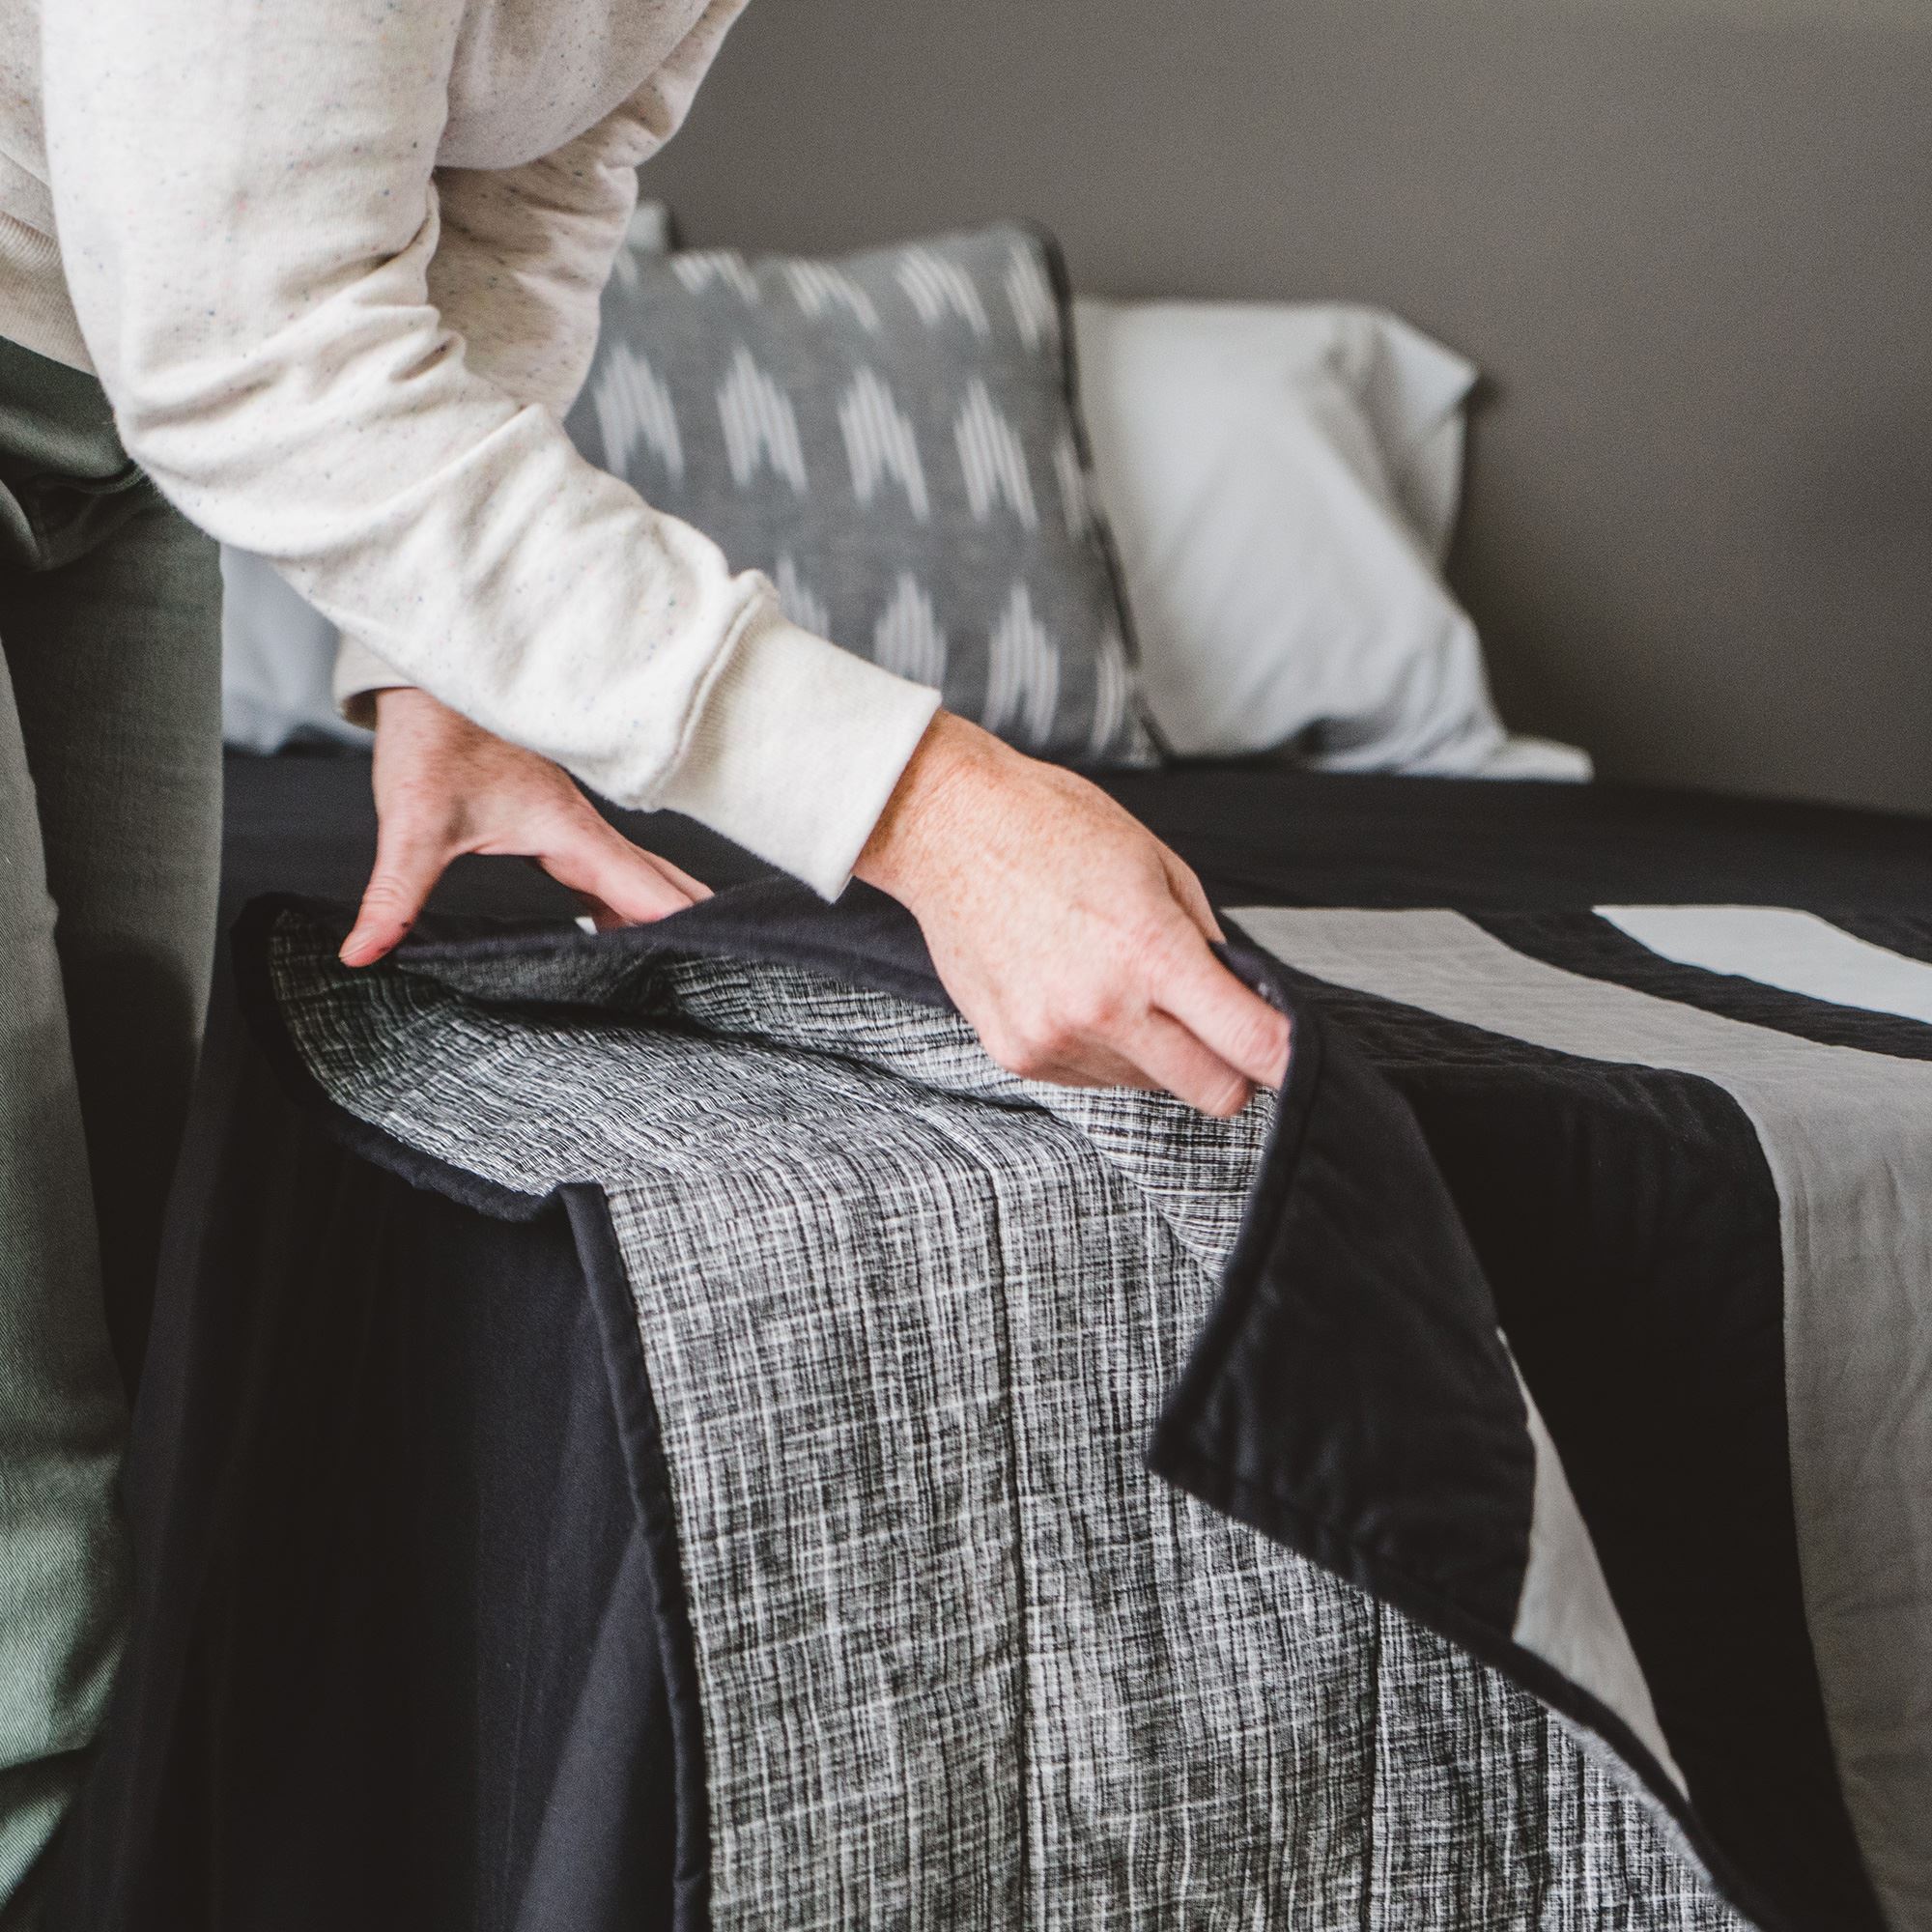
Quilt Batting and Backing
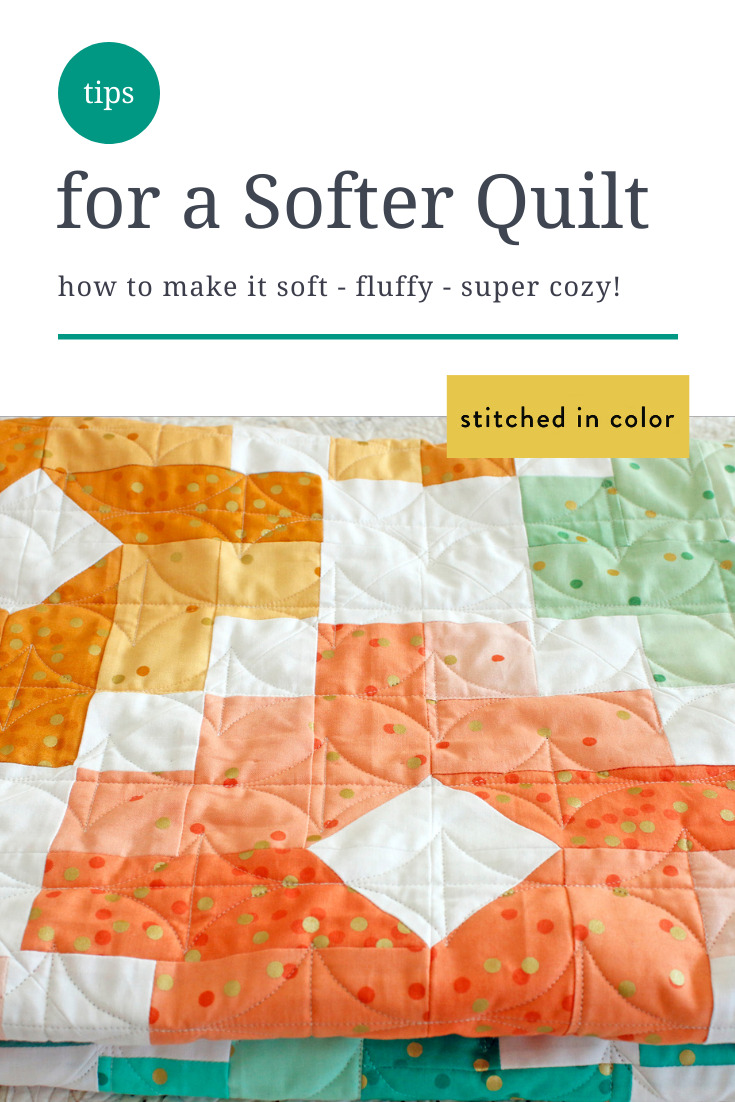
One of the most important components of making an art quilt from a photo is quilt batting. It is the material that gives a quilt its softness and warmth. Generally, cotton batting is the most commonly used material, as it is lightweight and easy to work with. However, other materials such as wool, bamboo, and synthetic batting can also be used. The thickness of the batting should be chosen based on the type of quilt being made and the desired warmth, weight, and drape of the quilt.
The quilt backing is the layer of fabric on the bottom of the quilt that is not seen. It should be larger than the quilt top and batting and can be made from a variety of fabrics depending on the desired look and feel. Generally, muslin, cotton, flannel, or minky are used. The backing should be pre-washed before being used, to prevent shrinking after the quilt is finished.
Quilting the Art Quilt
- Fabric Selection: When creating an art quilt, fabric selection is key. Choose fabrics with a variety of textures, colors, and prints to construct a visually interesting quilt top.
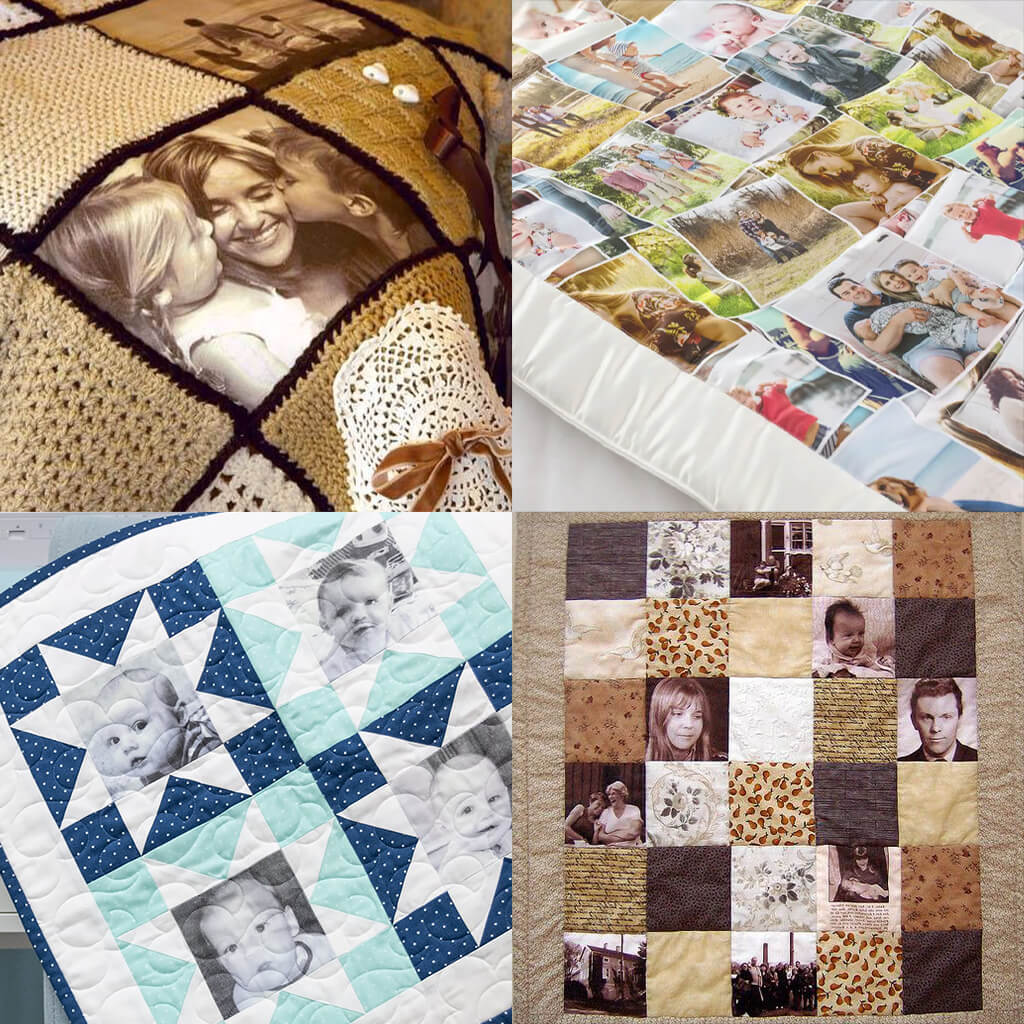
- Photo Transferring: Transferring a photo onto fabric is a great way to make a quilt with a personal story. Use fabric transfer paper to adhere the photo to the fabric, and then cut it out to the desired size.
- Piecing the Quilt Top: Place the photo in the center of the quilt top and then add a variety of fabrics around the photo to complete the design. Use a rotary cutter and cutting mat to cut the fabric into strips, rectangles, and squares.
- Appliqué: Appliqué is a great way to add more dimension and texture to the quilt top. Choose a variety of fabrics and cut them into shapes that complement the quilt design.
- Quilting: Quilting adds texture and visual interest to the quilt top. Use a sewing machine to stitch through all three layers of the quilt- the quilt top, batting, and backing.
- Binding: Binding is the last step in finishing the quilt. Cut binding strips from fabric and attach them to the edges of the quilt top with a sewing machine.
Finishing the Art Quilt
Once the quilt top is complete, the next step is to add a backing, batting and then quilt it. To attach the backing, start by trimming the backing fabric to the desired size (1-2 inches larger than the quilt top on all sides). Place the backing fabric wrong-side up on a flat surface, then place the quilt top on top of it, also wrong-side up. Pin the layers together and sew around the perimeter of the quilt top, leaving a 5- to 6-inch gap in the center.
Batting: Once the backing is attached to the quilt top, place the batting over the quilt top. Pin the batting in place and then use a ruler to square up the edges. Trim the batting to the desired size, leaving at least 2-inches of batting beyond the edges of the quilt top.
Quilting: You can quilt the art quilt using either a hand or a machine. For hand quilting, use a running stitch to quilt the layers together. If using a machine, choose a quilting pattern that best complements the design of the quilt top.
Binding: After quilting, the last step is to sew the binding around the quilt. Cut the binding fabric into four strips that are at least 2-inches wide and long enough to fit the entire perimeter of the quilt. Sew the binding strips together and position the binding around the quilt, making sure the raw edges of the binding are facing the same direction. Pin the binding in place and then sew it to the quilt, using a straight stitch.
Finishing: To finish the art quilt, trim any excess threads, and then press the quilt with a cool iron. Finally, use a label maker or fabric paint to add a label to the back of the quilt with the title, date, and your name.
| Steps | Description |
|---|---|
| Attach Backing | Trim the backing fabric to size and sew to quilt top, leaving a gap in the center. |
| Add Batting | Pin the batting in place, then trim it to size. |
| Quilting | Quilt the layers together using either a hand or machine. |
| Binding | Cut binding fabric into strips and sew to the quilt. |
| Finishing | Trim any excess threads, press the quilt, and add a label to the back. |
By following these steps and using the right materials, you can create a beautiful art quilt from a photo and make a unique, one-of-a-kind piece of art.
Frequently Asked Questions
What materials do I need to make an Art Quilt?
To make an art quilt from a photo, you need: fabric, batting, thread, scissors, sewing machine, and an iron. You will also need a photo to transfer onto the fabric, a printer to print out the photo, and a heat transfer pen or pencil. Optional supplies include a rotary cutter, self-healing cutting mat, and a quilting hoop.
What techniques should I use to transfer the photo onto the fabric?
- Iron-on Transfer Pencils: The pencils are rubbed onto the back of a photo, then the photo is placed on the fabric and an iron is used to transfer the image onto the fabric.
- Fusible Webbing: This is a webbing that is placed between the photo and the fabric and then ironed to transfer the image.
- Transfer Paper: Transfer paper is placed between the photo and the fabric and then ironed to transfer the image.
- Fabric Markers: Fabric markers can be used to trace the photo directly onto the fabric.
What types of fabrics are suitable for art quilts?
- Cotton– Cotton is the most popular fabric for art quilts because it is a lightweight, durable, and inexpensive material. Cotton fabric is also easy to sew and is available in a variety of colors, patterns, and textures.
- Silk– Silk is a luxurious fabric that is often used in art quilts. It is lightweight, has a beautiful sheen, and is available in a wide array of colors. However, it is more expensive than cotton and can be difficult to sew.
- Linen– Linen is a durable fabric that is often used in art quilts. It is lightweight and has a unique texture. It is available in a variety of colors and prints, and is relatively inexpensive.
- Fleece– Fleece is a synthetic fabric that is often used for art quilts. It is lightweight, warm, and available in a wide array of colors and prints. Fleece is also relatively inexpensive and easy to sew.
How do I quilt the layers together to create the art quilt?
- Cut fusible web – Cut out pieces of fusible web that are slightly larger than the shapes of the photo. Place the web onto the wrong side of the fabric and iron to adhere.
- Arrange the pieces – Place the photo pieces in the desired design on the base fabric. Fuse the pieces in place with a hot iron.
- Quilt the layers – Sew around the edges of the shapes, free-motion quilt around the shapes in the middle, or use decorative stitches to add texture to the quilt.
What is the Best Way to Finish My Art Quilt?
The finishing touches are the most important part of any art quilt. To ensure your quilt is properly finished, add a batting layer, quilt the layers together, and bind the edges. Once the quilting is complete, use a sharp pair of scissors to trim away any excess batting. Finally, add a decorative border to the quilt for an extra layer of detail and protection. With these steps, your art quilt will be ready to enjoy.
Conclusion
Making an art quilt from a photo is a great way to preserve memories while creating something unique and beautiful. With the right materials, tools, and techniques, anyone can create an art quilt that will be cherished for years to come.


