Are you looking for a fun and easy way to create beautiful pinwheel quilt blocks? If so, then this step-by-step guide on how to make pinwheel quilt blocks is the perfect resource for you. Here, we will provide you with all the information you need to make your own pinwheel quilt blocks, including materials, tools, and a detailed walkthrough of the process. With this guide, you can easily create stunning pinwheel quilt blocks that will add a unique touch to any quilt.
What You Need
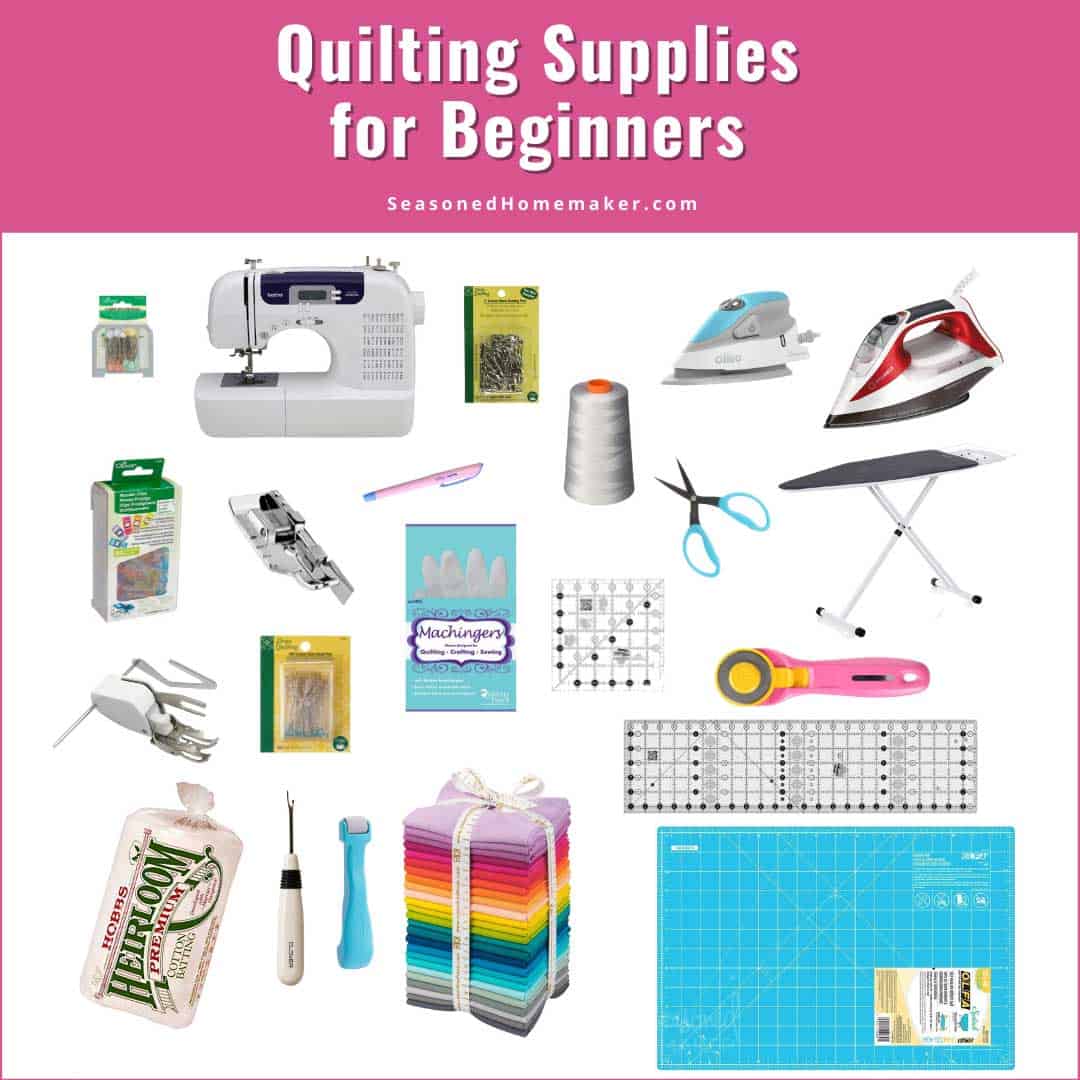
- Fabrics: 2 fabrics, one light and one dark, in the size of 5″ x 10″
- Scissors
- Rotary cutter: to cut the fabric
- Ruler: to measure and square off the blocks
- Iron: to press the seams
- Thread: to match the fabrics
To make a 6 inch pinwheel quilt block, you will need the above items to create the perfect block.
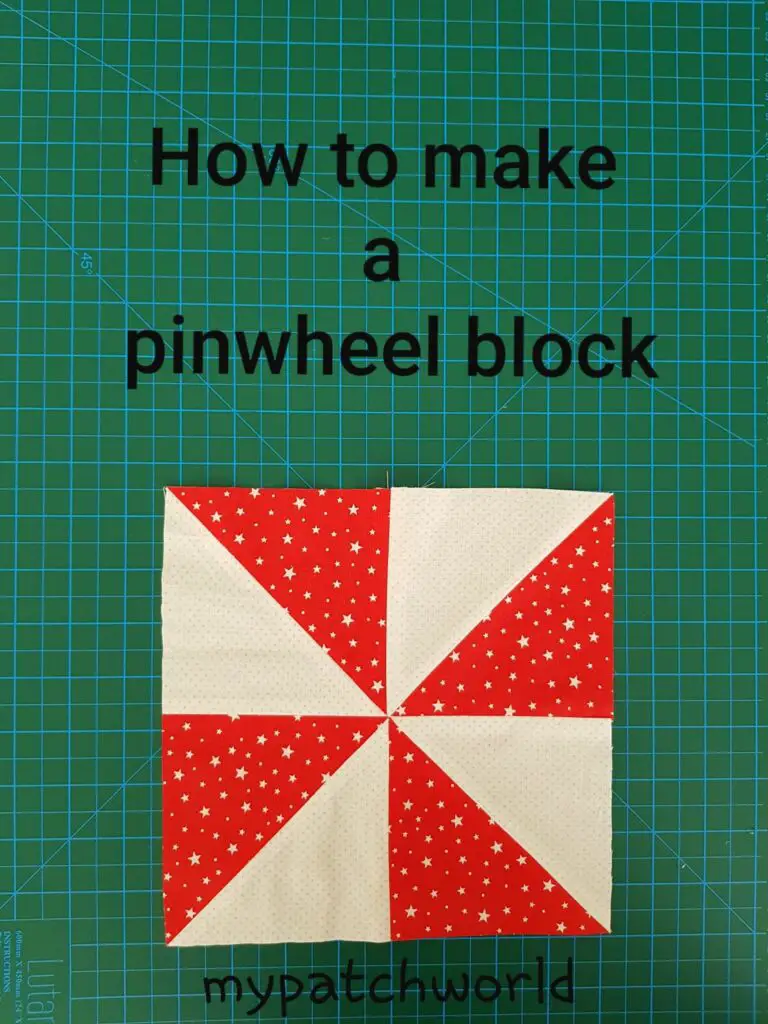
How to Make a 6 Inch Pinwheel Quilt Block
Cut Fabric
Cut one 2.5” square from each of four different fabrics for the pinwheel block.
Assemble Pinwheel
Take two of the squares and place them right sides together. Draw a line from one corner to the opposite corner on the wrong side of the fabric. Stitch a ¼” seam on either side of the line. Repeat the process with the remaining two squares.
Piece Pinwheel
Cut the stitched squares on the drawn line. Open the pieces and press the seams flat. Take two of the resulting halves and place them right sides together. Align the seam lines and pin in place. Stitch a ¼” seam on either side of the seam line. Repeat this process with the remaining two halves.
Press Seams
Open the stitched pieces and press the seams flat. Your pinwheel block should measure 6” square. To make sure your block is square, measure the corners. All four corners should measure the same.
Now you know how to piece a pinwheel quilt block!
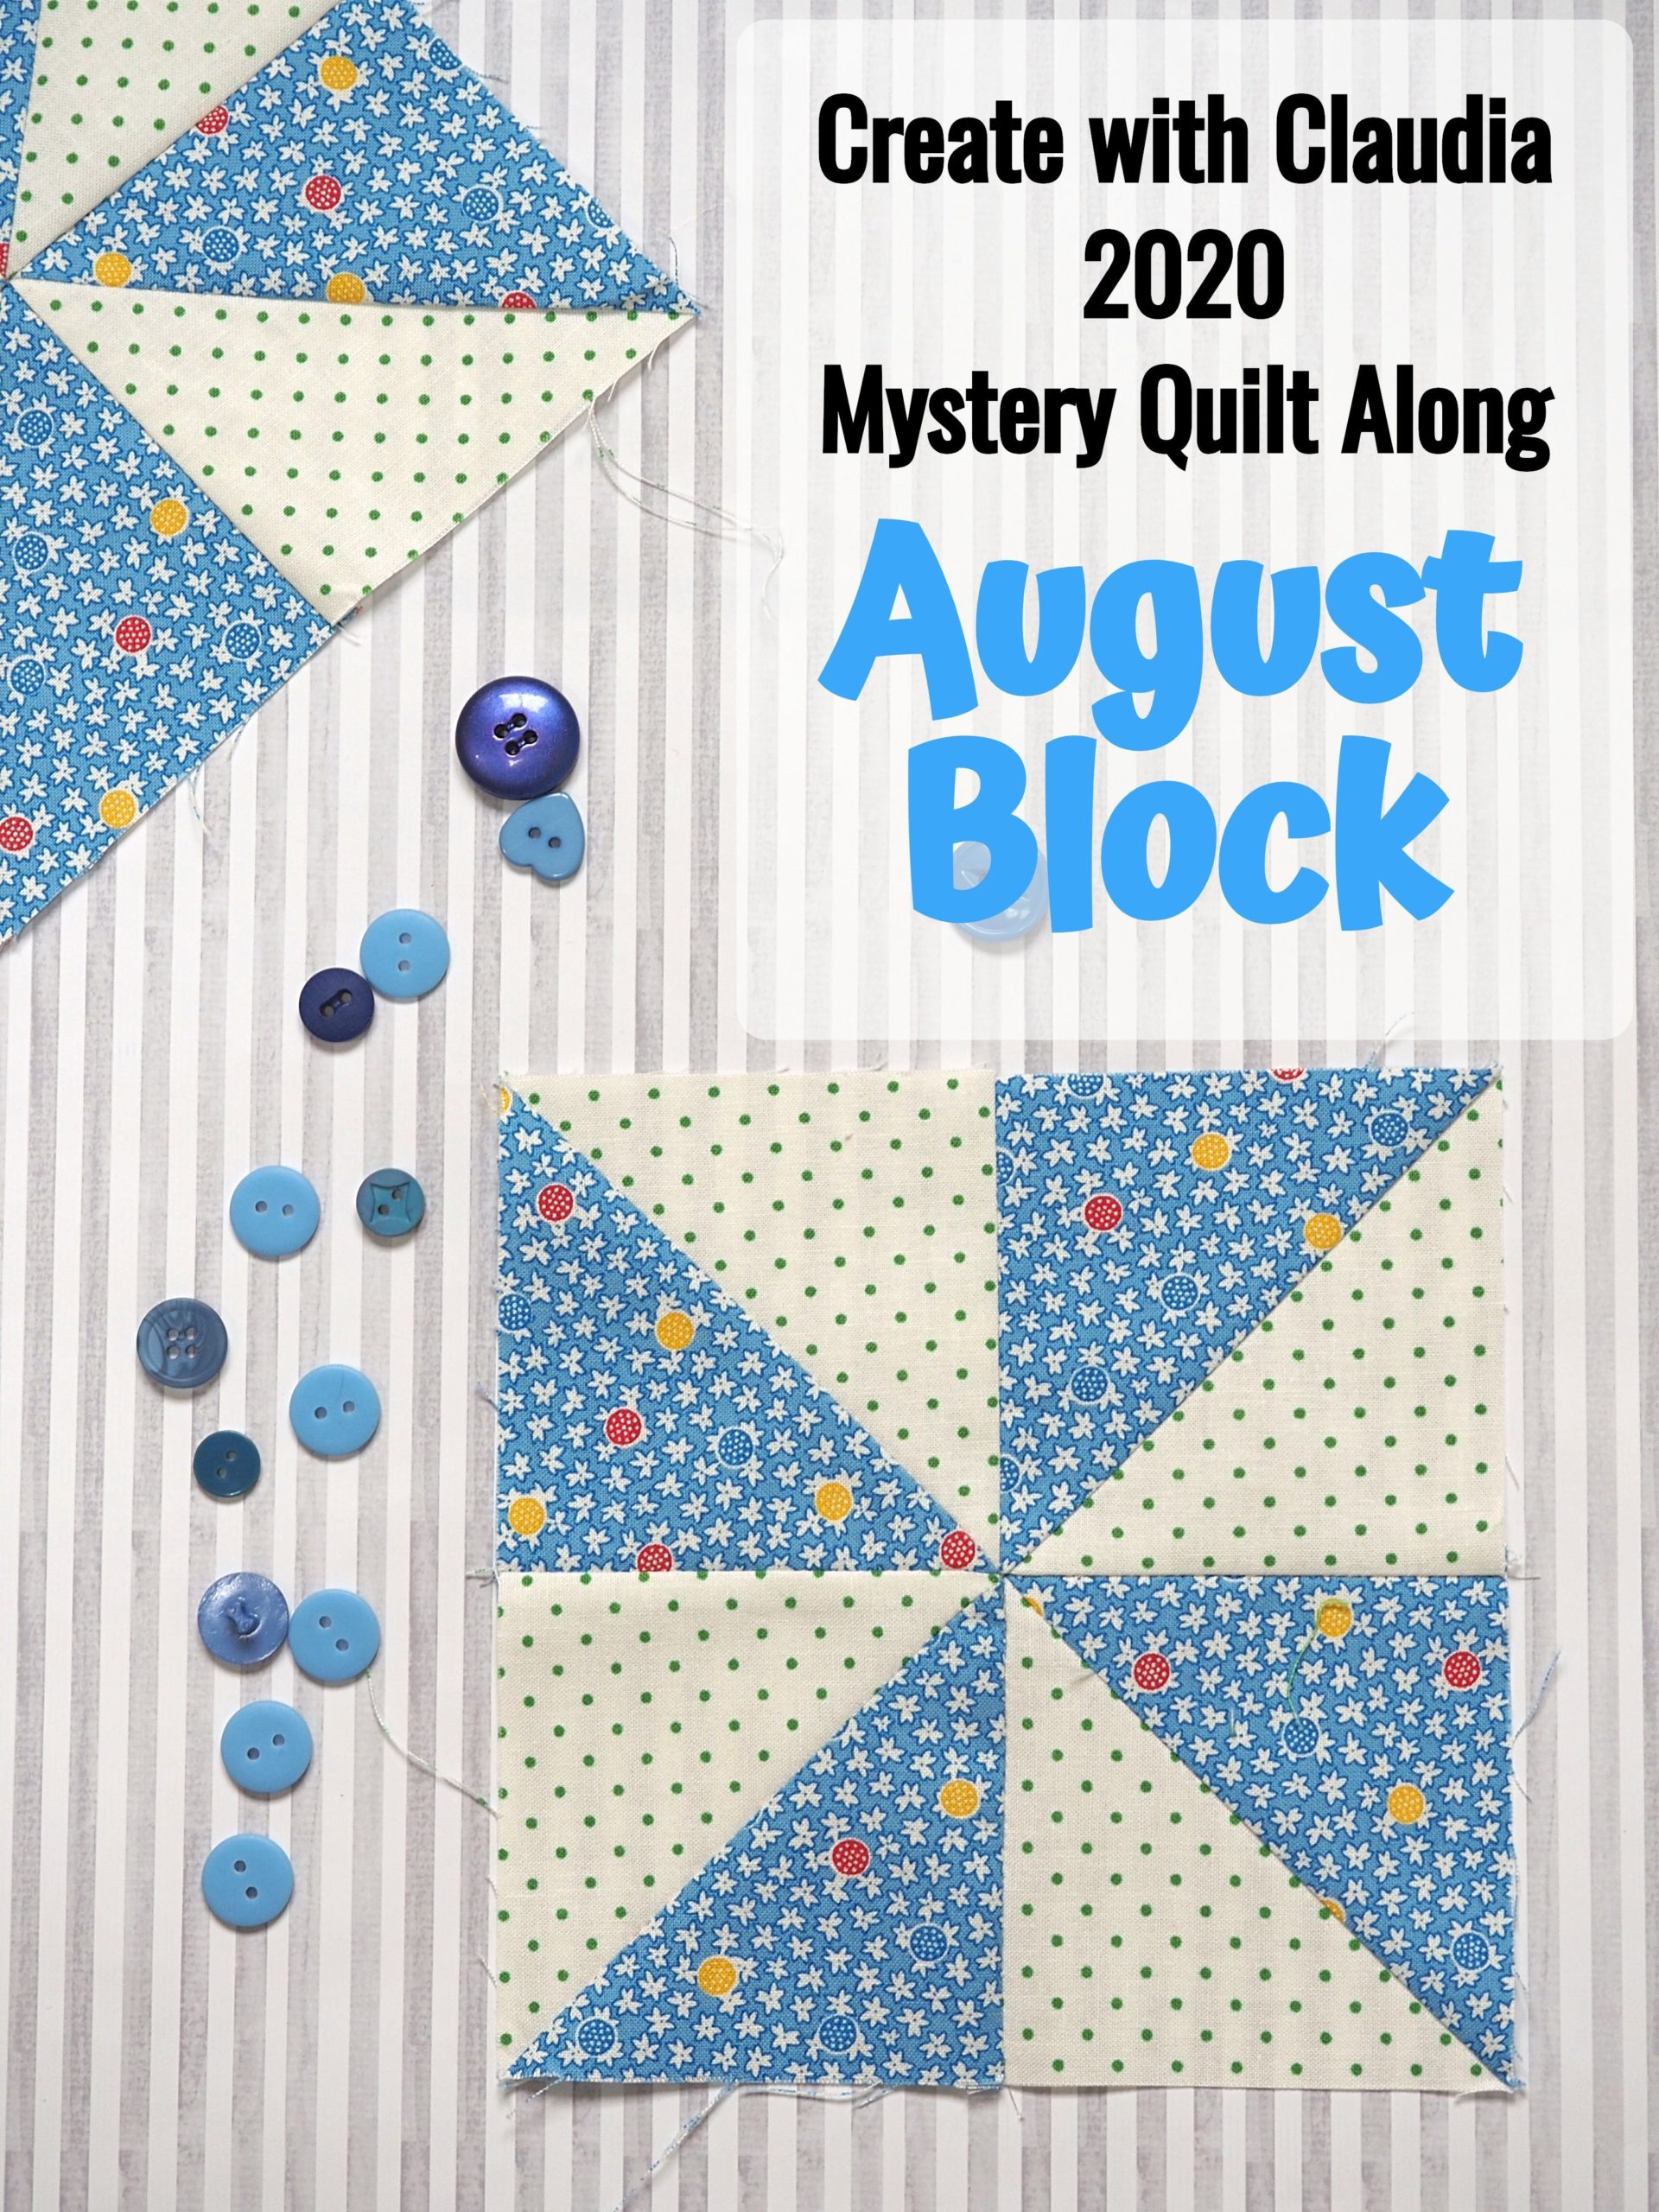
How to Quilt a Pinwheel Block
- Gather materials: fabric, pins, scissors, rotary cutter, quilting ruler, quilting mat, and thread.
- Cut fabric: Measure and cut two 5-inch squares from each of the four fabrics. Cut one 5-inch square from the background fabric.
- Pin fabric: Layer the two 5-inch squares of each fabric and pin together.
- Sew fabric: Sew the two squares together along one side, using a ¼-inch seam allowance.
- Iron fabric: Press the seam allowance to one side. Repeat with the other three fabrics.
- Cut fabric: Place the strips right sides together and cut along the diagonal.
- Lay out fabric: Arrange the four strips to create a pinwheel design. Pin in place.
- Sew fabric: Sew the four strips together along the diagonal using a ¼-inch seam allowance.
- Iron fabric: Press the seam allowance to one side.
- Trim block: Place the background fabric behind the pinwheel block and trim the block to 5 ½ inches square.
- Quilt block: Quilt the block by hand or machine, following your desired pattern.
How to Make Pinwheels of Different Sizes
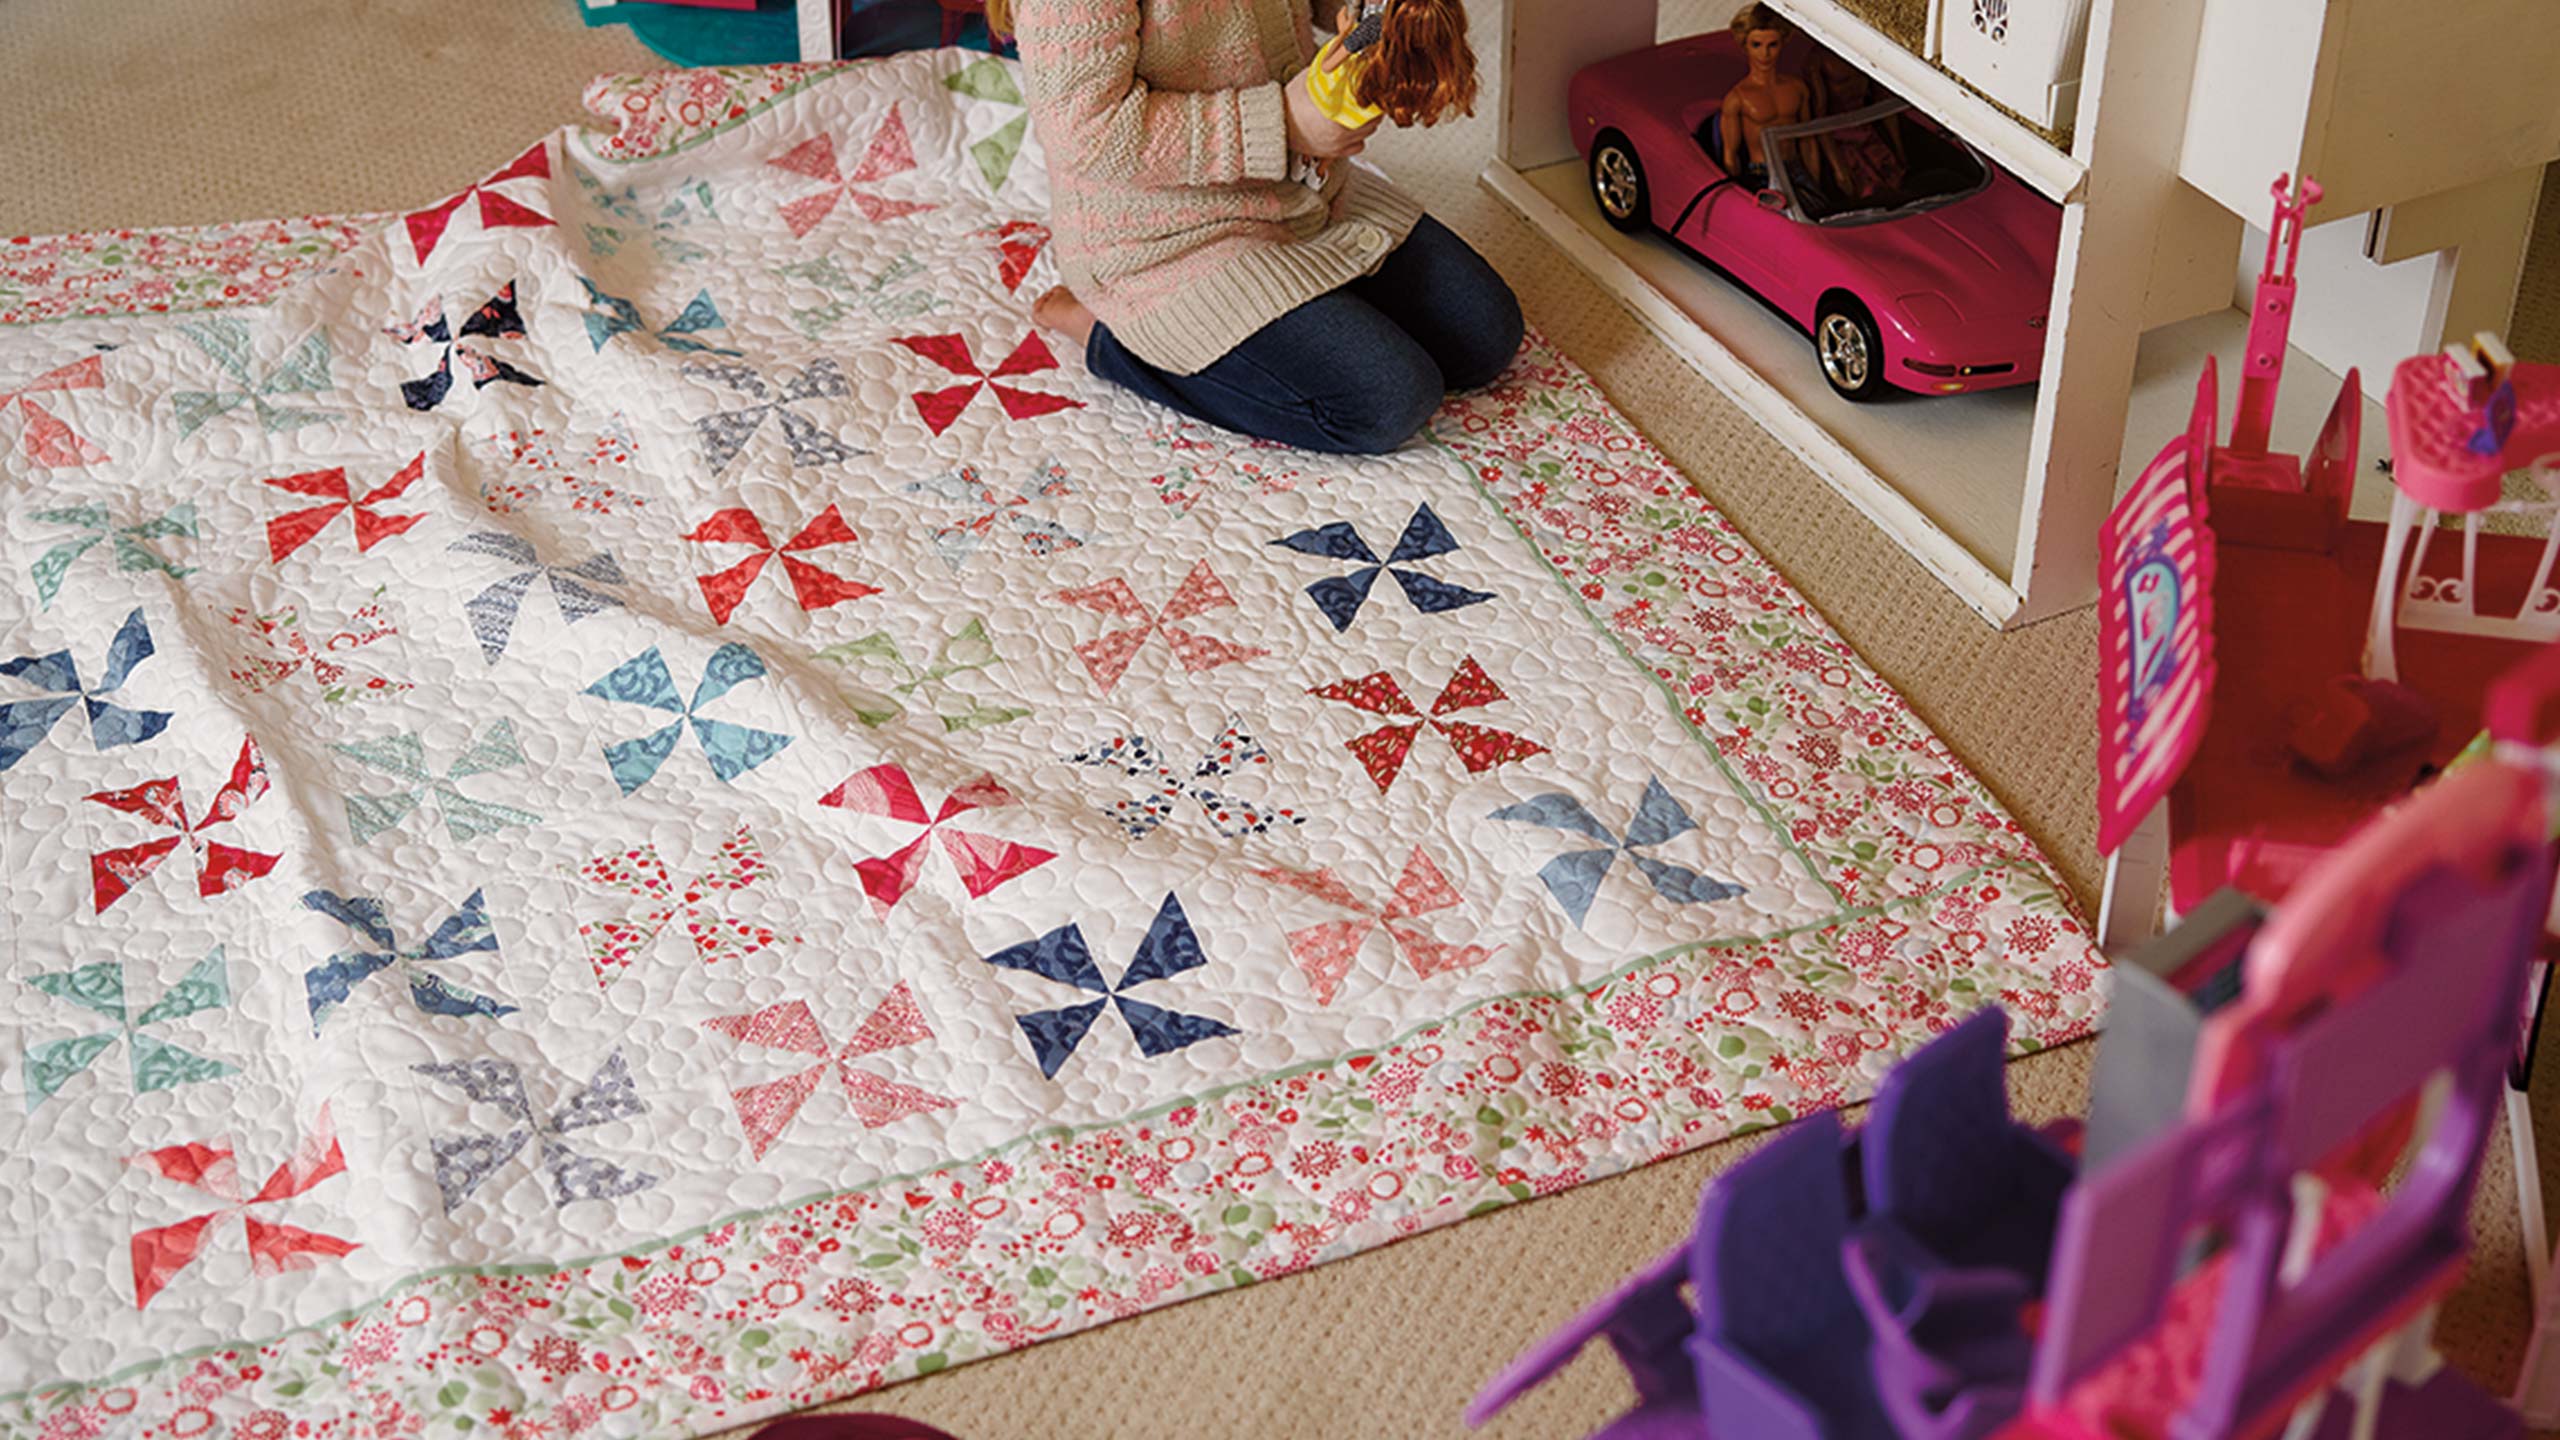
Pinwheel quilts are a classic addition to any home. The traditional pinwheel block features two different fabrics that form a four-pointed star when the quilt is finished. You can make pinwheel quilt blocks of different sizes for a variety of projects.
Materials:
• Fabric of your choice
• Rotary cutter
• Quilting ruler
• Self-healing mat
• Sewing machine
• Iron
Instructions:
| Size of Pinwheel | Cutting Measurements |
|---|---|
| 2″ | 2″ x 2″ squares |
| 4″ | 4″ x 4″ squares |
| 6″ | 6″ x 6″ squares |
| 8″ | 8″ x 8″ squares |
1. Start by cutting two squares of fabric for each pinwheel. The size of the squares will depend on the size of the pinwheel you would like to make. Refer to the table above for cutting measurements.
2. Place one square right side up and the other right side down on top of it.
3. Draw a diagonal line on the top square.
4. Pin the two squares together along the diagonal line.
5. Sew a ¼” seam along both sides of the diagonal line.
6. Cut off the excess fabric ¼” from the seam.
7. Open up the two pieces and press with an iron.
8. Place the two pieces wrong sides together and sew around the outside edge to complete the pinwheel.
By following these steps, you can make pinwheel quilt blocks of different sizes for your quilt project. By using different fabrics, you can make a unique pinwheel quilt that will be a beautiful addition to any home.
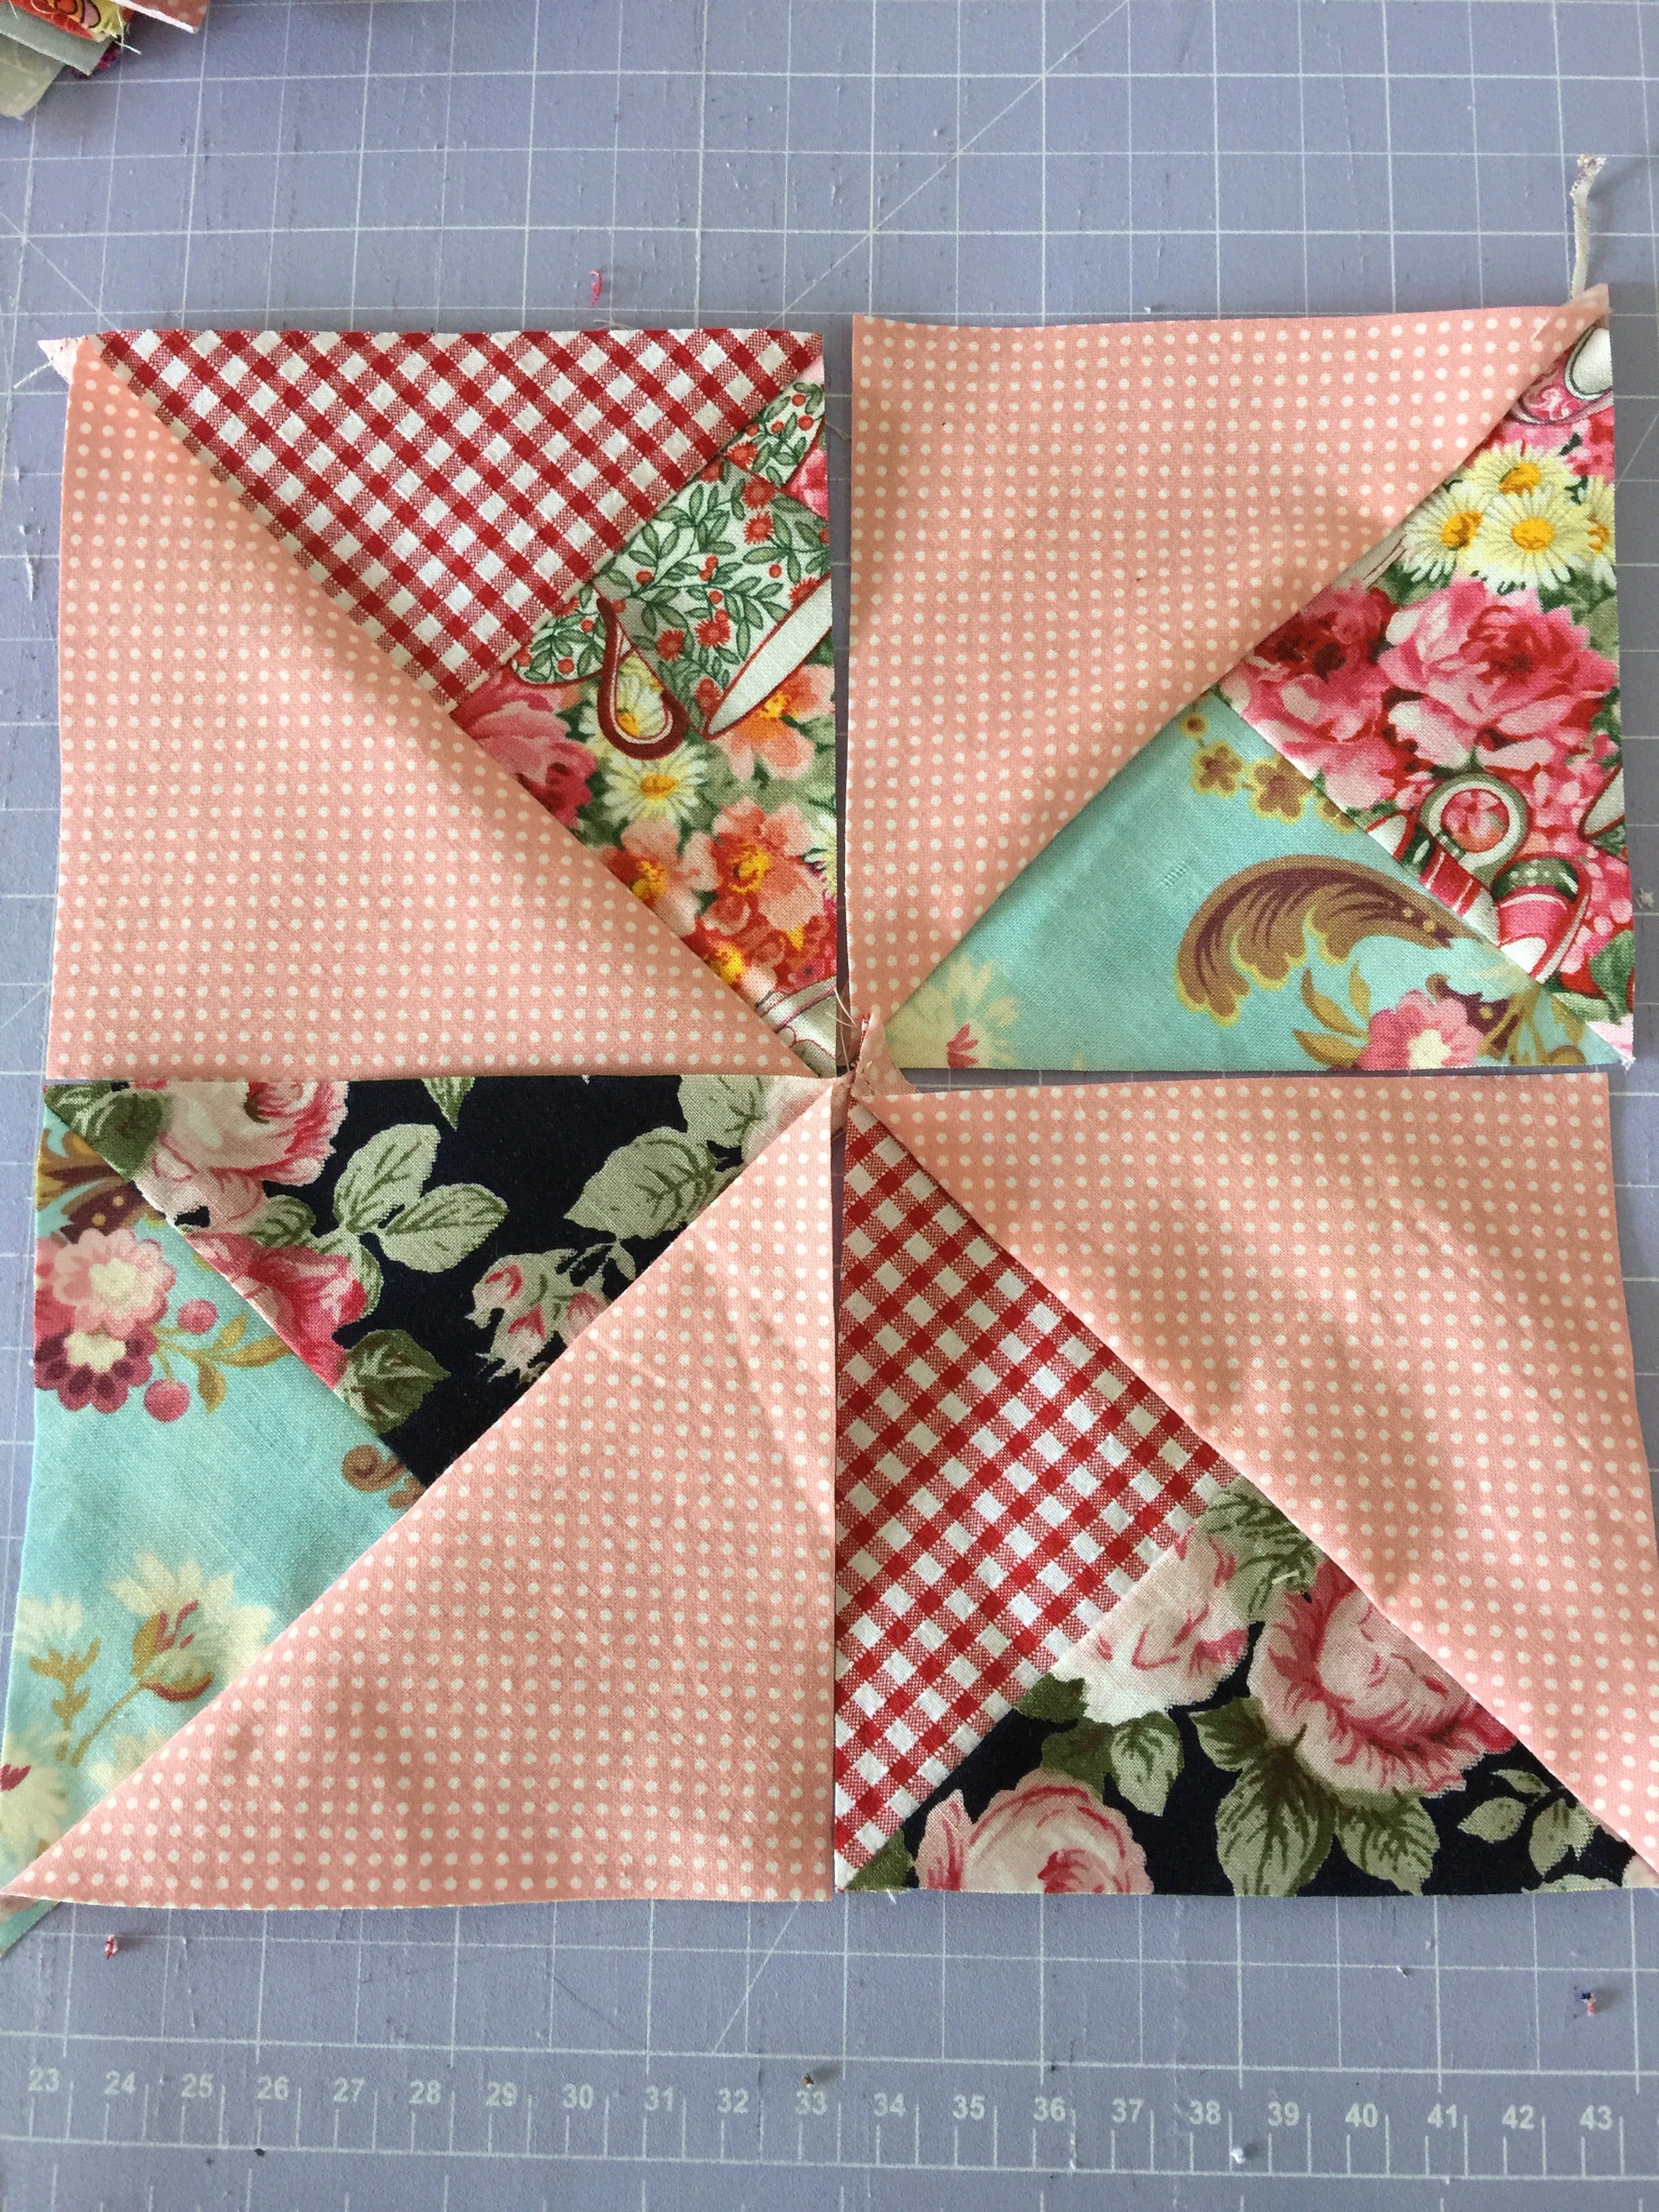
How to Make an Easy Pinwheel Quilt
- Choose your fabrics: Pick out the fabrics you would like to use for the quilt. Consider the color palette and the overall look of the quilt before selecting the fabrics. Make sure to pick out fabrics in the correct size for the project.
- Cut the fabric pieces: Cut out the fabric pieces into the desired shapes and sizes. To make a pinwheel quilt, you will need to cut out identical triangles in two different colors.
- Arrange the fabric pieces: Place the two triangles on top of each other and make sure that the colors meet at the points. Make sure that the pattern of the colors creates a pinwheel.
- Sew the fabric pieces together: Sew the two triangles together along the edges. Create a seam allowance of about ¼ inch. Make sure that the fabric pieces are securely stitched together.
- Press the seams: Once the fabric pieces are sewn together, press the seams flat with an iron. This will ensure that the quilt block is flat and will not have any bumps or wrinkles.
- Repeat the steps: Repeat these steps until you have as many pinwheel quilt blocks as you need for your project. You can make the quilt blocks in any size and arrange them in any pattern that you like.
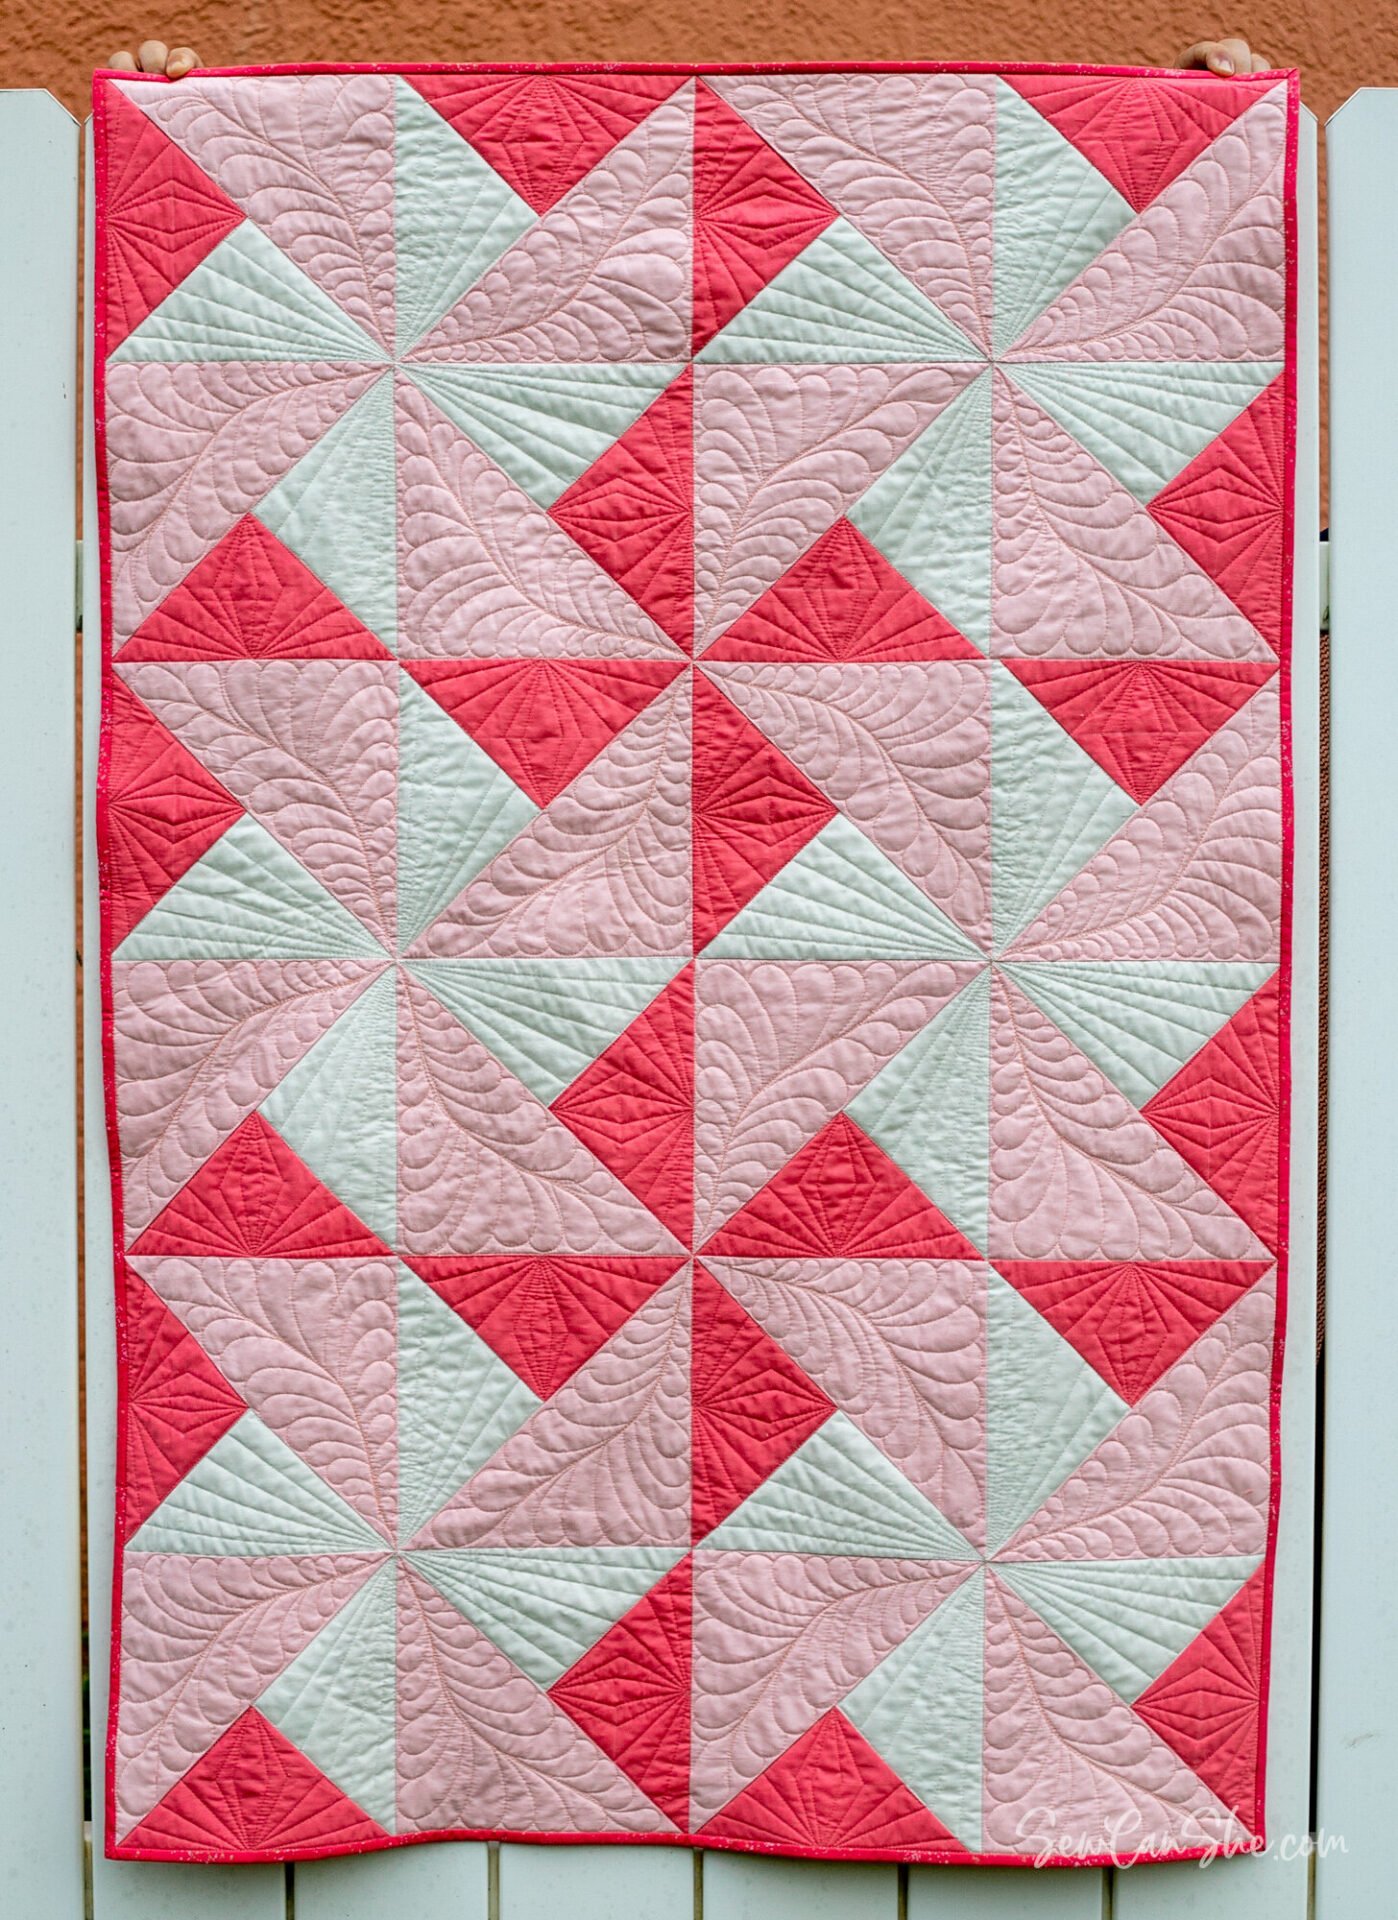
How to Make a Pinwheel Quilt
Step 1: Cut the fabric into 8-inch squares. You will need 18 squares for a 6-block quilt.
Step 2: Draw a diagonal line from corner to corner on your fabric squares.
Step 3: Place two fabric squares right sides together and sew 1/4-inch seam along the diagonal line.
Step 4: Cut the sewn fabric square in half along the drawn line.
Step 5: Open the two sewn halves and press them flat. You will see a pinwheel shape.
Step 6: Repeat steps 2-5 with the other fabric squares.
Step 7: Arrange the 6 pinwheel blocks in a 3-by-3 grid.
Step 8: Sew the blocks together in rows and press the seams open.
Step 9: Sew the three rows together and press the seams open.
Step 10: Add borders if desired.
Step 11: Layer the quilt top, batting, and backing. Quilt as desired.
Step 12: Bind the edges and enjoy your beautiful pinwheel quilt!
By following these steps, you can make an easy pinwheel quilt that will be a beautiful addition to your home.
How Do You Press Seams in a Pinwheel Quilt Block?
After you have sewn the seams of the pinwheel quilt block, it is important to press the blocks correctly to ensure that the design will look neat and tidy. To press the seams, first lay the block out on a flat surface and using a damp pressing cloth and a hot iron, press each seam flat.
Step 1: With the seam allowance facing up, press the seam flat.
Step 2: Flip the block over and press the seam again, this time using a pressing cloth. This will help protect the fabric from any heat damage.
Step 3: Flip the block back over and press the seam allowance in the opposite direction. This will help the pieces to lay flat and reduce bulk.
Step 4: Repeat the process for each seam in the block, ensuring that each is pressed flat and neat.
When pressing seams in a pinwheel quilt block, it is important to ensure that the seams are pressed open to reduce bulk and create a neat finish. This will help the blocks to lay flat and look neat when the quilt is finished.
Frequently Asked Questions
What Type of Fabric is Best to Use When Making Pinwheel Quilt Blocks?
When making pinwheel quilt blocks, it is best to use 100% cotton fabric. This fabric is strong and durable, making it ideal for quilting. Additionally, the fabric is easy to sew and presses well, making it easy to handle when cutting and piecing the blocks. To ensure the blocks look their best, make sure to choose fabric with a good quality print.
Is it necessary to use a rotary cutter when cutting fabric pieces for pinwheel quilt blocks?
No, it is not necessary. You can use scissors to cut the pieces, however, a rotary cutter is recommended as it will provide a smoother, more accurate cut. Additionally, a rotary cutter is much faster than using scissors.
What size should the finished pinwheel quilt blocks be?
The size of the finished pinwheel quilt blocks depends on how many blocks will be used in the quilt. Generally, they are cut to 6” or 12” squares. It is recommended to use the same size blocks throughout the quilt.
Are there any special tips to ensure the pinwheel quilt blocks are accurately pieced together?
Accurate measurements: When it comes to piecing together the pinwheel quilt blocks, accuracy is key. Measuring twice and cutting once is especially important with this pattern. It is best to measure the fabric strips and then double check the measurements before cutting.
Press the seams: Once the strips are cut, press the seams after each step of the piecing process. This will help to ensure the block remains square and flat and will minimize bulk in the seams.
Nesting the seams: Nesting the seams is a great way to ensure that the pieces of the quilt block are lined up properly. To do this, place the fabrics right sides together and match the seams. This will help keep the points of the pinwheel accurately aligned.
Use a scant ¼” seam allowance: Using a scant ¼” seam allowance will help to ensure that the pieces of the quilt block remain accurately aligned when piecing them together. A scant ¼” seam allowance will also help to minimize bulk in the quilt block seams.
Check the block size: Once the quilt block is pieced together, it is important to check that the block is the correct size. This will help to ensure that the quilt block will fit into the quilt top correctly.
What is the Best Way to Join the Pinwheel Quilt Blocks Together to Make a Quilt?
1. Preparing the Blocks: Make sure the blocks are cut accurately and pressed down flat with the seams open and unfolded.
2. Joining the Blocks: Sew the blocks together one by one, starting from one corner, then the next corner and so on. Make sure the seams are aligned properly so that they join together accurately.
3. Finishing the Seams: Once the blocks are sewn together, finish the seams with a zigzag or overcast stitch.
4. Joining the Rows: To join the rows, place two rows right sides together and pin the seams together. Sew the rows together, matching the seams and press the seams open.
5. Attaching the Quilt Top to the Backing: Place the quilt top onto a backing fabric and pin it down. Then, sew the quilt top to the backing using a straight stitch.
6. Basting the Quilt: After the quilt top and the backing are attached, baste the quilt together by hand or machine.
7. Quilting the Quilt: Quilt the quilt by hand or machine in the desired pattern.
8. Finishing the Quilt: After quilting, finish the quilt edges with a binding.
Conclusion
Making pinwheel quilt blocks is a simple and creative way to express yourself through quilting. With the step-by-step approach outlined in this article, you can make these beautiful blocks easily and quickly. After you become familiar with the process, you can use different fabrics and colors to create a striking pinwheel quilt block design.


