Making your own quilt pattern is a fun and creative way to add a one-of-a-kind design to your quilts. With this easy step-by-step guide, you can learn how to make your own quilt pattern and create a unique design that will be treasured for years to come. From gathering your materials to creating the pattern, this guide will walk you through the entire process so you can make your own quilt pattern with ease.
Choosing Fabric and Colors
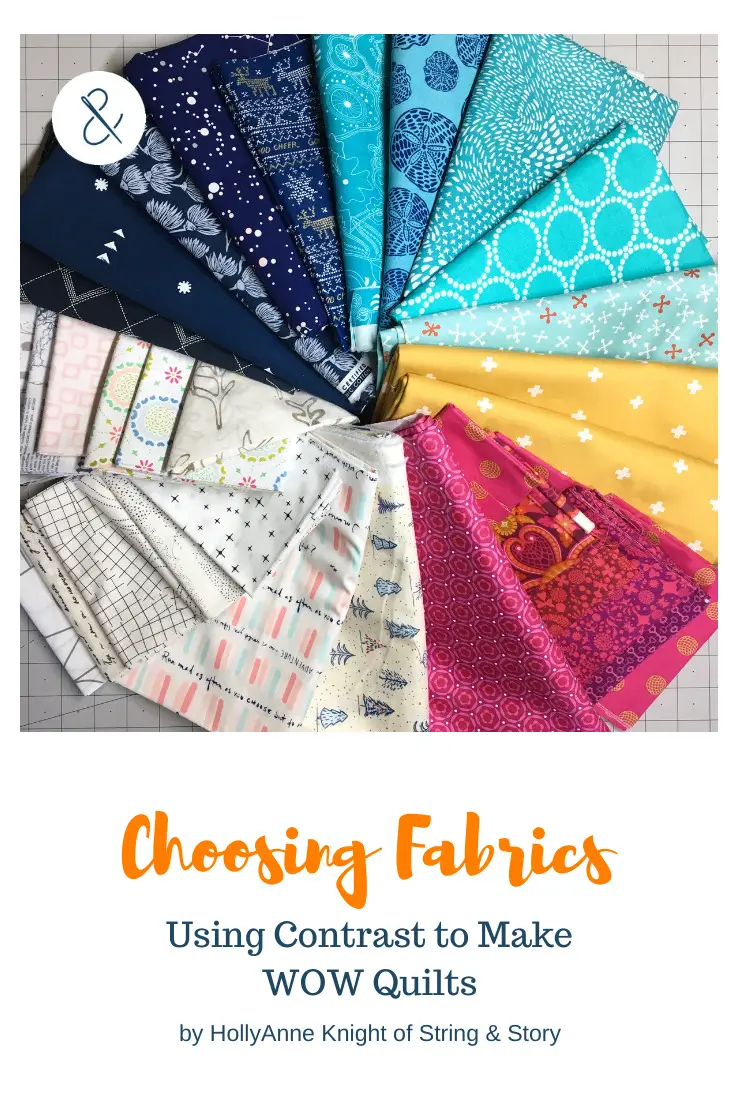
When deciding how to make design for quilt, fabric and colors play an important role. Take into account the age and gender of the recipient, as well as their favorite colors. Consider the quilt’s purpose and the room it will eventually be displayed in.
When selecting fabric, consider cotton or cotton blends. Other options are linen and wool. Depending on the project, you can use flannel for a warmer quilt. Choose patterns that coordinate with the project’s overall design. It is possible to mix and match several coordinating fabrics, or use one fabric for the entire quilt.
When it comes to color, select colors that match the décor of the room. You can use a variety of colors or keep it monochromatic. Try to use colors that will not clash, and that will bring out the design of the quilt. If you are unsure what colors will work together, consider testing them out on a swatch of fabric.
Be creative when selecting fabrics and colors. Get inspiration from other quilts, and think outside the box. If you are feeling overwhelmed, you can always purchase a pre-cut kit that includes coordinating fabrics and colors. With a little bit of creativity and planning, you can make a beautiful quilt that the recipient will cherish for years to come.
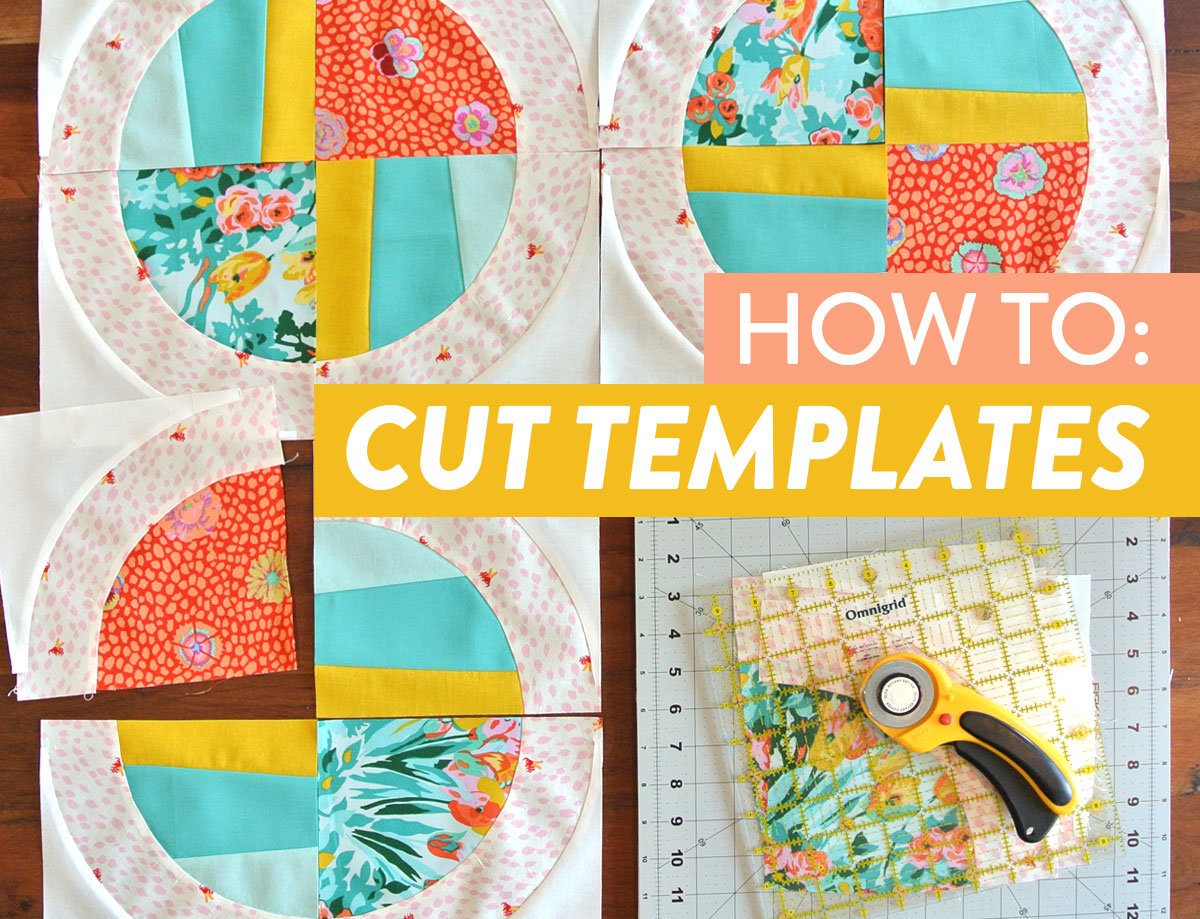
Selecting a Template
For beginners, selecting a template can be a great starting point when designing a quilt. Templates provide a blueprint for the quilt and often come with instructions on how to piece the quilt together. With a template, there is no need to draw out your design and it can save a lot of time. Many quilt shops and fabric stores offer templates, and quilt pattern books often have templates as well.
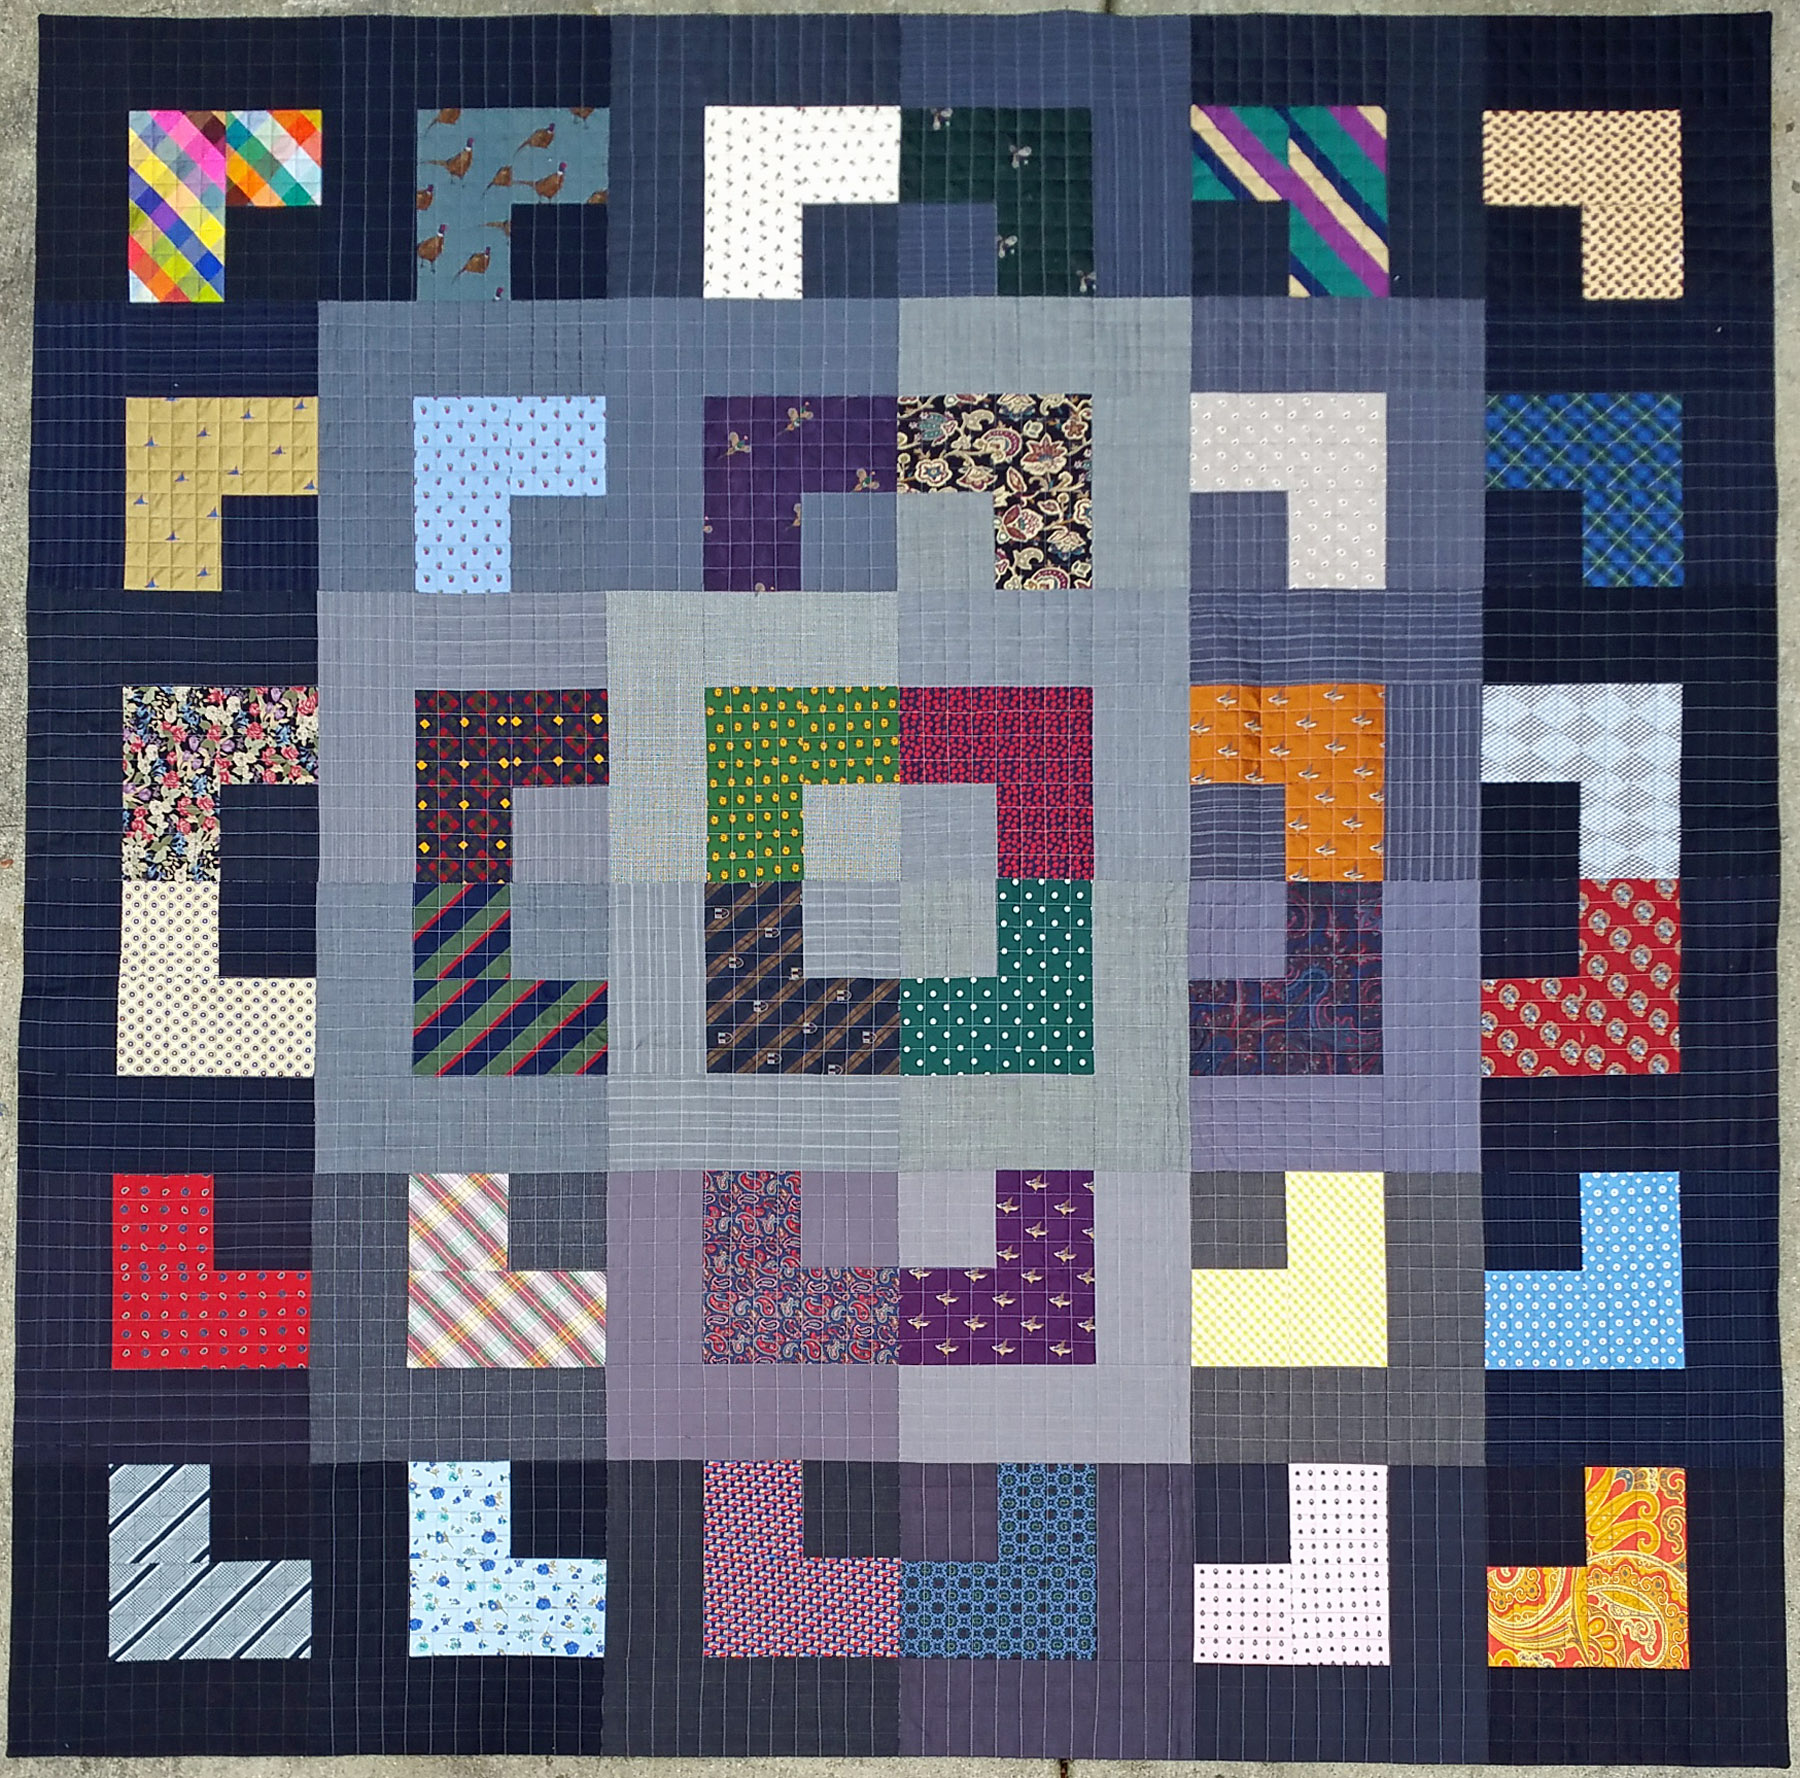
When choosing a template, it’s important to consider the size of the quilt and the complexity of the design. For beginners, simpler designs like a nine patch quilt or a log cabin quilt can be a great starting point. It is also important to select a template that fits the skill level. If the template is too complex, it can be discouraging for a beginner.
The fabric you select for the quilt is also very important. When picking fabrics, try to select fabrics with similar weight and texture. This will make it easier to piece the quilt together and create a more uniform look.
Designing a quilt can be a fun and rewarding experience, even for beginners. With a little research, the right template, and the perfect fabric, you can make your own beautiful quilt.
Preparing the Template
The first step in creating your own quilt pattern is preparing the template. You will need a template to create the pattern. Choose a piece of fabric that is large enough to fit your desired pattern. Draw the pattern onto the fabric using a ruler and fabric marker. Once your pattern is drawn, cut out the template pieces. If your pattern requires individual pieces, be sure to note which pieces are for which part of the pattern. It is also important to label the pieces with their orientation, so you can easily identify them and put them together correctly.
Transferring the Template to Fabric
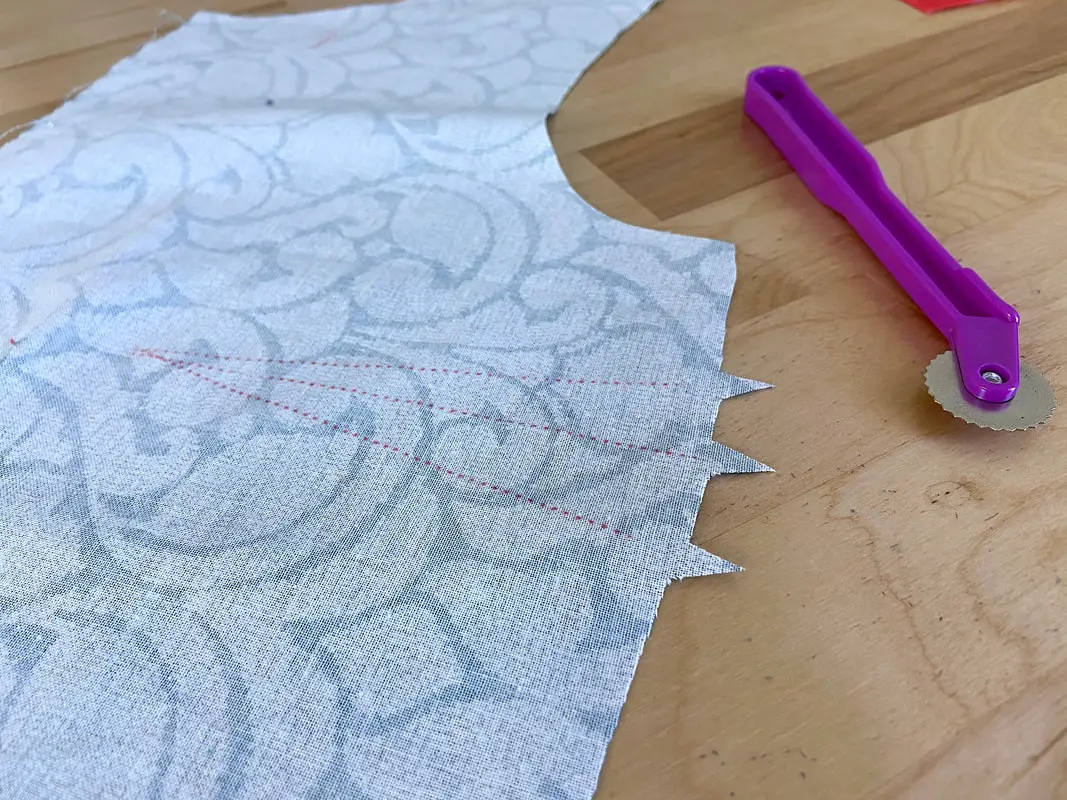
- Trace the template onto the wrong side of the fabric, if desired. Use a pencil, tailor’s chalk, or fabric marker to trace the template.
- Cut out the pieces along the lines you traced. After the pieces are cut out, you may press them with an iron, if desired.
- Lay out the pieces on a flat surface in the order you want them to be sewn together. Check that all pieces fit together in the correct way.
- Pin the pieces together along the edges that will be sewn together. This will keep the pieces from shifting while you sew them.
- Sew the pieces together, using a straight or zig-zag stitch. Sew slowly, making sure the pieces stay lined up and all the edges are sewn together securely.
- Press the pieces with an iron, if desired, to remove any wrinkles.
Cutting Out the Fabric Pieces
1. Decide on the size. Measure the size of the quilt and decide how many pieces of fabric to cut.
2. Prepare the fabric. Wash and iron the fabric to remove any wrinkles.
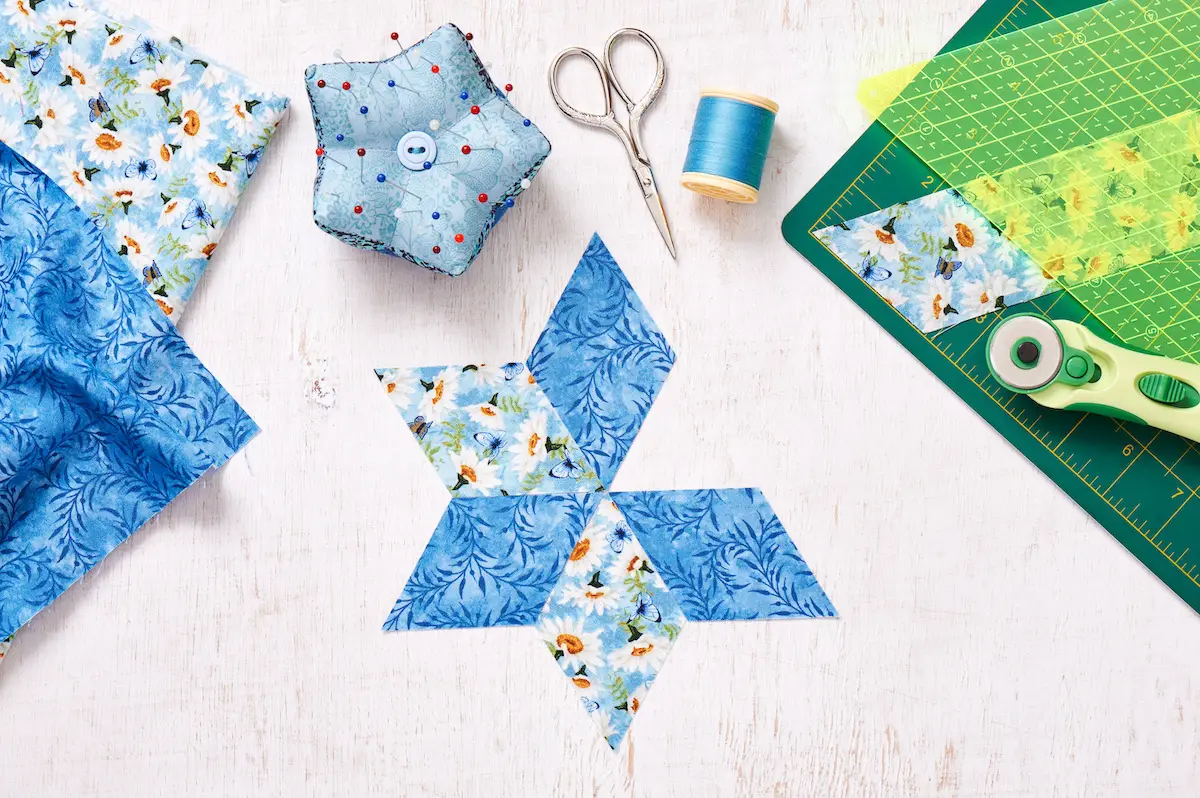
3. Cut the fabric. Cut the fabric pieces using a rotary cutter or scissors. Make sure to cut the pieces accurately.
4. Label the fabric. Label each fabric piece with a marker or piece of tape to avoid confusion.
5. Make a pattern. Make a pattern on the fabric using a quilting pen or chalk pencil.
6. Trim the edges. Trim any excess fabric from the edges.
7. Sew the pieces together. Sew the pieces together according to the quilt pattern.
8. Press the seams. Press the seams of the quilt to ensure that they are properly attached.
Assembling the Quilt
- Choose Your Pattern: Begin by selecting a quilt pattern, either one you’ve designed or one from a book or magazine.
- Cut and Sew: Cut the fabric pieces to the correct size and sew them together to create the quilt top.
- Layer and Pin: Place a piece of batting on a large flat surface. Cover with the quilt top and pin the layers together.
- Finish the Edges: Sew the edges of the quilt together using a decorative stitch.
- Quilting: Once the edges are finished, quilt the layers together in a pattern of your choice. This can be done by hand or using a sewing machine.
- Final Steps: Add a backing fabric and bind the edges of the quilt.
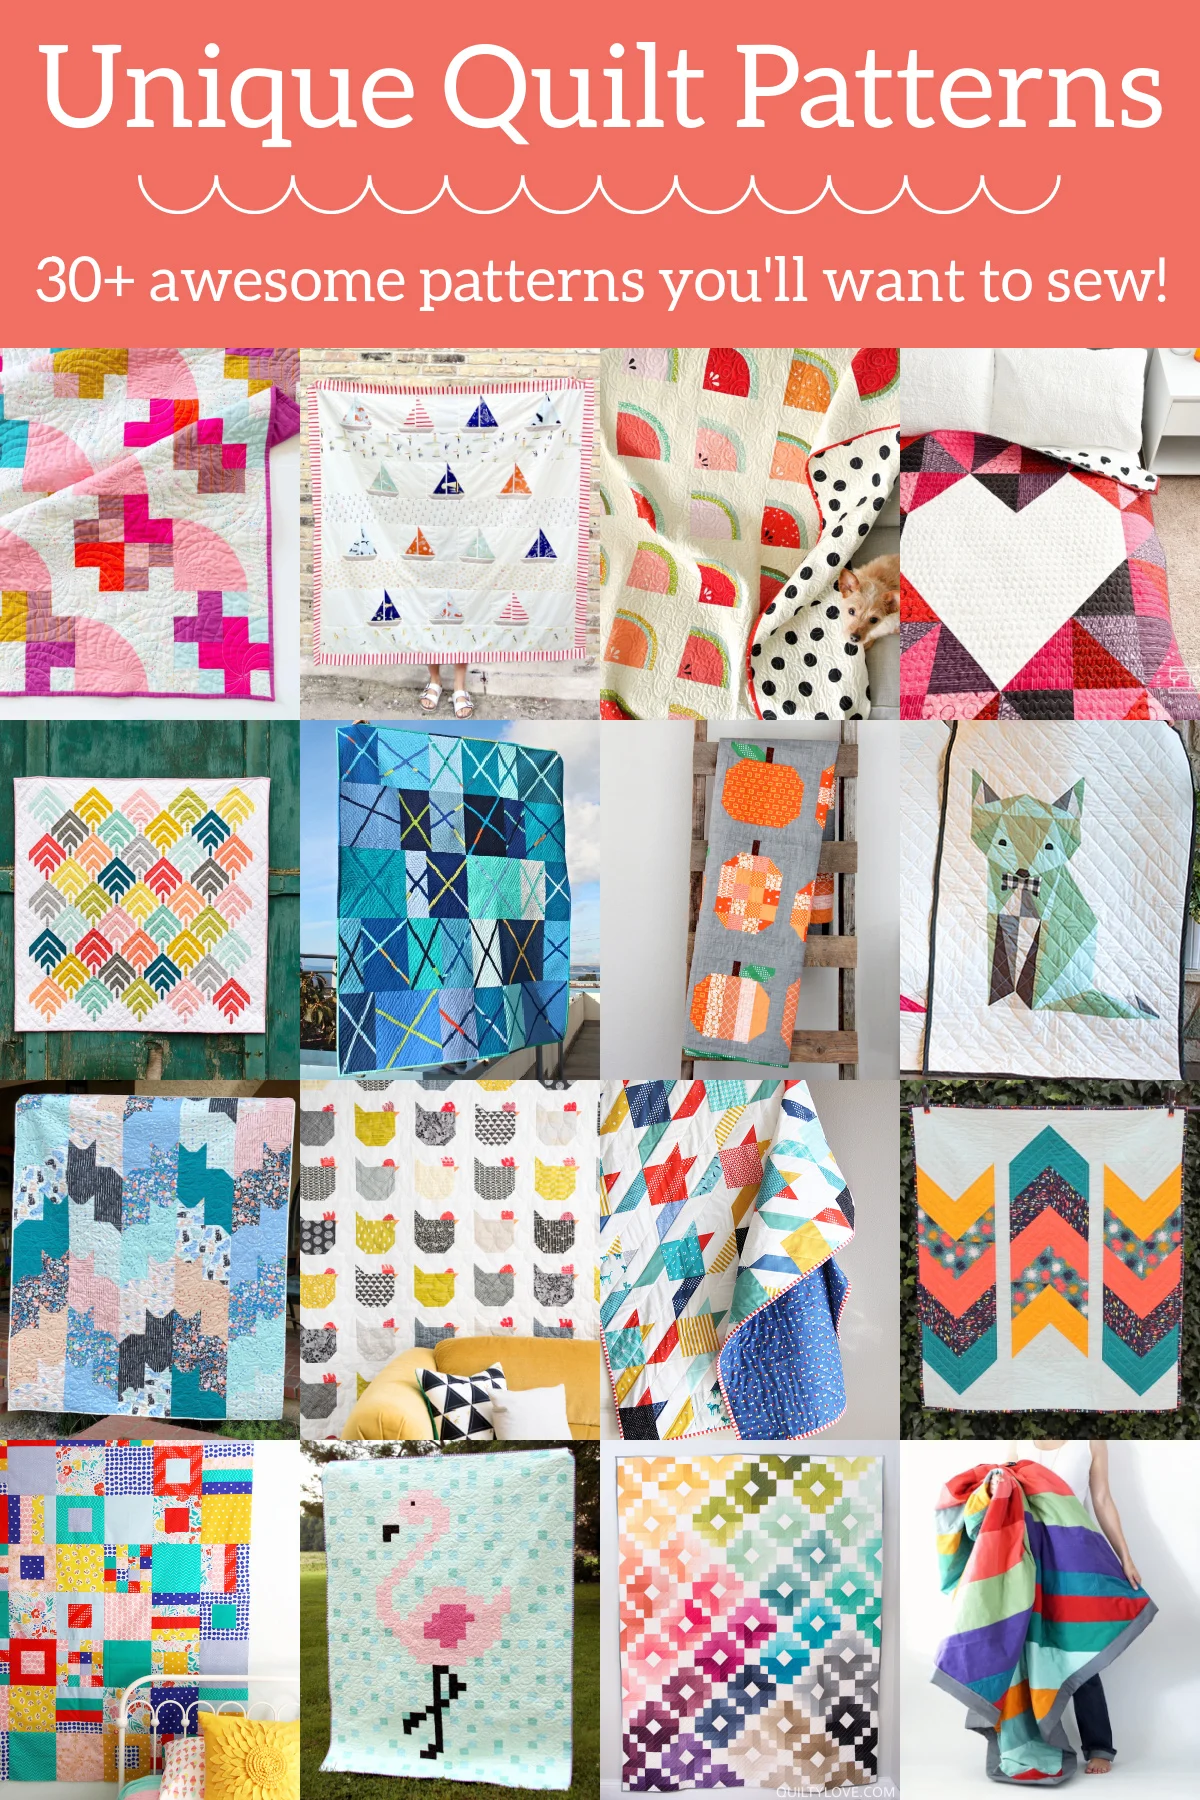
Creating a Unique Quilt Pattern
Creating a unique quilt pattern requires careful attention to detail and creative thinking. Start by sketching a basic sketch of the quilt pattern, including measurements and design elements. Once the basic sketch is complete, consider the fabrics to be used in the quilt and determine what color scheme and pattern will best compliment the fabrics. Consider the overall aesthetic of the quilt, such as whether the design is meant to be modern or traditional.
Once the fabric and design elements have been chosen, it is time to begin the actual construction of the quilt pattern. Begin by cutting the fabric into the various pieces that will make up the quilt. Then, use a sewing machine to stitch the pieces together. Be sure to follow the instructions included with the sewing machine to ensure a strong and even stitch.
Next, it is time to quilt the quilt. This is done by using a needle and thread to stitch the layers of fabric together. Use a quilting pattern to create the desired pattern or design. Consider using a contrasting thread color to add a unique touch to the quilt.
Finally, the edges of the quilt should be finished. This can be done by hand or by using a binding machine. The binding will help reinforce the edges of the quilt, as well as give it a finished look.
Once the quilt is complete, it is ready to be displayed and admired. With the right materials and a bit of creativity, anyone can create a unique quilt pattern that will stand the test of time.
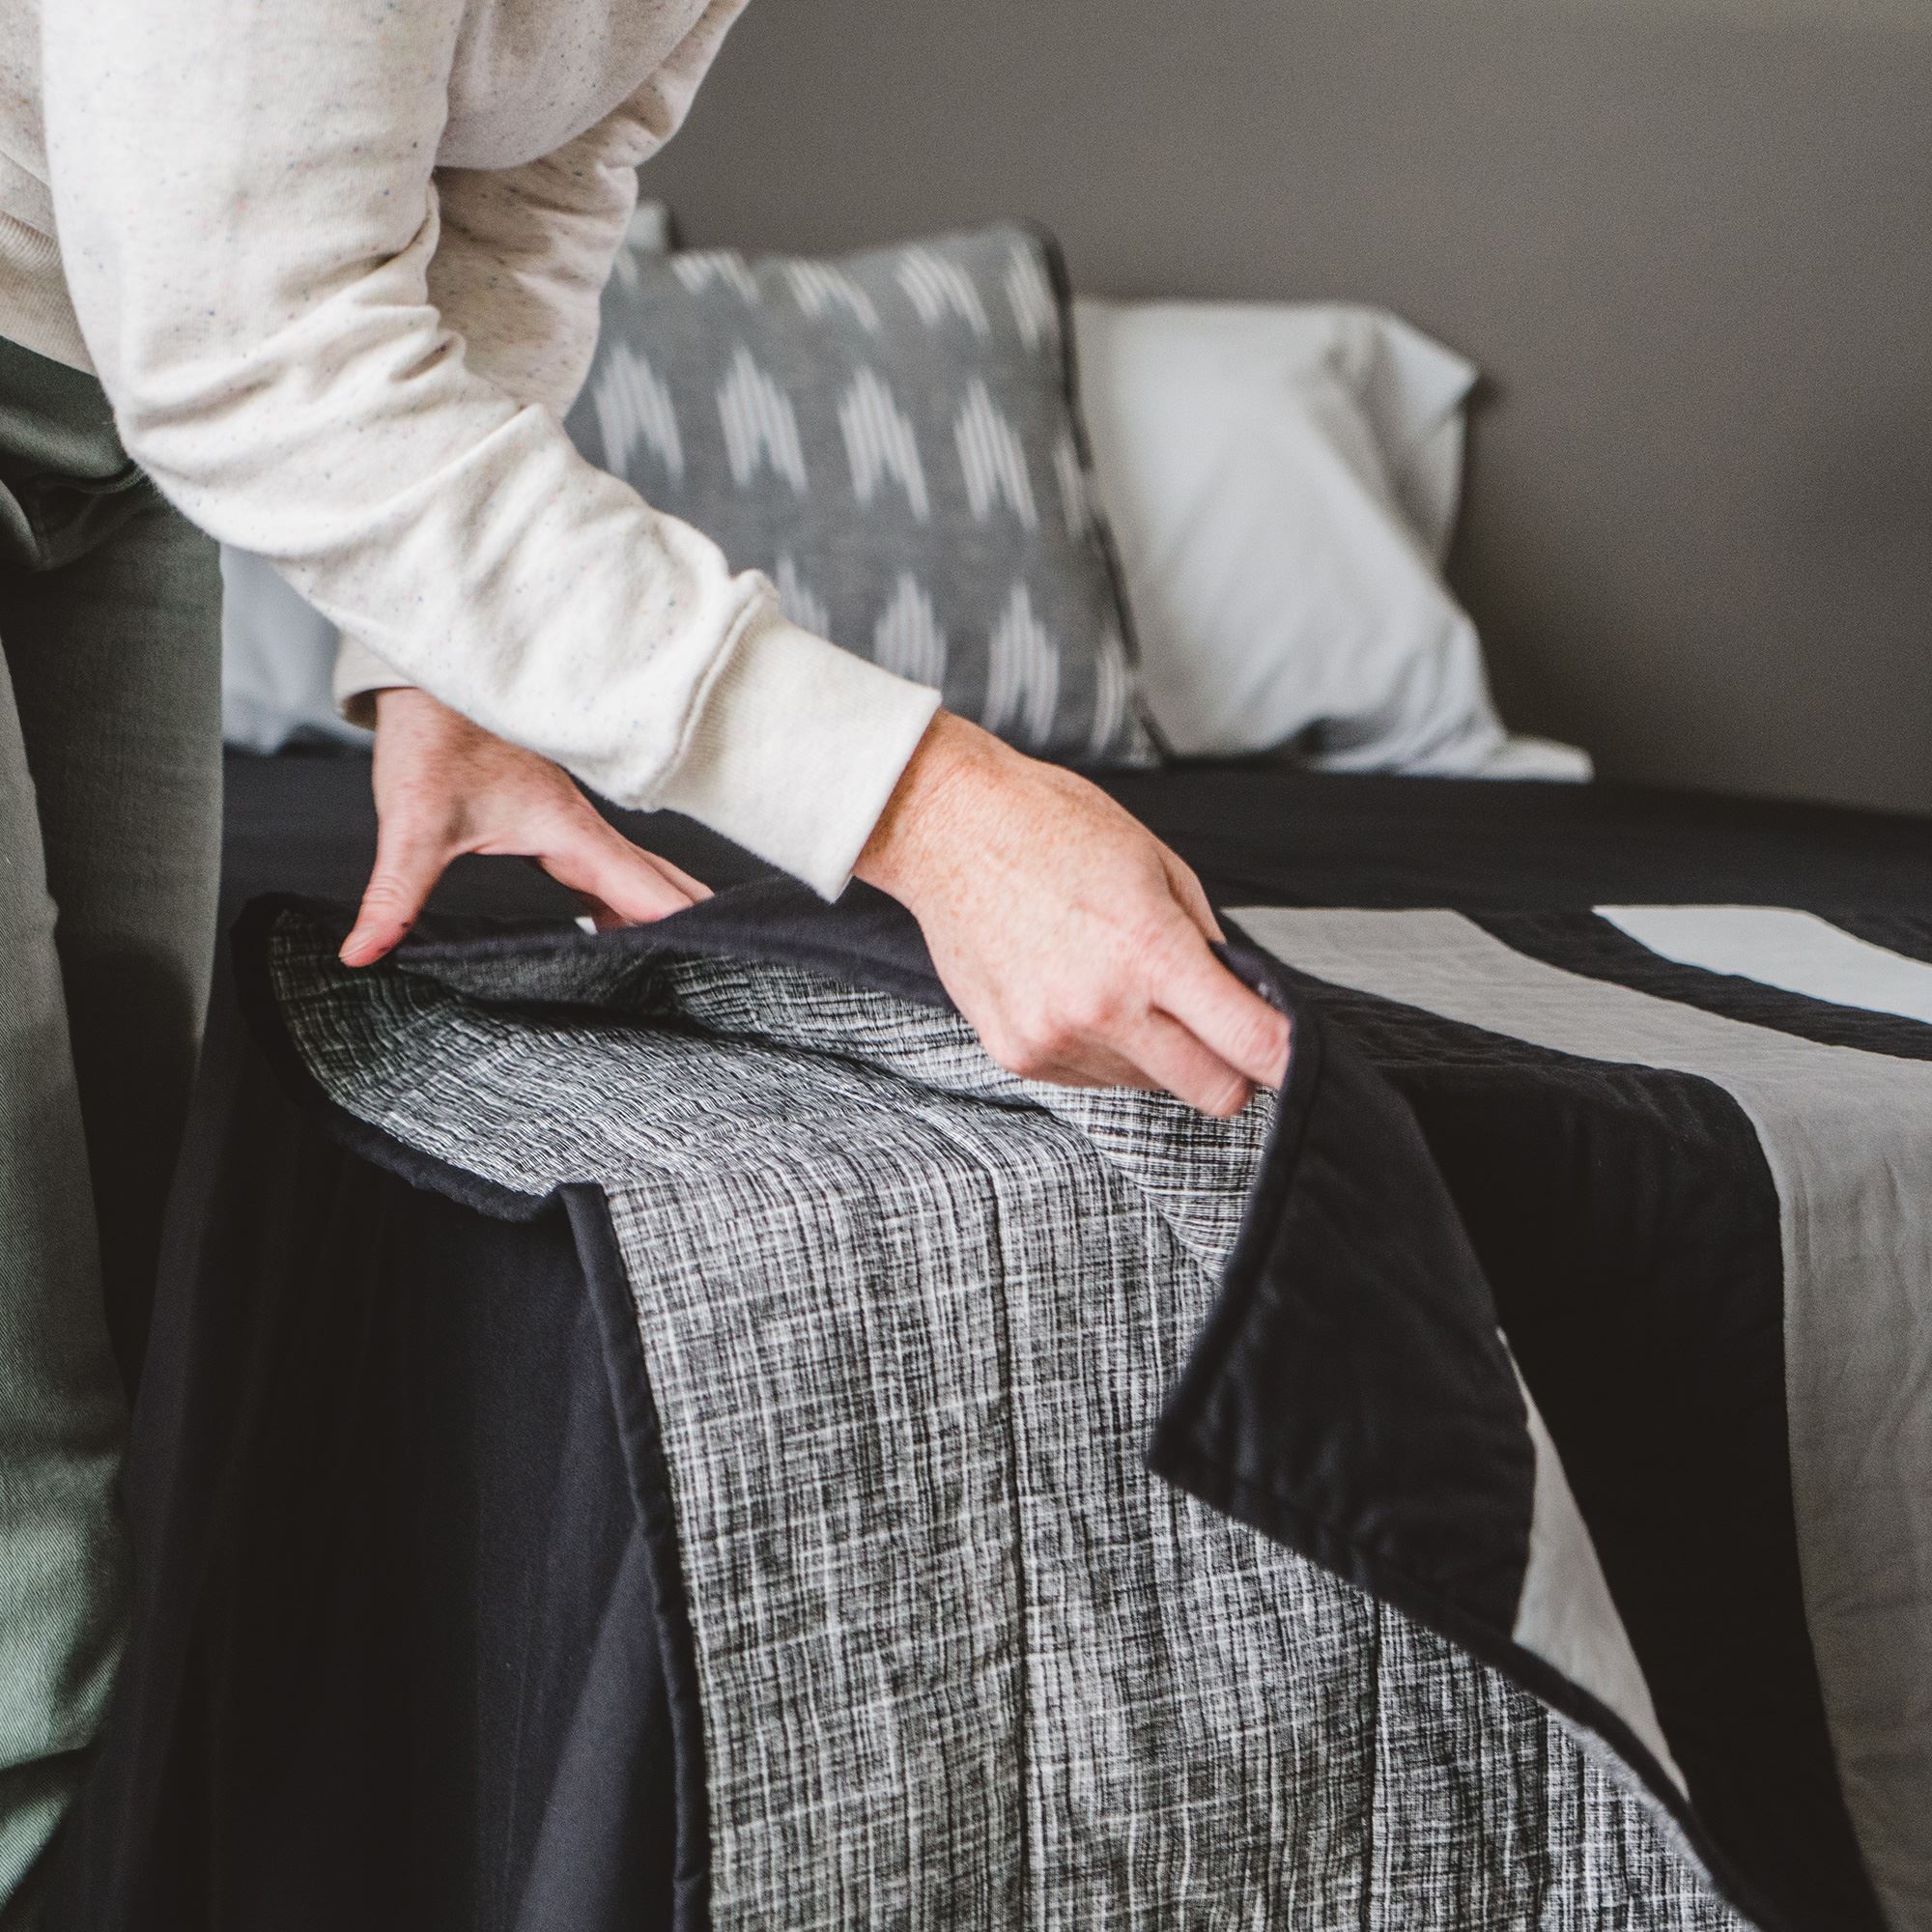
Finishing the Quilt
- Stitch the layers together: Stitch the three layers of the quilt together, starting from the center and working outward. Use a zigzag stitch for the best results.
- Square up the quilt: Trim the edges of the quilt to make them straight, ensuring that all sides are even.
- Add the binding: Cut strips of fabric for the binding and stitch them around the edges of the quilt.
- Add the backing: Cut a piece of fabric for the backing that is larger than the quilt top. Place the quilt top on the backing and stitch them together.
- Quilt the layers: Quilt the three layers together by stitching in the ditch. This will give the quilt a finished look.
- Add the label: Add the quilt label to the back of the quilt. This will include the quiltmaker’s name, the date, and any other information that is desired.
- Finish the edges: Finish the edges of the quilt by hand-stitching a binding around the edges.
Once you have completed all of these steps, your quilt is ready to enjoy! Making a quilt with your own design is a rewarding experience and a great way to learn the basics of quilt-making. With the help of this guide, you can easily create a quilt pattern for beginners that can be enjoyed for years to come.
Frequently Asked Questions
What Materials Do I Need to Make a Quilt Pattern?
Fabric: Choose a variety of fabrics that best represent the desired look of the quilt pattern.
Thread: Make sure to use thread that matches the fabric colors and is appropriate for the project.
Batting: Select batting appropriate for the size and type of quilt pattern.
Scissors: Choose a pair of scissors that are sharp and suitable for cutting fabric.
Rotary Cutter: A rotary cutter can help to quickly and accurately cut fabric.
Ruler: Use a ruler to measure and cut fabric to the correct size.
Pins: Pins are essential for holding fabric pieces together for sewing.
Sewing Machine: Use a sewing machine to assemble the quilt pattern.
How long does it take to create a quilt pattern?
Creating the pattern:
- Analyze the quilt design – 1-2 hours
- Create the pattern – 4-8 hours
- Test the pattern – 4-8 hours
Cutting the fabric:
- Choose the fabric – 1-2 hours
- Cut the fabric – 2-4 hours
Piecing the quilt:
- Assemble the blocks – 4-6 hours
- Sew the blocks together – 4-8 hours
- Press the seams – 1-2 hours
Quilting and Finishing:
- Choose the quilting design – 1-2 hours
- Quilt the top – 4-8 hours
- Attach the binding – 1-2 hours
- Finishing touches – 1-2 hours
All together, it can take you anywhere from 20-40 hours to create a quilt pattern. The time will depend on the complexity of the pattern and the amount of detail that goes into it.
Are there any Special Tools or Techniques I Need to Know to Make a Quilt Pattern?
Templates: Using templates is an important tool when quilting. Templates can help to ensure accuracy and consistency when constructing your quilt blocks. The templates can be made from cardboard, plastic, or even transparent material, depending on the pattern and complexity of the quilt.
Rotary Cutter: A rotary cutter is a must-have tool for quilting. It can help you quickly and accurately cut fabric into a variety of shapes, including curved shapes. It is important to use the correct size of rotary cutter for the size of the project you are working on.
Marking Tools: Marking tools are essential for quilting. These include marking pens, chalk pencils, and wash-away pens. It is important to use the correct type of marking tool for the type of fabric you are working with.
Quilting Ruler: A quilting ruler is an invaluable tool for measuring and marking fabric for cutting and piecing. The ruler should be the correct size for the project you are working on.
Presser Feet: Presser feet are an important tool for quilting. These feet can help you accurately sew even seams and can be used for a variety of quilting tasks. The presser feet should be the correct size for the project you are working on.
Iron and Ironing Board: An iron and ironing board are essential for quilting. Ironing fabric before and after quilting will help to ensure accuracy and consistency. It is important to use the correct temperature setting for the type of fabric you are working with.
Is it possible to make a quilt pattern from a picture or drawing?
Yes, it is. Here are the steps to follow:
- Gather the materials needed, such as a quilt pattern template, a pencil, paper, a ruler, and a fabric swatch.
- Draw a sketch of the quilt pattern onto the paper, using the swatch as a guide.
- Use the ruler to draw the lines that will form the quilt pattern.
- Transfer the quilt pattern onto the template, making sure all the lines are straight and even.
- Cut out the pieces of the quilt pattern and then sew them together.
- Press the seams of the quilt pattern, and then attach the quilt pattern to the quilt.
Once the quilt pattern is complete, it can be used to make a quilt, either for yourself or as a gift for someone else.
What can I do to make my quilt pattern unique?
Incorporate Repurposed Materials: Consider using materials like vintage handkerchiefs, old fabric scraps or clothing that have special meaning to the quilt’s recipient.
Use Unexpected Colors: Instead of traditional colors, try experimenting with bold, lively colors to make the quilt stand out.
Add Variety in Textures: Incorporate a variety of textures, such as wool, velvet, corduroy, or denim, to make the quilt more interesting.
Mix and Match Patterns: Combine different patterns, such as stripes, polka dots, and florals, to create a unique and eye-catching quilt.
Conclusion
Creating a quilt pattern of your own design is not as difficult as it may seem. With a few simple supplies and the right instructions, you can easily make a quilt pattern that you can be proud of. Using the step-by-step guide above, you can easily create a unique and beautiful quilt pattern that you can use to make a quilt that you love.


