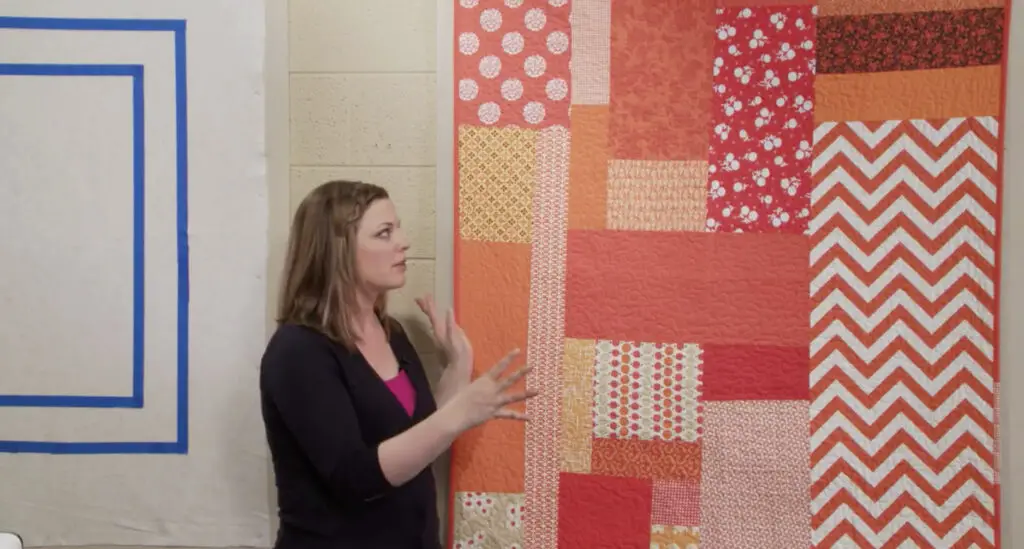
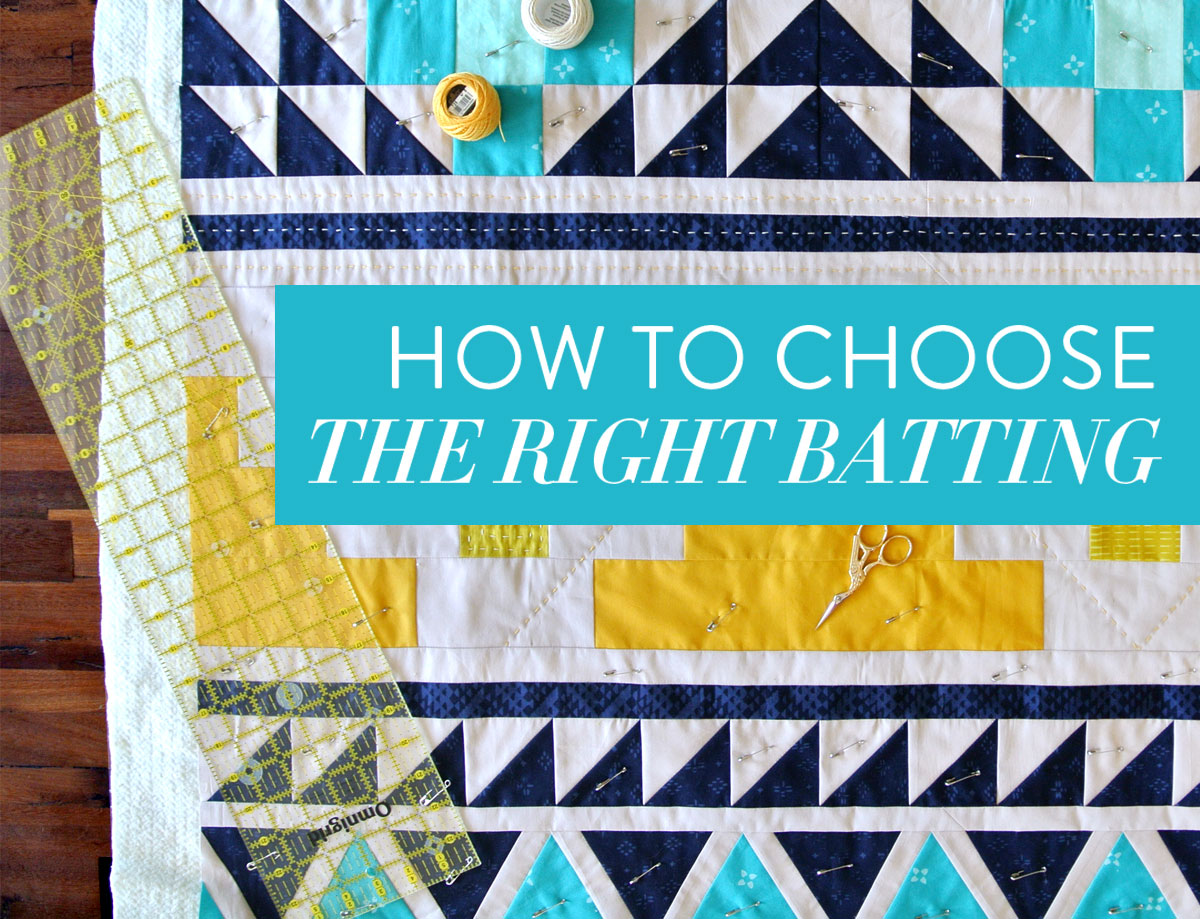
Are you ready to take on the challenge of piecing a quilt backing? It can be a daunting task, but with the right steps, you can achieve perfect results every time. In this article, we’ll go over the basics of how to piece a quilt backing, from selecting the fabric to putting the final stitches in place. We’ll also provide tips for achieving the best results. By the end of the article, you’ll be on your way to perfect quilt backings every time.
Types of Quilt Backs
California King
A California king quilt backing is typically made up of 45″ wide fabric panels, which are sewn together to form a backing large enough to cover a California King size quilt. To piece together a California King quilt backing, start by cutting the fabric panels to the desired length and then join them together with a ½” seam allowance. To make sure the backing stays together, use a serger or zigzag stitch to secure the seam.
Queen
For a Queen size quilt, the backing should measure approximately 96″ x 106″. To create the backing, cut two pieces of fabric to the desired width and length, and then join them with a ½” seam allowance. To finish off the backing, use a serger or zigzag stitch to secure the seam and ensure that the backing stays in place.
60 x 60
For a 60″ x 60″ quilt, the backing should measure approximately 90″ x 90″. To create the backing, cut two pieces of fabric to the desired width and length, and then join them with a ½” seam allowance. To finish off the backing, use a serger or zigzag stitch to secure the seam and ensure that the backing stays in place.
Creating a quilt backing is an important part of the quilting process and can be done with one piece of fabric or multiple pieces of fabric pieced together. Knowing how to back a quilt with 45″ material will make it easier to create a quilt backing that fits any size quilt.
How to Piece a Quilt Backing
Step 1: Determine How Much Yardage You Need
To determine how much yardage you need for a California King quilt backing, you will need to measure the quilt top. Measure the length and the width of the quilt top and multiply the two measurements together. This will give you the total square inches of the quilt top, which will determine the yardage needed for the quilt backing.
Step 2: Cut the Fabric
Once you have determined the amount of fabric you need for the quilt backing, you can prepare it for piecing. Cut the fabric into strips that equal the length of the quilt top. The width of the strips will depend on the type of fabric you are using and the size of the quilt. Generally, you will want to cut the strips to a width of at least 4 inches.
Step 3: Sew the Seams Together
Once you have cut the strips, you can begin piecing them together. Start by laying out the strips in the order you want them to appear in the quilt backing. You can use a ¼ inch seam allowance and begin sewing the strips together. Make sure each seam is pressed open as you work. Continue piecing the strips together until the quilt backing is complete.
Once the quilt backing is complete, you are ready to assemble the quilt top and backing.
How to Back a Quilt with 45” Material

Step 1: Determine How Much Yardage You Need
To determine how much yardage you will need for backing a quilt, measure the length and width of the quilt. Multiply these two measurements together to calculate the total square inches. Divide this total by the width of the fabric (45”) to determine how many strips you will need. For example, a quilt measuring 50” x 70” requires 3.78 yards of 45” fabric.
Step 2: Cut the Fabric
Once you have determined how much fabric you need, cut the fabric into strips. Cut the strips the same width as the quilt top, or slightly wider. If you are using a directional fabric, be sure to cut the strips in the correct direction.
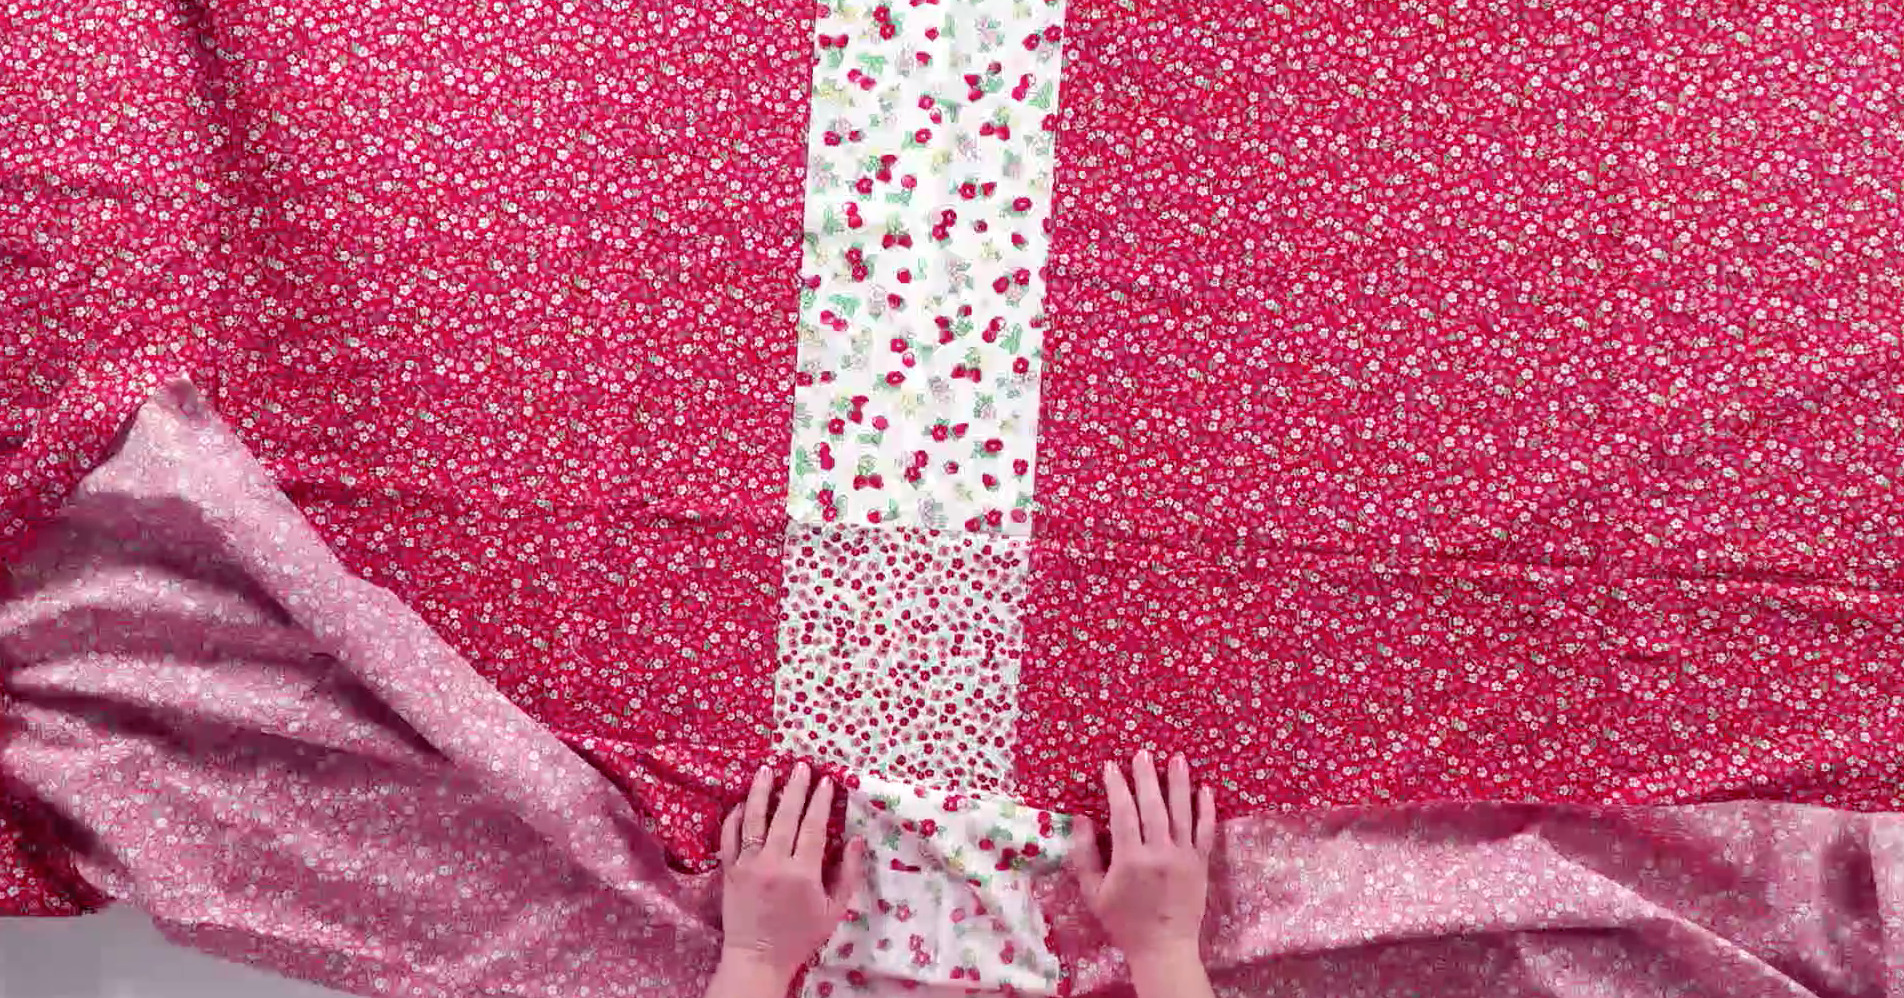
Step 3: Sew the Seams Together
To piece a quilt backing, begin by placing two strips right sides together, and sew along the long edge using a ¼” seam allowance. Press the seam open. Continue adding strips until the backing is the desired length. Join the last two strips in the same manner, and press the seam open. To create a larger quilt backing, simply sew two or more lengths of strips together. For example, if you have a quilt that is 50” x 70” and you only have one yard of fabric, you could create a backing that is 50” x 90” by sewing two lengths of 45” strips together.
Using this method, you can easily and quickly piece a quilt backing with 45” fabric. With just a few yards of fabric, you can create a beautiful quilt that is sure to be cherished for years to come.
How Big of a Quilt Can You Make with 1 Yard of Backing Fabric?
You can create a small lap quilt or wall hanging with one yard of backing fabric. The size of the quilt will depend on the size of the batting you use. Generally, one yard of batting will cover a quilt with dimensions of 36” x 48”. To figure out the amount of batting you need for a quilt, measure the quilt’s width and height, add 7-10 inches to each dimension, and multiply the two measurements together. This will give you the total square inches you need to cover. Divide this number by the number of square inches in one yard of batting to determine how much batting you need for your quilt.
How to Figure Out Batting Yardage for Quilt?
Step 1: Measure the size of the quilt top. Determine the width and the length of the quilt.
Step 2: Add 4” to the quilt width and length. This will give the finished size of the quilt.
Step 3: Calculate the batting yardage needed. For a queen size quilt, you will need approximately 8 yards of batting.
Step 4: Determine the type of batting to use. Cotton batting is a popular and traditional choice, but there are many other options available.
Step 5: Purchase the batting. If the batting is not in pre-cut packages, buy the appropriate amount of batting and cut it to the desired size.
Step 6: Lay the batting on the quilt backing. Trim the batting to fit, making sure to leave a 1/2-inch seam allowance.
Step 7: Baste the batting and the quilt backing together. Use quilting pins or basting spray to secure the batting.
Step 8: Quilt the layers together. Use a walking foot or a free motion quilting foot to stitch the layers together.
Now that you know how much batting you need for a queen size quilt, you are ready to piece the quilt backing.
How Much Backing Material Is Needed for a Queen Quilt?
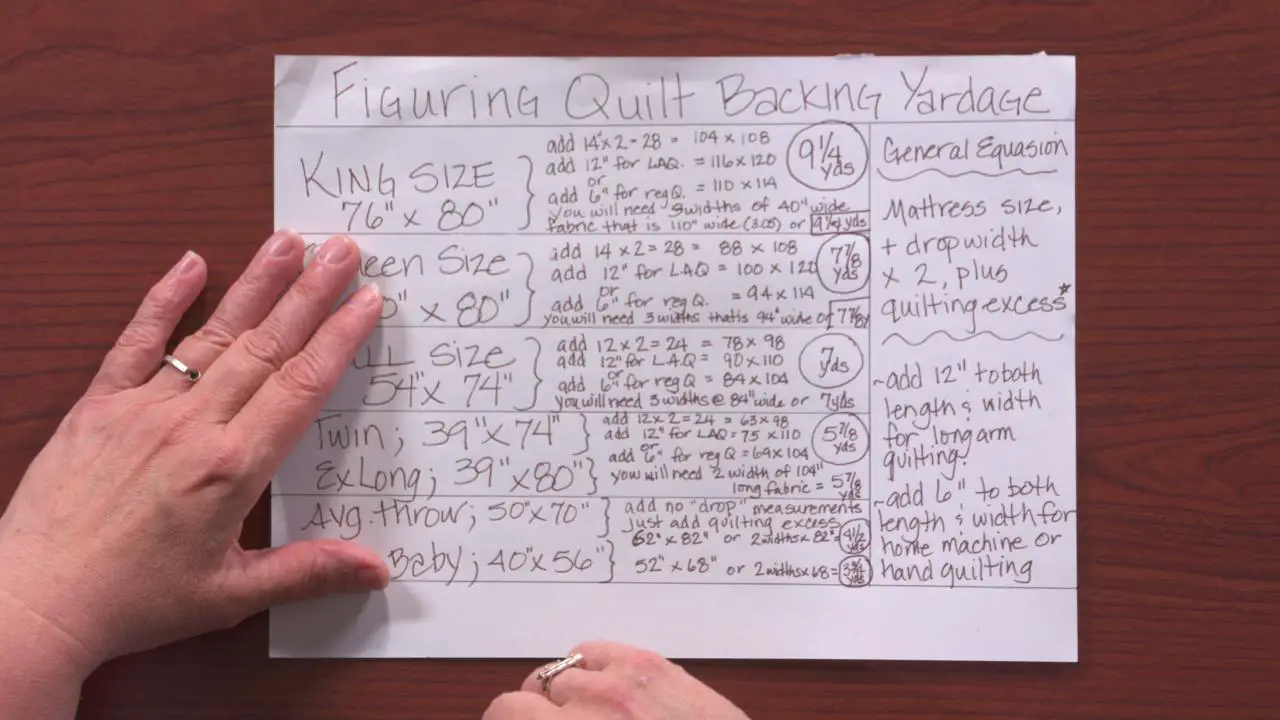
A queen-size quilt requires a larger backing than a twin-size quilt. To make a 60”x60” quilt, you will need at least six yards of backing fabric. However, it’s best to buy a bit more to account for any shrinkage or misalignments in the fabric. If you buy extra fabric, you can use it to make a matching pillowcase or a complementary wall hanging.
Table – How Much Backing Material Is Needed for a Queen Quilt?
| Quilt Size | Backing Required |
|---|---|
| Twin | 4 yards |
| Full | 5 yards |
| Queen | 6 yards |
| King | 7 yards |
When making a 60”x60” quilt, it’s important to buy enough backing fabric so that the quilt can be finished properly. If you don’t have enough fabric, your quilt won’t look as good as it could. To account for any shrinkage or misalignments in the fabric, it’s always best to buy a bit more than the minimum required.
How Much Backing Material Is Needed for a 60 x 60 Quilt?
For a quilt that measures 60 x 60 inches, the backing material should be at least 64 x 64 inches. This will allow for a 4-inch overhang on each side of the quilt, which should be enough to accommodate any quilting stitching.
To sew 44-inch material together:
Take two pieces of fabric, one measuring 44 inches and the other measuring 60 inches. Place the 44-inch piece on top of the 60-inch piece, right sides together. Secure the pieces together with pins, and then sew along the long edge, using a 1/2-inch seam allowance. Press the seam open and then trim the 60-inch piece to 44 inches. Repeat these steps for the second 44-inch piece.
For the quilt backing:
Lay the two 44-inch pieces together, right sides together, and pin. Sew the two pieces together, using a 1/2-inch seam allowance. Press the seam open and trim the fabric so that the backing measures 64 x 64 inches.
| Quilt size | Backing material size |
|---|---|
| 60 x 60 inches | 64 x 64 inches |
How to Sew 44” Material Together for Quilt Back?
Step 1: Measure the quilt top and cut the backing to size. You will need to cut two pieces of fabric 44 inches wide and the length of the quilt top.
Step 2: Place the two pieces of fabric, right sides together and pin in place.
Step 3: Sew the two pieces of fabric together. You will be sewing a seam ¼ inch away from the edge.
Step 4: Pin the seam allowance down and press flat.
Step 5: Trim the excess fabric from the sides and bottom of the quilt back.
Step 6: Round the corners of the quilt back.
Step 7: Attach the quilt backing to the quilt top. You can either quilt it by hand or use a machine.
Step 8: Finish the edges of the quilt. You can either bind it or use a blanket stitch.
Frequently Asked Questions
What type of fabric is best for piecing quilt backing?
Cotton is the ideal fabric for quilt backing and is recommended for its smooth finish, durability and breathability. Other fabrics such as polyester and flannel can also be used, although these fabrics tend to be less durable and may require more frequent washing. For best results, use fabric that is at least 1 inch wider than the quilt top and is free of any blemishes or flaws.
What Tools Do I Need to Piece a Quilt Backing?
Piecing a quilt backing requires basic sewing tools and supplies, including a sewing machine, thread, fabric scissors, pins, a rotary cutter and a cutting mat. An iron and pressing surface are also necessary. If using a pattern, a ruler and a marking pen or pencil may also come in handy.
How do I maintain a consistent seam allowance when piecing a quilt backing?
- Use a ¼-inch foot: Using a ¼-inch foot on your sewing machine is the best way to ensure a consistent seam allowance when piecing a quilt backing. The foot has a guide that rests directly on the edge of the fabric as you sew, ensuring that all of your pieces are sewn with a ¼-inch seam allowance.
- Mark the seam allowance: If you don’t have a ¼-inch foot, you can mark the seam allowance on your fabric using a quilting ruler and a fabric marker. This will help you to keep your seam allowance consistent when piecing your quilt backing.
- Check the seam allowance: Once you’ve finished sewing the pieces of your quilt backing together, double-check that your seam allowances are consistent. If they’re not, you can adjust them by trimming off excess fabric or adding extra fabric where needed.
- Use a seam ripper: If you find that your seams aren’t consistent, it’s best to use a seam ripper to remove the stitches and start over. This will help you to ensure that all of your seams are the same width and your quilt backing will lay flat.
What is the Best Way to Press the Seams when Piecing a Quilt Backing?
Press the Seams Open: This is the best practice when piecing a quilt backing. Open seams reduce bulk, help with accurate alignment of the pieces, and keep the back flat.
Use a Pressing Cloth: A pressing cloth is a must when pressing seams. It helps prevent shiny spots on the fabric and prevents the seams from becoming distorted.
Iron on the Wrong Side: Iron on the wrong side of the quilt backing to prevent any shine on the right side.
Set the Iron at a Low Temperature: Setting the iron at a low temperature helps to prevent any damage to the fabric.
Press Every Seam After Joining: Pressing each seam after joining will help keep the pieces together and help to avoid any gaps or misalignments.
Use a Seam Roller: A seam roller is a great tool to use when piecing a quilt backing. It helps to press the seams and make them lay flat.
Use a Steam Iron: Steam can be a great tool to help press the seams flat. It can also help to remove wrinkles and ease the fabric into place.
How do I measure accurately when piecing a quilt backing?
Accurate measurement is essential for piecing a quilt backing. Measure and mark each piece of fabric before cutting to ensure all pieces of the quilt backing are the same size. Use a measuring tape, ruler, or yardstick to measure the fabric and mark it with a fabric marking pen or tailor’s chalk. Cut each piece carefully with a rotary cutter and cutting mat to ensure accuracy. Make sure to press each piece with an iron afterward to help ensure that the pieces fit together properly.
Conclusion
Quilting a backing is an essential step for making a beautiful finished quilt. With the right tools, the right fabric, and a few easy steps, anyone can piece a perfect quilt backing quickly and easily. The result is a professional-looking quilt with a beautiful backing that will last for years.


