Are you looking for a simple and easy way to quilt a blanket with a sewing machine? If so, you’ve come to the right place. This step-by-step guide will provide you with the tools and knowledge you need to achieve perfect results when quilting a blanket with a sewing machine. With this guide, you’ll be able to quilt your own unique blanket in no time and have a beautiful finished product to show off in your home. So, if you’re ready to learn how to quilt a blanket with a sewing machine, let’s get started!
Supplies Needed
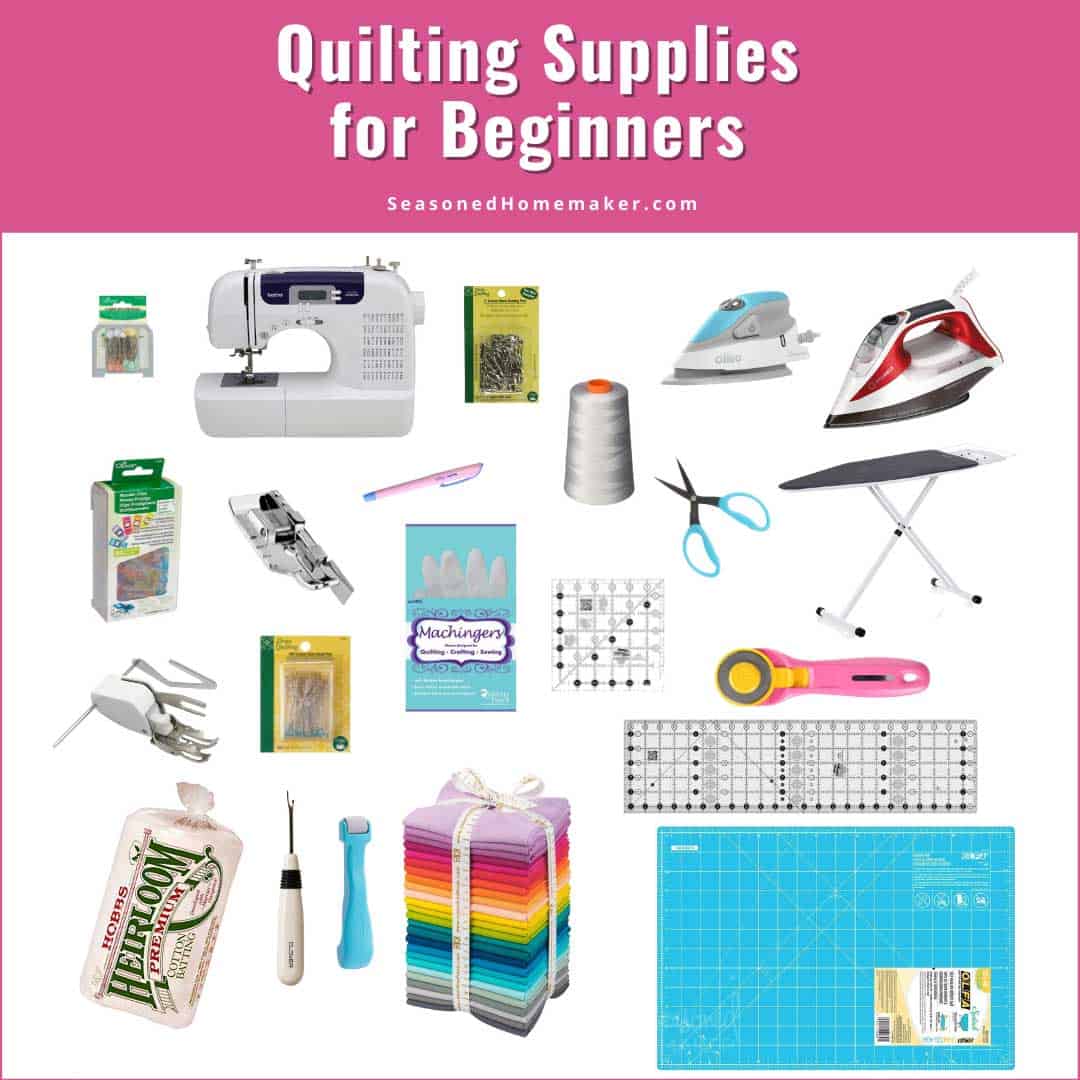
- Sewing machine – A standard sewing machine with zigzag capabilities is needed for quilting.
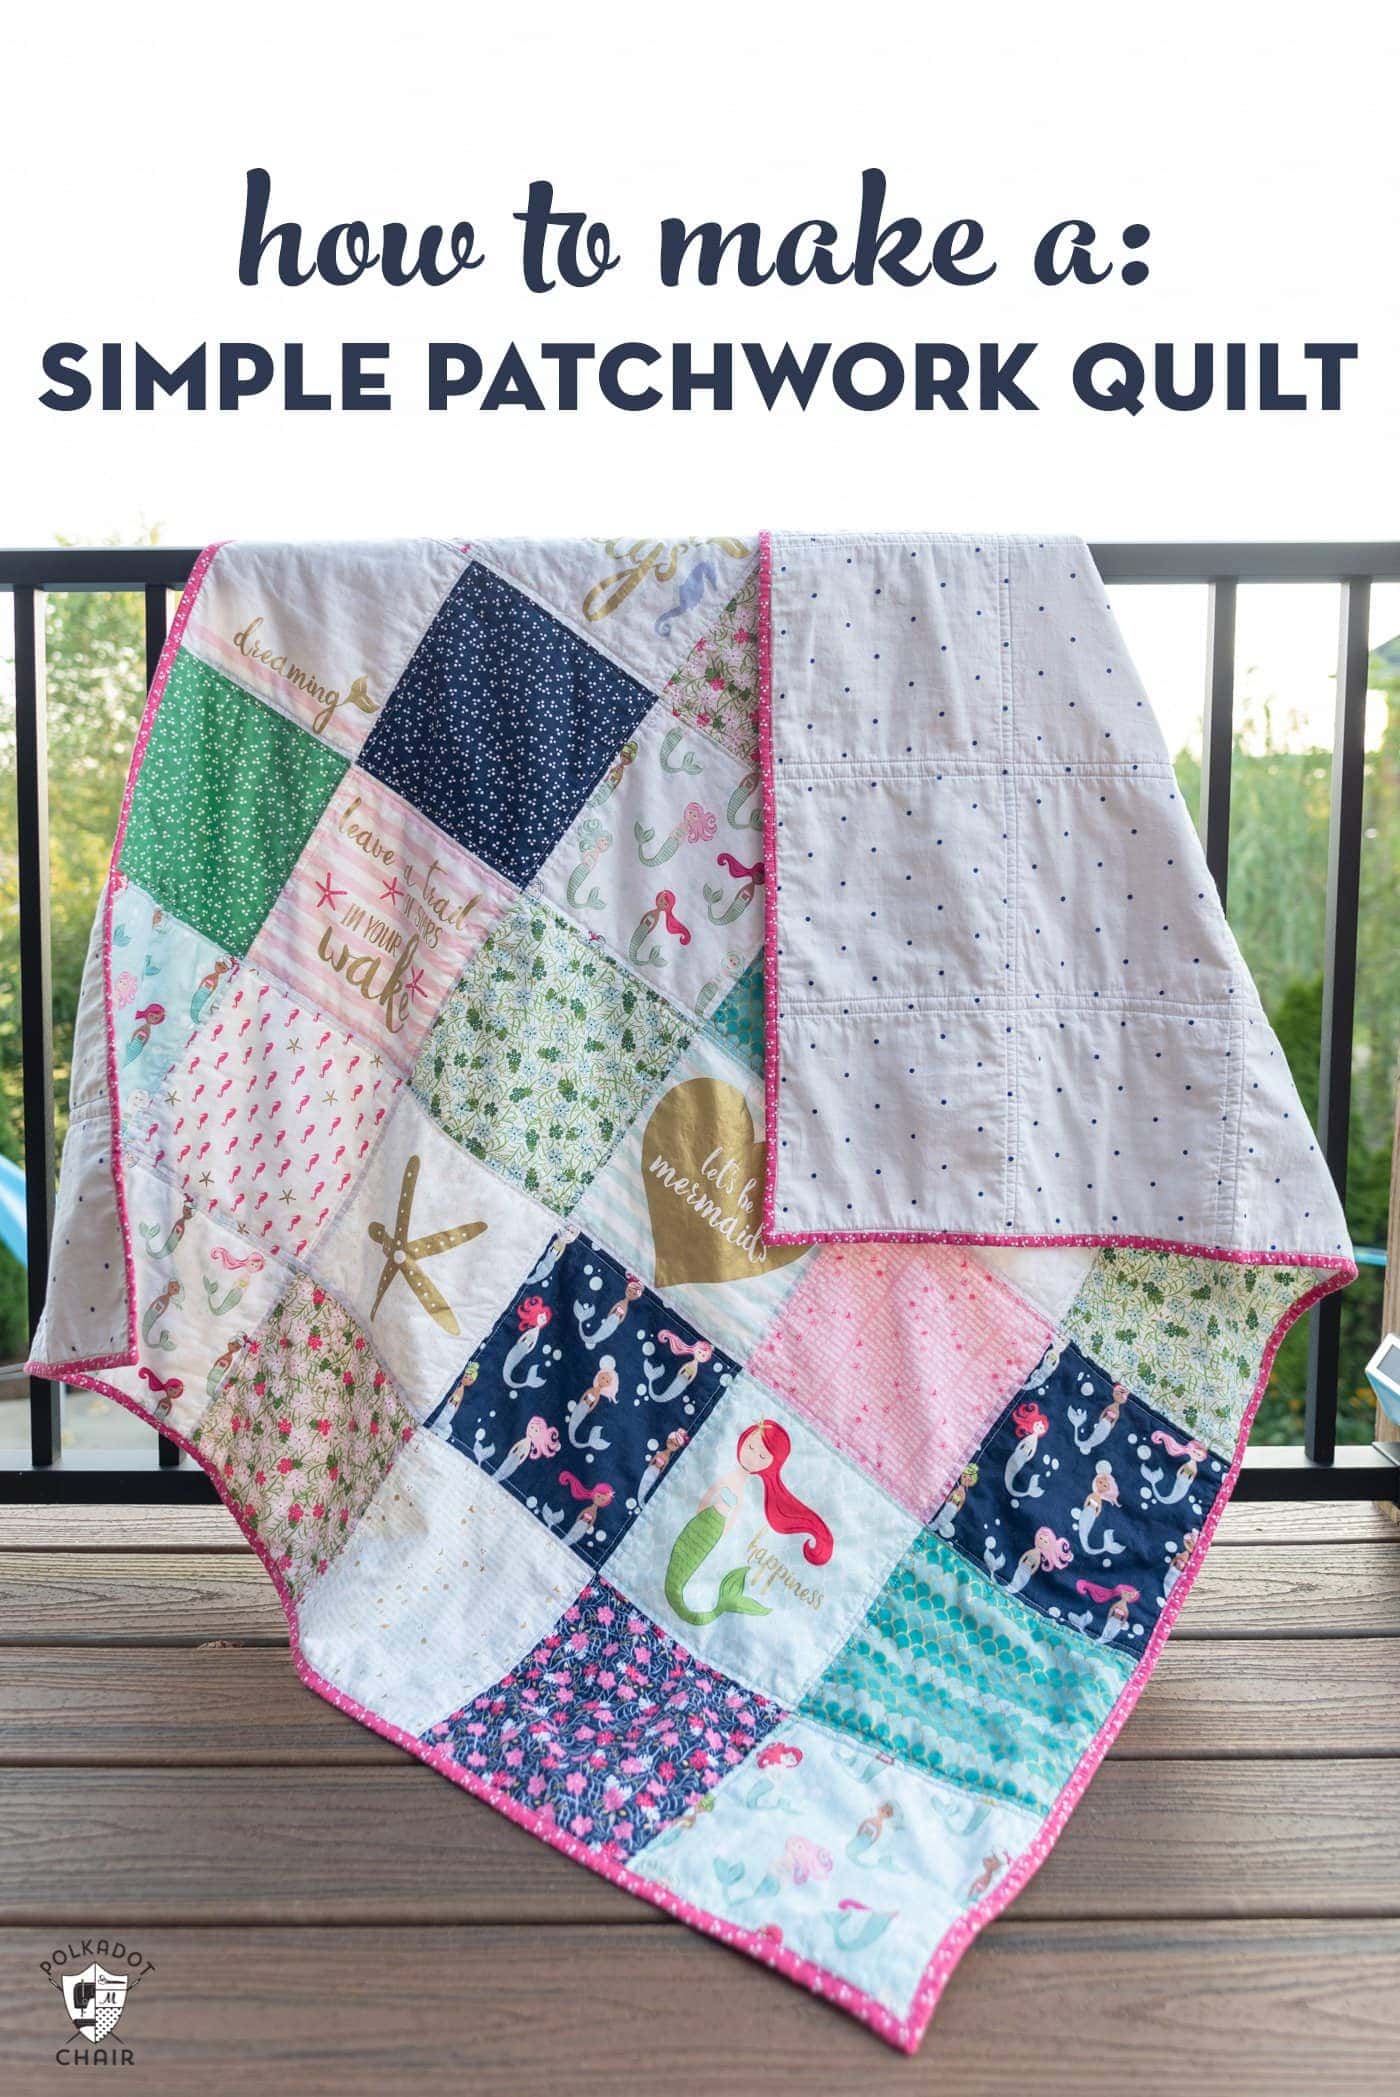
- Fabric – The amount of fabric needed will depend on the size of the blanket you are making. Choose two to three coordinating fabrics.
- Batting – Batting is the middle layer of a quilt, and it comes in several different types. Choose the appropriate type for your quilt.
- Thread – You will need both a lightweight thread for piecing the quilt and a heavier weight thread for quilting.
- Scissors – You will need several pairs of scissors for cutting fabric, batting and thread.
- Rotary cutter – A rotary cutter is used to cut fabric into strips or squares.
- Ruler – A ruler is necessary for measuring fabric.
- Iron – An iron is needed to press the fabric before and after piecing.
- Pins – Pins are necessary for holding fabric in place while you are quilting.
Once you have gathered all the necessary supplies, you are ready to begin machine quilting your blanket.
Preparing the Fabric
- Choose the Fabric: Select the fabric that best suits your needs and quilt style. Consider the weight, texture, and durability of the fabric.
- Wash and Dry the Fabric: Pre-wash and dry your fabric to prevent shrinkage and puckering after quilting.
- Iron the Fabric: Iron the fabric to remove any wrinkles or creases before cutting.
- Cut the Fabric: Measure, mark, and cut the fabric into the desired pieces according to quilt pattern.
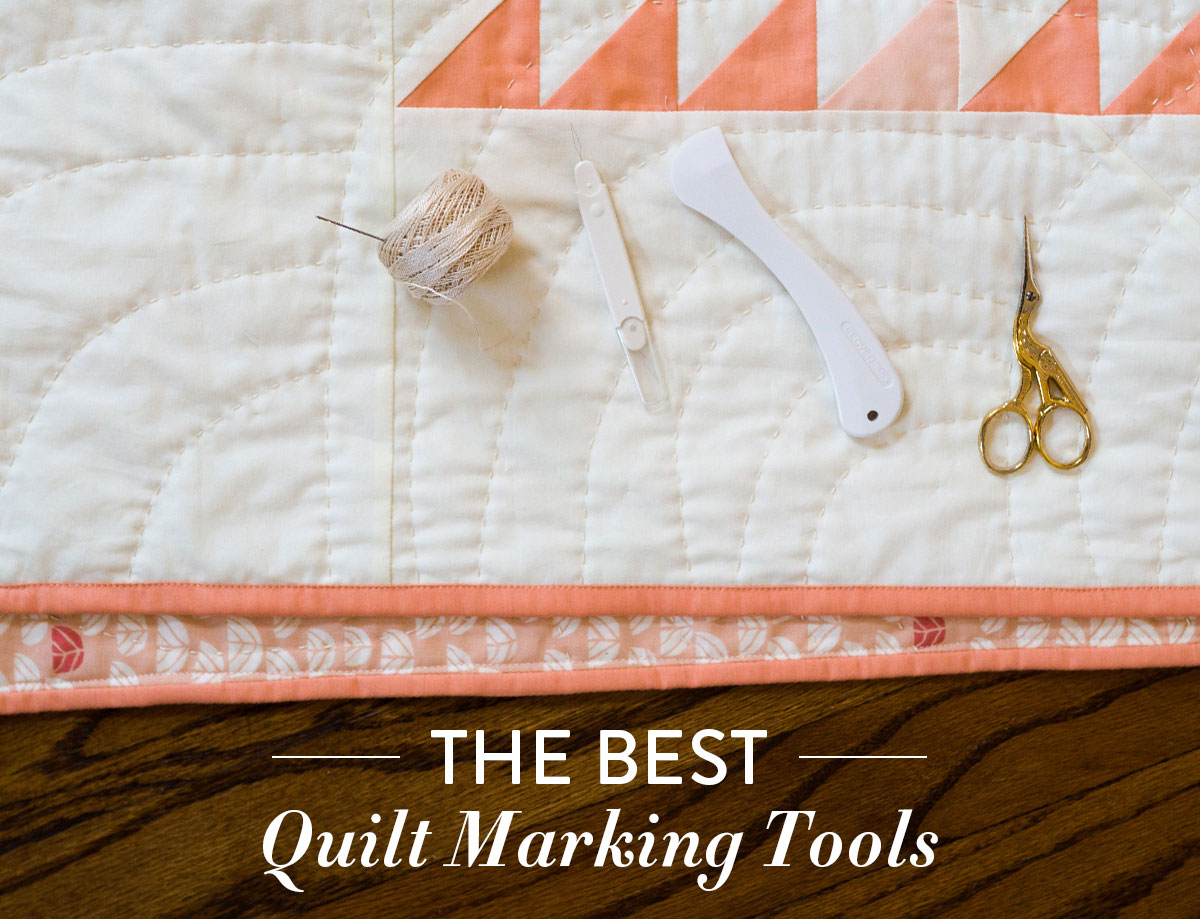
Marking the Quilt Design
- Decide on the size and shape of the quilt.
- Measure the width and length of the quilt and mark the measurements on the fabric.
- Draw the quilt design on the fabric with a waterproof fabric pencil.
- If the quilt design has multiple pieces, use a ruler to connect the pieces together.
- Measure and mark the quilt pattern on the batting and the backing fabric.
Attaching the Quilting Layer
| Step | Instruction |
|---|---|
| 1 | Lay batting on the wrong side of the outer fabric. Smooth out any wrinkles. |
| 2 | Lay the quilting layer on top of the batting. Match up the edges. |
| 3 | Pin the quilting layer and batting to the outer fabric. Pin through all layers. |
| 4 | Sew the quilting layer and batting to the outer fabric. Sew along the pinned edges. |
| 5 | Remove the pins. |
The quilting layer of your blanket is now attached. Be sure to remove any pins before sewing. Sewing over the pins can damage your machine and your fabric.
Basting the Layers

Prepare the Top Layer: Place the top layer of fabric onto the batting, making sure it is centered and even. Pin the fabric in place, then baste it to the batting. If you have any large prints, make sure they are centered.
Prepare the Backing Layer: Place the backing fabric right side down onto the batting, making sure it is centered and even. Pin the fabric in place, then baste it to the batting.
Baste the Layers Together: Place the top layer onto the backing layer with right sides together. Pin the layers together along the edges, then baste them together.
Trim the Edges: Trim the edges of the quilt to make them even. Make sure to leave at least a 1/4 inch seam allowance for the quilting.
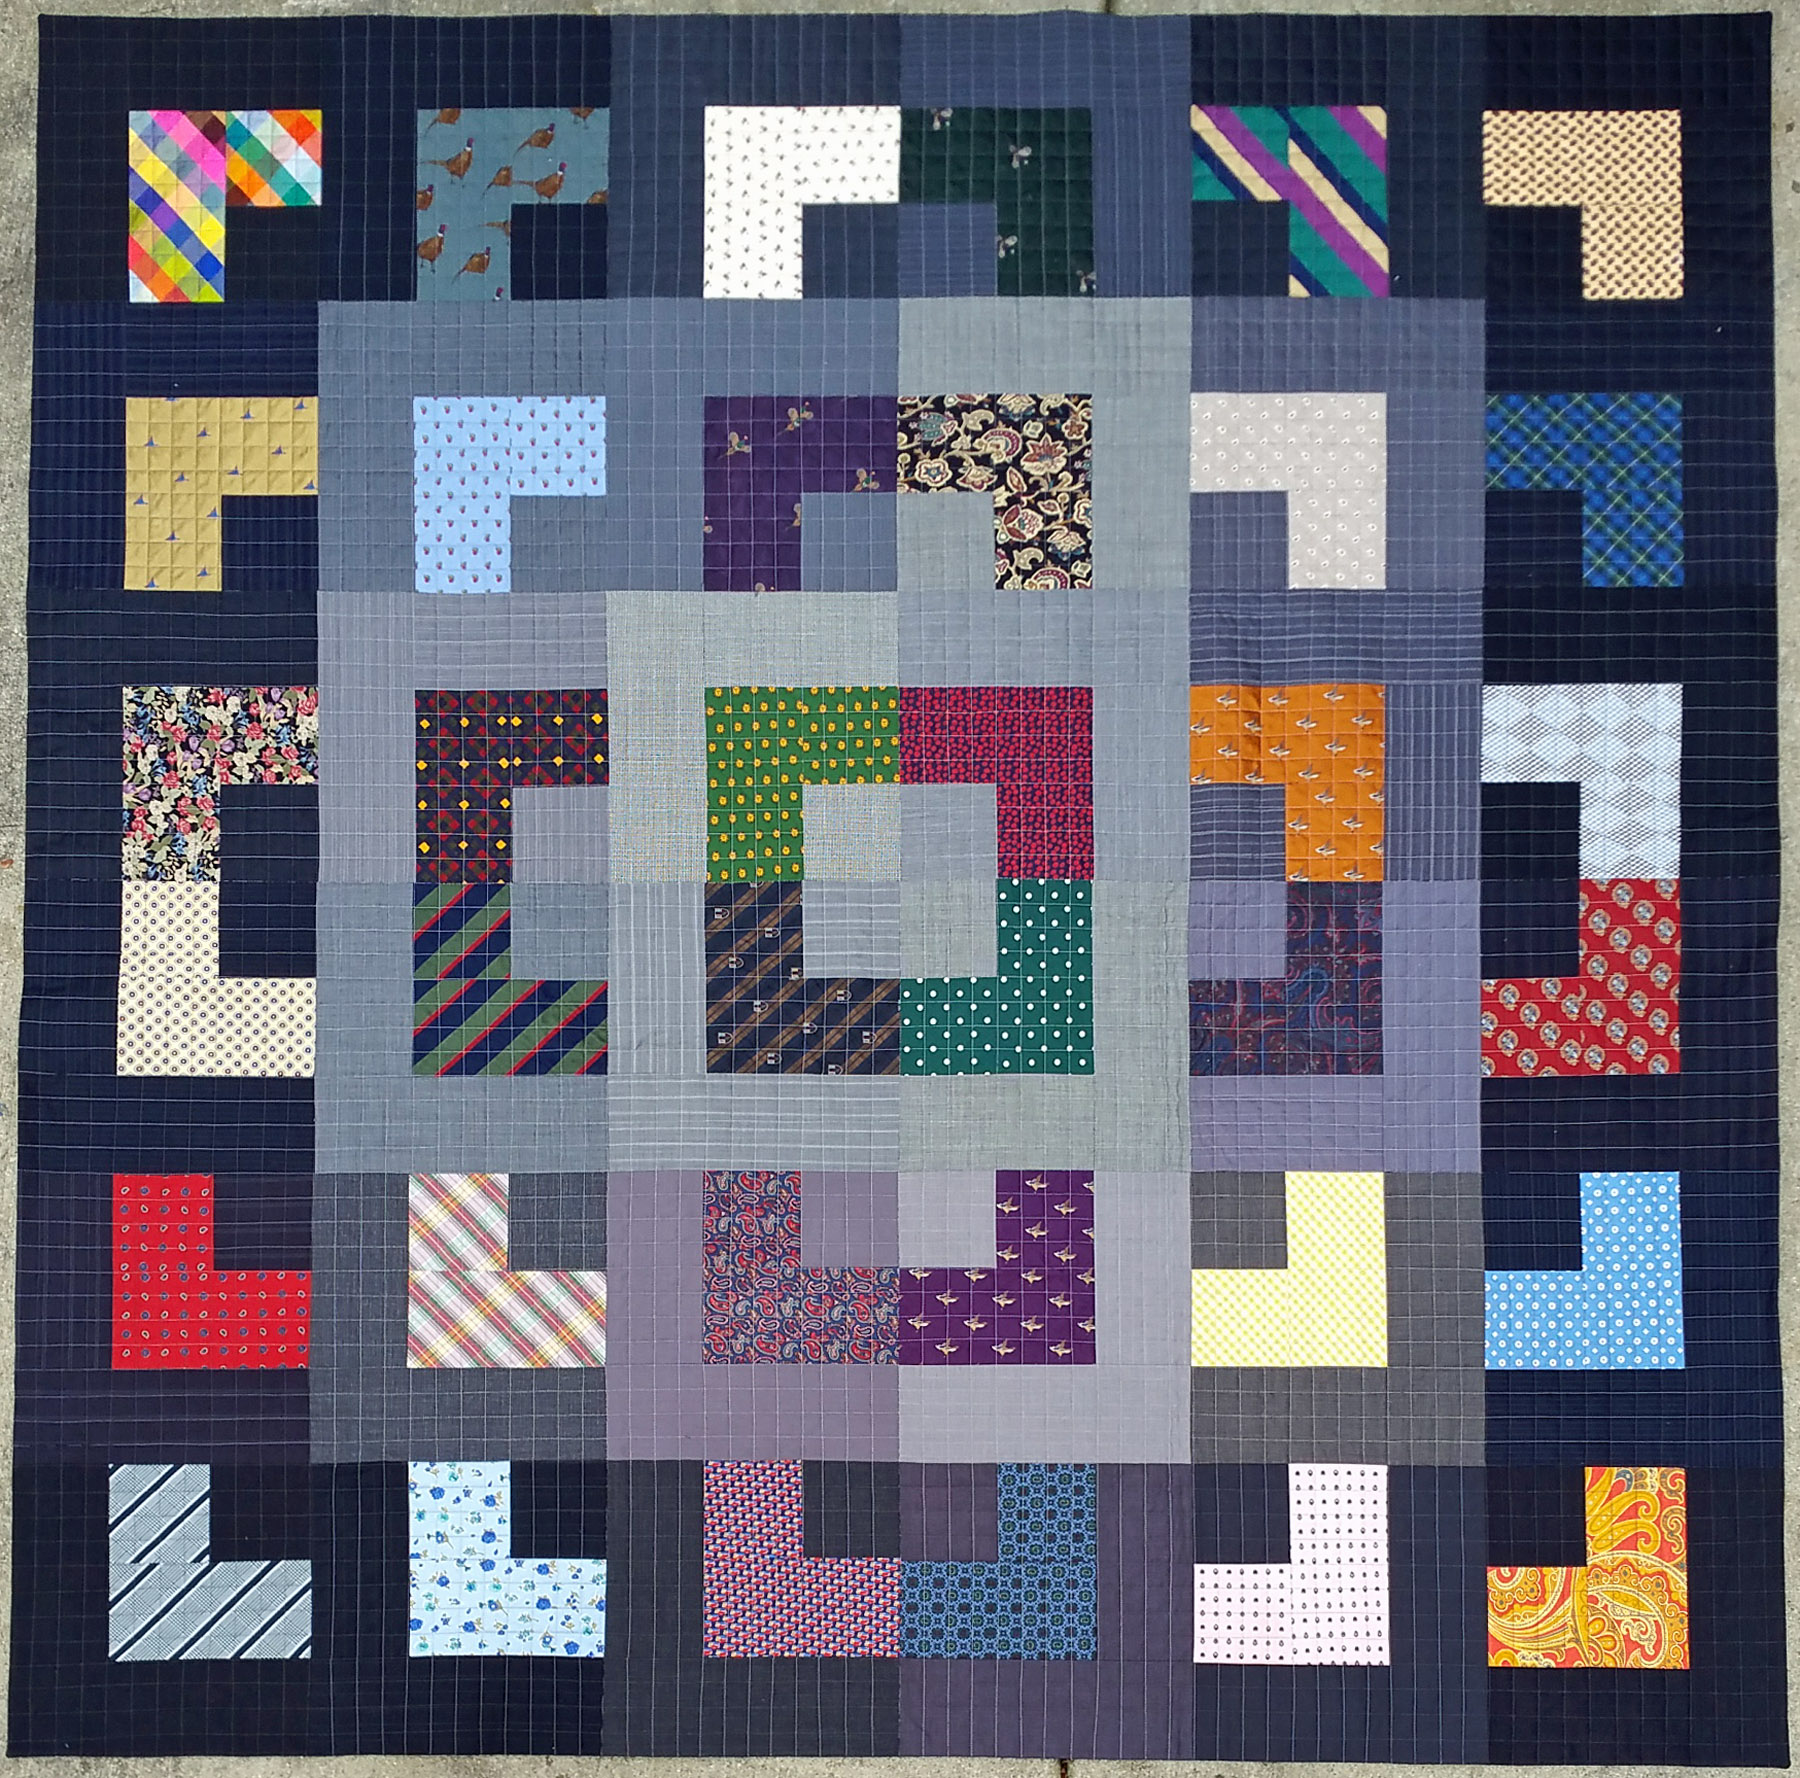
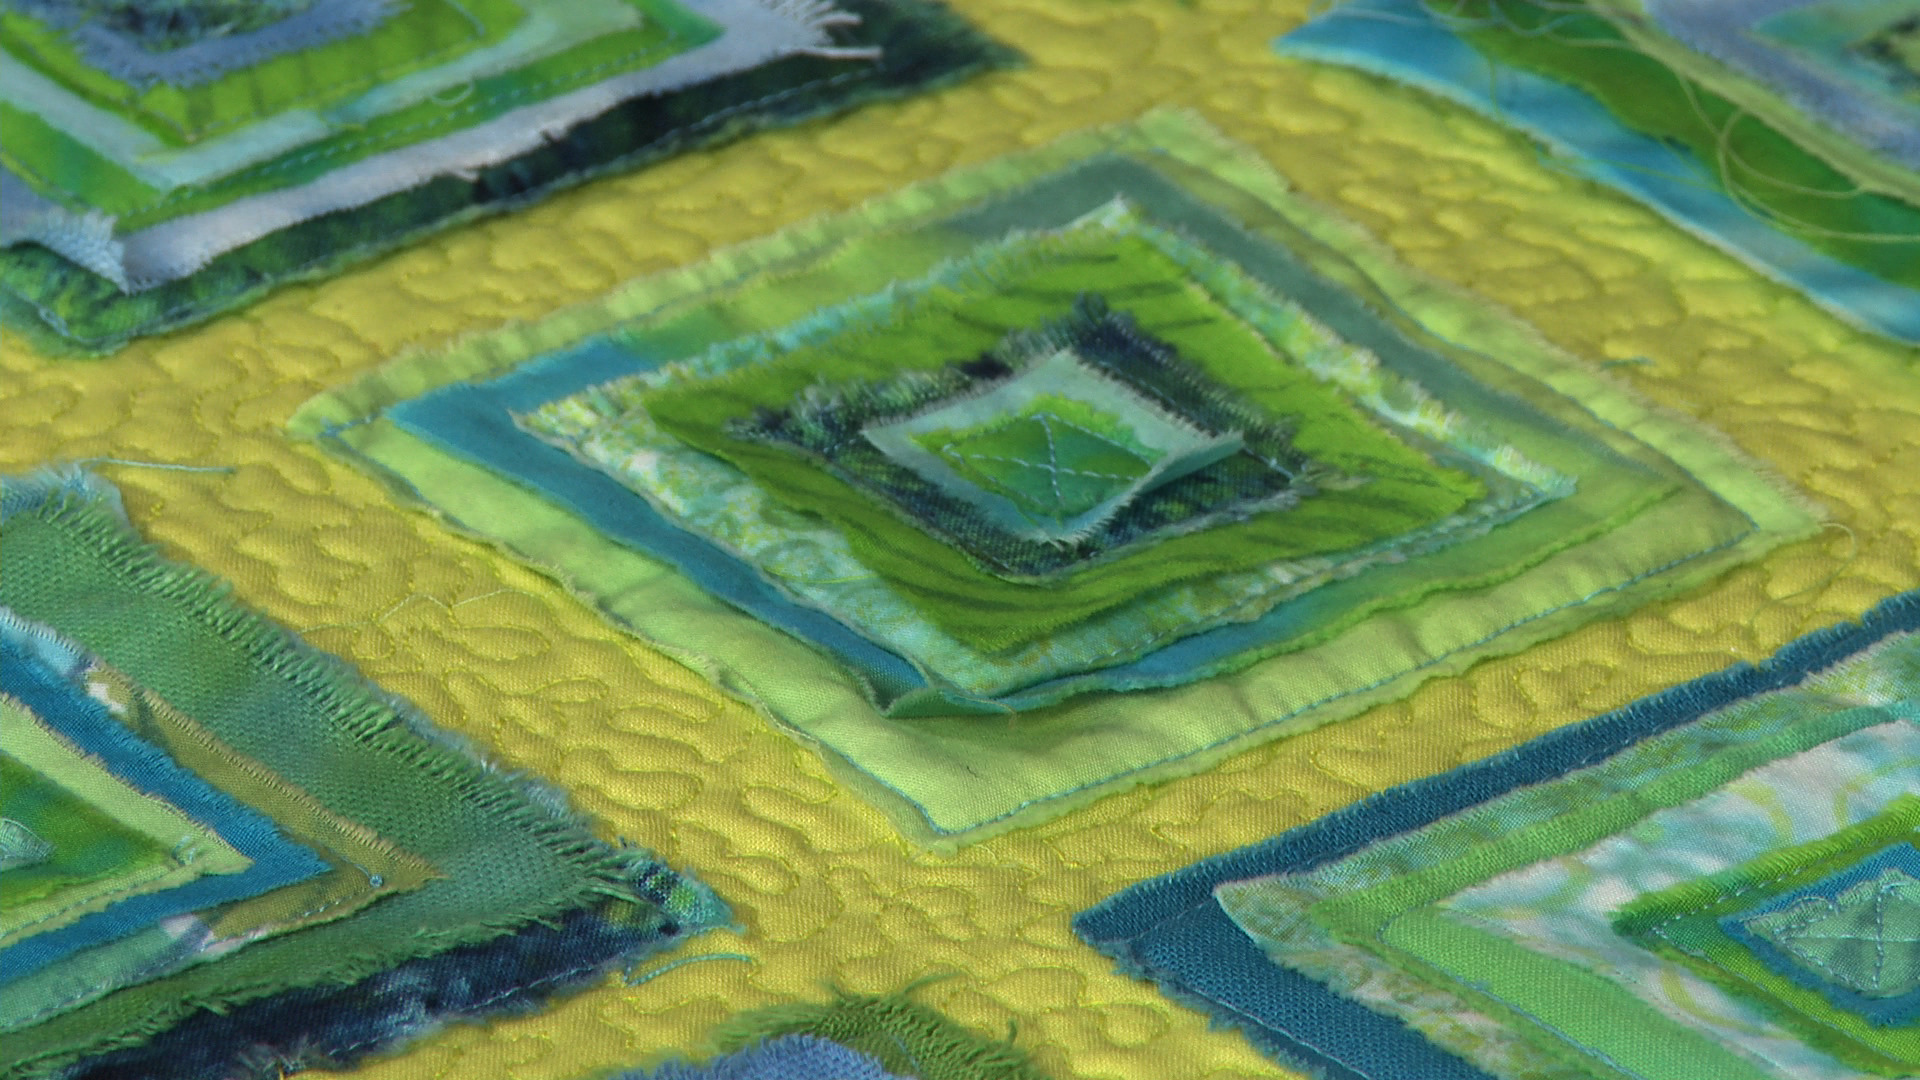
Choosing a Quilting Design
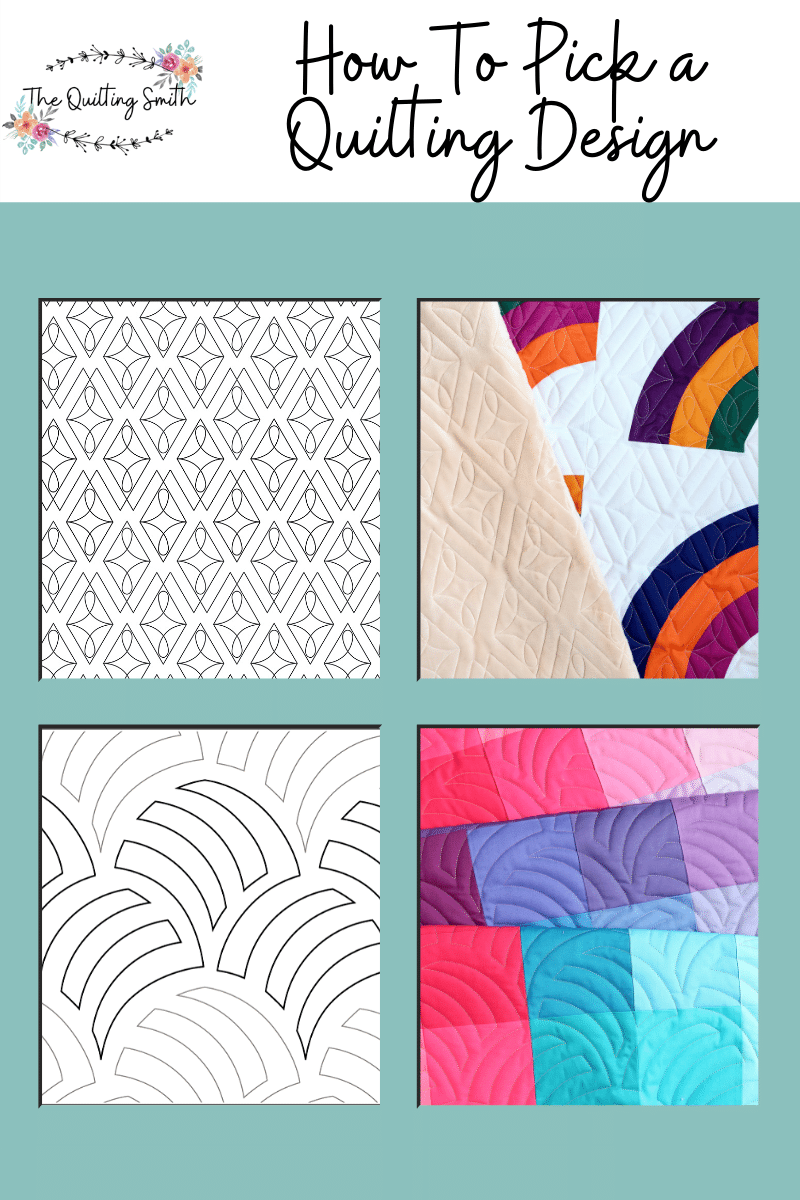
Finding the right quilting design for your quilt is a critical step in the quilting process. There are many different quilting designs to choose from and each one will give your quilt a unique look. Here are some of the most popular quilting designs:
- Stippling: Stippling is a simple quilting design that consists of small dots that are evenly distributed throughout the quilt. It is a great way to add texture and interest to your quilt.
- Meandering: Meandering is a quilting design that consists of a continuous line that weaves in and out of the quilt fabric. It is a great way to add an interesting texture to your quilt.
- Echo Quilting: Echo quilting is a quilting design that consists of repeating patterns. It is a great way to add a unique pattern to your quilt.
- Sashiko: Sashiko is a traditional Japanese quilting design that consists of geometric patterns. It is a great way to add a unique cultural element to your quilt.
When choosing a quilting design for your quilt, you should consider the size of your quilt, the type of fabric you are using, and the overall look you are trying to achieve. It is important to choose a quilting design that is appropriate for the size of your quilt and the type of fabric you are using. You should also consider the overall look you are trying to achieve. If you are looking for a simple look, stippling or meandering would be a good choice. If you are looking for something more complex, echo quilting or sashiko would be a good choice. Once you have chosen a quilting design, you can start quilting your quilt.
Quilting the Blanket
Before beginning the quilting process, you must assemble the quilt top and the batting. Place the quilt top right side up on a flat surface. Lay the batting on top of the quilt top, evenly distributing it over the whole surface. Then lay the backing fabric on top of the batting, making sure that all three layers are lined up and smooth. Make sure all the edges are lined up and that the layers are not bunched up in any areas.
Once the three layers are in place, pin the layers together in several places to keep them from shifting during the quilting process. Begin quilting by marking a quilting line on the quilt top. This could be a simple straight line, a curved line, or a more intricate pattern.
Begin sewing the quilting line using a walking foot on the sewing machine. Start by placing the needle in the quilt at the beginning of the quilting line and slowly lower the presser foot. As you sew, move the quilt as necessary to follow the line. Once you reach the end of the quilting line, stop with the needle in the quilt, raise the presser foot, and cut the threads.
Continue in this manner until the entire quilt has been quilted. When the quilting is complete, trim the batting and backing fabric even with the quilt top. Finally, bind the edges of the quilt with binding fabric.
Finishing the Quilt
Once you have finished machine quilting your blanket, you are ready to finish the quilt. The following steps will guide you through the process of completing your quilt:
- Binding: This is the process of attaching the binding to the quilt. You can purchase pre-made binding or make your own. The process involves folding the binding over the edges of the quilt and stitching it in place using a sewing machine.
- Squaring: Once the binding is in place, it is important to square the quilt. This will ensure that all the edges of the quilt are even and straight.
- Labeling: It is important to label the quilt with the date, the quilter’s name, and any other information that you want to include. This will help you remember the quilt for years to come.
These steps will help you complete your quilt and make a beautiful addition to your home. With a bit of practice, you can easily learn how to quilt a blanket with a sewing machine. With a few simple tools, you can create a stunning quilt in no time!
Frequently Asked Questions
What Type of Fabric Should I Use When Quilting a Blanket?
When quilting a blanket, it is important to select the right type of fabric. Choose a fabric that is lightweight and breathable, such as cotton, flannel, or a synthetic blend. Avoid stiff fabrics that can make the blanket difficult to quilt. Pre-washing the fabric is also recommended so that it does not shrink after the quilting process is complete.
What type of sewing machine is best for quilting a blanket?
Features to look for in a sewing machine for quilting a blanket:
- A wide range of stitch lengths and widths
- A free arm for easier maneuvering of the fabric
- An adjustable needle position
- An adjustable presser foot pressure
- An adjustable speed control
- A wide selection of decorative stitches
- A built-in walking foot for even stitching
- A drop-in bobbin for easy threading
- A strong motor to handle thick layers of fabric
- A top-loading bobbin
Types of Sewing Machines for Quilting:
- Mechanical Sewing Machines
- Computerized Sewing Machines
- Longarm Quilting Machines
Longarm quilting machines are the best option for quilting large or thick items such as a blanket. They offer the most control when quilting and are the most efficient. Mechanical and computerized machines are better suited for smaller quilting projects.
What additional materials do I need to quilt a blanket?
To quilt a blanket with a sewing machine, you will need an extra batting layer, a quilting thread, basting pins, and a walking foot. The batting layer should be cut to the same size as the quilt top and backing fabrics. Quilting thread should be strong and have a low lint content. Basting pins should be long enough to penetrate through all three layers of the quilt. Lastly, a walking foot will help the fabric layers move smoothly through the sewing machine.
How do I adjust my sewing machine for quilting?
- Presser Foot: Switch to a darning/free motion foot, which has a metal hoop at the back. This helps the fabric move more freely when quilting.
- Feed Dogs: Lower the feed dogs or disable them so that they don’t move the fabric. This will allow you to move the fabric freely when quilting.
- Stitch Length: Set the stitch length to the longest available setting. This will help ensure the stitches are even and consistent.
- Tension: Increase the tension setting on your machine to ensure the stitches are tight and secure.
- Bobbin: Use a high-quality bobbin as this will help ensure the stitches are strong and don’t break.
- Thread: Use a high-quality thread so that the stitches don’t break when quilting.
How do I Know When My Blanket is Quilted Correctly?
To check the quilting has been done correctly, look for even spacing between the quilting stitches and that the stitches maintain a consistent pattern throughout the quilt. Any puckering or gathering of the fabric should be avoided. Once the quilt is finished, inspect the back of the quilt for any loose threads, and check for any loose knots or skipped stitches. If everything looks good, your quilt is ready for use.
Conclusion
Quilting a blanket with a sewing machine is a relatively simple process that anyone can do. With a few simple steps and a little bit of patience, you can make a gorgeous quilted blanket that will last for years. This guide has provided all the information you need to get started, so grab your materials and get quilting!


