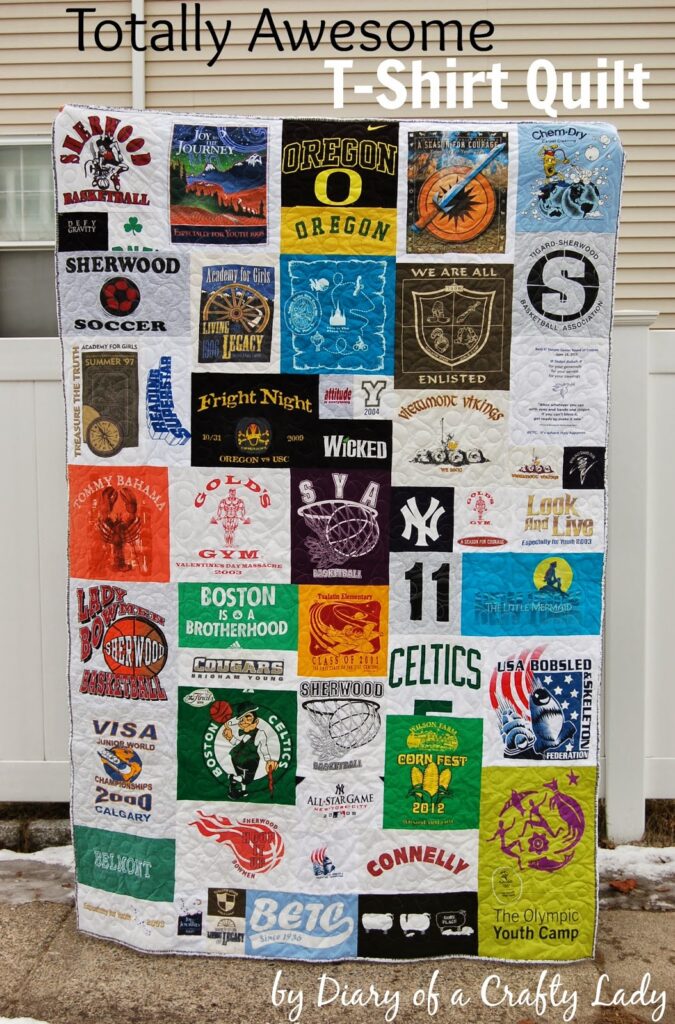
Quilting a T-shirt quilt can be a fun and rewarding experience for quilters of all levels. With this step-by-step guide, you’ll learn how to quilt a t-shirt quilt from start to finish. From choosing the right fabric to binding the edges, you’ll have all the tips and tricks you need to create a beautiful one-of-a-kind quilt. Get ready to turn your favorite t-shirts into a comfy new quilt!
What You Need for a T-Shirt Quilt

Materials
T-shirts: Choose a mix of sizes and colors for your quilt.
Backing: You will need fabric for the backing of the quilt, usually 3 yards of 44-45” wide fabric.
Batting: You will need batting for the middle of the quilt.
Tools
Sewing machine: You will need a sewing machine for this project.
Iron and ironing board: Ironing is an important part of making a t-shirt quilt.
Rotary cutter, ruler, and cutting mat: You will need these tools to cut the t-shirts and backing fabric.
Thread: You will need thread in a color that coordinates with the t-shirts and backing fabric.
Scissors: You will need scissors for trimming the fabric.
Pins: Pins are important for keeping the layers of the quilt together while you sew.
With the right materials and tools, you can easily create a t-shirt quilt with different sizes and colors.
Preparing the T-Shirts
To make a T-shirt quilt, the first step is to prepare the T-shirts. Wash the T-shirts and iron them. Make sure that all the wrinkles and folds are gone. Then, cut each T-shirt into the desired shape. Cut the fabric into equal-sized rectangles, squares, or circles.
Preparing the Fabric Pieces
Next, prepare the fabric pieces for the quilt. Cut the fabric into strips of the desired size. Then, sew the strips together to form a large piece of fabric. If you want to add a border to your quilt, cut a few extra pieces of fabric for the border.
Preparing the Backing Fabric
Finally, prepare the backing fabric for the quilt. Choose a fabric that is strong and durable. To make sure the quilt is stable and does not slip, use a fusible interfacing on the back of the backing fabric. This will make the quilt more secure. If you are wondering how would you back a T-shirt quilt, this is one of the best ways to do it.
Assembling the Quilt Top
Lay out the t-shirt squares in the desired pattern, taking care to ensure that any logos or images are placed correctly and facing the right way. Use pins to hold the squares in place. If the quilt is to be larger than a single layer, add additional squares and pin them together to create the larger quilt top.
Once the quilt is the desired size, join the squares together. Using a ¼-inch seam allowance, sew the squares together in rows, then sew the rows together. The seam allowance should be consistent throughout the quilt.
Press the seams open with an iron, then trim off any excess fabric. Finish the edges of the quilt top with binding, either machine stitched or hand stitched.
| Step | Description |
|---|---|
| Lay out the t-shirt squares | Arrange the t-shirt squares in the desired pattern |
| Sew the squares together | Sew the squares together in rows, then sew the rows together using a ¼-inch seam allowance |
| Press the seams | Press the seams open with an iron, then trim off any excess fabric |
| Finish the edges | Finish the edges of the quilt top with binding, either machine stitched or hand stitched |
Quilting the Top
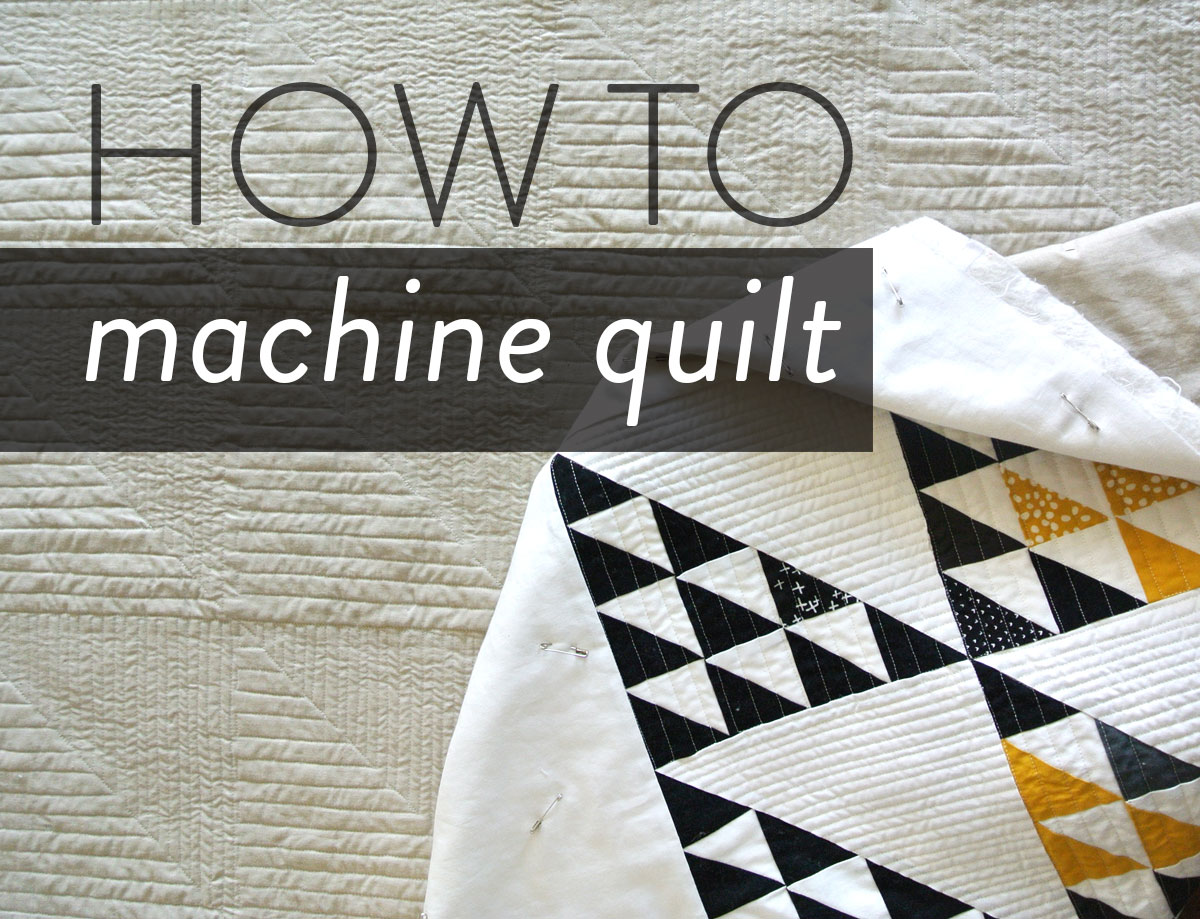
Lay the quilt top over the batting and backing, making sure to smooth out any wrinkles. Pin the layers together with safety pins, spacing them about 4-6 inches apart. To quilt the top, use a walking foot or free-motion quilting foot on your sewing machine. Start by stitching in the ditch along the seams and sashing. This will hold the layers together and add texture to the quilt. Switch to a decorative quilting stitch of your choice and quilt the top in a pattern of your choice. You can quilt in straight lines, in circles, or in a meandering pattern. Be creative and use a variety of different stitches and patterns to make the quilt interesting. Before removing the safety pins, check the back of the quilt to make sure all of the layers are secure.
Once you have finished quilting the top, trim the batting and backing so they are even with the quilt top.
Finishing the Quilt
- Layer the quilt top, batting and backing, in that order.
- Pin or baste the three layers together.
- Quilt the entire quilt with a pattern of your choice.
- Trim excess batting and backing.
- Bind the quilt with binding strips.
- Finish the quilt by sewing the binding in place.
How to Back a T-Shirt Quilt
Step 1: Prepare the backing fabric – choose a backing fabric that is two inches larger than the quilt top on all sides and press the fabric to remove any creases.
Step 2: Place the backing fabric on a flat surface and position the quilt top (previously finished quilt) right side up on the backing fabric.
Step 3: Secure the quilt top to the backing fabric – use safety pins to secure the quilt top to the backing fabric. Start by pinning the four corners and then pin along the edges.
Step 4: Baste the quilt – using a long stitch, baste the quilt. Basting will hold the quilt in place while you are quilting.
Step 5: Quilt the quilt – use a walking foot or free motion quilting to quilt the quilt.
Step 6: Trim the edges of the quilt – use a rotary cutter and cutting mat to trim the edges of the quilt. Make sure to trim the edges of the fabric and batting to be even.
Step 7: Bind the quilt – use a binding of your choice to finish the quilt.
Step 8: Label the quilt – add a label to the quilt with the date and any other important information.
Frequently Asked Questions
What type of fabric do I need to make a t-shirt quilt?
T-shirt Quilt Fabric:
- Cotton fabric
- Fusible interfacing
- Stabilizer
- Iron-on batting
- Backing fabric
- Thread
T-shirt Quilt Supplies:
- Rotary cutter and quilting ruler
- Sewing machine
- Pins and clips
- Iron and ironing board
- Fabric scissors
- Quilt basting spray
What is the best way to attach the t-shirts to the quilt backing?
- Fusible Interfacing – Fusible interfacing is the most commonly used method of attaching t-shirt fabric to quilt backing. Fusible interfacing is a type of fabric that has a sticky adhesive on one side, which adheres to the back of the t-shirt fabric when heat is applied. It provides a smooth, professional look and ensures that the fabric is securely attached to the backing.
- Fabric Glue – Fabric glue is another common method for attaching t-shirt fabric to quilt backing. It is important to use a high-quality fabric glue that is designed specifically for quilting, as this will ensure that the fabric will remain securely attached. Fabric glue should be applied sparingly, and it is best to allow the glue to dry before quilting.
- Stitching – Stitching is a more time-consuming method of attaching t-shirt fabric to quilt backing, but it is also the most secure. Hand-stitching or machine-stitching are both acceptable, and it is important to use a strong thread that can withstand the weight of the fabric. Stitching will ensure that the fabric is securely attached to the backing and will not come apart.
Is it Necessary to Use Quilt Batting for a T-Shirt Quilt?
Yes, it is necessary to use quilt batting for a t-shirt quilt in order to give it the quilted look and feel. Quilt batting provides the cushioning, warmth, and stability needed to complete the quilt. It is available in many different materials and weights, so you can choose the one that best suits your needs. Be sure to pre-wash the batting before using to allow for any shrinkage.
What size should the finished quilt blocks be?
T-shirt quilt blocks should be cut to a uniform size of 12.5” x 12.5”. This will ensure that the quilt block is large enough to fit the T-shirt design and small enough to fit the quilt top.
- For a standard size quilt, use 12.5” x 12.5” T-shirt blocks.
- For a large quilt, use larger T-shirt blocks (up to 15” x 15”).
- For a small quilt, use smaller T-shirt blocks (down to 9” x 9”).
When cutting the T-shirt block size, make sure to leave a 1⁄4” seam allowance on all sides. This will help to ensure that the quilt block fits together well when it is sewn.
What is the Easiest Way to Finish a T-Shirt Quilt?
The easiest way to finish a t-shirt quilt is to use a backing fabric, batting, and a binding. Start by laying out your t-shirts on a flat surface, making sure to line up the edges of the t-shirts. Once your design is finalized, use a rotary cutter to trim any excess fabric around the edges. Next, layer your backing fabric, batting and t-shirts. Pin the layers together and quilt your t-shirt quilt. Once quilting is complete, trim the excess batting and fabric, and use the binding to finish the edges. Finally, hand-stitch the binding in place to complete the t-shirt quilt.
Conclusion
Creating a t-shirt quilt is a great way to turn old t-shirts into a useful and meaningful item. Following the steps outlined in this guide will help you to create your own quilt. Be sure to take your time and have fun creating your own design. With patience and practice, you’ll be able to create a beautiful quilt that you can use and treasure for years.


