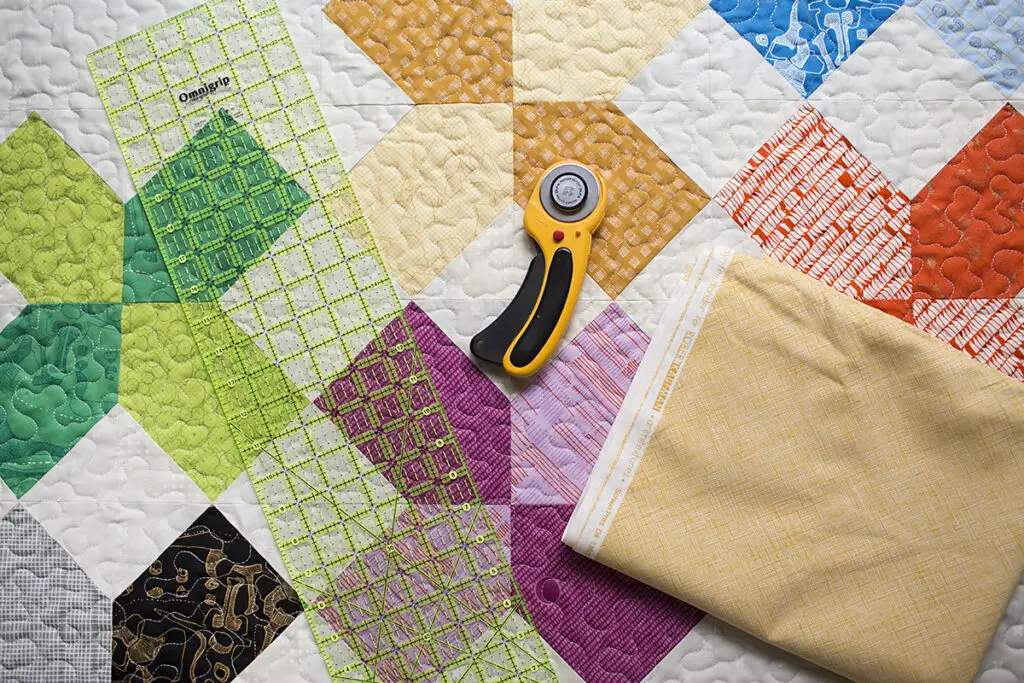
Sewing bias binding on a quilt can be a daunting task, but it doesn’t have to be. With this step-by-step guide, you’ll learn how to sew bias binding on a quilt quickly and easily. From selecting the right bias binding to attaching it to your quilt, this guide will walk you through the entire process of how to sew bias binding on a quilt.
What is Bias Tape and How Much is Needed for a Quilt
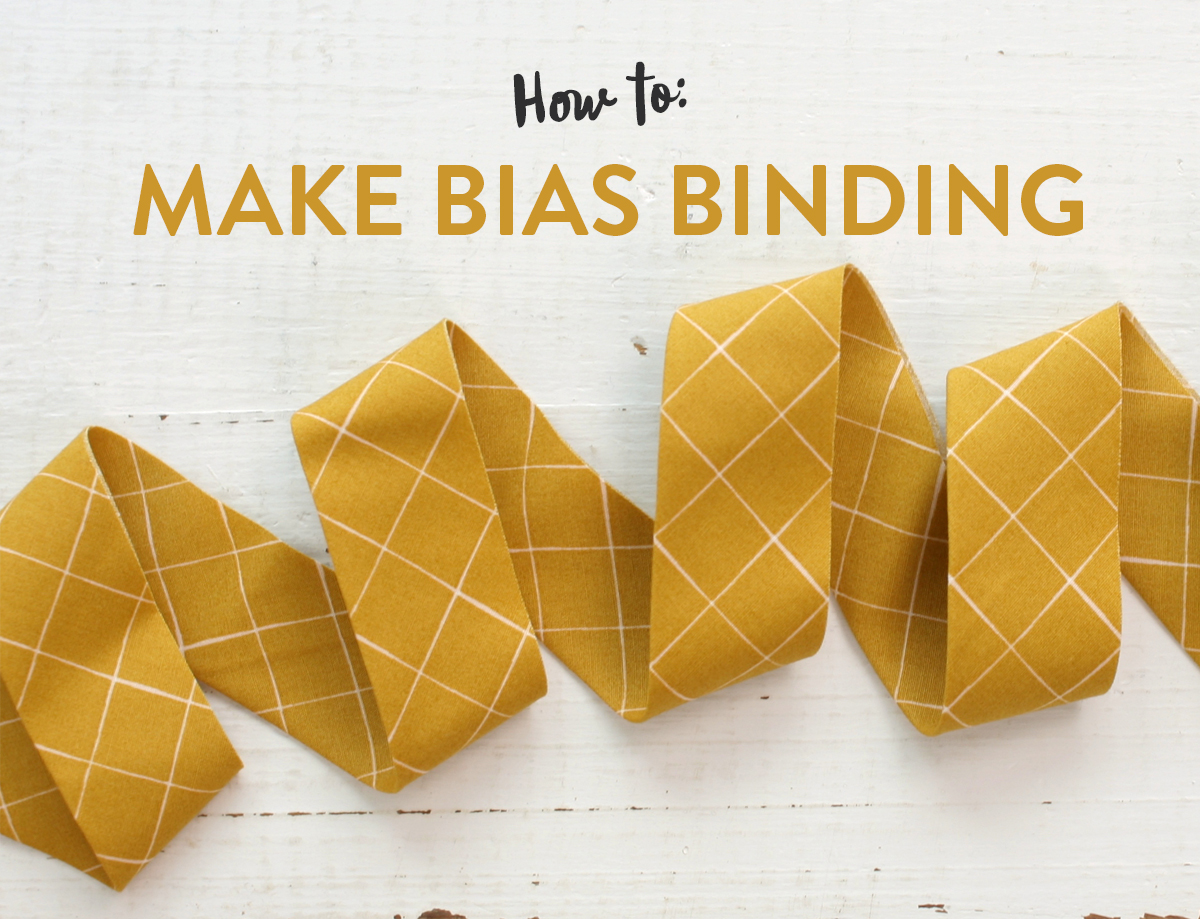
Bias tape is a narrow fabric strip that is cut on the bias of the fabric, meaning it is cut on a diagonal across the threads. This makes it stretchy and allows it to easily fit around curves and corners. Bias tape is used to finish raw edges of a quilt, such as the edge of the quilt top, or the edge of a binding.
How much bias tape is needed for a quilt depends on the size of the quilt, as well as how wide the bias tape is and the chosen binding method. Generally, for a standard-sized quilt, you will need about 12 yards (11 meters) of bias tape for a binding that is 1-inch (2.5 cm) wide. To make a wider binding, you will need more bias tape. If you are using a store-bought binding for your quilt, it is best to follow the instructions on the package to determine the amount of bias tape needed.
How to Sew Bias Binding on a Quilt
Preparing the Bias Tape
Start by measuring the quilt and purchasing bias tape in the correct length. Choose either single-fold or double-fold bias tape. Then cut the bias tape strip to the proper length. If you are using double-fold bias tape, open up the folds and press it flat.
Sewing the Binding
Lay the quilt out flat and line up the bias tape along the edge of the quilt. Pin the bias tape in place. Using a sewing machine, sew the binding to the quilt using a 1/4 inch seam allowance. Stop and start at the corner of the quilt. Make sure to backstitch at the start and finish to secure the stitching.
Finishing the Quilt
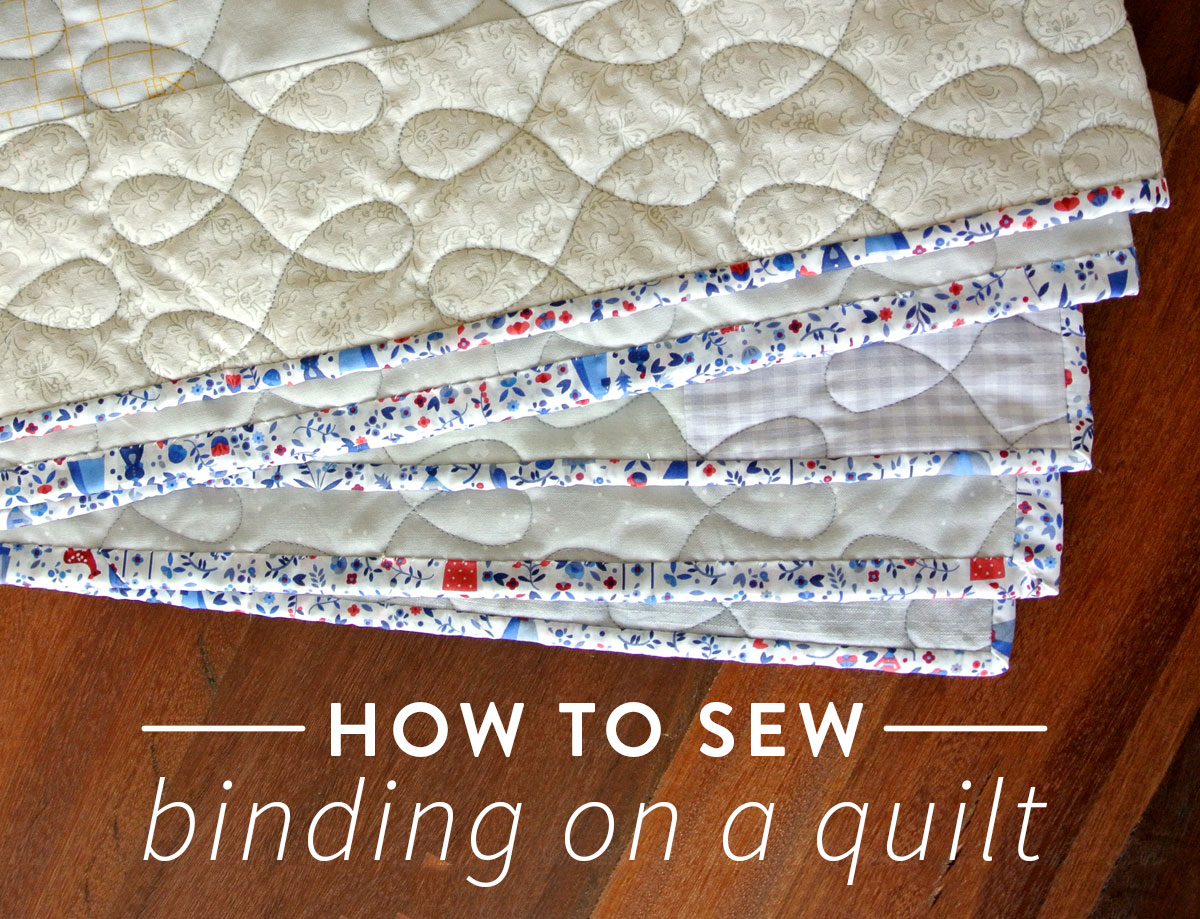
Once all the bias tape is attached to the quilt, fold the bias tape to the back of the quilt. Pin the bias tape in place. Sew the bias tape to the back of the quilt with a 1/8 inch seam allowance. When you reach the corner, fold the bias tape at a 45-degree angle and stitch across the corner. Continue sewing around the quilt until you reach the starting point. Secure the stitching by backstitching at the end. Finally, trim any excess bias tape. You have now successfully bound a quilt with store-bought bias tape!
How to Bind a Quilt with Store Bought Binding
Preparing the Binding
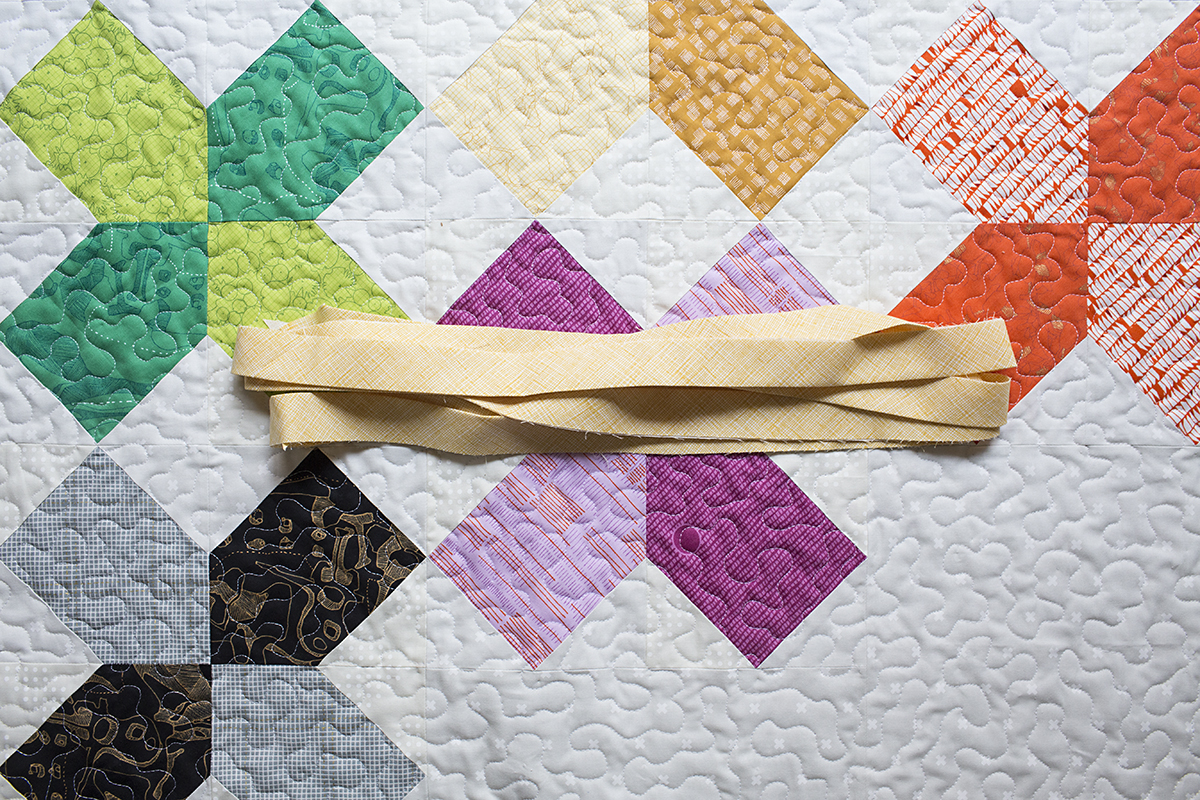
Measure and cut the binding strips using the quilt’s measurements. For a 90 inch square quilt, the binding strips should measure 2 ½ inches wide and 92 inches long. Join the binding strips together using diagonal seams. Press the seams open and fold the binding in half lengthwise, wrong sides together.
Sewing the Binding
Lay the binding along the edge of the quilt, right sides together. Sew the binding to the quilt, using a ¼ inch seam allowance. Stitch the binding to the quilt, stopping at each corner. At the corners, lift the needle and presser foot, pivot the fabric and continue stitching.
Finishing the Quilt
Fold the binding over the quilt’s edge, covering the seam and pin in place. Hand stitch the binding in place or machine stitch using a blind hem stitch or zigzag stitch. Trim off any excess binding and press the binding with a hot iron.
How to Bind a Quilt with Store Bought Bias Tape
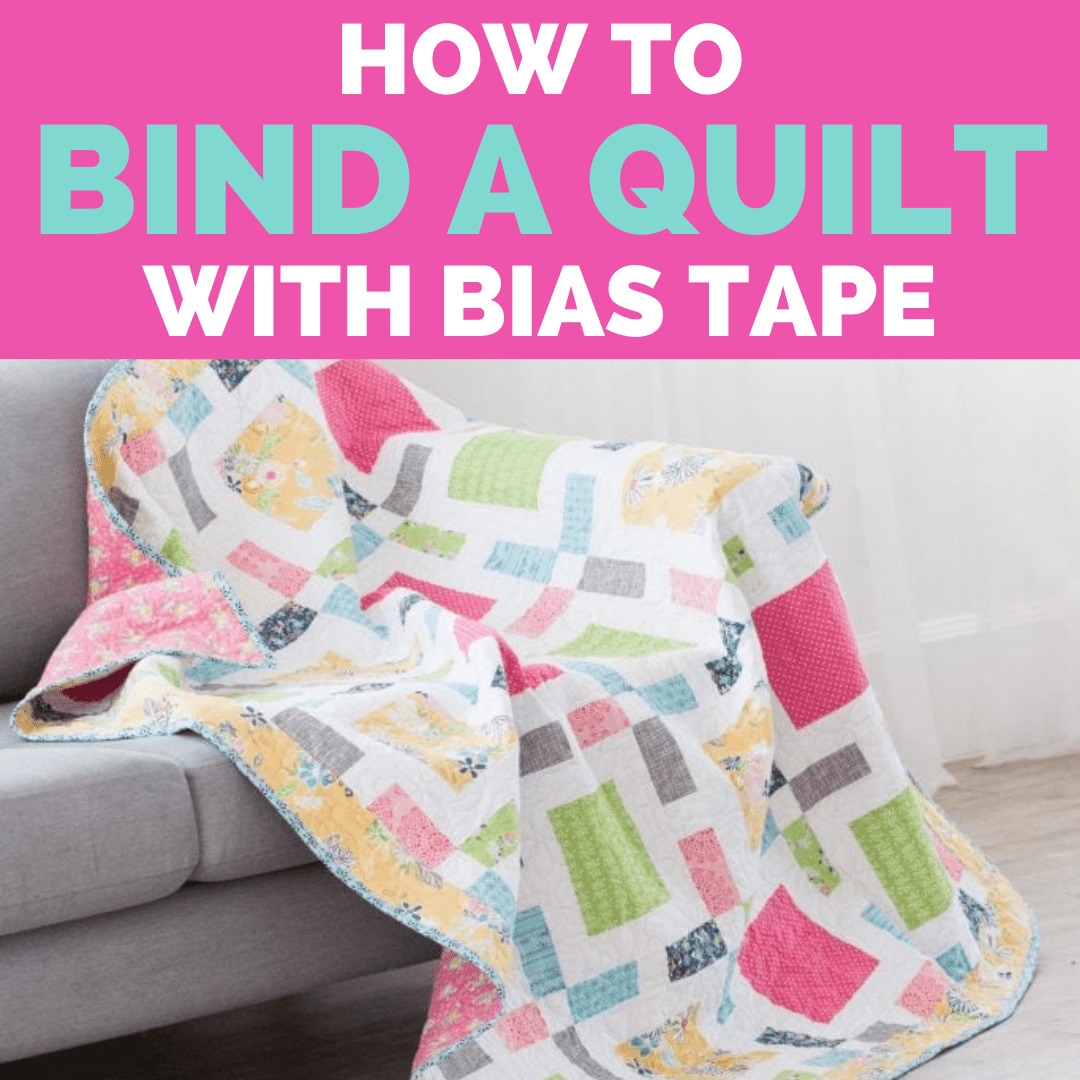
Preparing the Bias Tape
Start by cutting the bias tape to the desired length. This is best done with a rotary cutter and a ruler, but you can also use scissors. Cut the tape to 1/2 inch longer than the circumference of the quilt. This will allow for the extra length that is needed for the mitered corners.
Sewing the Binding
Pin the bias tape to the quilt, with the right sides of the bias tape and the quilt together. Start at a corner and work around the quilt. Sew the bias tape to the quilt, using a 1/4 inch seam allowance. When you come to a corner, stop 1/4 inch from the edge. Fold and press the bias tape towards the adjacent edge of the quilt and stitch the next edge. Continue this process until you reach the starting point.
Finishing the Quilt
Secure the bias tape by stitching the ends together. To do this, fold the bias tape in half with the right sides together and stitch along the folded edge. Trim the seam allowance and turn the bias tape right sides out. Slip-stitch the bias tape to the back of the quilt. This will complete the binding and you will now have a finished quilt with a professional-looking bias tape binding!
Using store bought bias tape is an easy way to finish a quilt and can help to bring out the colors and patterns in your quilt. Bias tape comes in a variety of colors and textures, so you can match the binding to the quilt or create a unique look. With a few simple steps, you can have a professional looking quilt made with bias tape.
How to Put Bias Tape on Quilts Easily
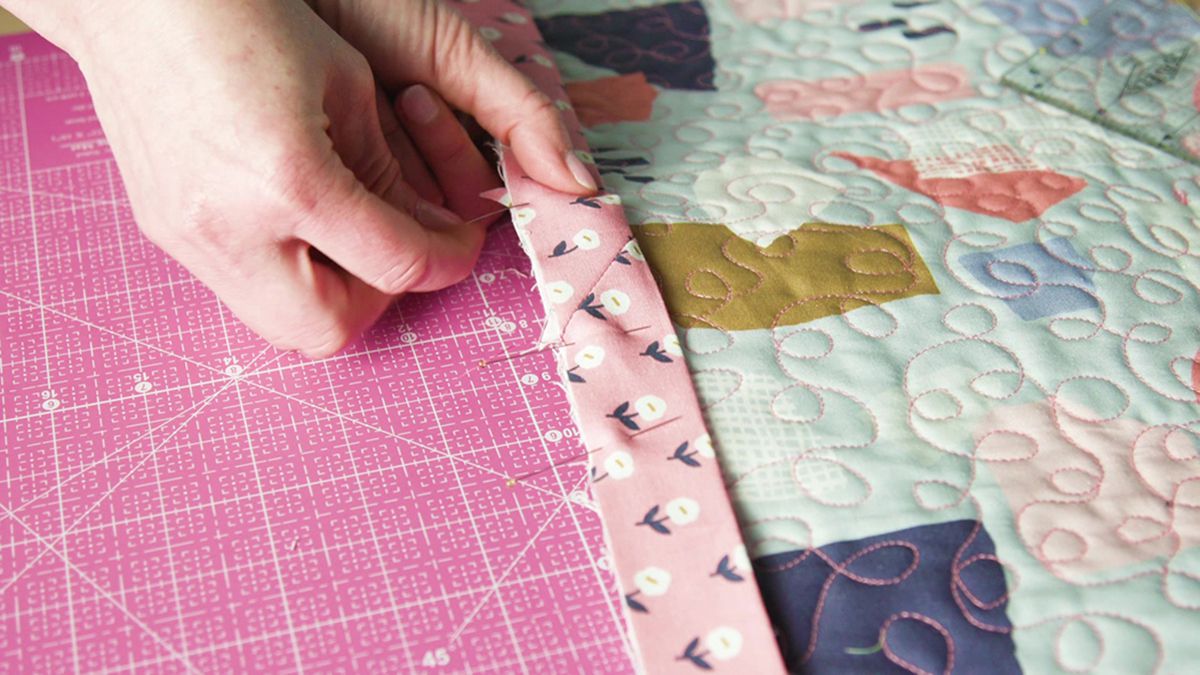
Step 1: Select bias tape in the desired width and color. Before using the bias tape, press it with an iron to remove any wrinkles.
Step 2: Set up the quilt on an even surface. For larger quilts, you may need to pin it down so that it does not move while you are sewing.
Step 3: Begin at one corner of the quilt, and pin the bias tape along the edge of the quilt. Make sure that the tape is even, and that the edges of the tape line up with the edges of the quilt.
Step 4: Sew the bias tape onto the quilt. Use a straight stitch, and make sure to backstitch at the beginning and end of each seam.
Step 5: Continue sewing the bias tape around the quilt, being sure to keep the edge of the tape aligned with the edge of the quilt.
Step 6: When you reach the original starting point, trim the excess bias tape.
Step 7: Fold the bias tape over the raw edge of the quilt. Pin the bias tape in place.
Step 8: Sew the bias tape in place, using a zigzag stitch.
Step 9: Trim any excess bias tape or fabric, and press the quilt with an iron.
Step 10: Your quilt is now finished, and ready to be used!
How to Bias Tape a Quilt
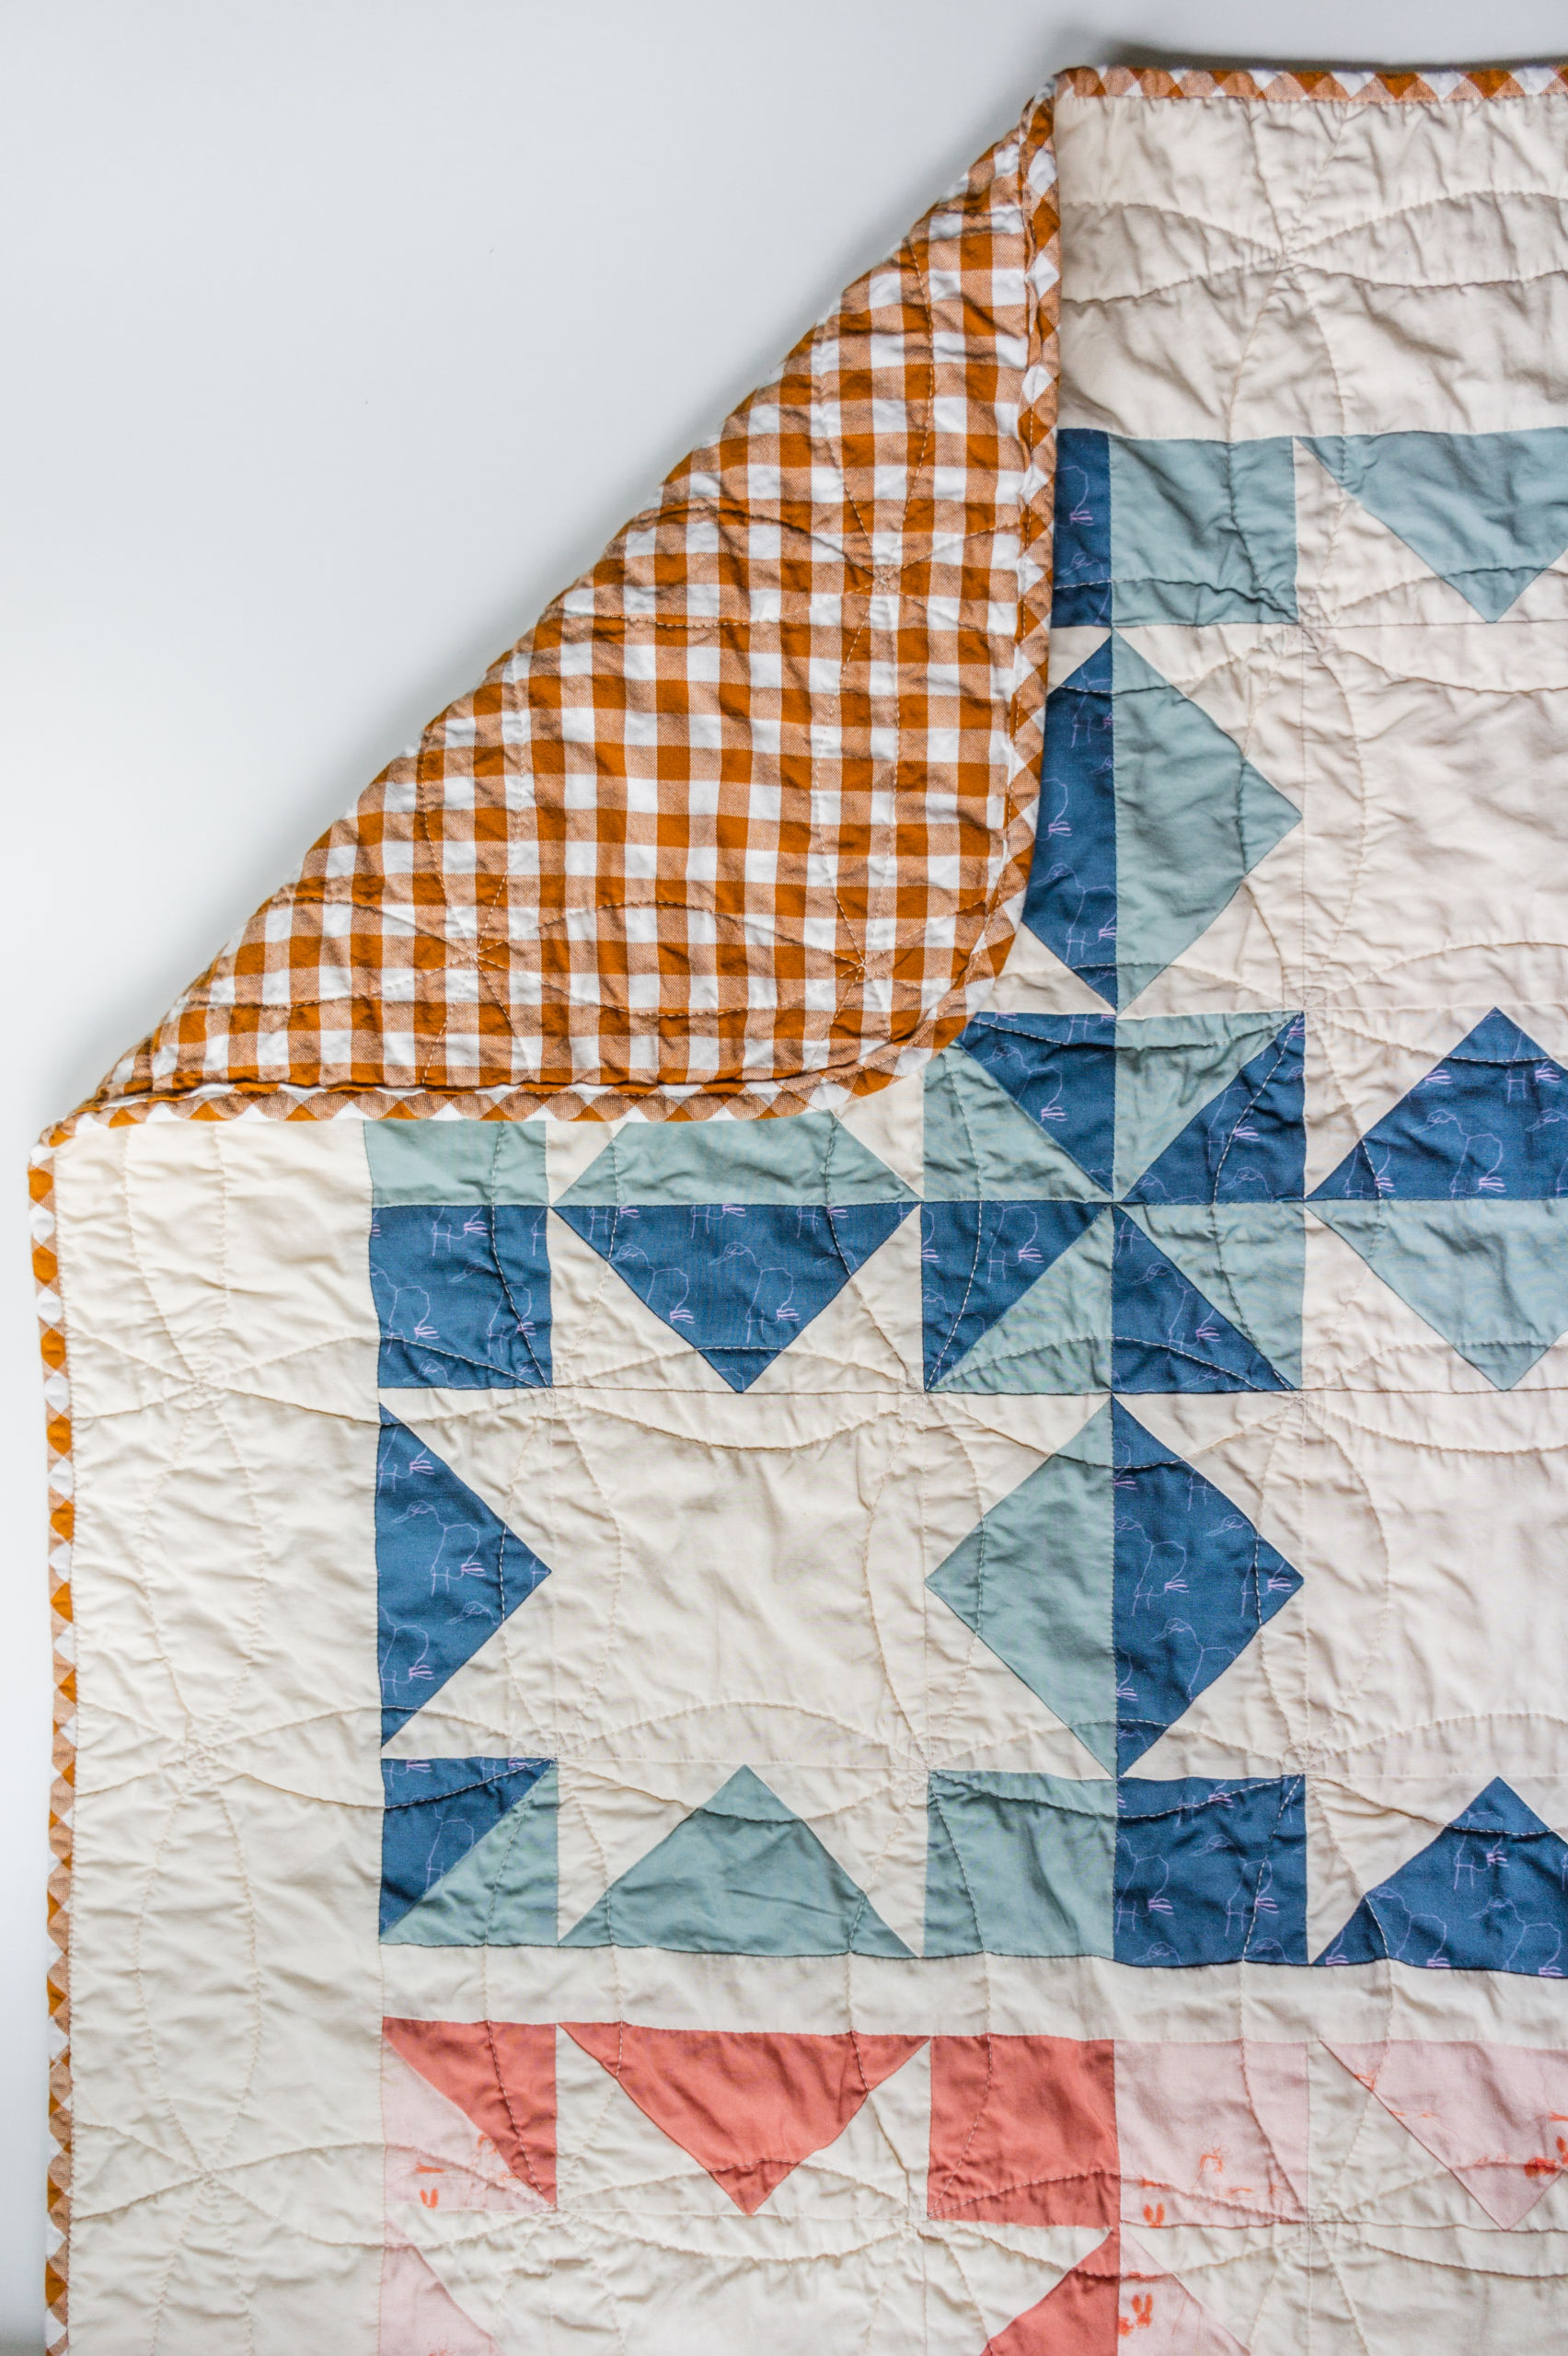
Step 1: Measure the quilt and cut bias binding strips. The binding strips should be twice the width of the quilt, plus a few extra inches for seam allowances.
Step 2: Join the bias binding strips together at a 45° angle. Sew them together with a 1/4-inch seam allowance. Iron the seams open.
Step 3: Fold the bias binding in half and press it. At this point, the binding should be the same width as the quilt.
Step 4: Place the bias binding on the quilt, right sides together. Line up the raw edges and pin them in place. Sew the bias binding to the quilt, using a 1/4-inch seam allowance.
Step 5: Flip the bias binding over the quilt edge, so that the wrong side of the binding is facing up. Pin the binding in place and topstitch it to the quilt.
Step 6: Clip the corners of the bias binding, being careful not to clip through the stitching.
Step 7: Fold the bias binding to the back of the quilt and hand stitch it in place.
Step 8: You’re done! Enjoy your beautiful quilt with bias tape binding.
How to Bind Quilt Without Bias
Step 1: Measure the edge of the quilt and cut the binding strips to the correct size. Make sure that the binding strips are cut straight and not on the bias.
Step 2: Pin the binding strips together and stitch them together, making sure to backstitch at the start and end of the seam.
Step 3: Trim the seam allowances to reduce the bulk.
Step 4: Fold the binding in half lengthwise, with the wrong sides of the fabric together. Press the binding.
Step 5: Pin the binding to the edge of the quilt, with the raw edges matching up and the fold of the binding on the top.
Step 6: Sew the binding to the quilt with a ⅜” seam allowance.
Step 7: Fold the binding over the edge of the quilt and press.
Step 8: With the folded edge of the binding facing up, sew the binding to the quilt with the same seam allowance.
Frequently Asked Questions
What type of bias binding should I use for my quilt?
- Cotton: Cotton bias binding is a popular choice as it is lightweight, easy to sew, and comes in a variety of colors and patterns. It also has a soft finish, making it comfortable to use on quilts.
- Polyester: Polyester bias binding is a great option for quilts because it is durable and has minimal stretching. It also comes in a variety of colors and prints.
- Wool: Wool bias binding is a great choice for quilts because it is thick and warm. It is also durable and has minimal stretching.
- Linen: Linen bias binding is a great choice for quilts because it is lightweight and breathable. It also has a natural texture, which adds character to the quilt.
What is the Best Method for Cutting Bias Binding?
- Fold the Fabric: Fold the fabric in half lengthwise, so the cut edges are aligned. Then fold the fabric in half again, this time widthwise.
- Cutting in Continuous Strips: Using a rotary cutter, cut along the folded edges to create continuous strips.
- Joining Strips: Join the strips by placing the ends of two strips together at a 90° angle. Pin the ends together and secure with a few stitches.
- Press and Trim: Press the joined strips open and trim to the desired width.
Cutting bias binding is an important step in the process of sewing bias binding on a quilt. The best method is to fold the fabric, cut the strips in a continuous length, join the strips, press them open, and trim them to the desired width. Following these steps will ensure that the bias binding is evenly cut and ready for use.
How Long Should My Bias Binding Strips Be?
Bias binding is a strip of fabric cut on the bias, which means it is cut diagonally across the fabric’s grain. The length of the bias binding strip should be 2.5 times the length of the quilt’s finished edge. For example, if your quilt’s finished edge is 1 metre, the bias binding strip should be 2.5 metres long. To make sure your binding is long enough, measure it against the quilt edge before you start sewing.
How do I finish the Ends of the Bias Binding?
To finish the ends of the bias binding, fold the binding over itself at the edge of the quilt. Pin the binding in place, then stitch it down with a straight stitch. Trim off any excess binding and press the binding flat. Finally, topstitch the binding to the quilt, making sure to catch the folded edge on the wrong side of the quilt.
Can I use bias binding for all quilt edges?
Yes, you can use bias binding for all quilt edges. Bias binding is a great way to finish off quilt edges as it is flexible and can be used to wrap around the edges of the quilt to create a neat, tidy finish. It is especially suitable for curved edges, such as around the scallops of a quilt.
Conclusion
Bias binding is a great way to finish off a quilt and give it a professional look. With the help of this step-by-step guide, you can learn how to properly sew bias binding on your quilt. With some practice and patience, you will be able to master the technique and make beautiful quilt projects.
