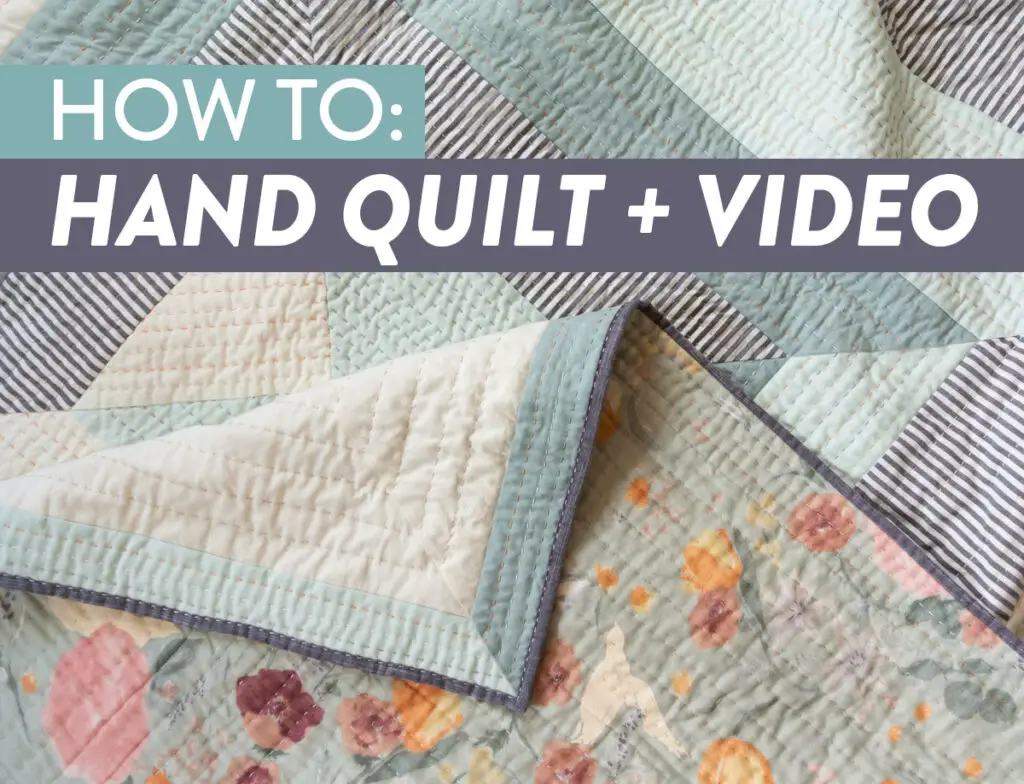
Creating a quilt is a great way to show off your sewing skills and make a beautiful, one-of-a-kind piece of art for your home. If you’re looking to learn how to sew quilt squares together by hand, you’ve come to the right place. This step-by-step guide will walk you through the process from start to finish, so you can create a hand-sewn quilt that you’ll be proud of.
Materials Needed
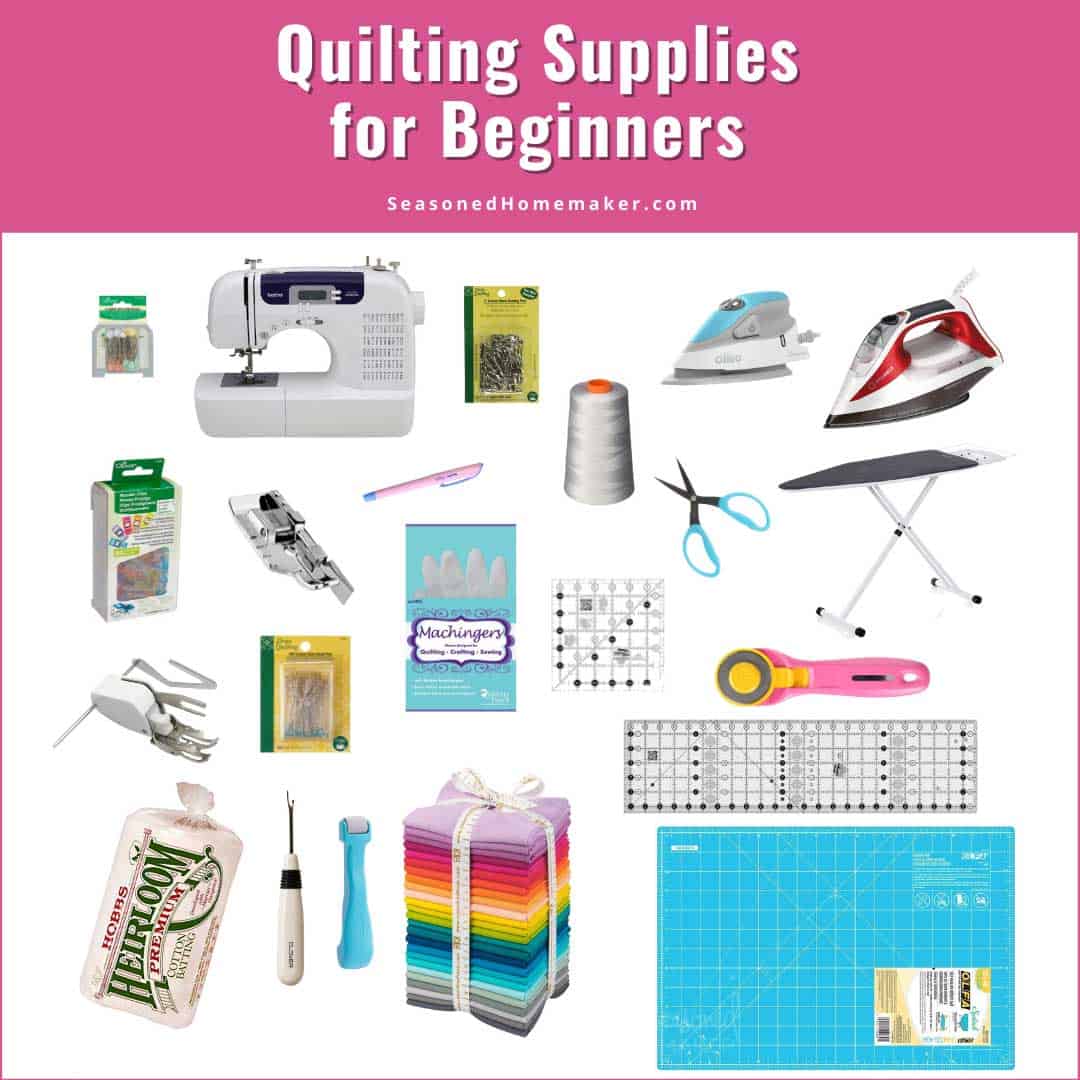
- Fabric – enough fabric to make the quilt top, cut into pieces according to the pattern.
- Thread – use cotton quilting thread in a color that matches or complements the fabric.
- Scissors – small scissors for cutting thread, and larger fabric scissors for cutting fabric.
- Needles – use quilting needles specifically designed for hand-piecing quilts.
- Thimble – a thimble helps protect your finger from needle pricks.
- Quilt Batting – a layer of batting is needed in the middle of your quilt.
- Iron and Ironing Board – for pressing seams.
These are the materials you will need to get started on your project of how to hand piece a quilt for beginners.
Preparing the Fabric
- Press the fabric before cutting to ensure accuracy.
- Cut the fabric into squares using a rotary cutter and self-healing mat.
- Stack the squares in two piles, and then press each stack.
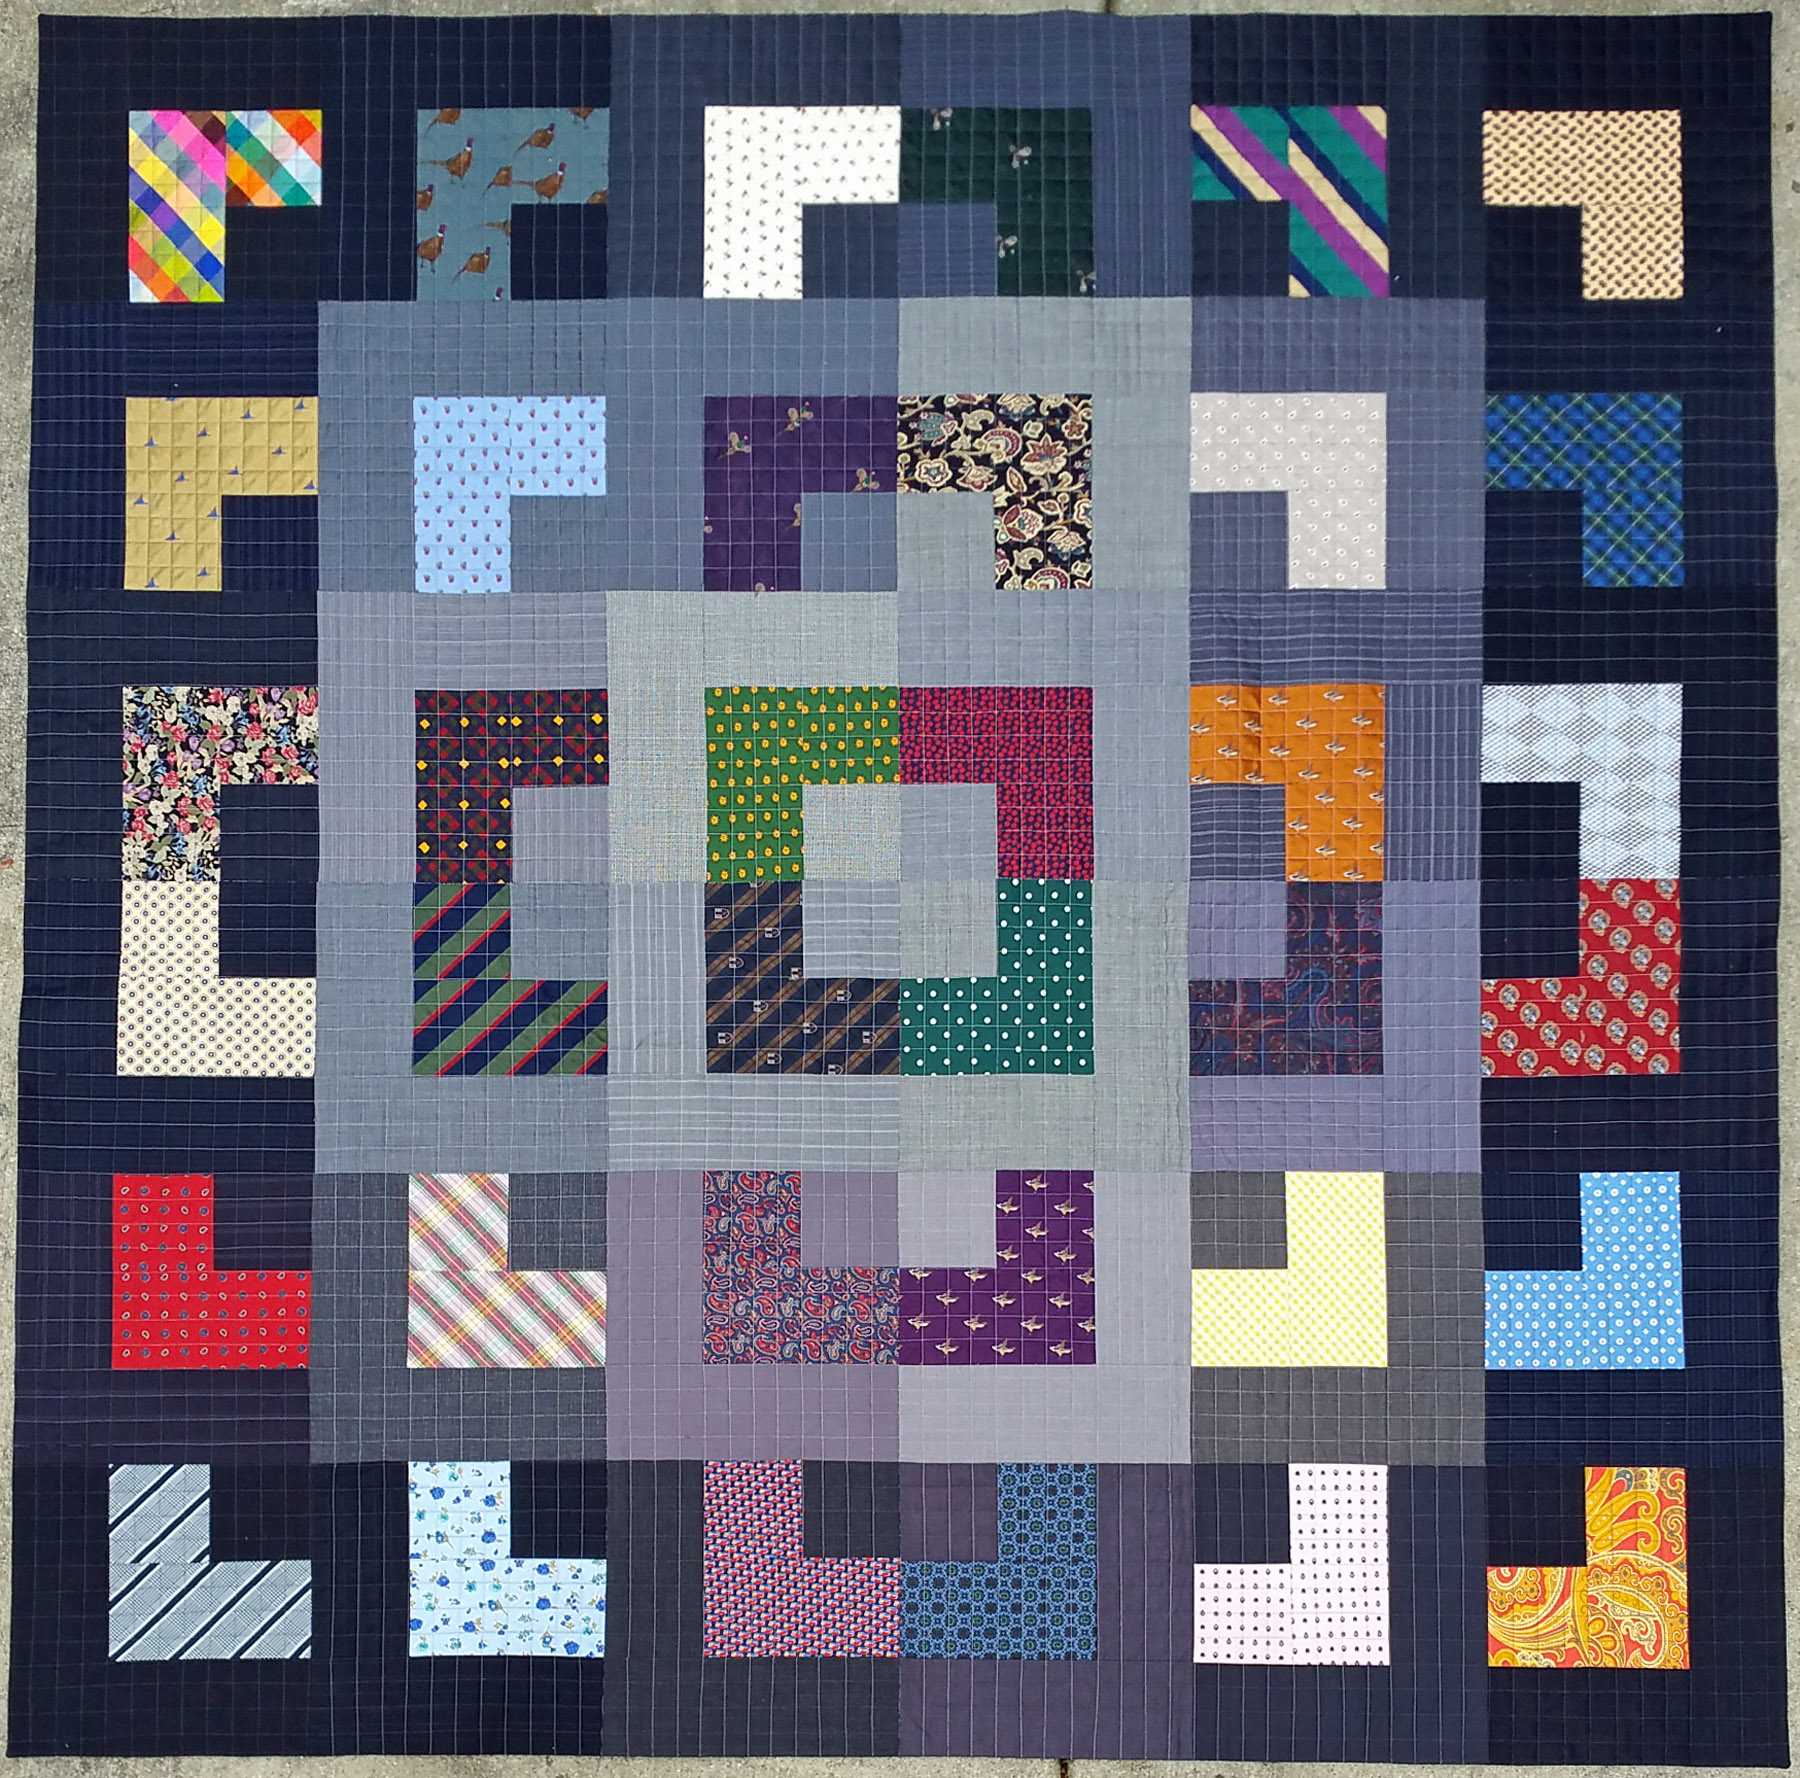
- Lay out the squares in the desired pattern for how to hand piece a quilt top.
Measuring and Cutting Squares
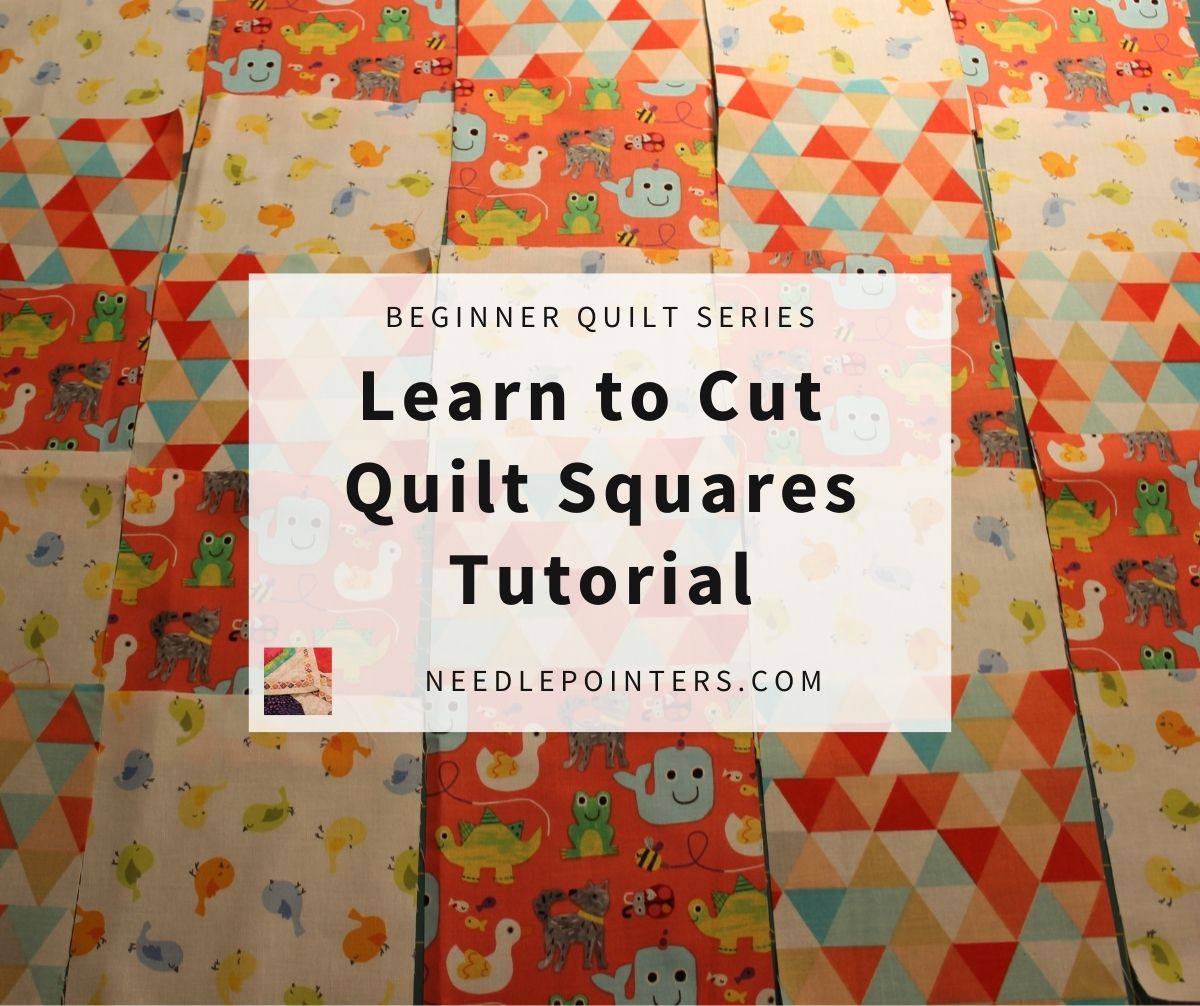
- Measure your fabric: Always measure the fabric before cutting the squares to the desired size. Measure twice and cut once for accuracy.
- Cut the fabric: Cut the fabric into small squares, making sure to cut straight lines for perfectly even edges.
- Mark the squares: Mark the squares by folding the fabric into a triangle and cutting along the fold. This will create two equal triangles.
- Align the pattern: Align the pattern of the fabric to create a more uniform look. This is especially important when sewing patchwork quilts.
- Cut accurately: Always use a ruler or measuring tape when cutting the fabric. This will help ensure that the squares are perfectly even and will fit together nicely when sewing.
Once you have the fabric measured, cut, and marked, you can begin to hand sew your simple patchwork quilt. Begin by sewing the squares together in rows, and then sew the rows together to create the quilt top. After the quilt top is complete, you can then add batting, fabric backing, and binding to create a finished quilt.
Marking the Squares
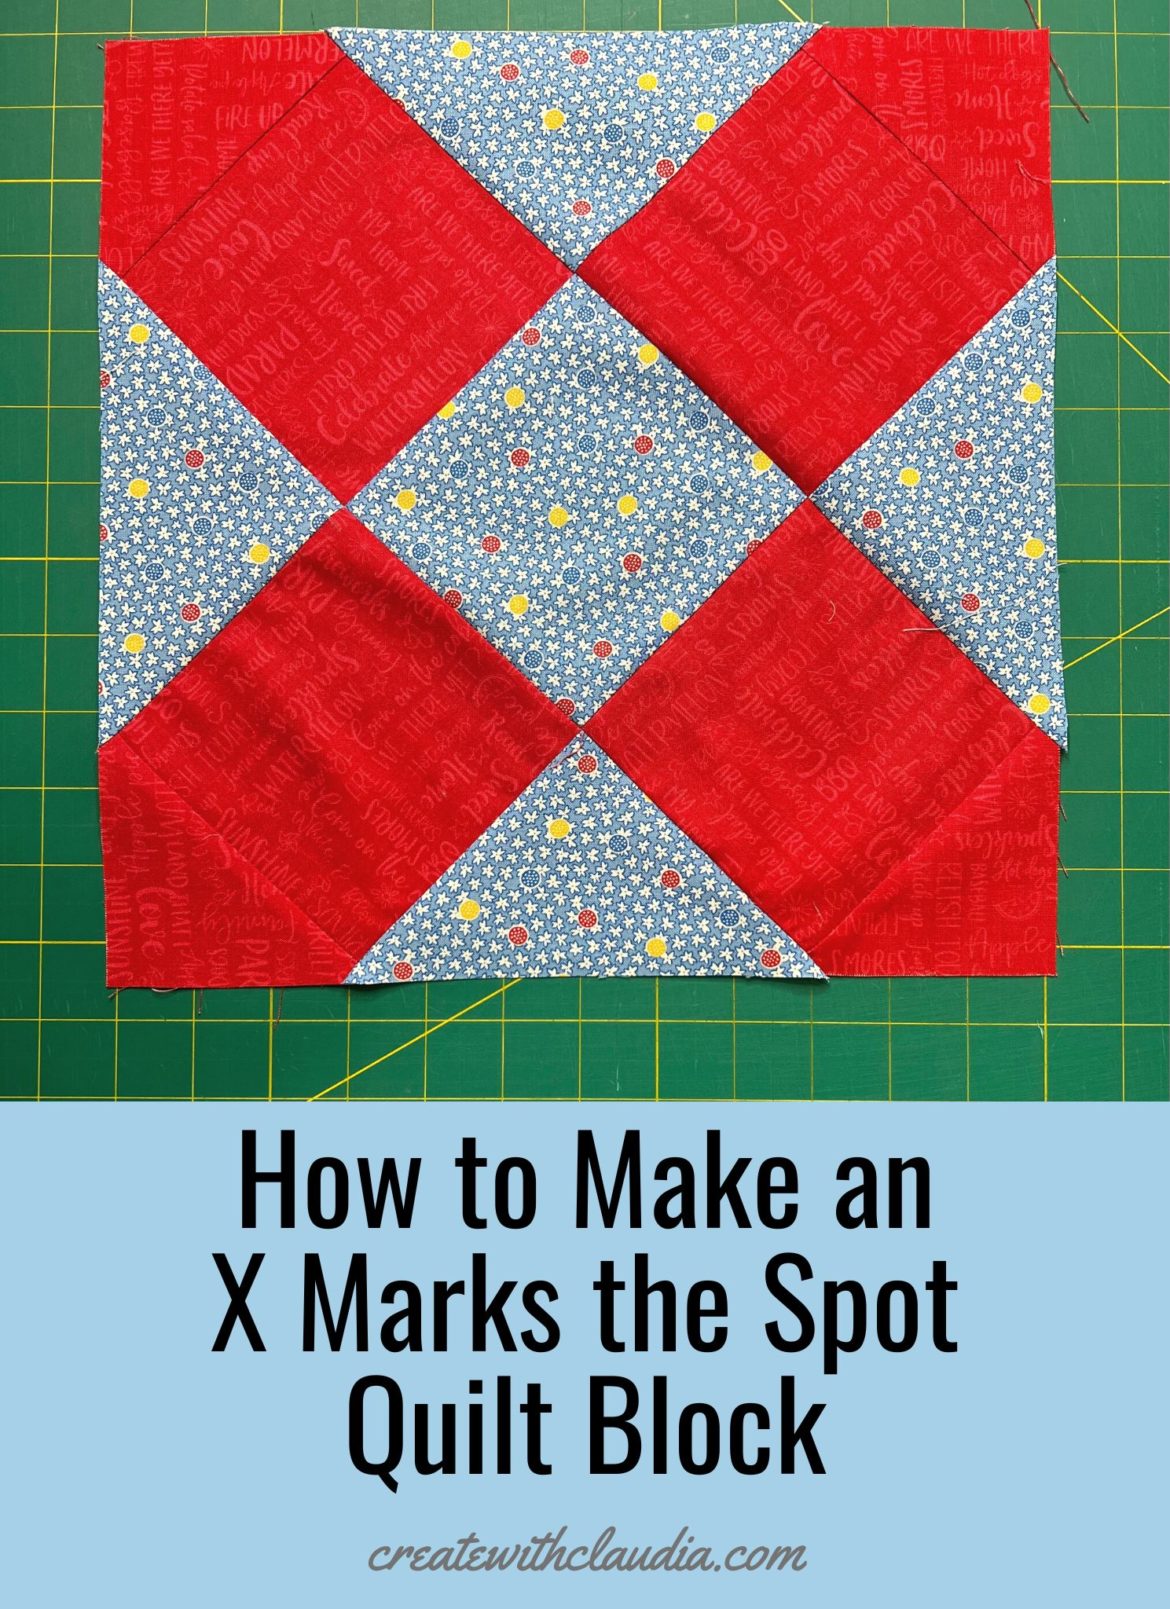
Hand stitching quilt squares is made easier with the right tools. Marking the squares is one of the most important steps in hand stitching quilts. It helps you keep track of the pieces and is essential for accurate piecing.
- Tools: To mark the quilt squares, you need a sewing ruler, a fabric pen or marker, and a seam ripper.
- Marking: Use the ruler to measure and mark the edges of the quilt squares. Make sure to leave a small seam allowance for sewing. Use the fabric pen or marker to mark the edges. Use the seam ripper to make tiny holes for the needle at the beginning and end of each seam.
- Accuracy: Be precise when marking the quilt squares. This helps to ensure accuracy and make the sewing process easier. Make sure to measure twice, mark once, and double check the measurements.
- How Easy Is It to Hand Stitch Quilts with Patches? With the right tools, marking the quilt squares correctly and accurately, and following the instructions, hand stitching quilts with patches is easy and enjoyable.
Stitching the Squares
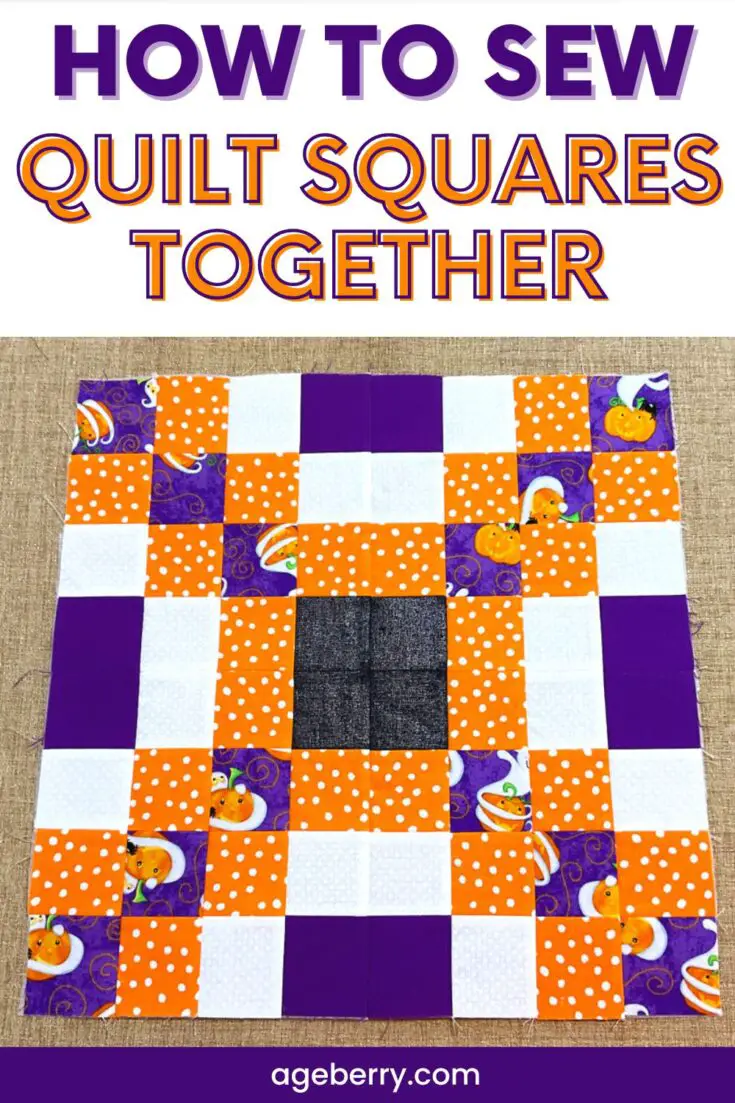
Once you have arranged the quilt squares in your desired pattern, you can start to sew them together. To hand sew quilt squares together, you will need a needle, thread, and a thimble. Here are the steps to follow:
- Thread your needle: Cut a piece of thread long enough to comfortably work with and thread your needle. Tie a knot at the end of the thread for added security.
- Start sewing: Start from the back side of the quilt, using a running stitch. Insert the needle through one of the quilt squares and bring it back up on the other side. Continue to sew in this manner, keeping your stitches even and consistent. If you need to add more thread, tie it onto the existing thread.
- Go around the edges: When you reach the edge of the quilt, turn the corner and continue sewing around the edges. Make sure you are sewing through all the layers of fabric.
- Tie off: When you reach the starting point, tie off the thread securely. Trim off any excess thread.
You can use this same technique to hand sew a quilt square together around pieces. Just make sure the stitches are even and tight, so the quilt will be durable and long lasting.
Joining the Squares
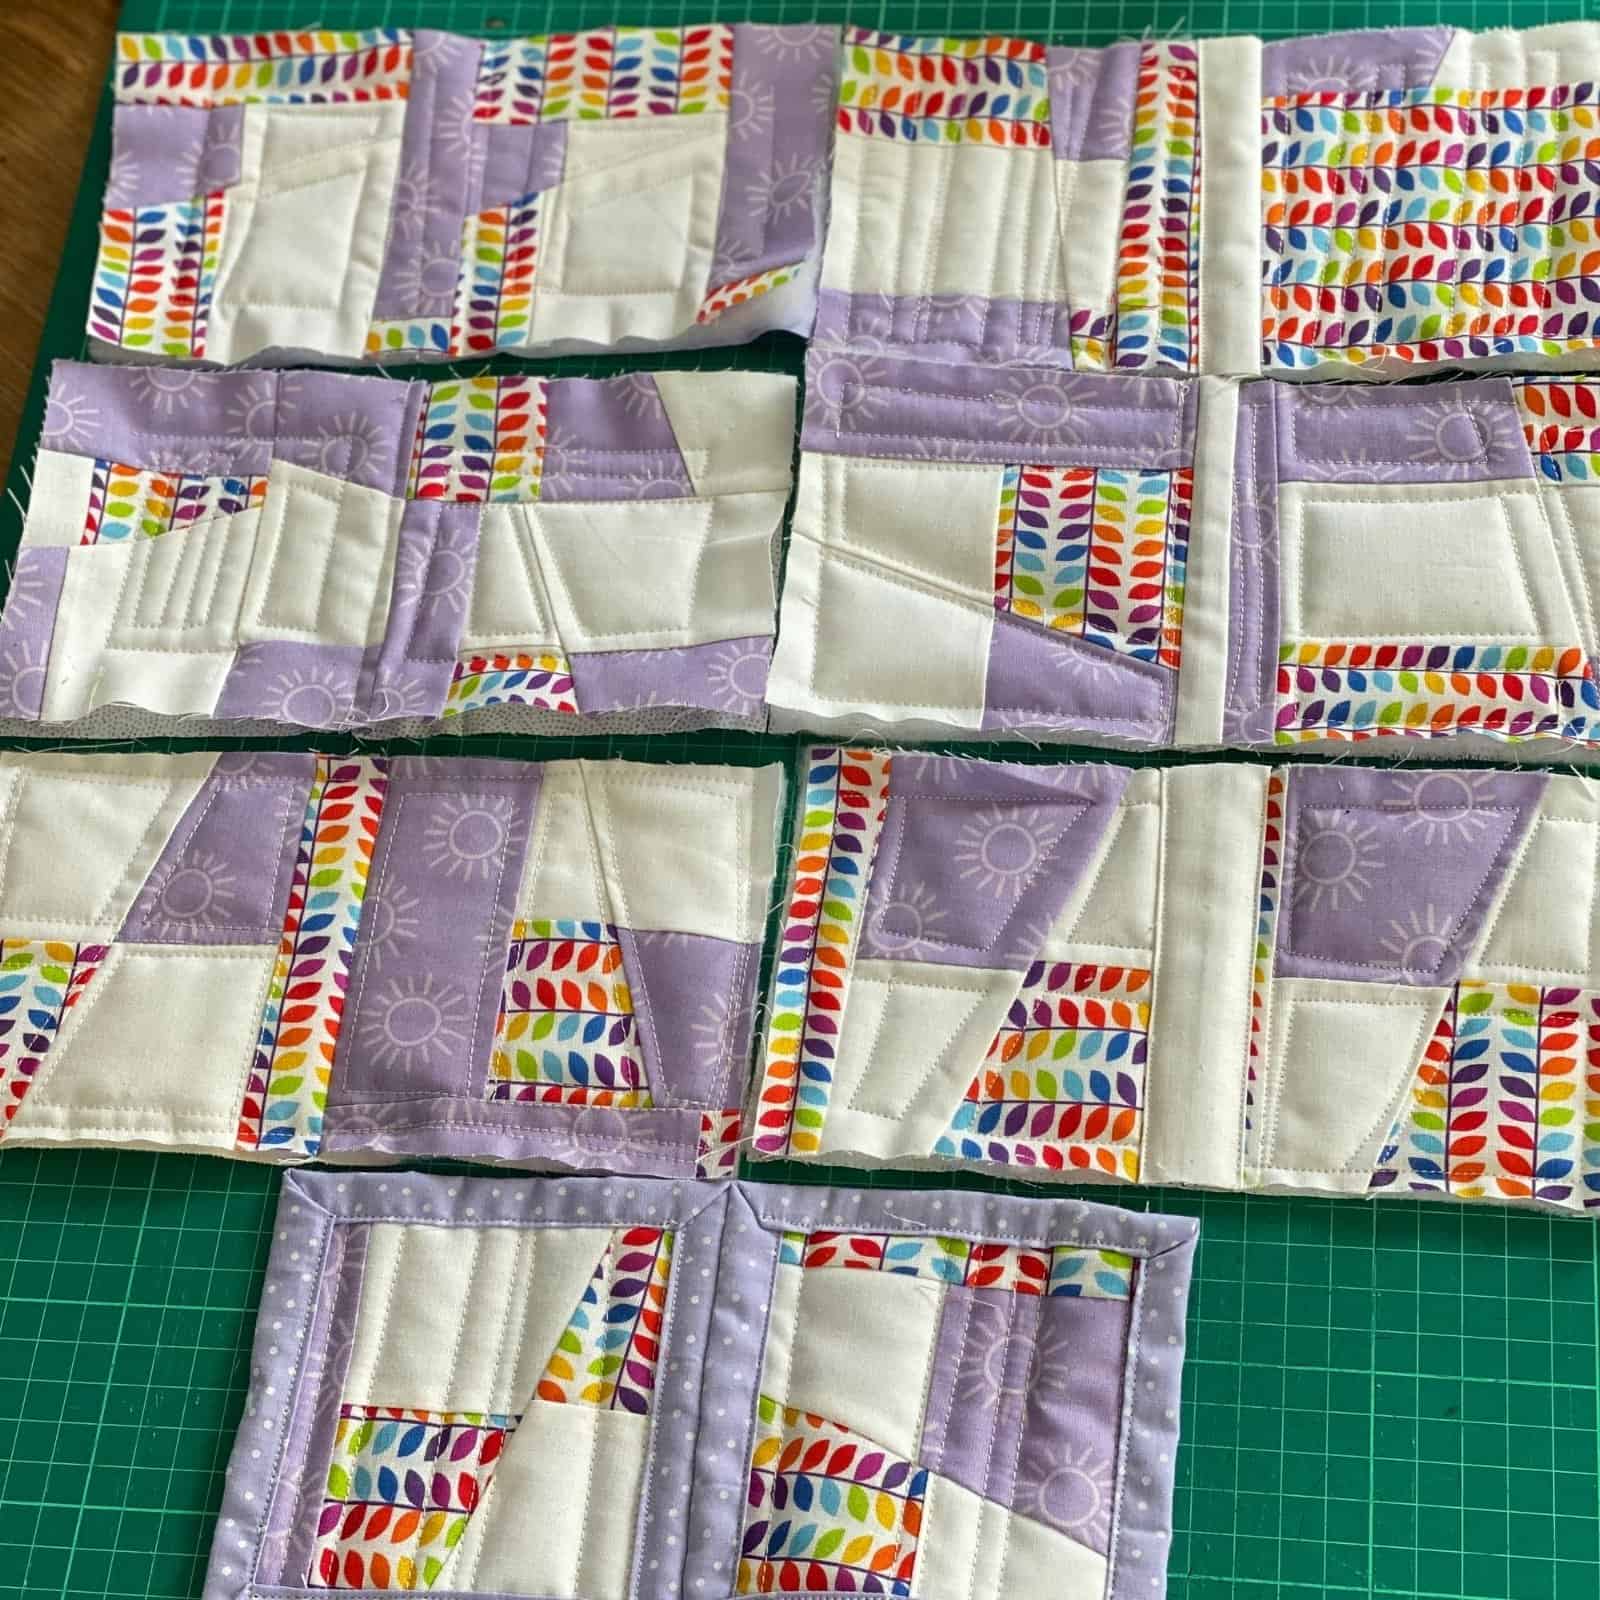
To join your quilt squares together by hand, start by laying two quilt squares right sides together, aligned at their edges. Secure the squares together with pins. Take a threaded needle and, starting from the back of the quilt, stitch the squares together using a running stitch. Start at one corner and run the stitch along the edge of the squares, making sure to keep your stitches even. Secure the thread after each row of stitching. When you reach the end of the edge, knot the thread securely and trim any excess thread. Repeat this process for all the quilt squares until all the quilt squares have been joined together. If you need a visual guide, watch a how to hand piece a quilt video for instruction.
Finishing the Quilt Top
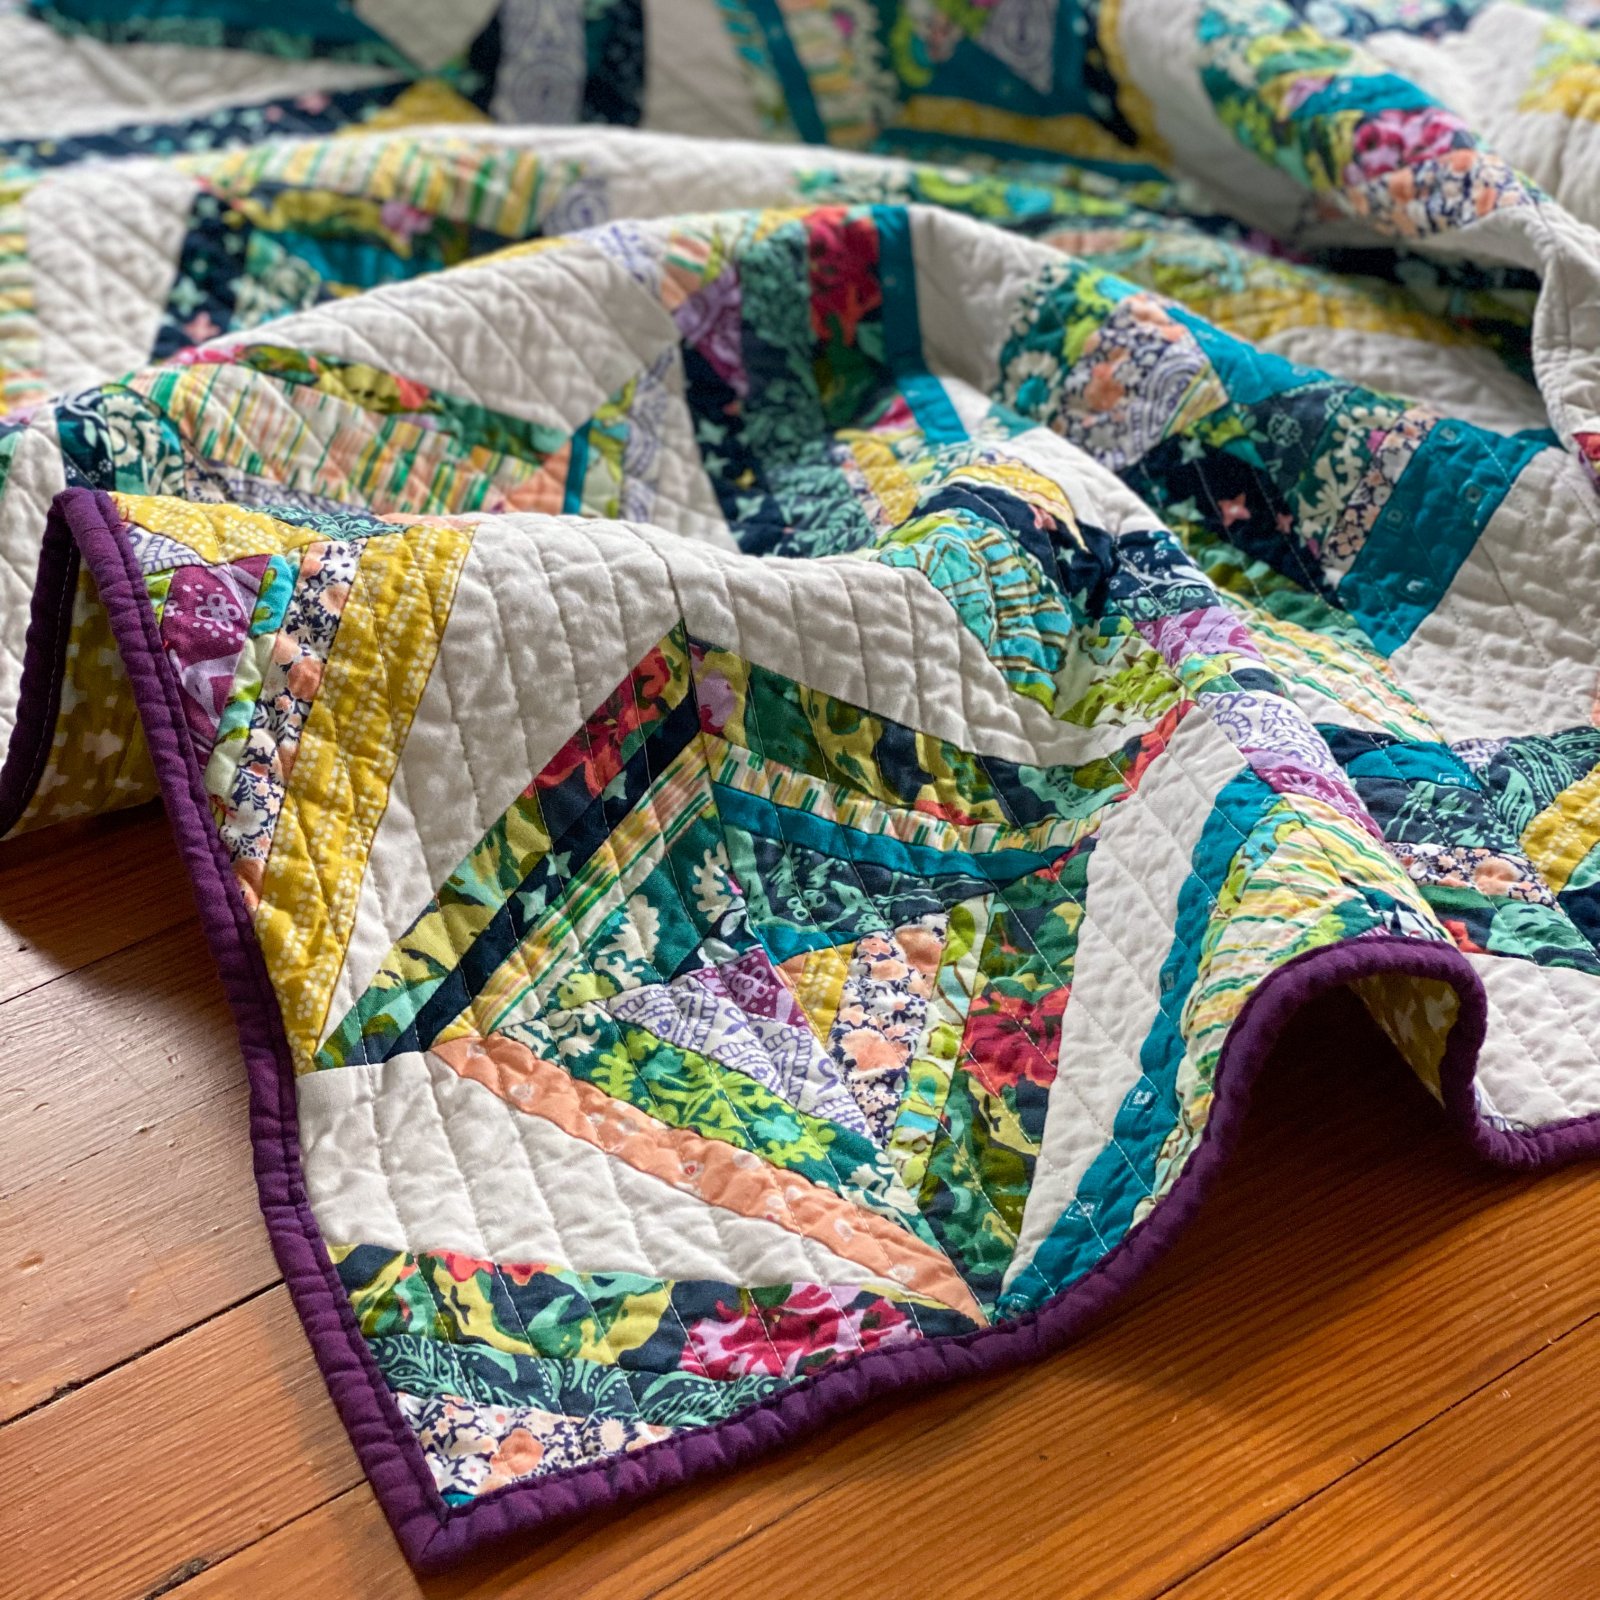
Once all the quilt squares have been sewn together, it’s time to finish the quilt top. Start by pressing all the seams with an iron and an ironing board. Once the fabric is warm to the touch, lay it out on a flat surface with the right side of the fabric facing up.
To quilt the top, use a quilting needle and thread to stitch the quilt together. Start by stitching in the ditch, which means stitching along the seams of the quilt. To do this, use the needle to stitch through all three layers of fabric at the same time.
Once the in-the-ditch stitching is complete, use a quilting ruler and rotary cutter or scissors to cut the batting and backing fabric to the same size as the quilt top. Pin the batting and backing fabric to the quilt top with pins.
Using a walking foot or a free-motion foot, stitch the quilt top together with the batting and backing fabric. For extra security, stitch around the perimeter of the quilt a few times.
When the quilting is finished, bind the quilt by measuring the perimeter of the quilt and cutting four strips of fabric that are 1 ½ inches wide and slightly longer than the perimeter of the quilt. Sew the binding strips together to create one continuous strip.
Fold the binding strip in half lengthwise and press with an iron. Pin the binding strip to the quilt with right sides together. Sew the binding strip to the quilt with a ¼ inch seam allowance.
Fold the binding to the back of the quilt and hand stitch the binding in place. Trim the excess batting and backing fabric from the quilt. Finally, press the quilt with an iron to give it a crisp, finished look.
Congratulations, you have successfully finished the quilt top!
Quilting the Quilt Top
Quilting is the last step in hand piecing a quilt. After the quilt top has been sewn together and the backing and batting have been attached, the quilt is ready to be quilted. Quilting can be done by hand or with a sewing machine.
- Prepare the quilt top by pressing it, trimming off any excess fabric, and basting it together.
- Mark the quilting pattern on the quilt top. This can be done with a pencil, or by using a quilting ruler or template.
- Thread the needle with the quilting thread and knot the end.
- Start quilting in the center of the quilt and work outward. Use a running stitch to stitch along the quilting lines.
- Continue quilting until the entire quilt top is quilted. Knot the thread and trim the excess.
Quilting is an easy way to add texture and interest to a quilt, and is a great way to learn how to hand piece a quilt for beginners. With a little practice, anyone can learn how to hand sew a quilt top, and create beautiful quilts for themselves or for gifts.
- Measure the quilt: The first step to binding a quilt is to measure the quilt to determine the length of binding tape needed.
- Cut the binding tape: Cut the binding tape into two inch wide strips. The number of strips will depend on the size of the quilt.
- Sew the strips together: Sew the strips together in a continuous circle. Make sure to backstitch at the beginning and end to secure the edges.
- Press the seams:Once the binding tape is sewn together, press the seams open with an iron.
- Attach the binding tape to the quilt: Place the binding tape on the right side of the quilt and pin it in place. Starting at one corner, sew the binding tape to the quilt using a ¼ inch seam allowance.
- Miter the corners: To create mitered corners, fold the binding tape at a 45-degree angle when sewing the last two sides together.
- Fold the binding tape: When you reach the starting point, fold the binding tape to the back of the quilt and pin in place.
- Sew the binding tape in place: Hand stitch the binding tape in place by stitching in the ditch from the front of the quilt.
Frequently Asked Questions
What Kind of Needle Should I Use to Sew Quilt Squares Together?
A sharp, medium-length needle is the best choice for sewing quilt squares together by hand. Look for needles labeled “hand quilting” or “betweens.” They come in sizes ranging from 8 to 12, but size 10 is most commonly used. The size of the needle is determined by its length and width. Longer needles are better for multiple layers of fabric and batting. Choose a needle with a large eye to make threading easier.
Is There a Special Thread I Should Use to Sew the Quilt Squares Together?
For best results when sewing quilt squares together by hand, use a quilting or cotton thread. Quilting thread is generally stronger than all-purpose thread, and the cotton fiber helps to reduce friction, making sewing easier. Additionally, the cotton fiber is less likely to break than other types of thread. Be sure to use a thread color that matches or complements the fabric in your quilt.
What is the Best Way to Keep the Fabric from Slipping While I Sew?
- Pin the Fabrics Together: Pinning the two fabrics together before sewing is the best way to prevent them from slipping. Sewing pins will hold the fabrics in place and make it easier to sew.
- Baste the Fabrics Together: Basting the two fabrics together with a long running stitch is another way to keep the fabrics from slipping. Use a contrasting thread for easy removal after the quilt square is sewn together.
- Use Sewing Clips: Sewing clips can be used to hold the fabrics in place while you sew the quilt square together. Clips are especially helpful in areas where pins are not practical, such as around curves and points.
- Use Iron-on Adhesive: Iron-on adhesive is another way to keep the fabrics from slipping while you sew. It is especially helpful when sewing smaller pieces of fabric together. The adhesive will hold the fabrics in place until you are ready to sew.
Is there a way to make sure all the squares are the same size before I start sewing them together?
Cutting and Measuring: Before sewing the quilt squares together, it is important to make sure that all the squares are the same size. To do this, measure each square with a ruler or measuring tape and cut accordingly. If the squares are already cut, double check that they are all the same size. Once all the squares are the same size, you can begin sewing them together.
What is the Best Way to Finish the Edges of the Quilt So That It Looks Neat and Professional?
To achieve a neat and professional finish to your quilt, use a blanket stitch to secure the edges of the quilt squares together. This stitch is easy to master and will give your quilt a polished look. You can also consider using a French knot or a whipstitch for a decorative finish. Consider using a coordinating thread for your quilt edges to give it a finished look.
Conclusion
Sewing quilt squares together by hand is a time-consuming but rewarding process that allows you to create beautiful, one-of-a-kind quilts. By following the steps outlined in this guide, you can confidently create your own quilt squares and assemble them into a stunning quilt.
