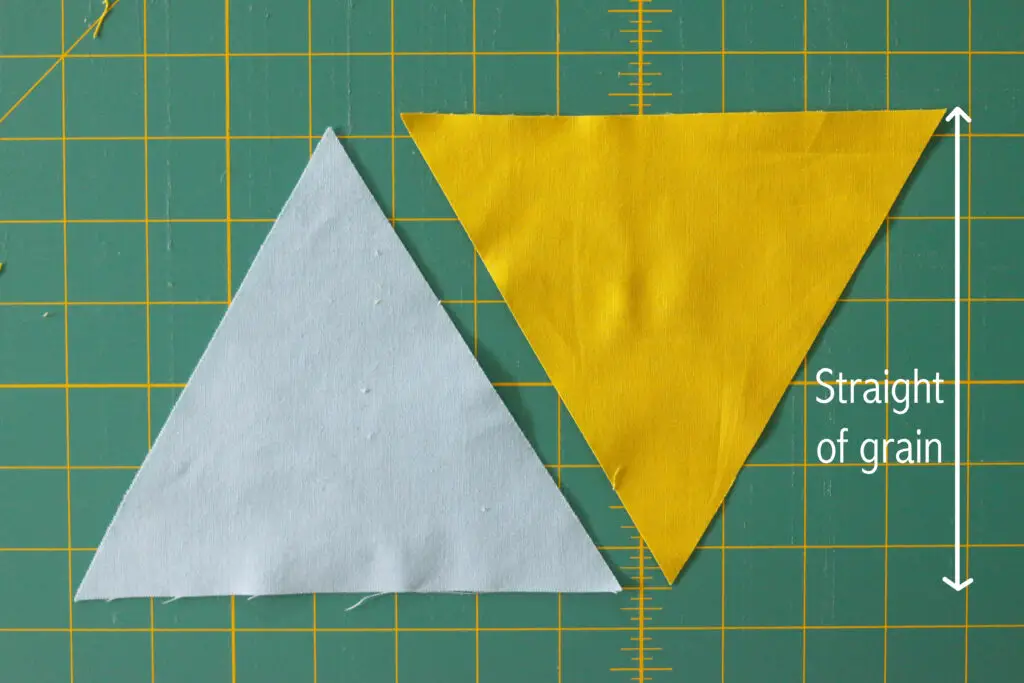
Are you looking to learn how to sew triangle quilt pieces together? If so, this step-by-step guide is just what you need! We’ll provide you with the information and instructions you need to successfully sew together triangular quilt pieces. By the end of this guide, you’ll be an expert in connecting quilt pieces in a triangle pattern. So, let’s get started!
Materials Required
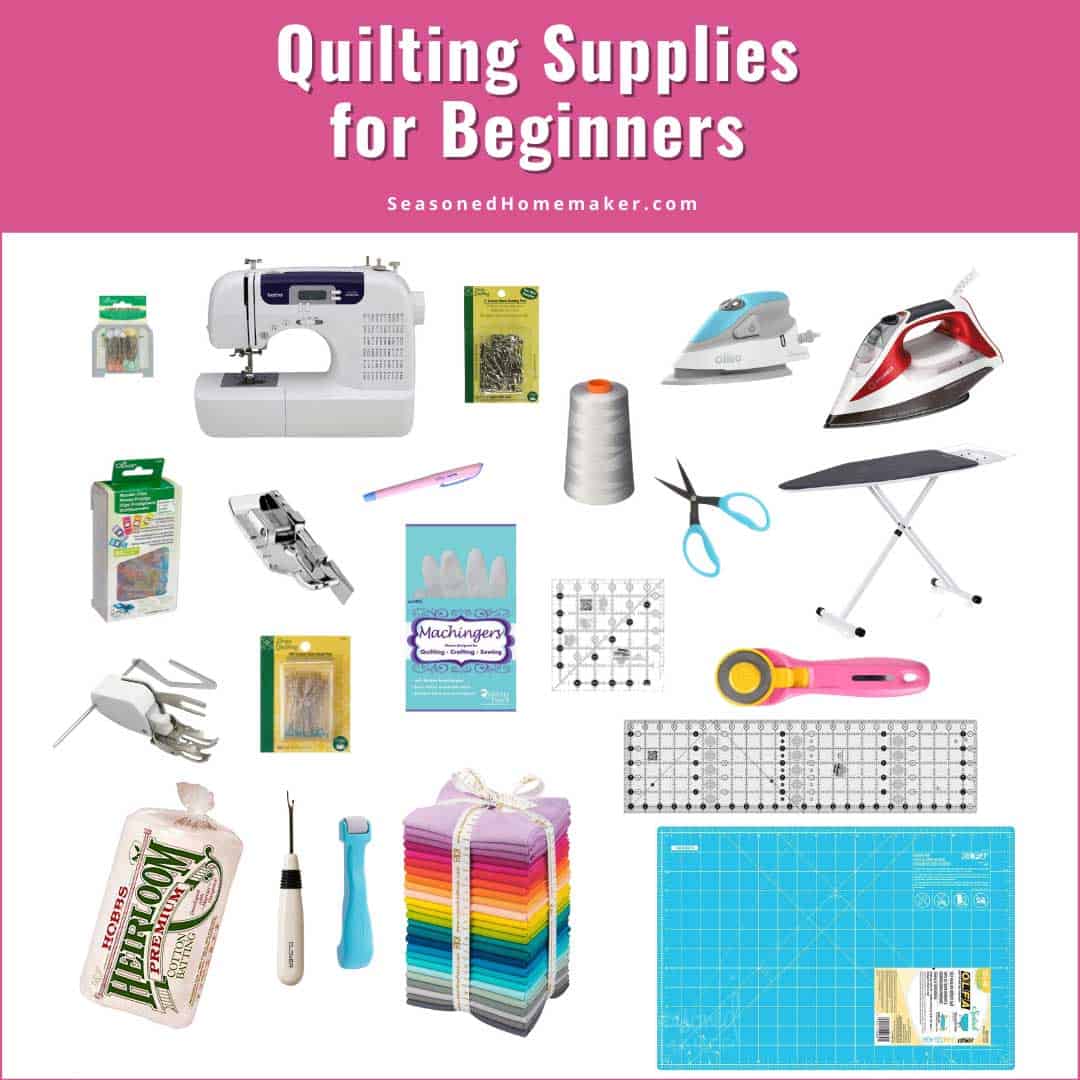
| Items | Quantity |
|---|---|
| Fabric | As per quilt size |
| Triangle Quilt Templates | As per quilt size |
| Thread | As per requirement |
| Pins | As per requirement |
| Sewing Machine | 1 |
The materials required for how to piece a triangle quilt are fabric, triangle quilt templates, thread, pins, and a sewing machine. The quantity of fabric and templates will depend on the size of the quilt, while the quantity of thread and pins will depend on the individual’s preference. A sewing machine is necessary for this project.
Preparing the Quilt Pieces
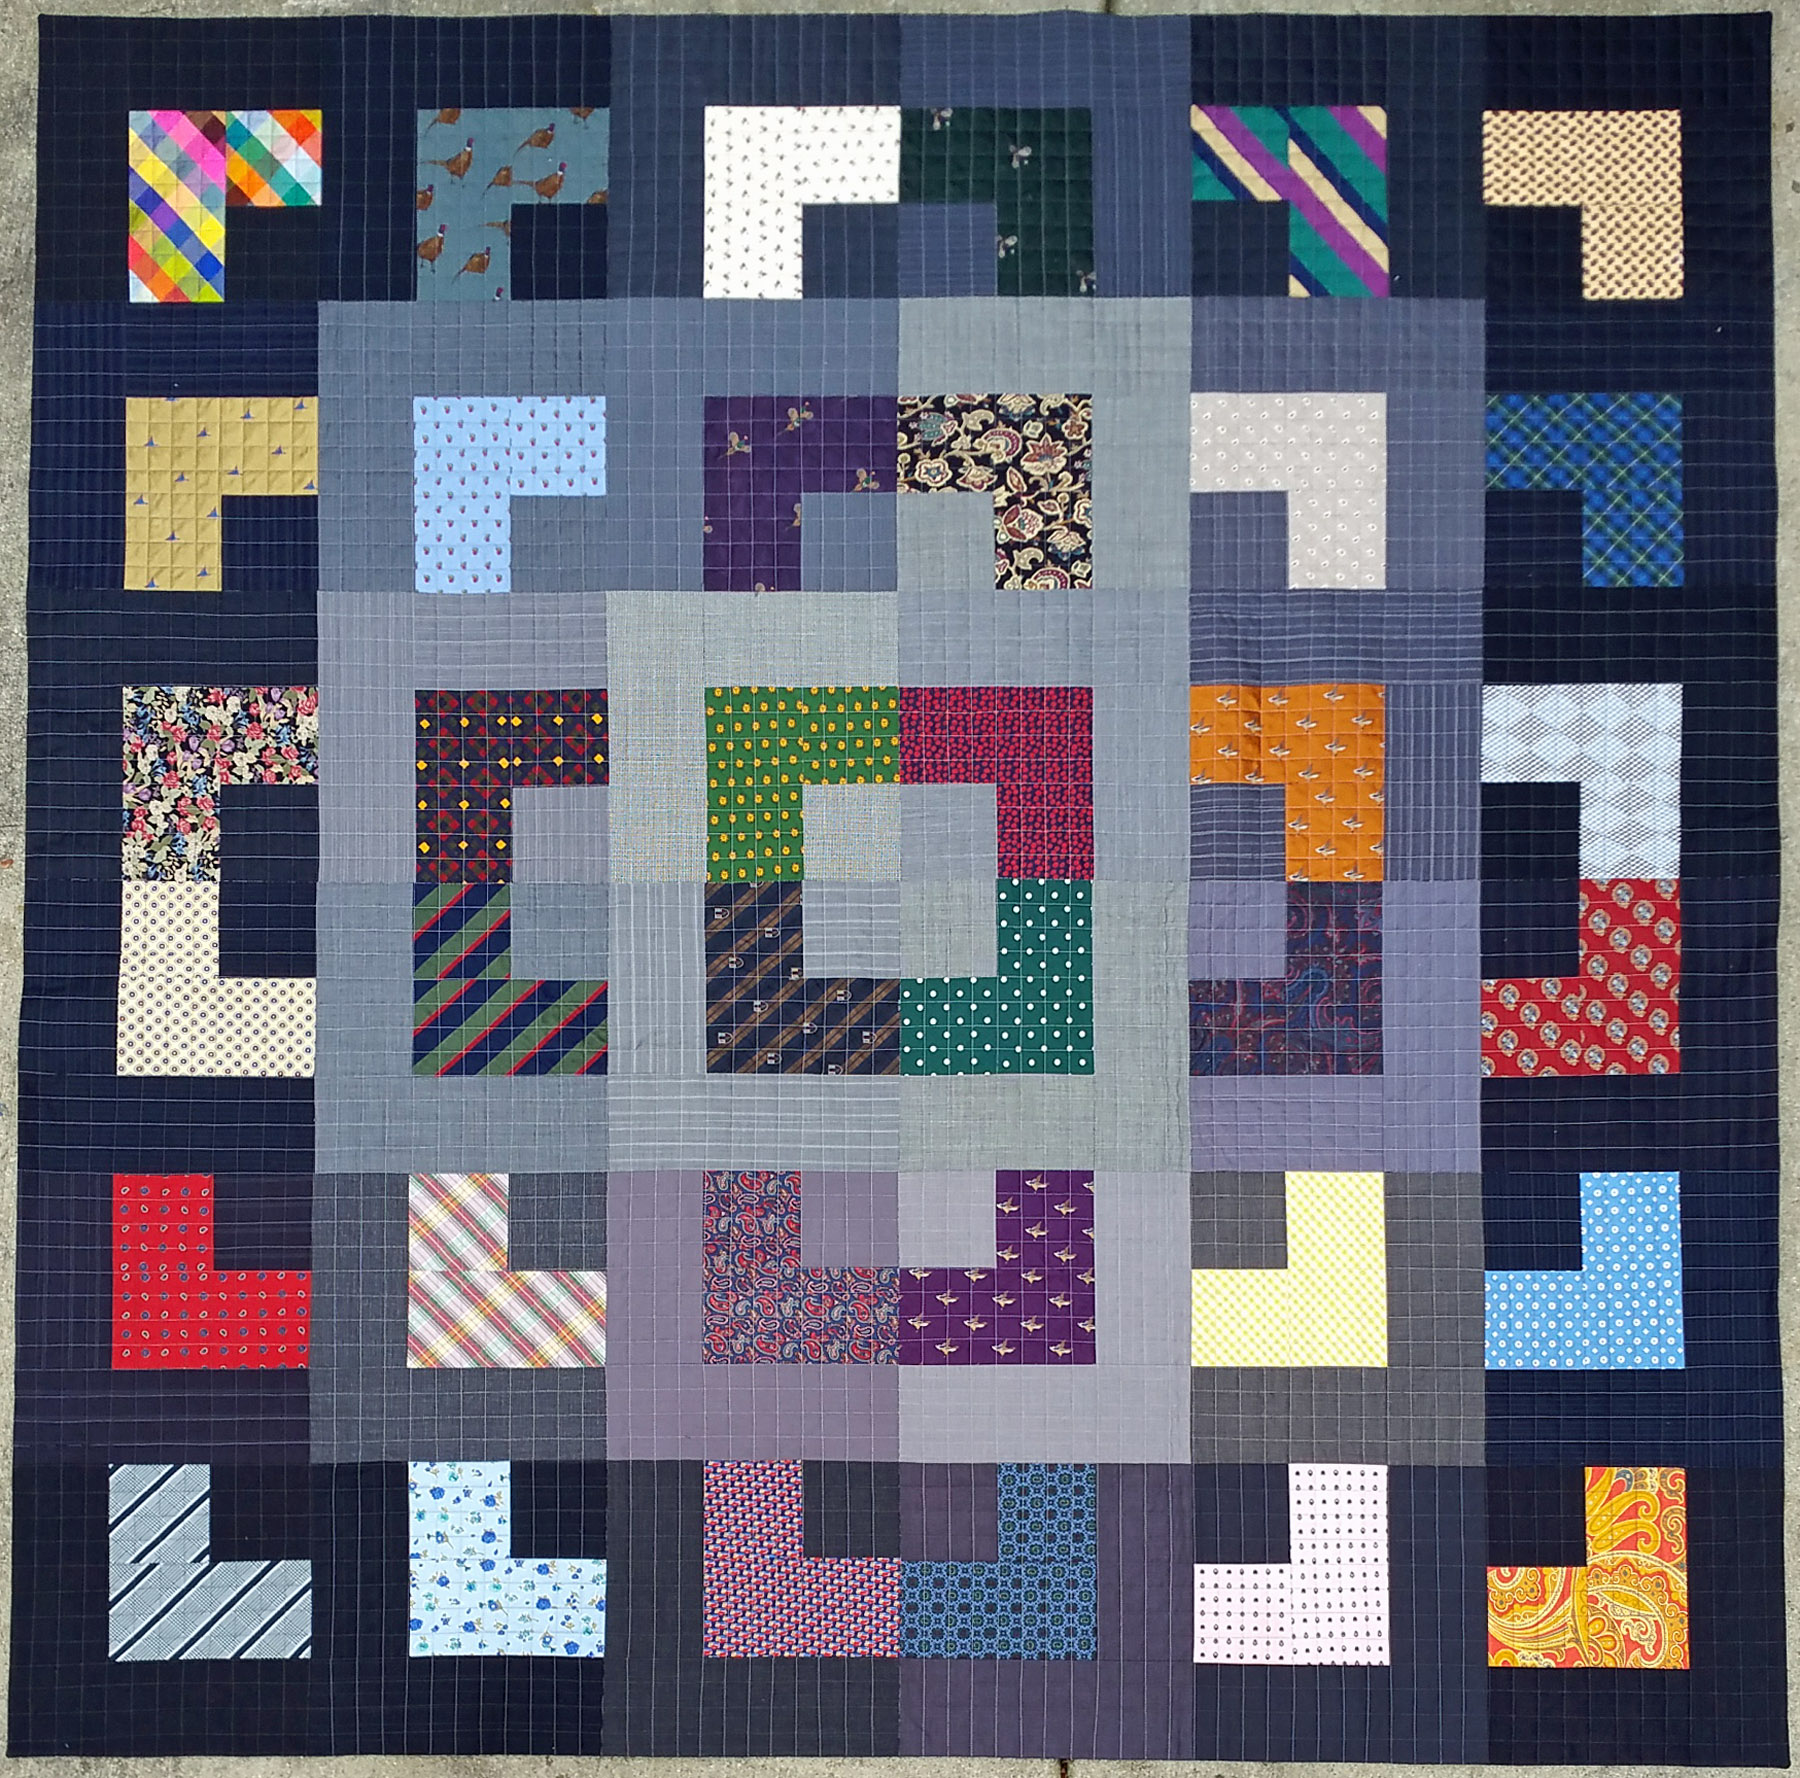
- Fabric: Depending on what you plan to quilt in triangles, choose the fabric accordingly. It is best to use a medium weight cotton fabric for the quilt top. Cut the fabric into the desired triangle shapes.
- Measuring: Measure the desired size for the triangles. Use a ruler and tailor’s chalk to mark the lines for cutting. Make sure the pieces are cut accurately.
- Pinning: Pin the pieces together, matching the edges and points. This helps ensure that the pieces are sewn together accurately.
- Ironing: Iron the fabric before sewing. This helps the pieces lay flat and makes sewing easier.
Sewing the Triangle Quilt Pieces Together
Piecing the Quilt Together
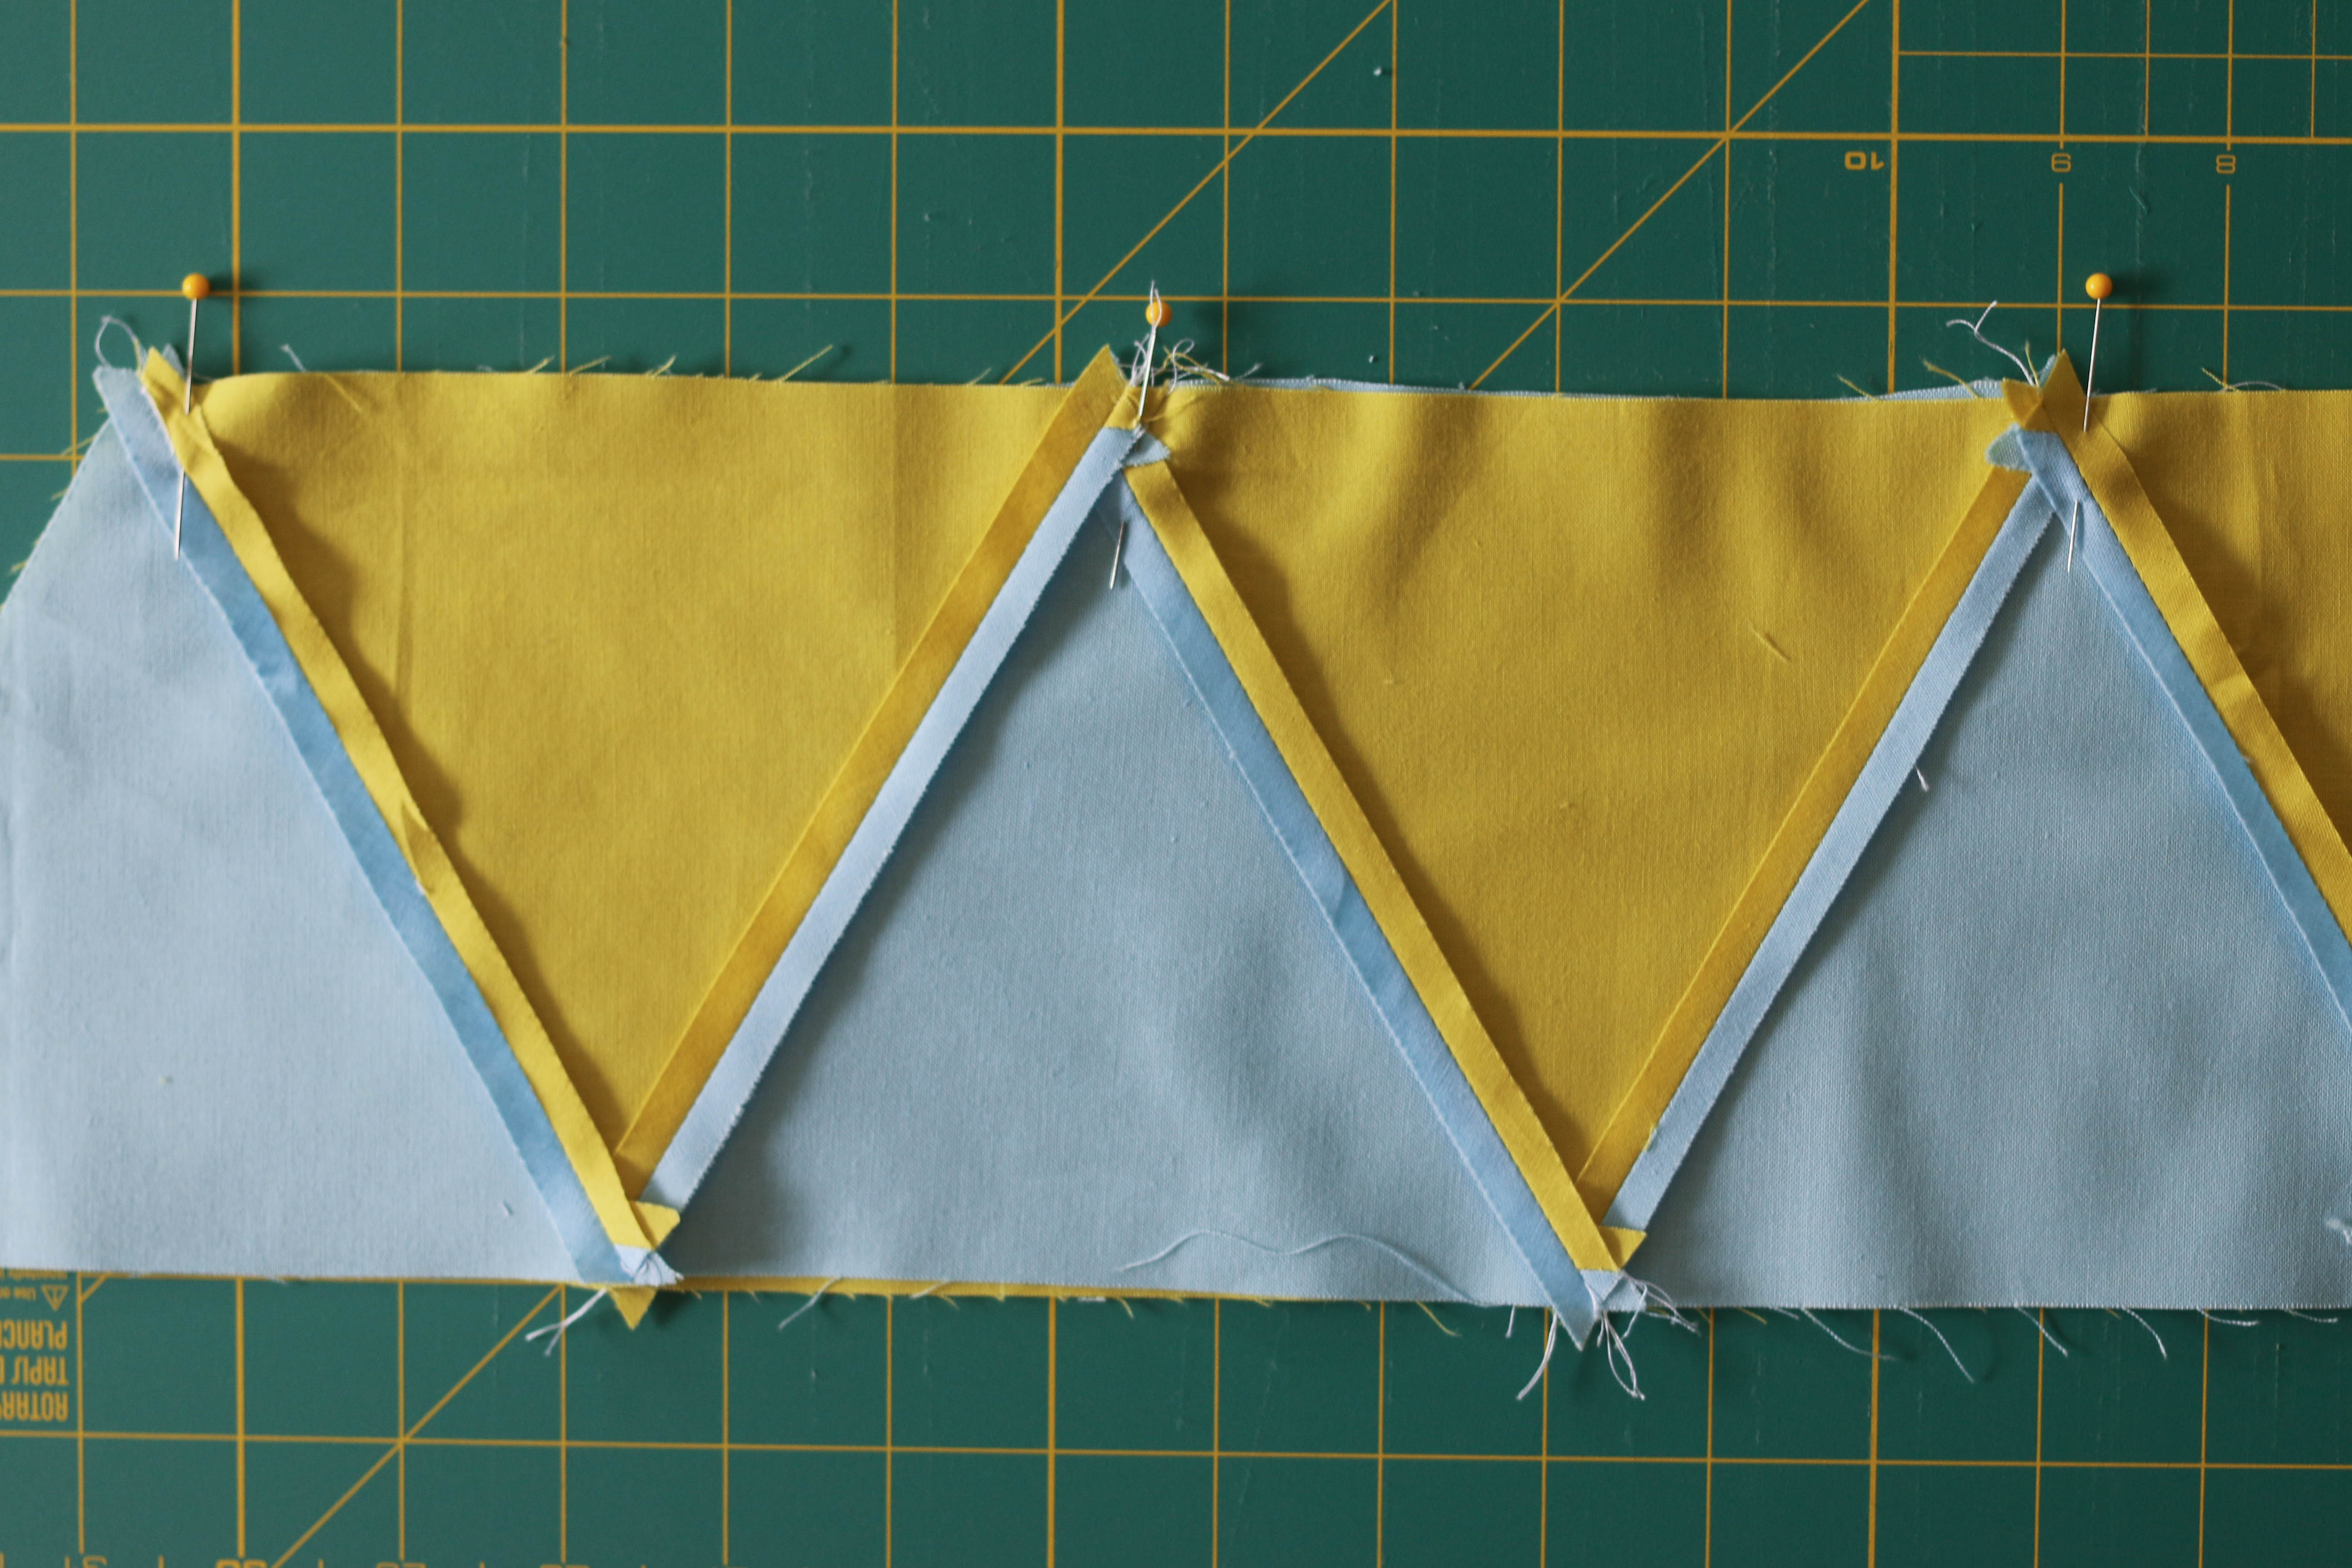
To begin, lay out the quilt pieces in the order you’d like them to appear. Make sure the pieces are arranged correctly so that the points of the triangles are aligned. Once you’re happy with the layout, use a few pins to secure the pieces together.
Joining the Segments
Once the pieces are pinned together, thread a needle, and sew the pieces together. Start by sewing along the longest side of each piece, and then move onto the adjacent sides. Make sure to sew slowly, and keep the points of the triangles aligned. For a neater finish, use a backstitch to reinforce the seams. Once you’ve gone around the quilt, cut off any excess thread and remove the pins.
Finishing the Quilt
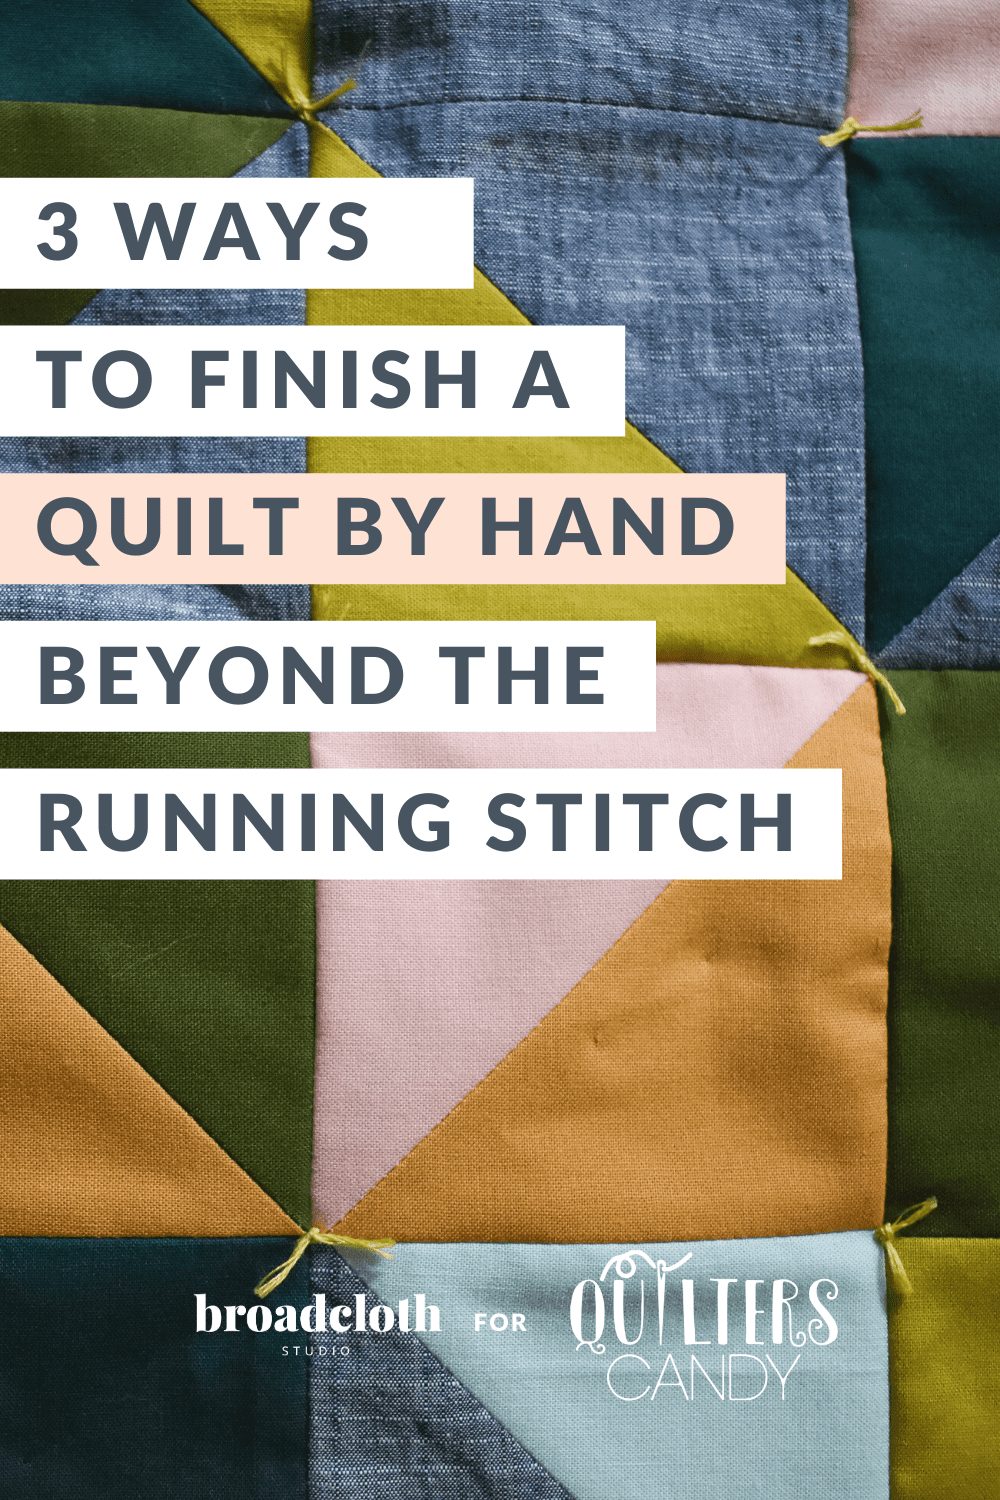
Once all of the quilt pieces have been sewn together, the next step is to finish the quilt. This can be done by layering the quilt top, batting, and backing.
Start by laying out the quilt top on a flat surface, and then covering it with the batting. Make sure that the batting is smooth and without wrinkles.
Next, place the backing fabric over the batting and quilt top. Align all edges and pin the layers together.
Using a sewing machine, sew the layers together. Start in the middle of the quilt and work your way out, sewing ¼-inch away from the edges.
Once the quilt has been sewn together, trim the batting and backing fabric to the same size as the quilt top.
Finish the quilt by binding the edges with a fabric binding tape. Start sewing at the corner of the quilt and work your way around until all edges are bound.
Lastly, hand-stitch the binding down to the back of the quilt. This will ensure that the binding stays in place.
Your triangle quilt is now complete. Enjoy your new quilt!
Quilting the Triangle Quilt
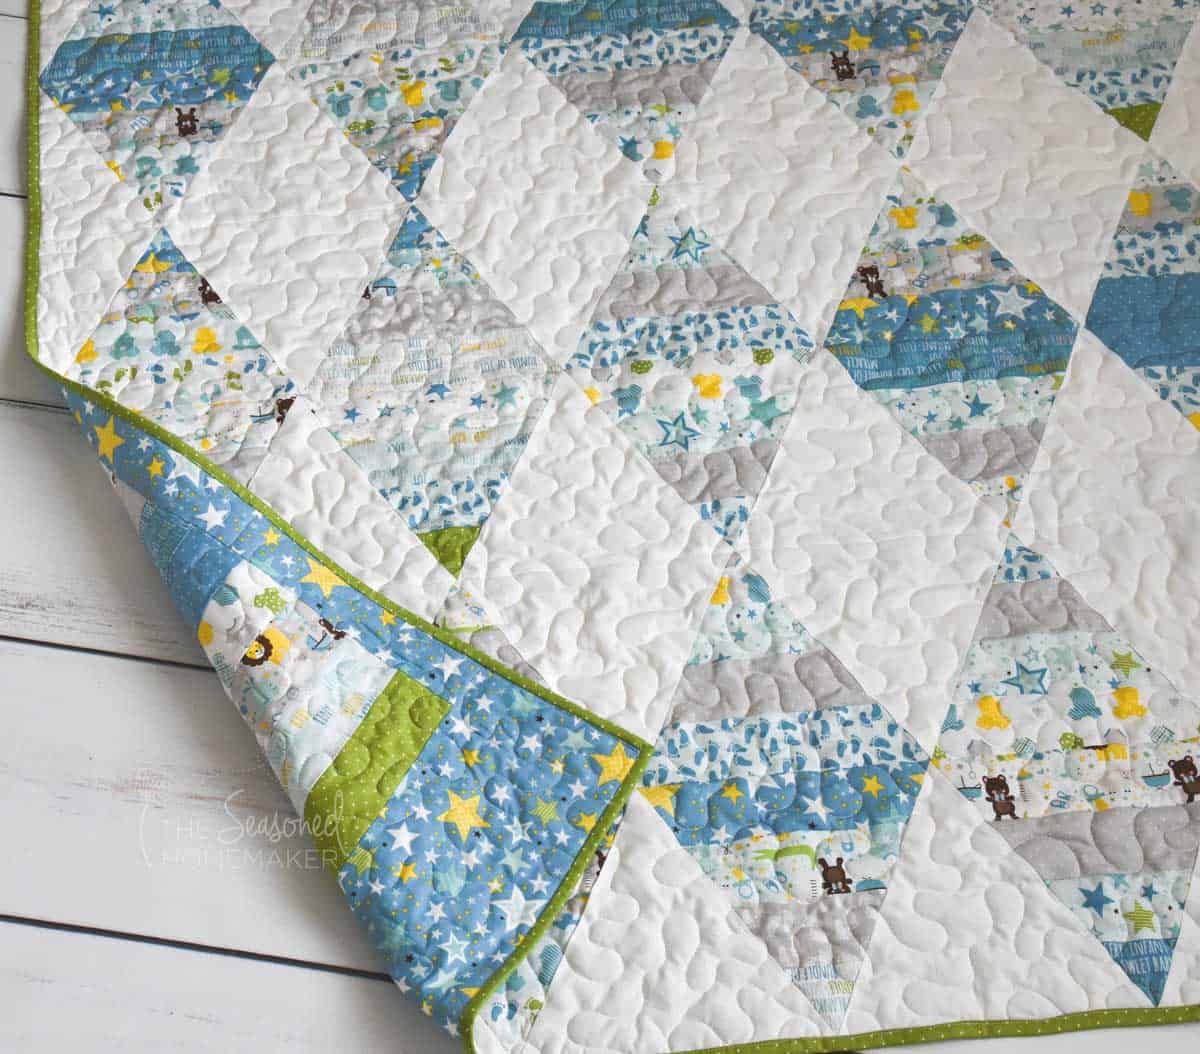
Quilting Options
Triangles are some of the most versatile shapes for quilters, as they can be used to make a variety of patterns and designs. Whether you’re a beginner or an experienced quilter, you can create a beautiful quilt with triangle pieces. To get started, you’ll need to learn how to properly sew triangle quilt pieces together.
Quilting Techniques
The first step is to decide on the layout of your quilt. You can use one triangle pattern or combine different triangle pieces to create a unique quilt. Once you have the design in mind, start gathering the supplies you’ll need. This includes fabric, batting, quilting thread, and a sewing machine.
Next, prepare the fabric by cutting the pieces according to the pattern. Then, lay out the pieces in the desired pattern and pin them together. Make sure that the pins are placed perpendicular to the fabric to prevent the pieces from shifting during sewing.
Once the pieces are pinned together, it’s time to start sewing. Begin by stitching along the edges of the triangles, using a ¼ inch seam allowance. Then, press the seam open to reduce bulk in the quilt.
Finally, secure the quilt pieces together by adding quilting stitches. This will help to keep the fabric in place and make the quilt stronger. For a decorative touch, you can also add a border or applique to the quilt.
Now that you know how to sew triangle quilt pieces together, you can create a beautiful quilt with ease. With a little practice and patience, you can make a quilt that will last for years to come.
Binding the Quilt
- Lay the quilt on a flat surface, with the finished side facing up. Make sure all of the points of the triangles are in line.
- Cut a piece of binding fabric to the length of the quilt. You can use a contrasting or complementary color for the binding.
- Fold the binding fabric in half, lengthwise. Iron the fold.
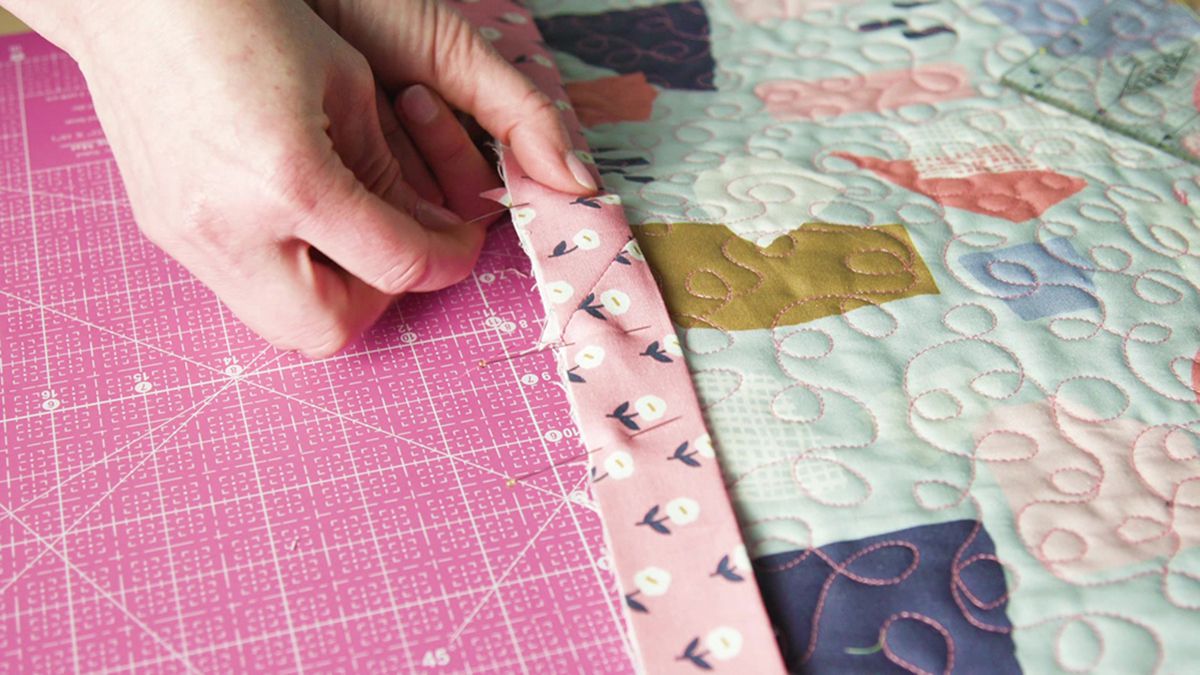
- Pin the binding to the quilt, with the raw edges of the binding aligned with the raw edges of the quilt. Sew the binding to the quilt, using a straight stitch.
- Fold the binding over the edge of the quilt, and pin in place. Sew the binding to the quilt using a hand stitch, or you can use a straight stitch if you prefer.
- Continue folding the binding over the quilt and sewing it in place until you reach the corner. When you reach the corner, fold the binding at a 45-degree angle, and pin in place.
- Continue folding and sewing the binding until you have gone all the way around the quilt.
Adding a Label
Once the triangle quilt pieces are sewn together, it is recommended to add a label, so the quilt can be identified later. Cut a piece of fabric, approximately 4-5 inches wide, and use a fabric marker to write the date, name of the quilt, and any other important information as desired. Sew the label onto the quilt by either hand sewing or using a sewing machine.
For extra security, it is recommended to sew a piece of fusible webbing onto the label before attaching it to the quilt. This will help ensure the label will not come off over time.
Frequently Asked Questions
What kind of thread and needle should I use when sewing triangle quilt pieces together?
- Thread – Polyester or cotton thread is best for piecing together triangle quilt pieces. The thread should be colorfast, durable and have minimal lint.
- Needle – Use a sharp, size 11 or 12 quilting needle. A sharp needle is important for piecing together triangle quilt pieces. Avoid using a ballpoint needle, as it can stretch the fabric and cause puckering.
How do I join two quilt pieces with different sizes?
To join two quilt pieces with different sizes, first use a ruler to measure and mark a line at the point where the two pieces come together. Cut along the line to make both pieces the same size. Place the pieces together, right sides facing, and pin them in place. Sew along the seam allowance and press the seam open. Finally, topstitch along the seam to secure it.
What Techniques Should I Use to Ensure My Triangle Quilt Pieces Stay Secure?
To ensure your triangle quilt pieces stay secure, use a combination of basting, pinning, and pressing. Start by basting your triangle quilt pieces together with a running stitch. Then, pin the edges securely and press them to hold them in place. Finally, sew the pieces together with a straight stitch on your sewing machine. This will create a secure, long-lasting bond.
How can I keep my quilt pieces lined up correctly while I’m sewing them together?
Ensure that the pieces are properly aligned before starting to sew. Use pins or clips to hold the pieces together and in place. Place the pins perpendicular to the stitch line to prevent them from getting caught in the machine. If the pieces are not perfectly aligned, the quilt will not have a finished look. Use a ruler to measure the seam allowance, ensuring it is consistent throughout the project. Finally, iron the seams to flatten them out, making sure that the pieces are still lined up correctly.
How do I finish the Edge of my Quilt Once I’ve Sewn the Pieces Together?
Once you have sewn all pieces of the quilt together, you can finish the edges with a binding. You can use either a continuous binding or a mitered binding. Continuous binding involves sewing a single strip of fabric around the perimeter of the quilt, while a mitered binding involves cutting the binding at 45-degree angles and joining each corner. Both methods will provide a neat, finished look.
Conclusion
Sewing triangle quilt pieces together is a great way to create a unique statement piece for your home. With just a few simple steps, you can quickly put together a beautiful quilt that you can enjoy for years to come. If you have never sewn quilt pieces before, this step-by-step guide is sure to help you get started.
