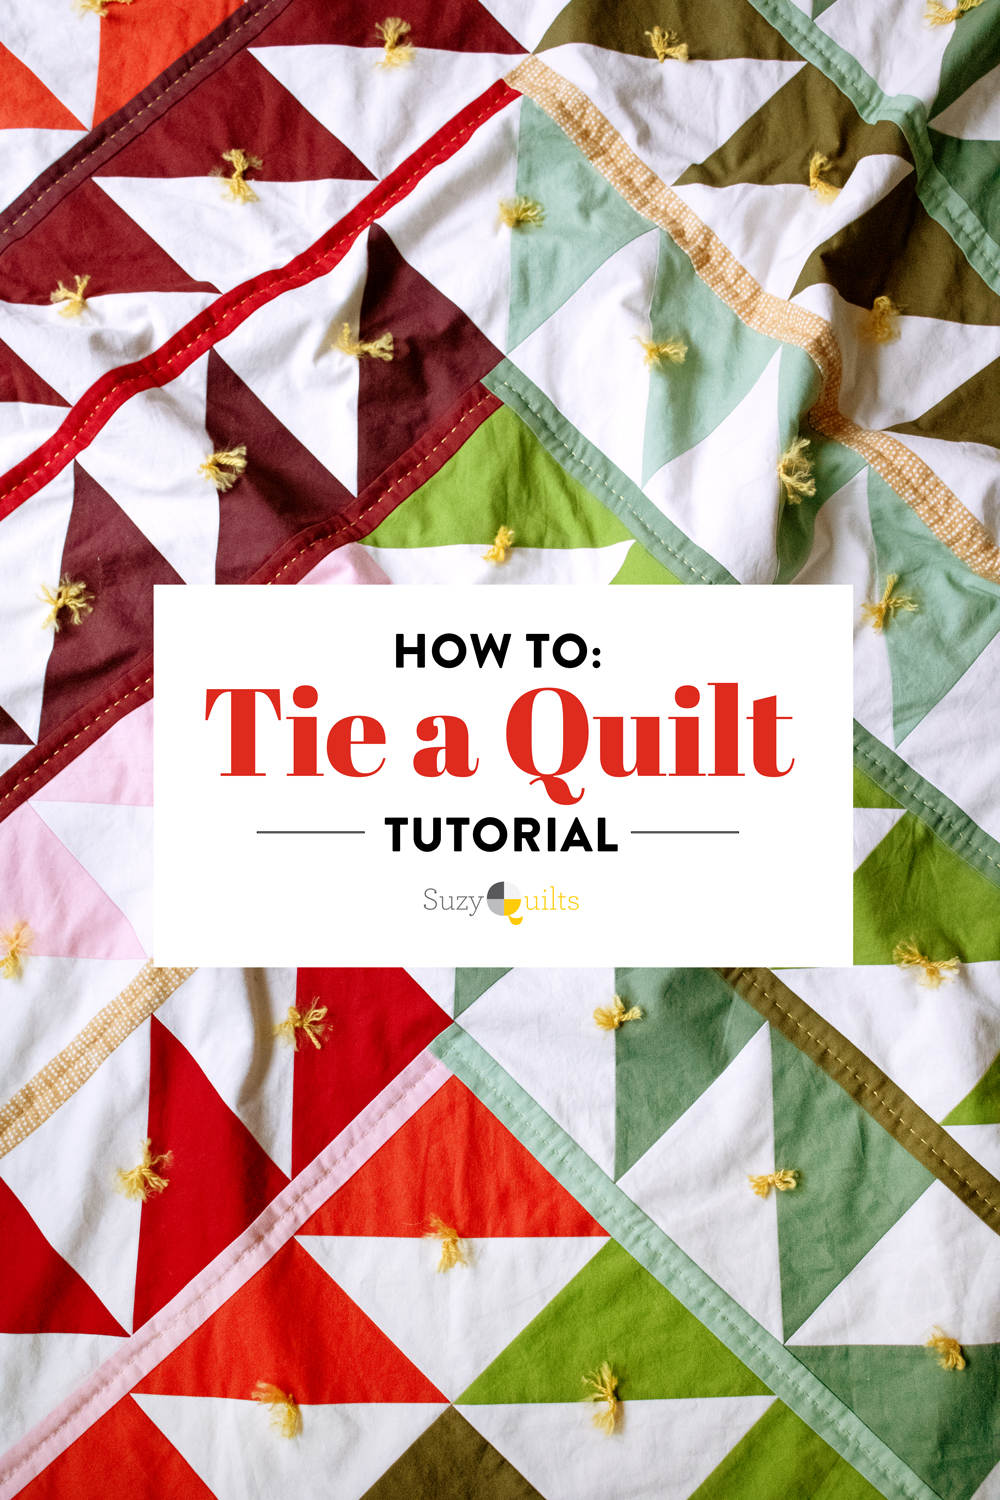
Are you looking for a simple way to create a stunning piece of quilting art? If so, learning how to tie a quilt by machine is a great place to start. With the right tools and materials, you can easily complete your quilting project in no time. In this article, we’ll provide you with the simple steps to tie a quilt by machine so you can create a beautiful quilt that you’ll be proud to show off.
What is a Hand-Tied Quilt?
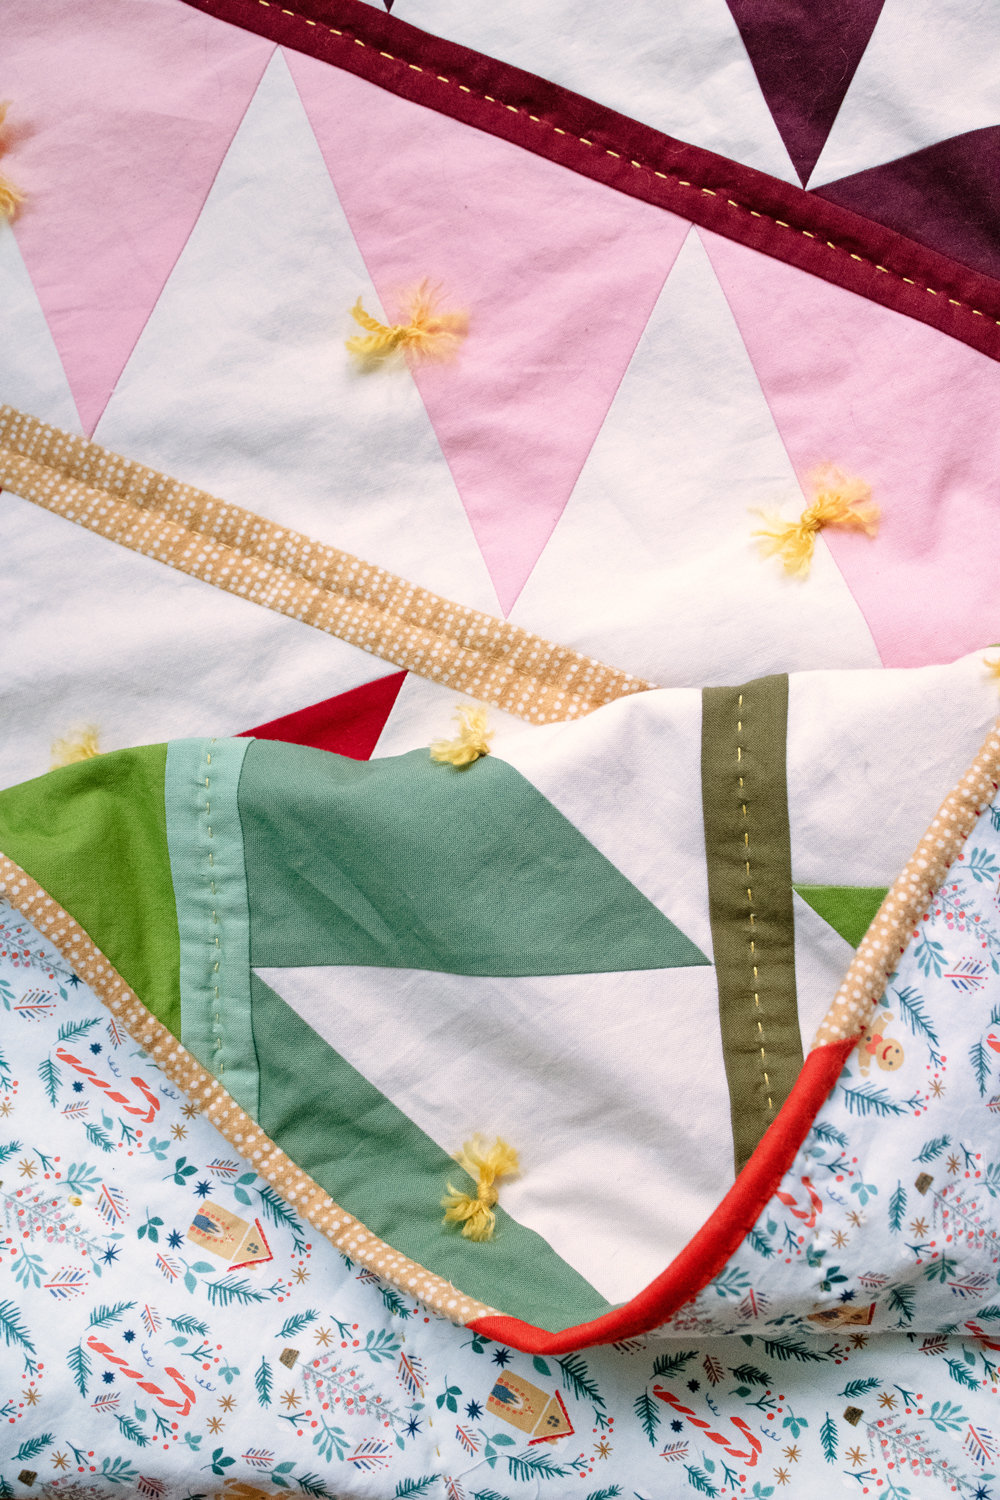
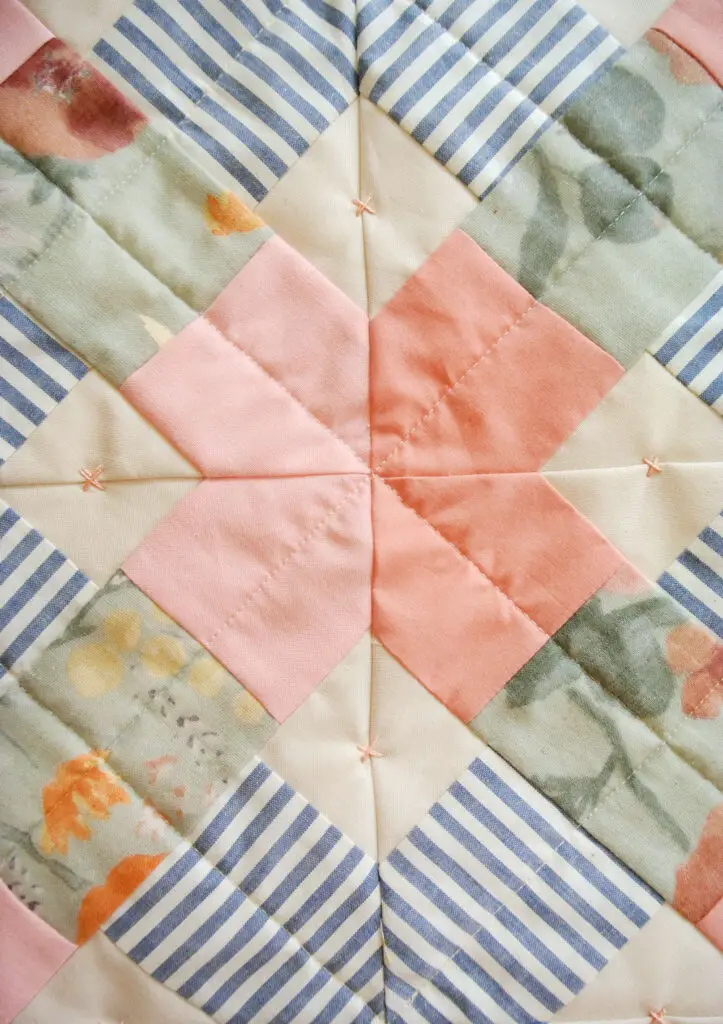
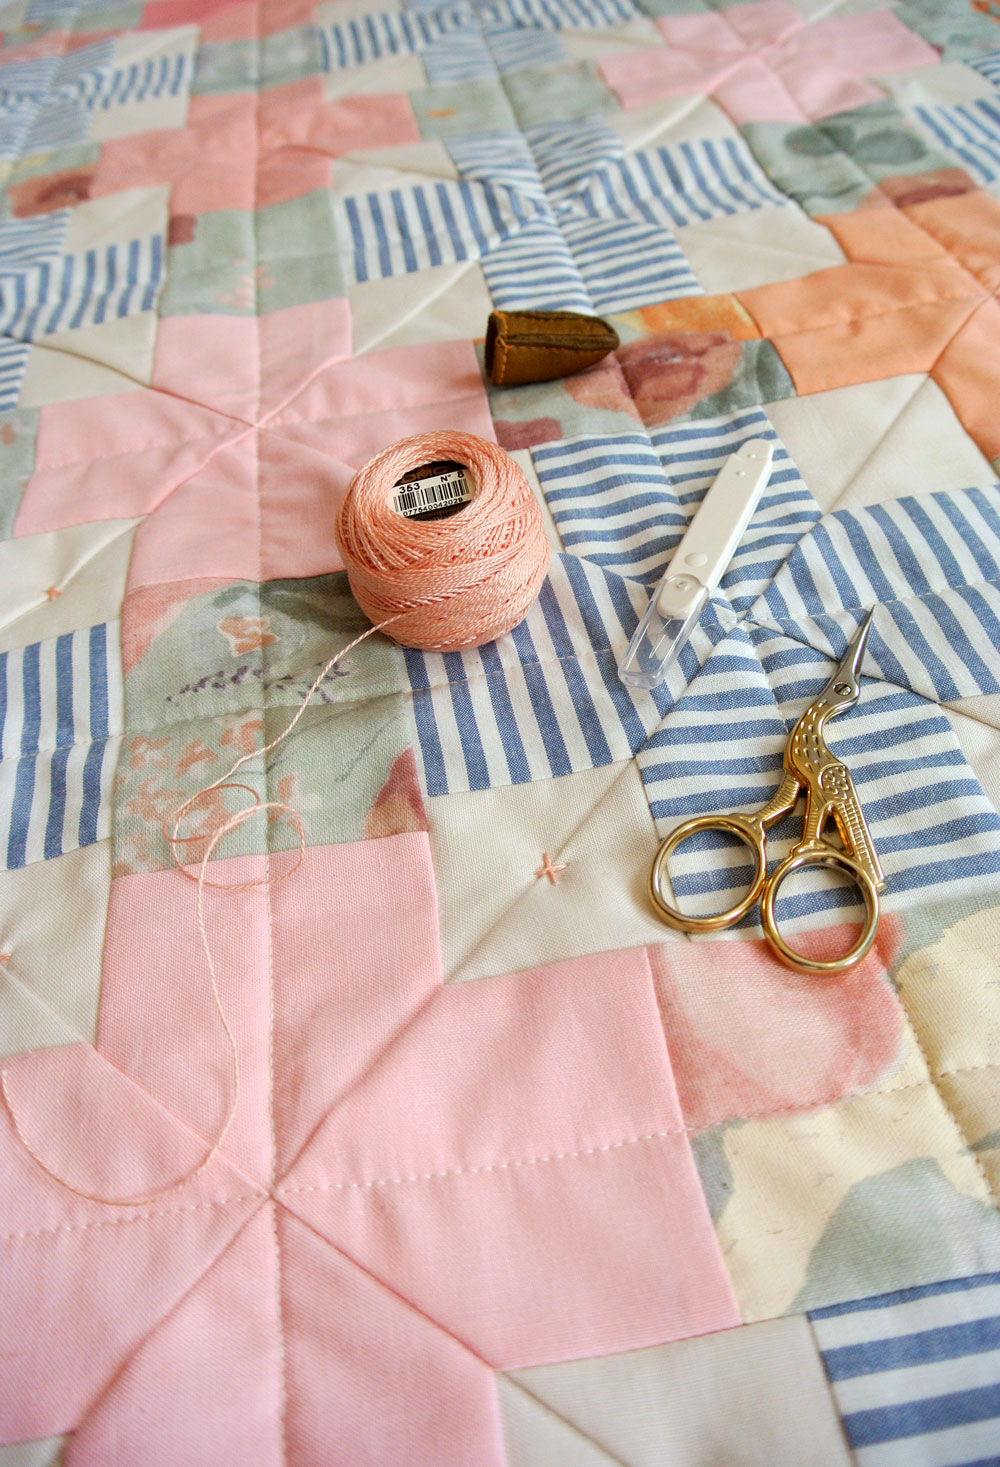
A hand-tied quilt is an heirloom item that is handmade using a traditional quilting technique. This technique involves tying knots in the fabric of the quilt to keep the batting and fabric secure. The knots are usually tied with a special quilting thread, such as cotton or polyester, and the knots are usually tied in a pattern or shape.
Advantages of Hand-Tied Quilts
- Heirloom quality
- Unique designs and patterns
- Lightweight and portable
- Breathable and comfortable
- Easy to repair and maintain
Hand-tied quilts are a beautiful way to add warmth and comfort to a room, and they make a great gift for someone special. If you want to make a hand-tied quilt, the best way to do it is to learn how to hand tuft a quilt using clear floss. This will give you the best results, and your quilt will last for many years.
What Thread is the Best for Tying a Quilt?
When machine-tying a quilt, it is important to choose the right type of thread. The best thread for tying a quilt is an all-purpose polyester thread. Due to its strength and durability, it is highly recommended for quilting projects. It is also a great option for hand-tied quilts, as it is strong enough to withstand the strain of repeatedly tying the quilt together.
Polyester thread is also colorfast, meaning it will not fade over time. Additionally, it is less likely to break and is less likely to cause any knots or tangles. It is also less likely to create lint or fuzz, making it one of the best options for quilting projects.
When it comes to choosing the right type of thread for tying a quilt, it is important to consider the weight of the thread. Generally, the heavier the thread, the more durable it is. However, it is important to note that heavier threads can be more difficult to sew through, so be sure to choose a thread weight that is appropriate for your project.
Finally, it is important to consider the type of needle that is used for the quilting project. For machine-tying a quilt, a size 14 or 16 needle is usually recommended. This size needle will help ensure that the thread is secure and that it will not break or become tangled.
When machine-tying a quilt, it is important to choose the right type of thread to ensure that the quilt is securely tied together. All-purpose polyester thread is the best option, as it is strong, colorfast, and less likely to cause knots or tangles. Additionally, it is important to consider the weight of the thread and the type of needle used for the quilting project. Following these tips will help ensure that your quilt is securely tied and ready for use.
Preparing the Quilt for Machine Tying
Preparing the Fabric
Before you begin machine tying your quilt, you need to make sure the fabric is prepped correctly. First, press the quilt top and batting. If the fabric is puckered or wrinkled, the knots will not be secure. You also need to make sure that the quilt top and batting are basted together securely.
Preparing the Thread
When choosing the thread to use for machine tying, you want to make sure it has enough strength to hold the knots securely. Cotton thread is often chosen, but if you want to use a heavier thread, such as polyester, make sure it is still thin enough to fit through the needle. What thread is the best for tying a quilt? Polyester thread is often recommended for machine tying to ensure the knots are secure and will hold up over time.
How to Tie a Quilt by Machine
Measuring the Ties
Begin by measuring the quilt. The size and shape of the quilt will determine the size of the ties and how many ties will be needed. Generally, the ties should be spaced evenly across the quilt and should be no more than 2 inches apart. Once the measurements are determined, cut the yarn into pieces that are the same length as the length of the ties desired.
Sewing the Ties
To sew the ties, use a sewing machine with a zigzag stitch. Place the quilt on the machine and begin stitching across the quilt in a straight line. As you are stitching, place the pieces of yarn underneath the presser foot and stitch over them. Make sure to backstitch at the beginning and end of each tie to secure it in place. Repeat this process until all of the ties have been sewn. Once all of the ties have been sewn, the quilt is ready to use.
Tying a quilt by machine is an easy way to add a decorative touch to a baby quilt. With some basic sewing supplies and a bit of time, anyone can quickly and easily tie a baby quilt with yarn.
How to Hand Tuft a Quilt with Clear Floss
- Gather materials: Clear floss, tapestry needle, quilt, and optional masking tape.
- Prepare the quilt: Smooth the quilt top and make sure it’s free of wrinkles. If desired, use masking tape to mark where you want to hand tuft the quilt.
- Thread the needle: Cut a length of floss and thread it through the eye of the needle.
- Tie a knot: Tie a knot at the end of the floss to prevent it from slipping out of the quilt.
- Push the needle through the quilt: Push the needle through the quilt where you want to start the tufting. Pull the floss through until the knot is against the quilt.
- Continue tufting: Push the needle through the quilt and pull the floss through until you reach the desired length. Tie a knot at the end of the floss to secure it in place.
- Keep tufting: Continue pushing the needle through the quilt and pulling the floss through until the entire quilt is tufted. To take the ties apart for quilting, use a sharp pair of scissors to cut the knots.
How to Tie a Baby Quilt with Yarn
Tying a baby quilt with yarn is a great way to add a decorative and practical touch to your quilt. The ties should not be too long, as it can be uncomfortable for the baby. The ideal length for the ties should be around 2-3 inches in length. You can use any type of yarn, but cotton yarn is the most common choice for tying quilts.
To tie a baby quilt with yarn, start by cutting 8-10 pieces of yarn in the desired length. Then, fold the quilt in half, and make a small knot in the corner of the quilt to hold it in place. Starting from the knot, create a running stitch around the quilt, about ½ inch apart. When you reach the end of the quilt, make a knot in the same corner where you started.
To tie the yarn, thread the yarn through a tapestry needle, and place the needle under each running stitch. Pull the thread through, and make a small knot. Continue this process around the quilt until all of the ties have been made. Finally, tie off the thread by making a knot at the end.
Tying a baby quilt with yarn is a great way to add both a decorative and practical element to your quilt. Not only is it a beautiful addition to the quilt, but it also keeps the layers of the quilt together. Make sure that the ties are not too long, as this can be uncomfortable for the baby.
How Do You Take Ties Apart for a Quilt?
Taking apart the ties of an already-made quilt can be a daunting task. This is especially true if the quilt was hand-tied or made with an invisible knot technique. However, with the right tools and knowledge, it’s a relatively straightforward and easy process.
- Tools Needed: fabric scissors, seam ripper, and a seam gauge.
- Step 1: Locate the ties. With the quilt face down, look for the knots where the ties are attached. They will appear as small bumps on the quilt.
- Step 2: Cut the ties. Using scissors, carefully cut the ties. Be sure not to cut the fabric of the quilt.
- Step 3: Unknot the ties. Use the seam ripper to loosen the knots until they come apart.
- Step 4: Gently remove the ties. Use the seam gauge to gently pull the ties apart, being careful not to rip the fabric.
- Step 5: Repeat. Continue to do this until all the ties have been removed.
For quilts made with an invisible knot technique, the same steps apply, but you will need to be extra careful when cutting the ties. It is highly recommended to use a seam gauge to help you locate the ties and to avoid cutting too far into the fabric.
By following these simple steps, you can take apart ties on a quilt with ease. This can be a great way to salvage an old quilt, or to make a quilt with a new design. No matter the reason, taking apart ties is an easy and rewarding task.
How Long Should the Ties Be on a Baby Quilt?
When it comes to tying a baby quilt, the length of the ties is an important factor. For a baby quilt, the ties should be between 4-6 inches long. You want the ties to be long enough to hold the batting in place, but not so long that the ties will be bulky or uncomfortable.
| Size of Quilt | Length of Ties |
|---|---|
| Baby Quilt | 4-6 inches |
| Throw Quilt | 6-9 inches |
| Twin Quilt | 9-12 inches |
| Full/Queen Quilt | 12-15 inches |
| King Quilt | 15-18 inches |
When tying a quilt, it is important to use the right kind of thread. A high-quality, 100% cotton thread is best for tying a quilt. You can also use wool or silk thread, depending on the look you are going for. If you are hand-tying a quilt, you can use clear floss for a more invisible look.
When tying a baby quilt, you can use yarn for a decorative look. You can hand-tie the quilt with a simple knot or use a more invisible method, such as tying a quilt with a hidden stitch.
If you ever need to take ties apart for a quilt, it is important to be careful. Use a seam ripper to carefully remove the ties. Never attempt to pull the ties off by hand, as this can cause the fabric to stretch or tear.
Tying a quilt is an important part of the quilting process, and the length of the ties is an important factor. For a baby quilt, the ties should be between 4-6 inches long. Use the right kind of thread, and be careful when removing ties.
How to Hand Tie a Quilt Invisible
- Gather Supplies: Choose a thread color that matches the backing fabric of the quilt. Gather a needle, scissors, and strong thread.
- Thread the Needle: Thread the needle with a single strand of thread.
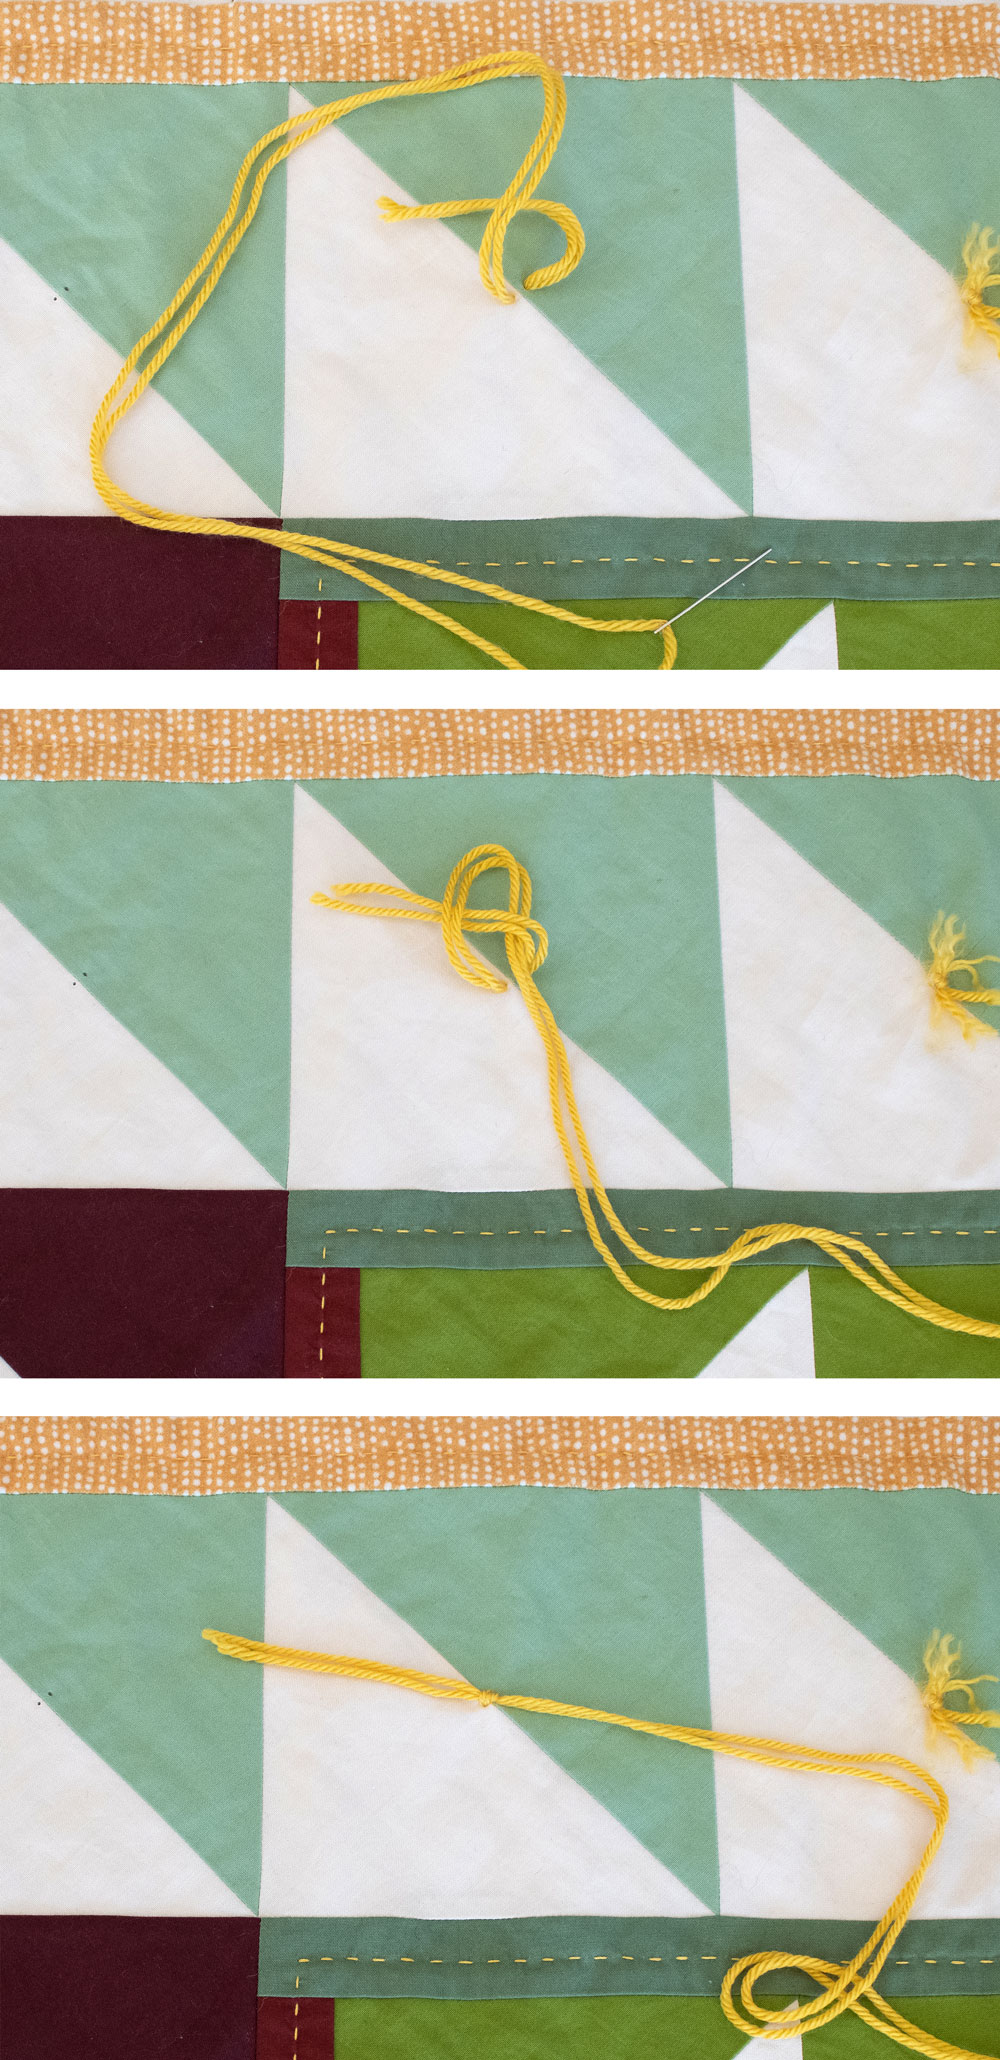
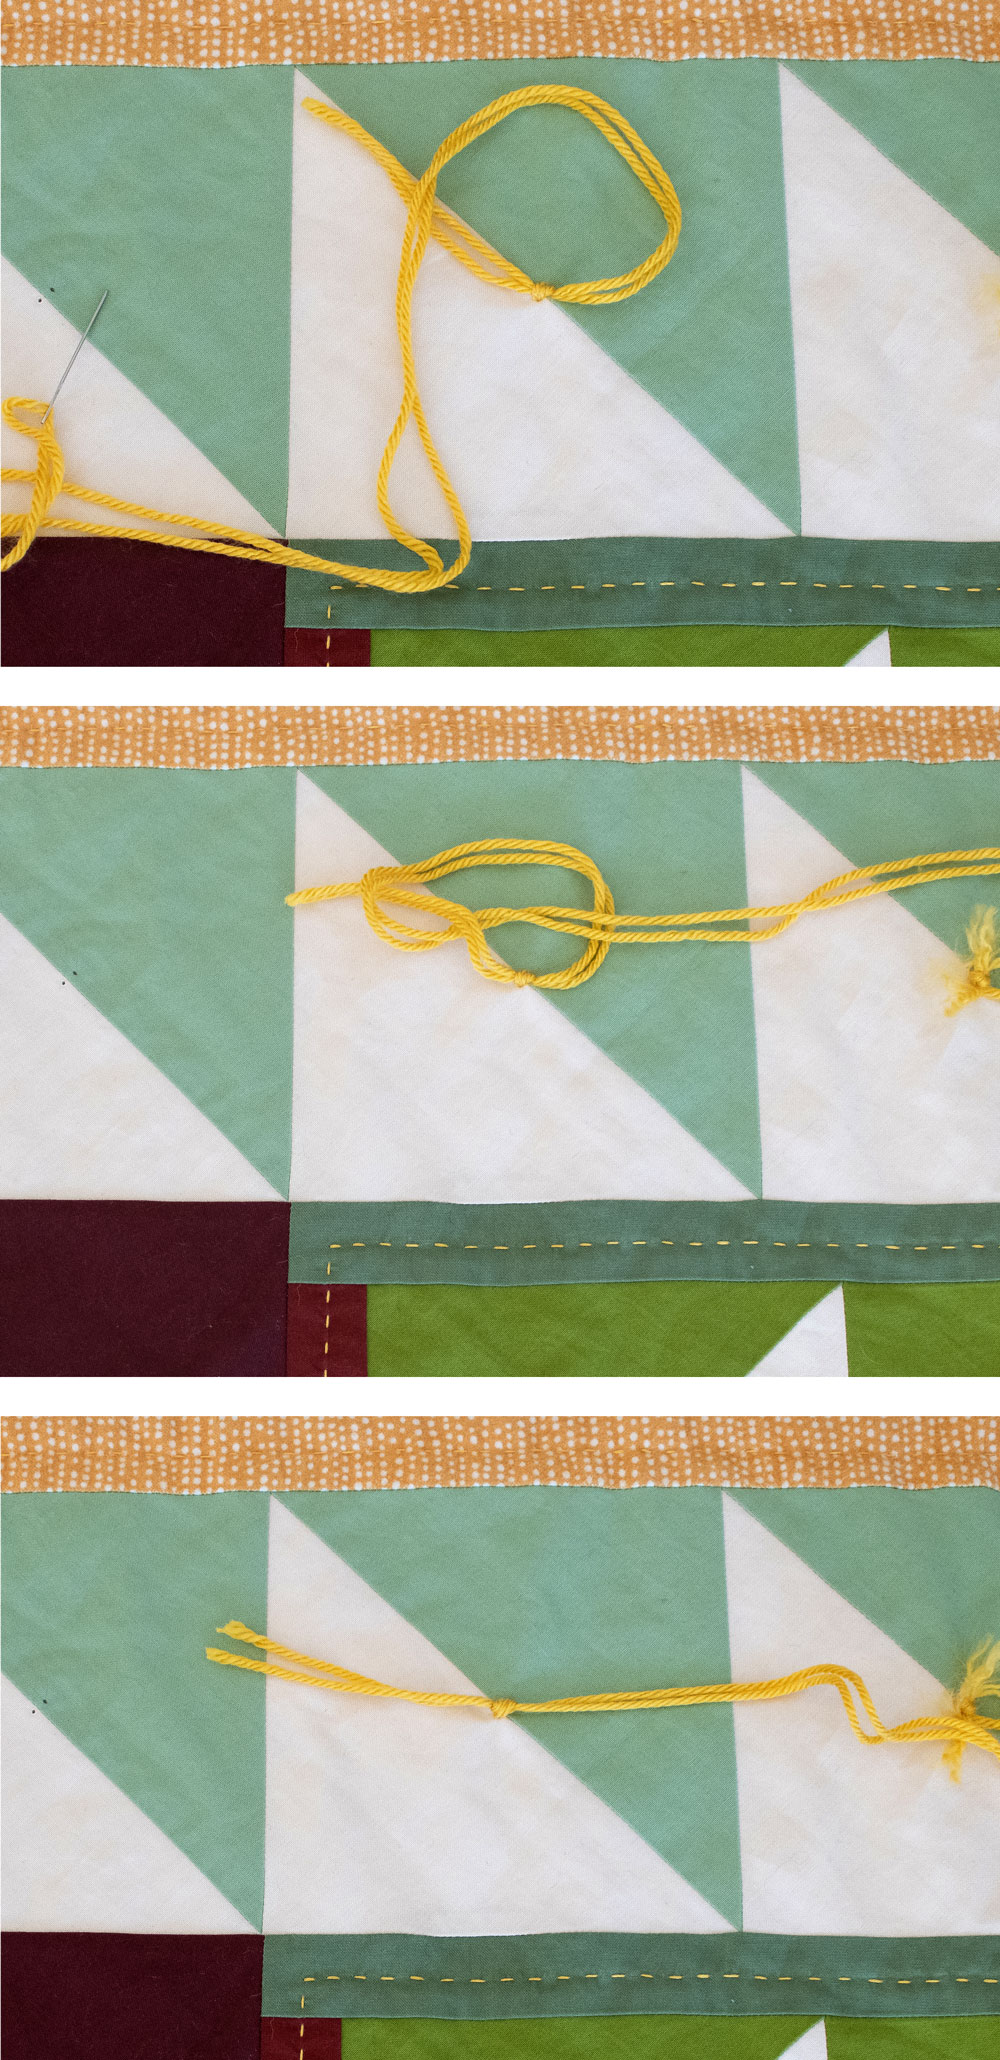
- Start Tying: Take one end of the thread and knot it around one of the quilt’s batting ties. Pull the thread tight and tie a knot in the thread to secure it.
- Repeat: Take the other end of the thread and loop it around the batting tie, directly across from the first knot. Pull the thread tight and tie a knot.
- Secure Knots: Take the needle and poke it through the batting and the backing fabric. Pull the thread tight and tie it in a knot. This will secure the first two knots and create an invisible tie.
- Repeat: Continue tying the quilt’s batting ties in this manner. Knot the thread around one tie, loop it around the tie directly across from it, and secure it with a knot.
Frequently Asked Questions
What type of sewing machine do I need to tie a quilt?
- Straight Stitch Sewing Machine: A straight stitch sewing machine is necessary for tying a quilt. It is the best type of machine for this task because it can produce a very fine stitch and is designed for precision work.
- Heavy-Duty Sewing Machine: A heavy-duty sewing machine is also necessary for tying a quilt. This type of machine is designed to handle heavier fabrics and is more powerful than a straight stitch machine.
- Serger Sewing Machine: A serger sewing machine is also a great option for tying a quilt. This type of machine produces a professional-looking finish and is capable of creating a tight, secure stitch.
These machines are ideal for tying a quilt, as they can produce a neat, even stitch that is strong enough to hold the quilt together securely. It is important to choose the right type of machine for the job, as each type of machine has different capabilities.
What supplies are needed to tie a quilt?
- Quilt batting – The quilt batting is the foundation of your quilt. It provides warmth and a soft texture. Choose a batting that is appropriate for your project’s size and weight.
- Thread – Choose a thread that matches the color of your quilt top, or a contrasting thread for added interest.
- Needle – Use a sharp, medium-sized needle that is suitable for the fabric you are using.
- Fabric – Make sure to choose a fabric that is suitable for your quilt.
- Scissors – Have a good pair of scissors on hand for trimming threads.
- Sewing Machine – You will need a sewing machine to tie your quilt by machine.
How many tie knots should I use when machine-tying a quilt?
Tie knots are the most important part of tying a quilt by machine. They provide the structure and support that keep the quilt from shifting, bunching, or collapsing. The number of tie knots you use will depend on the size of the quilt and the type of fabric it is made from.
- Small Quilts: If the quilt is small, you should use 3-4 tie knots per square foot.
- Medium Quilts: For a medium-sized quilt, you should use 5-6 tie knots per square foot.
- Large Quilts: For a large quilt, you should use 8-10 tie knots per square foot.
When machine-tying a quilt, the tie knots should be spaced evenly across the quilt. If you are using a machine that does not have an adjustable needle, you may need to adjust the speed of the machine or the length of the stitch to ensure the tie knots are spaced properly. Additionally, you should use a matching thread color to the quilt fabric so the tie knots are not visible.
How do I determine the spacing of the tie knots?
For best results, the spacing of the tie knots should be uniform throughout the quilt, approximately 4-6 inches apart. The number of knots you need to tie will depend on the size of the quilt; for best results, use one knot for every 2-3 inches of quilt edge, or for larger quilts, one knot for every 4-5 inches of edge. Be sure to evenly space the knots, as this will help keep the quilt edges even and free from bunching.
How do I secure the ties when I am finished machine-tying the quilt?
- Tie a knot – After the tying is complete, take the end of the thread and tie it tightly in a knot.
- Trim the excess thread – Once the knot is tied, trim the excess thread around the knot.
- Secure the knot – Use a dab of fray check or a dab of fabric glue to secure the knot.
- Repeat – Repeat the process for each set of ties.
Conclusion
Tying a quilt by machine is an easy, efficient way to create a beautiful quilt. With the right materials and the right technique, you can create a stunning piece of quilting art in no time. With practice, you can even make your own quilt designs. So, grab your supplies and give it a try!


