If you’re looking for an easy and elegant way to create beautiful quilts, then using quilt stencils is an ideal choice. This detailed “How to Use Quilt Stencils: A Step-by-Step Guide to Crafting Beautiful Quilts” article will walk you through the process of using quilt stencils to create stunning quilts. You’ll learn the basics of choosing a quilt stencil, as well as tips and tricks to ensure your quilt project turns out perfectly. With this comprehensive guide, you can get started on your quilting project with confidence.
What are Quilt Stencils?
Quilt Stencils are templates used to draw patterns on quilts and other fabric items. They make it easier to accurately draw intricate patterns on fabric. The stencils are made of plastic or metal and come in a variety of shapes and sizes.
Interesting Facts about Quilt Stencils:
- The first quilt stencils were created in the early 1900s.
- They are used by quilters, fabric painters, and embroiderers.
- The most popular quilt stencils are the ones with intricate designs, such as flowers, hearts, and animals.
- Quilt stencils are also used for creating appliques, transferring patterns, and creating fabric art.
- They come in different sizes ranging from small to large.
- Quilt stencils are available in a variety of materials such as plastic, metal, and paper.
- Using quilt stencils does not require any special skills, but following the directions for each stencil is important for getting the desired result.
Quilt stencils are a great tool for creating unique and beautiful fabric items. With the right stencils, it is possible to create intricate patterns and designs. If you’re interested in learning how to use sew quilt stencils, check out our step-by-step guide for getting started.
Types of Quilt Stencils
Quilt stencils come in a variety of shapes and sizes, depending on the type of sewing project you are working on. The most common types of quilt stencils are:
| Stencil Type | Description |
|---|---|
| Template Stencils | Template stencils are often used for creating intricate designs on quilts. They are available in a variety of shapes and sizes, and can be used to create repeating patterns. Template stencils often have multiple pieces that can be arranged in different ways to create a custom design. |
| Stenciled Appliques | Stenciled appliques are a great way to add decorative details to quilts. These stencils are usually cut into fabric and then sewn onto the quilt, creating intricate designs and shapes. |
| Stenciled Embroidery | Stenciled embroidery is a great way to add a personal touch to quilts. These stencils are often used to create intricate patterns and designs on quilts, and can be used to create custom embroidery patterns. |
| Fabric Paint Stencils | Fabric paint stencils are a great way to add a unique touch to quilts. These stencils are often used to create intricate designs and patterns on quilts, and can be used to create a custom look. |
No matter what type of quilt stencil you choose, it is important to carefully follow the instructions on the packaging when using the stencils. Doing so will ensure that your quilt will look its best and will last for years to come. Learning how to sew with stencils on quilts can be a bit tricky at first, but with a little practice, you’ll be able to create beautiful quilts that are sure to impress.
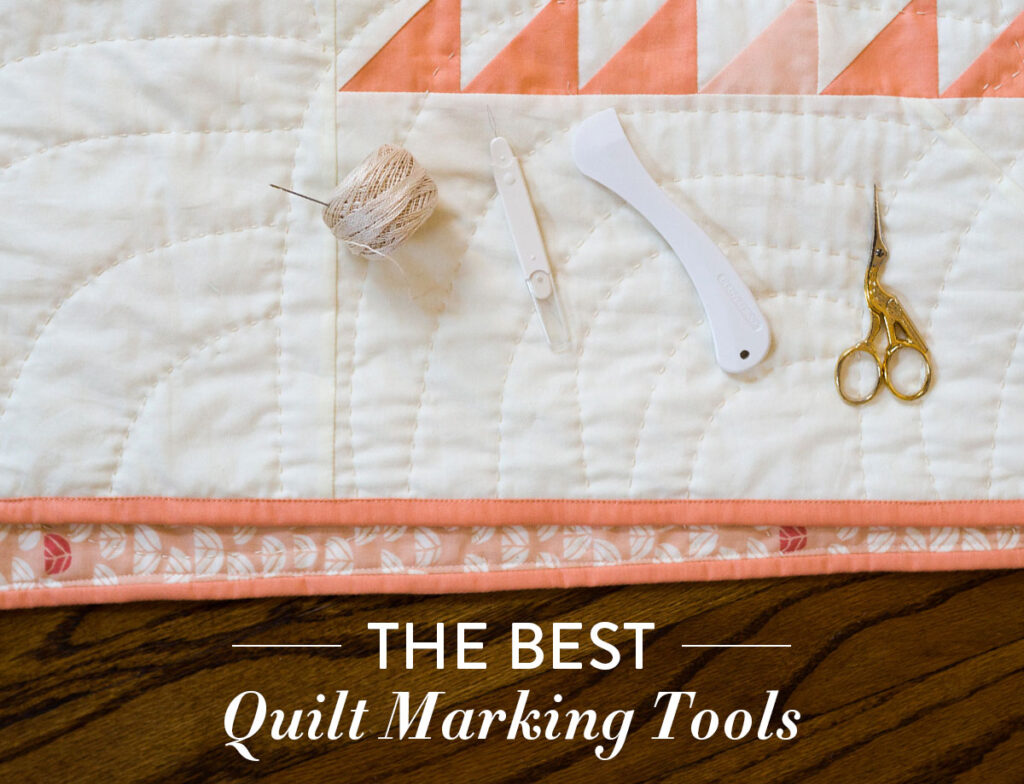
Preparing the Stencils
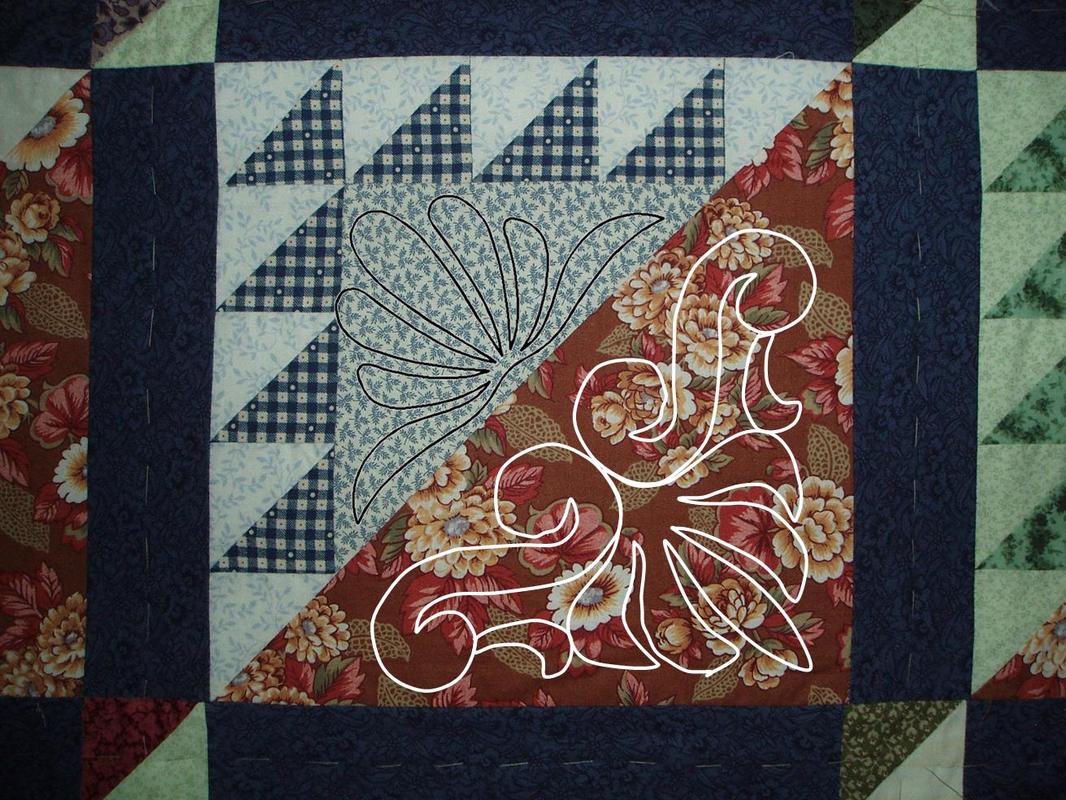
Before using quilt stencils, they must be prepared properly. First, cut out the stencil piece from the template, ensuring that all the sharp edges of the design are intact. Once the stencil is ready, press it onto the fabric to flatten out any wrinkles. Place the stencil on the fabric and use an iron over the template to help secure it into place. Make sure to use a pressing cloth between the iron and the template.
Next, use a light source to trace the design onto the fabric. This can be done by either placing a light source behind the stencil or placing a light source above the stencil. Trace the design on the fabric with a water-soluble marking pen and then remove the stencil.
Finally, use a quilting hoop to secure the fabric in place for quilting. Place the fabric in the hoop, making sure to leave enough space between the fabric and the hoop for the quilting needle to move. Tighten the hoop, making sure the fabric is flat and secure.
How to Use Sew Quilt Stencils
Selecting the Design
Choosing the right design for your quilt is a crucial step. Consider the size of the quilt, the colors you want to use, and the overall pattern you are aiming to achieve. It is important to select a design that complements the colors and the overall look of the quilt.
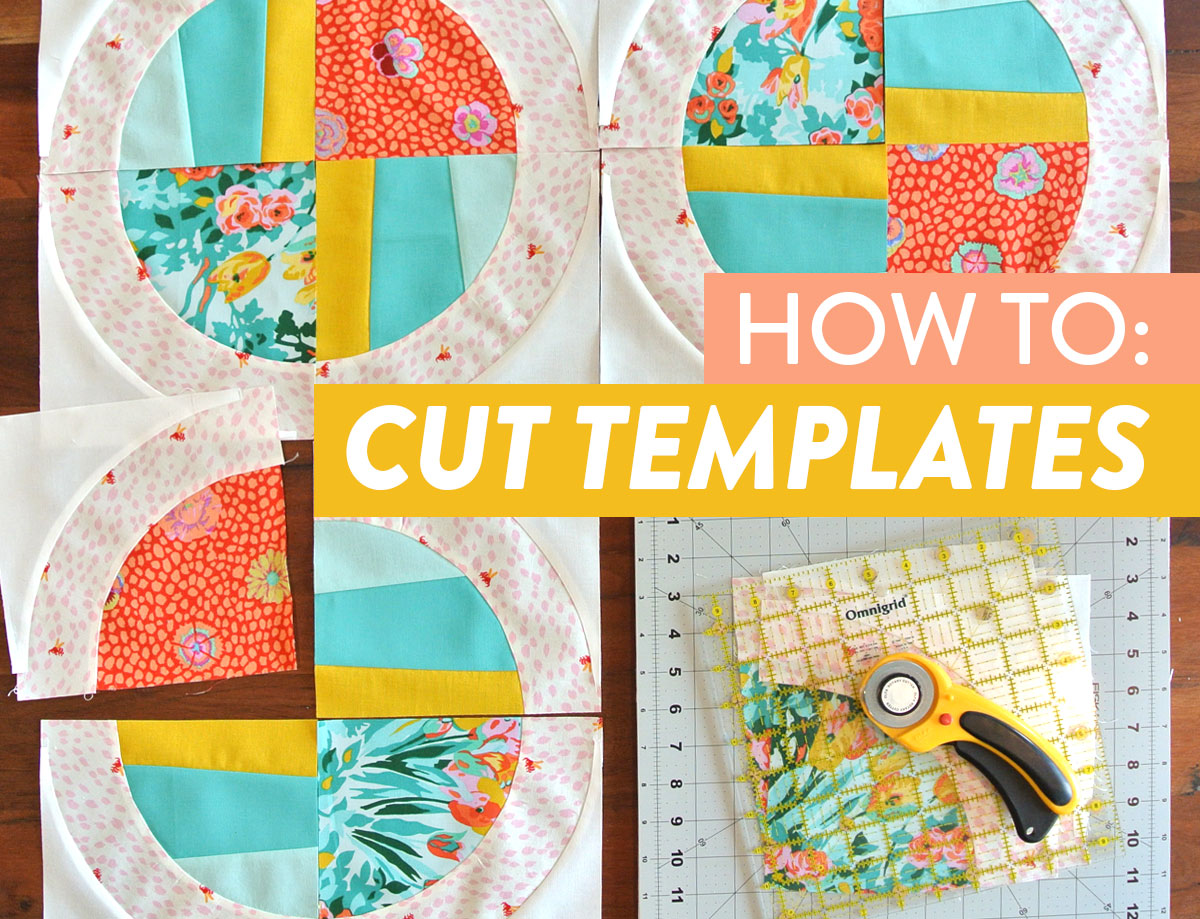
Preparing the Stencil
Before you begin sewing with the stencil, you will need to prepare it. Cut the stencil to the desired size and shape, and then use a stiff brush or a lint roller to remove any dust or debris from the surface. If necessary, use a fine-grit sandpaper to smooth out any rough edges or imperfections before you begin.
Preparing the Fabric
Once the stencil is ready to use, you will need to prepare the fabric. Make sure that the fabric is clean and free of any wrinkles or creases. Iron the fabric if necessary, and then place it on a flat surface. Place the stencil on the fabric and secure it in place with weights or pins.
Sewing with the Stencil
Now that the fabric and the stencil are both ready to use, you can begin sewing. Use a sewing machine to trace the design on the fabric and make sure to stay within the lines. If you are working with a thicker material, use a walking foot or a zigzag stitch. Once the design is complete, remove the stencil and admire your finished work!
How to Use Quilt Stencils
Selecting the Design
Choosing the right quilt stencil is a crucial part of the process. Consider the size, shape, and type of design before selecting a stencil. Don’t forget to think about the color scheme of the fabric you will be using.
Preparing the Stencil
Once the stencil is chosen, it needs to be prepared and secured to the fabric. Trace the design onto the stencil paper with a pencil or pen. Cut out the design and secure the stencil to the fabric with masking tape.
Preparing the Fabric
Iron the fabric to ensure that it is free of wrinkles and creases. Place the fabric on a flat surface, such as an ironing board, and secure it in place with pins.
Sewing with the Stencil
Using a sewing machine, sew along the outline of the stencil. The edges of the fabric should be completely covered with thread. Once the outline is complete, the quilt can be removed from the fabric and the fabric can be cut.
Finishing the Quilt
Once the quilt top is complete, it is time to finish it. The first step is to layer the top with a batting material. Batting provides warmth and insulation, so it is an important part of any quilt. Once the batting is in place, it is time to add the quilt backing. Quilt backings come in many different fabrics, so it is important to choose the right one for the quilt.
Next, the edges of the quilt must be secured. This is done by quilting or stitching the edges of the quilt together. A quilting foot can be used to create even stitches that will keep the quilt together.
| Step | Description |
| Layering | Add batting material to quilt top. |
| Backing | Choose and add quilt backing. |
| Stitching | Use quilting foot to stitch quilt edges together. |
Once the quilt is stitched together, it is ready to be enjoyed. Depending on the quilt, it may need to be washed, dried and pressed before it is ready to be used.
Troubleshooting
If the quilt stencil is not sticking to the fabric, make sure that the area is clean and free of debris, and that the fabric is pressed and free of wrinkles. If the stencil still won’t stick, try using a temporary spray adhesive on the back of the stencil.
If the fabric bleeds under the stencil, make sure that the fabric is dry and free of excess moisture. Also, use a fabric marking pen, pencil, or crayon to fill in the design. The ink or wax in the marking instrument will resist the paint and prevent it from bleeding.
If the quilting lines are not straight, use a ruler or straightedge to help guide the quilt stencil. If the stencil is too large for the area, try using a quilting template to add extra lines for accuracy.
If the quilt stencil is too small for the area, try using a quilting template or ruler to expand the design. Alternatively, try using multiple stencils to fill the area.
If the paint is smearing or bleeding, make sure to use a fabric paint that is specifically designed for use on quilts.
Tips & Tricks
- Choose the right stencil – The size of your stencil should depend on the size of your quilt. Consider the pattern you want to create and pick the stencil accordingly.
- Lay the stencil properly – Make sure the stencil is laid flat and the edges are lined up perfectly with the quilt.
- Secure the stencil – Pin the stencil to the quilt in order to prevent it from shifting while sewing.
- Choose the right fabric marker – Use a fabric marker that is easy to remove.
- Test the marker – Before using the marker on the quilt, test it on a scrap piece of fabric to make sure it is easy to remove.
- Choose the right thread – Use a thread that matches the quilt and the fabric marker.
- Trace the stencil – Trace the pattern on the quilt with the fabric marker.
- Sew the pattern – Sew along the lines of the pattern with the chosen thread.
- Remove the marker – Once you have finished sewing, remove the marker from the quilt.
- Enjoy your quilt – You can now proudly display your quilt with the stencil pattern.
Frequently Asked Questions
What Type of Fabric Should I Use For My Quilt?
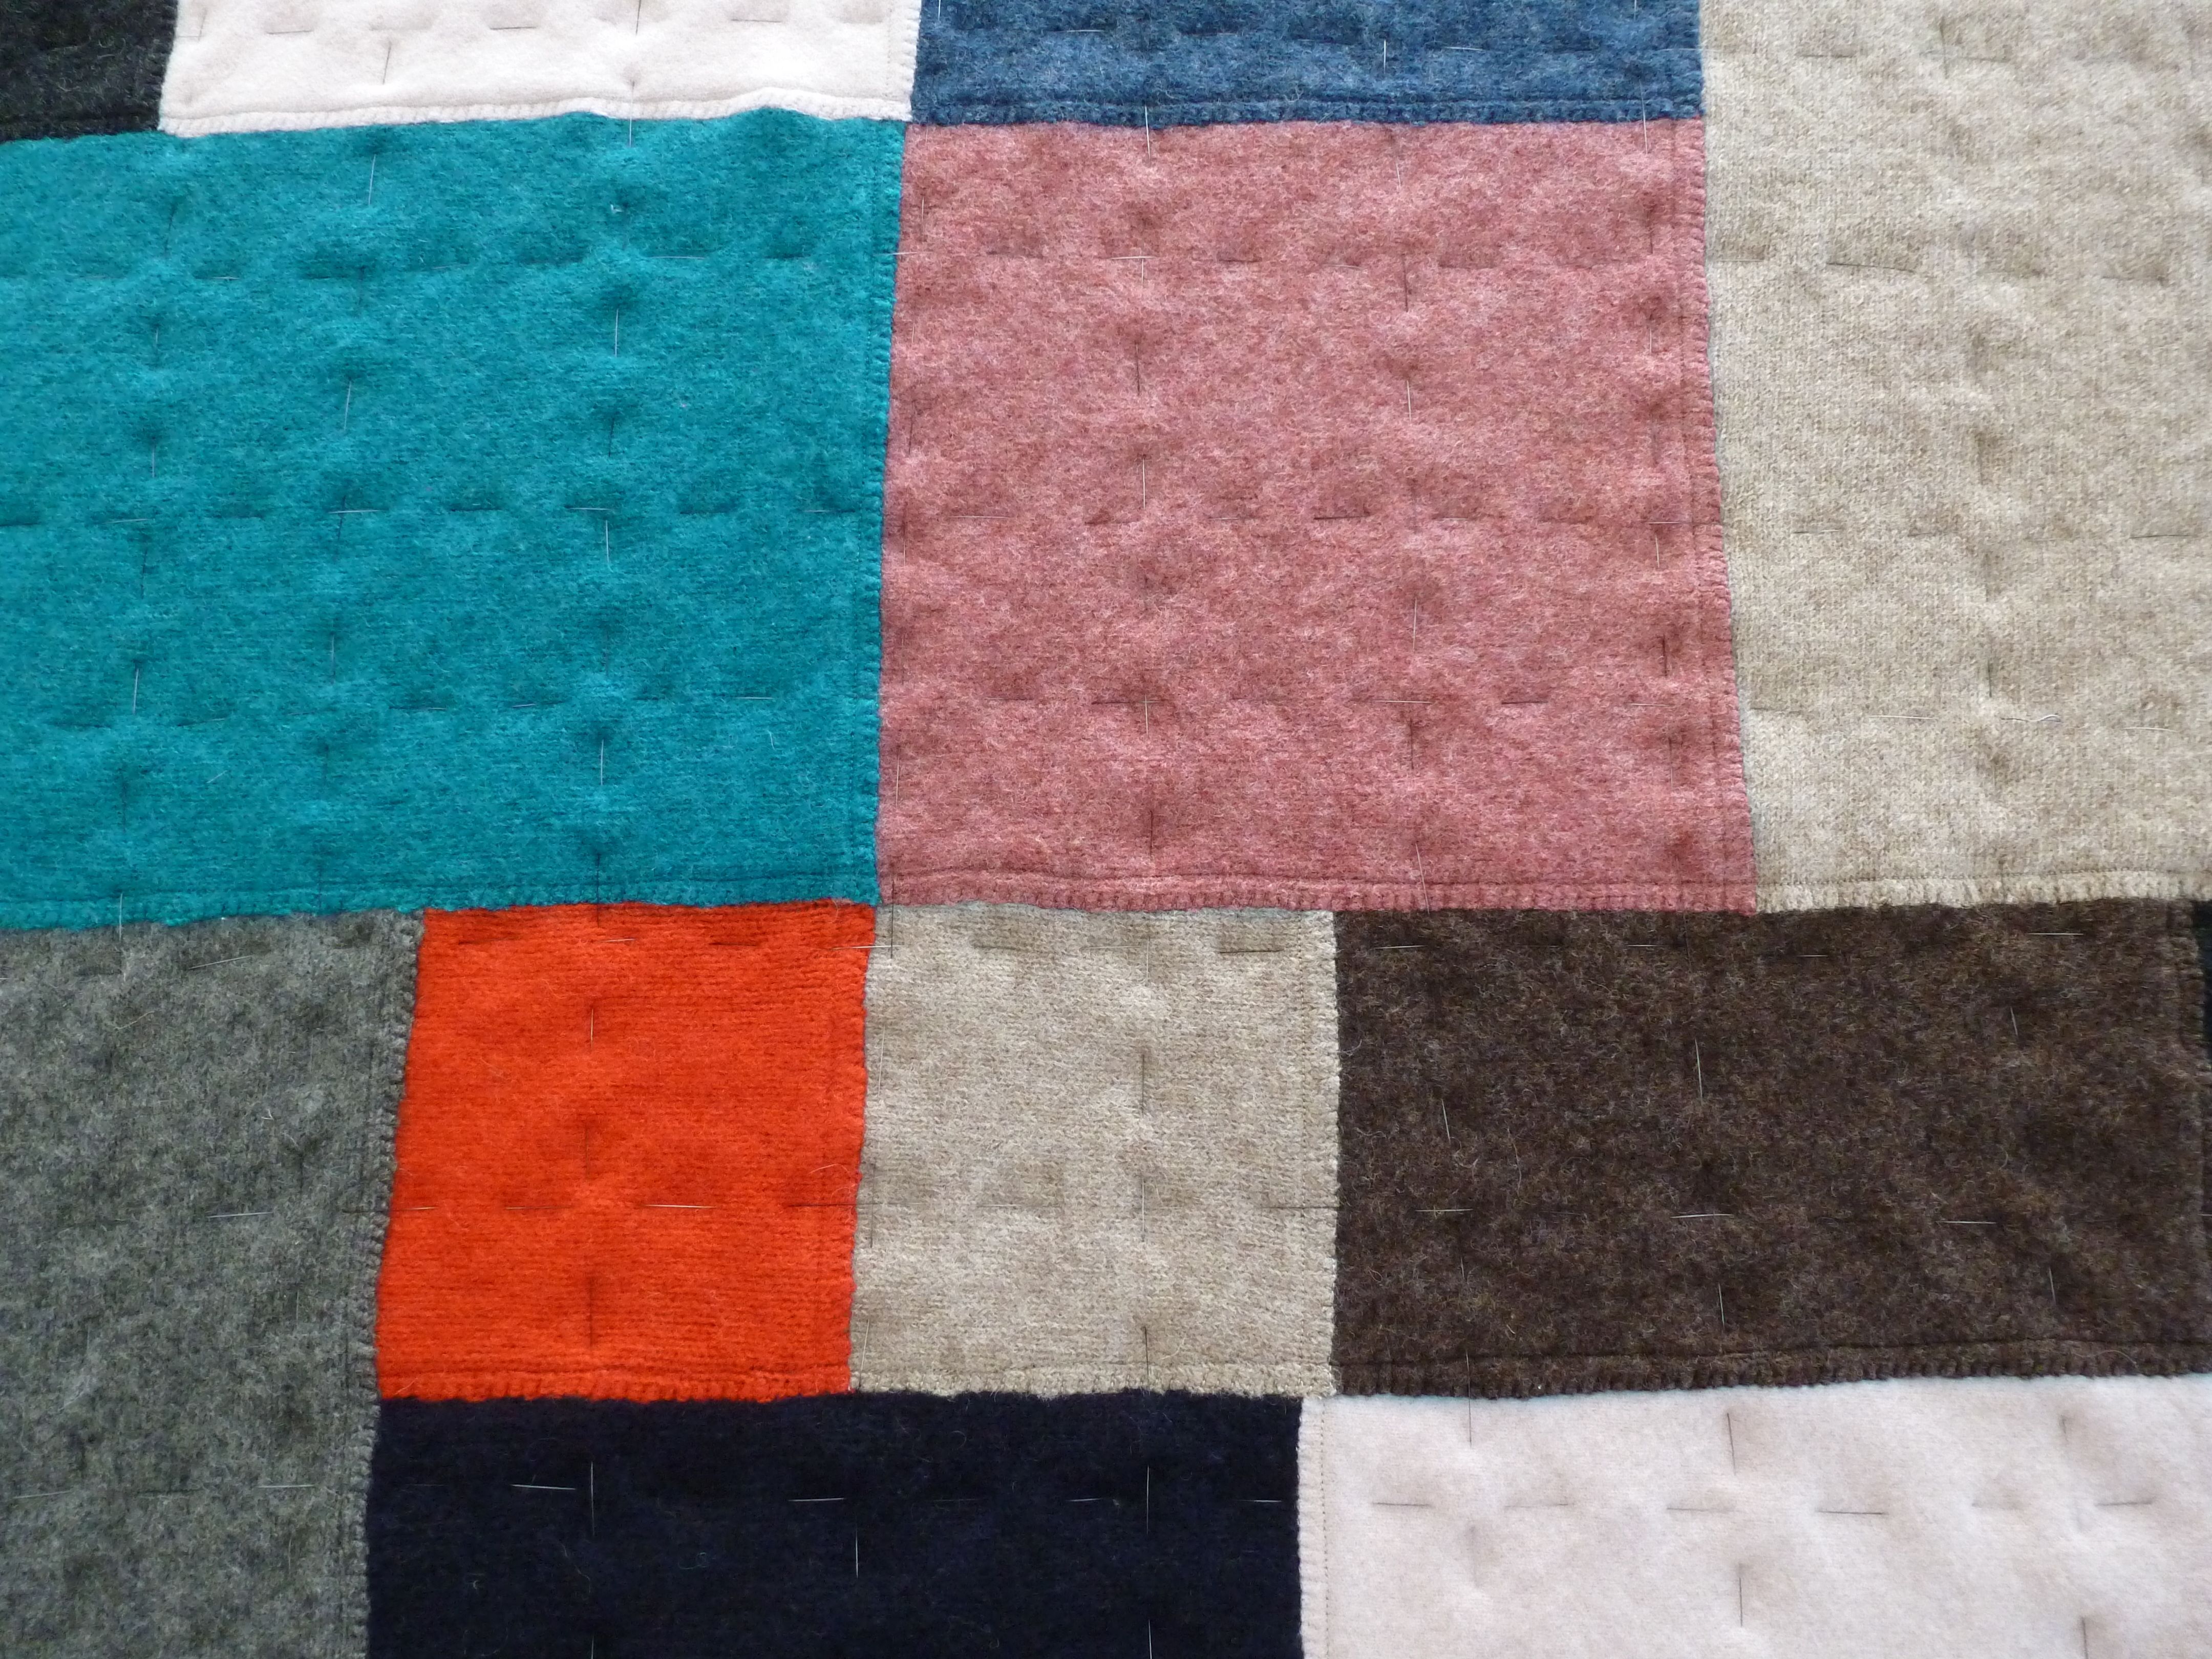
When choosing fabric for a quilt, the most important factors to consider are the durability, texture, and color. Cotton fabric is a popular choice for quilting, as it is soft, natural, and long-lasting. Look for fabrics with a tight weave for better wear and tear, and avoid fabrics with a looser weave that could tear easily. Choose colors that coordinate with the quilt design and décor. Quilters often use a variety of fabrics for their quilts, such as flannel, wool, and silk. Consider the weight of the fabric when buying for a quilt, and look for fabrics that will give the quilt an even weight and texture.
How do I choose the right quilt stencil for my project?
Choosing the right quilt stencil for a project is important for getting the desired result. Consider the size of the quilt you are working on, the type of fabric you are using, and the pattern you want to create. Think about the colors you will use in your project and if you need a multi-layer stencil or a single-layer stencil. Additionally, make sure to check the stencil’s thickness, as thicker stencils are more durable and can be used more than once. Lastly, look at the design of the stencil to ensure it’s suitable for the project.
What type of paint is best for stenciling?
For stenciling, acrylic paint is the best option as it is thicker than other types of paint and will not run when applied to the material. It is also available in a wide variety of colors and can be used on multiple surfaces like fabric, wood, canvas and more. Additionally, it is easy to clean up with soap and water.
Can I use Quilt Stencils on other Fabric Projects?
- Yes, quilt stencils can be used on other fabric projects, including clothing, bags, pillows, and more.
- These stencils are often made of plastic, paper, or metal and are available in many different sizes and shapes.
- Before using a stencil, be sure to clean the fabric surface with a lint-free cloth.
- Choose a fabric paint or dye that is suitable for the fabric you are using and follow directions on the package for best results.
- Secure the stencil to the fabric surface with stencil adhesive, painters tape, or binder clips.
- Use a foam brush, sponge, or stencil brush to apply the paint or dye.
- Once the paint or dye is dry, carefully remove the stencil and admire your work!
What tips can you give for achieving a professional look with my quilt stencils?
Choose the right fabric: Always select a good quality fabric that is suitable for quilting. Avoid fabrics that are too stretchy, as they may distort the quilt pattern when it is applied.
Clean the Stencil: Before using a stencil, make sure to clean it properly to remove any dust or dirt that may have accumulated on it.
Press the Stencil: Using a warm iron, press the stencil onto the fabric to ensure that it is properly adhered and there are no air bubbles.
Choose the Right Paint: Select a fabric paint that is specifically designed for quilting and is suitable for the fabric you have chosen.
Use the Right Tools: To achieve a professional look, use a foam roller, stencil brush, or airbrush to ensure a smooth, even application of paint.
Apply Evenly: Make sure to apply the paint evenly and not too thickly to avoid smudging or blurring the design.
Conclusion
Quilt stencils are a great way to add texture and dimension to quilts. With careful preparation and attention to detail, you can create beautiful quilts with stencils. With practice and experimentation, you can create unique and beautiful quilts that are sure to be enjoyed for years to come.


