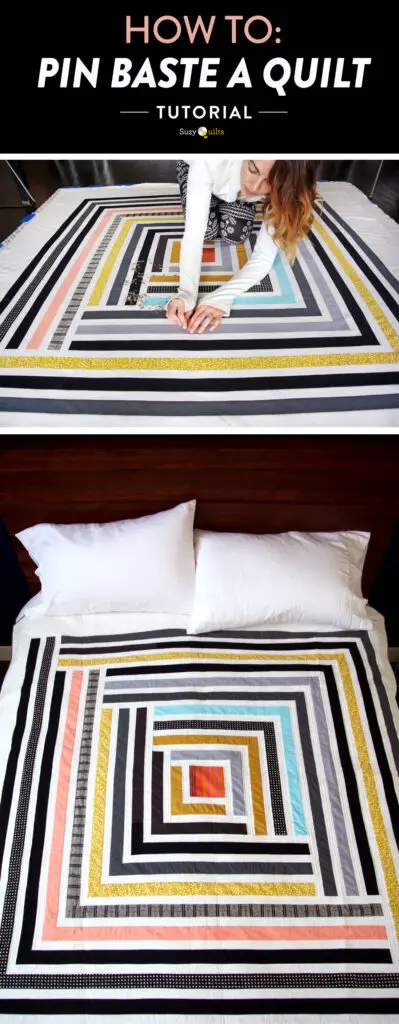
Are you looking for an easy way to baste a quilt? If so, look no further! This article will provide you with an easy step-by-step guide to perfectly basting a quilt. We’ll discuss the process of how to baste a quilt, the proper tools to use, and tips to make the process as easy and effective as possible. So, get ready to learn how to baste a quilt the easy way!
What is Basting a Quilt?
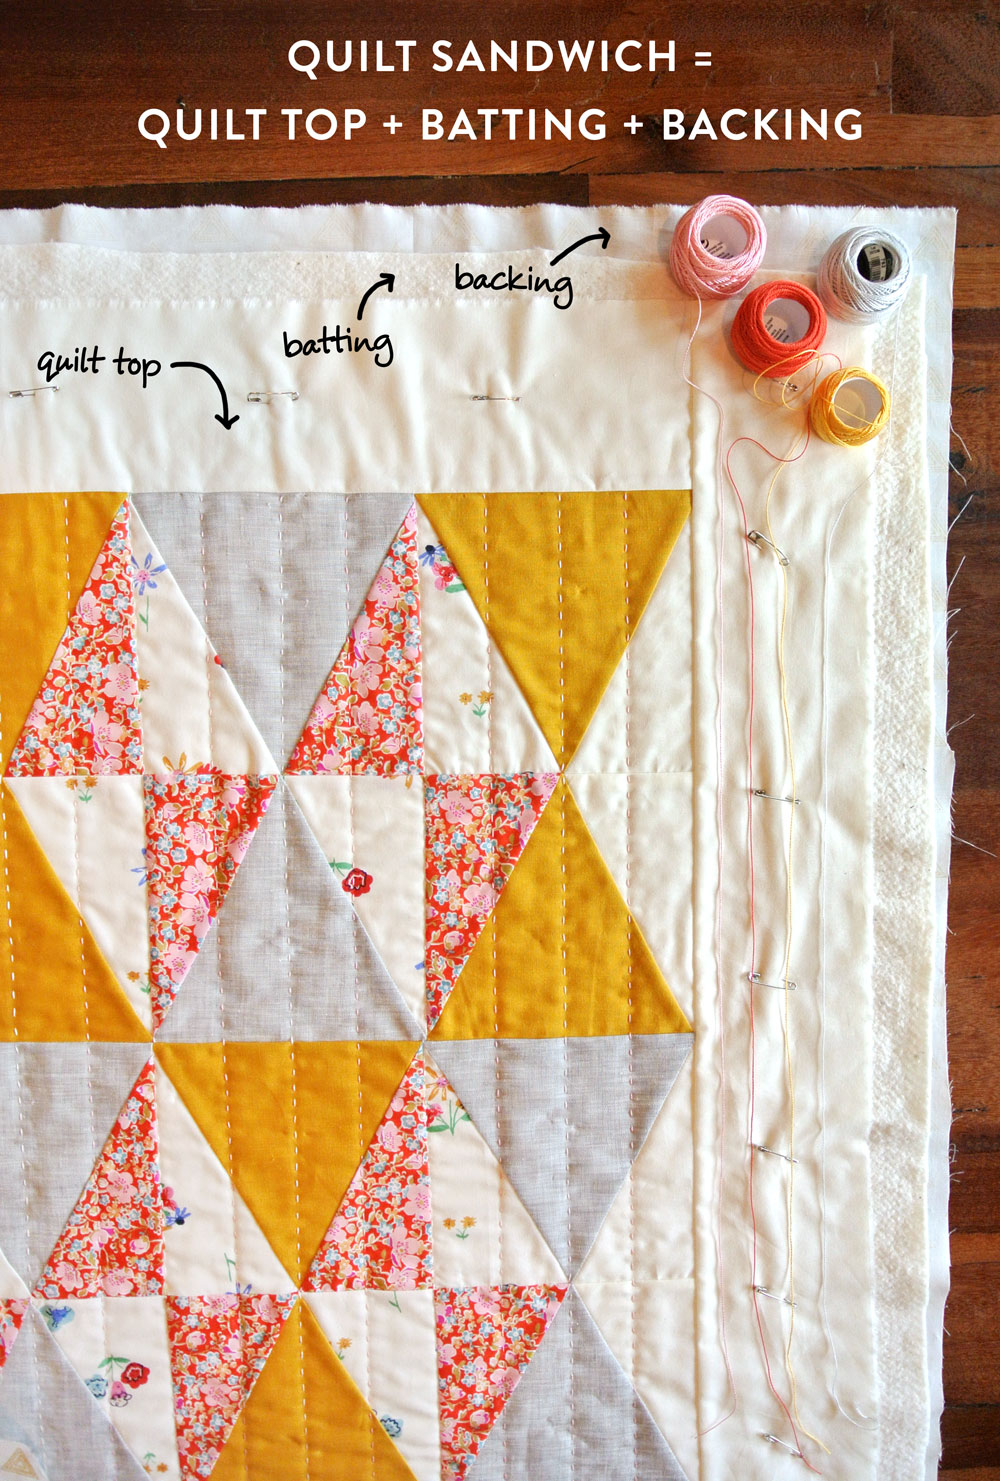
Basting a quilt is an important step in the quilting process. Basting is the process of using safety pins, basting spray, thread, or glue to secure the three layers of a quilt (top, batting, and backing) together before quilting. It is used to help keep the layers together and prevent shifting or bunching during the quilting process.
Types of Basting
- Safety Pins: Safety pins are the most common form of basting a quilt. They are used to hold the quilt together in large sections. Safety pins can be placed in a grid pattern, or randomly throughout the quilt.
- Basting Spray: Basting spray is a temporary adhesive that is sprayed onto the back of the quilt top, batting, and backing. The layers are then pressed together and allowed to dry. This method is great for larger quilts or quilts with intricate designs.
- Thread: Thread basting is another method that uses yarn or thread to secure the layers together. This method requires a lot of time and patience, but is more secure than safety pins.
- Glue: Glue basting is often used for smaller quilts, or quilts with intricate designs. Glue is applied to the back of the quilt top, batting, and backing and the layers are pressed together and allowed to dry.
Once the quilt is basted, the quilting process can begin. After basting a quilt, the quilter will need to decide which type of quilting technique they want to use and how they are going to quilt the quilt.
Preparing the Quilt Sandwich
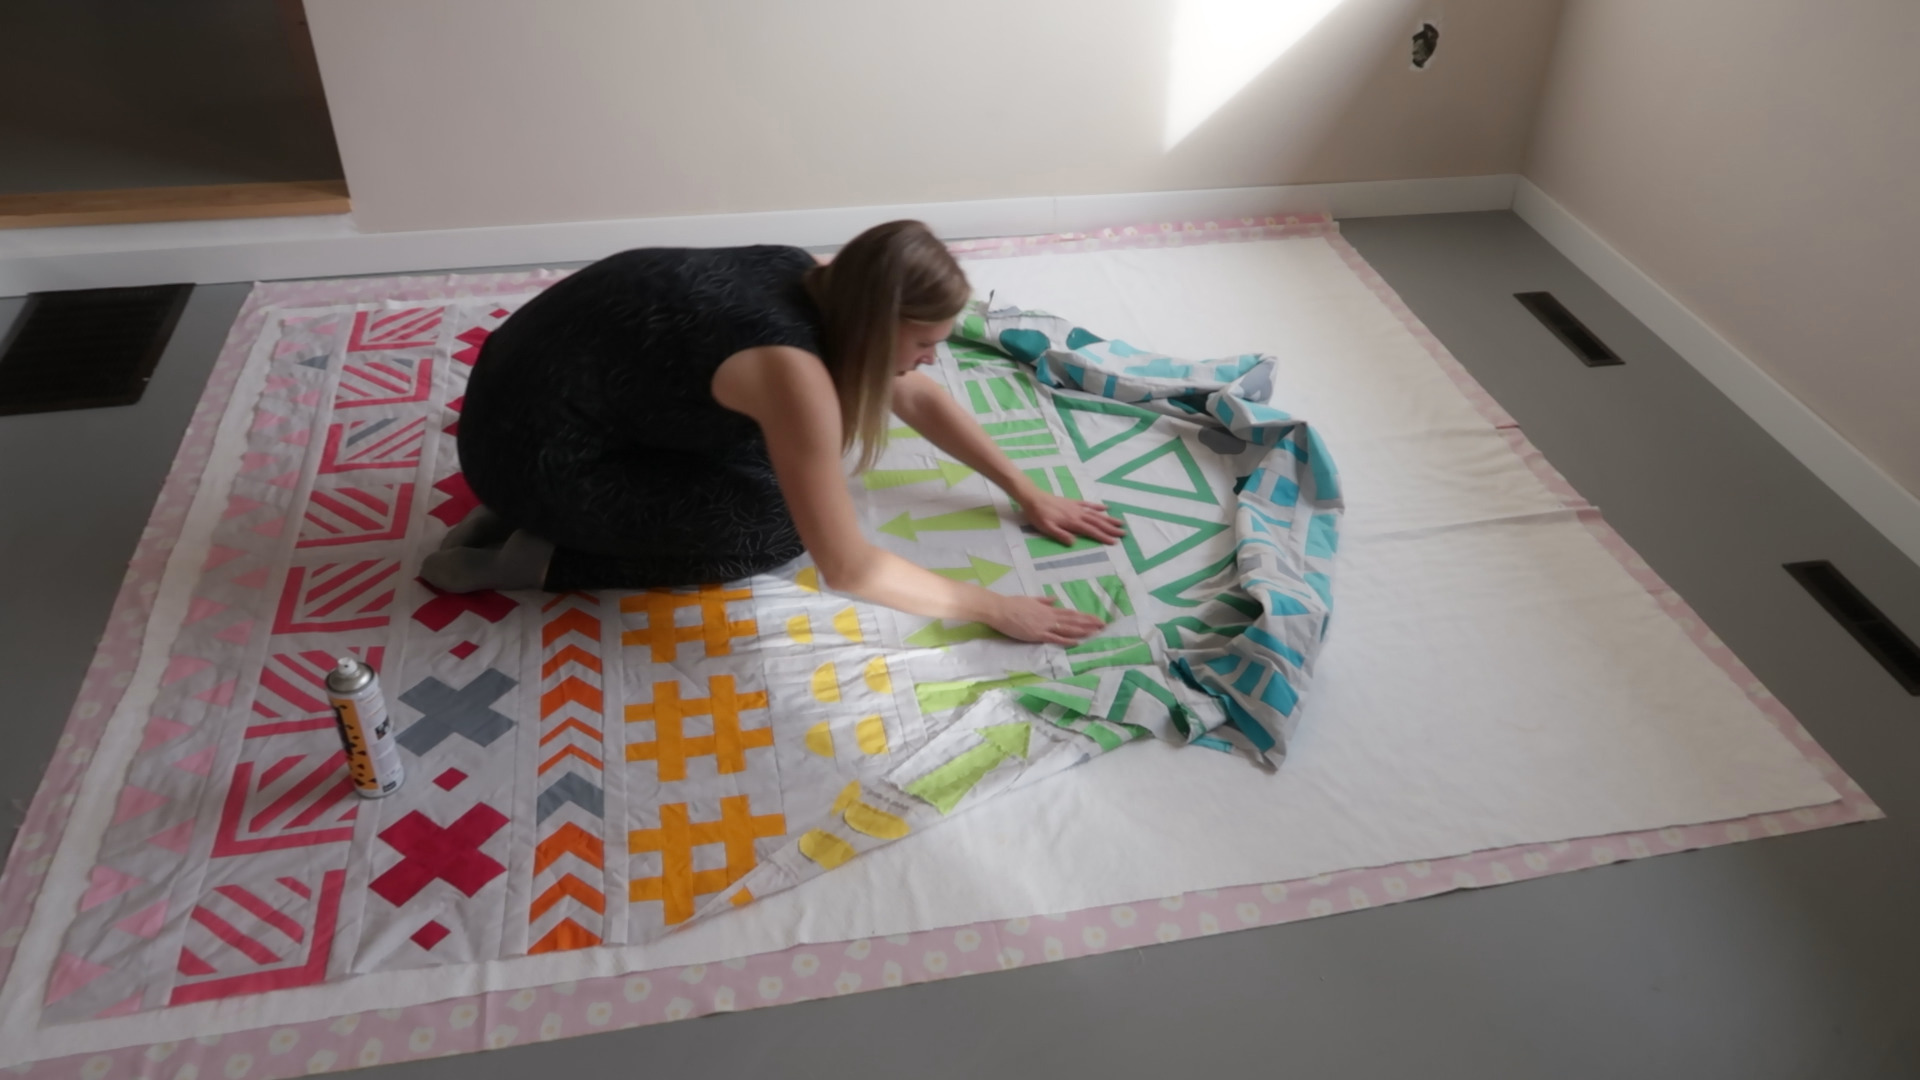
Before you start basting your quilt, you need to create a quilt sandwich. This is done by layering the backing fabric, batting and top fabric together, and pinning them together in place. Here’s how to do it:
- Lay your backing fabric wrong-side-up on a flat surface.
- Smooth out the fabric and make sure there are no wrinkles.
- Lay your batting on top of the backing fabric.
- Trim the batting so it is 1″ bigger than the backing fabric in all directions.
- Smooth out the batting.
- Lay your top fabric on top of the batting, right-side-up.
- Smooth out the top fabric.
- Pin the layers together: start at the center and work your way out in a diagonal pattern, making sure to place pins every 6-8 inches.
How to Pin a Quilt Sandwich
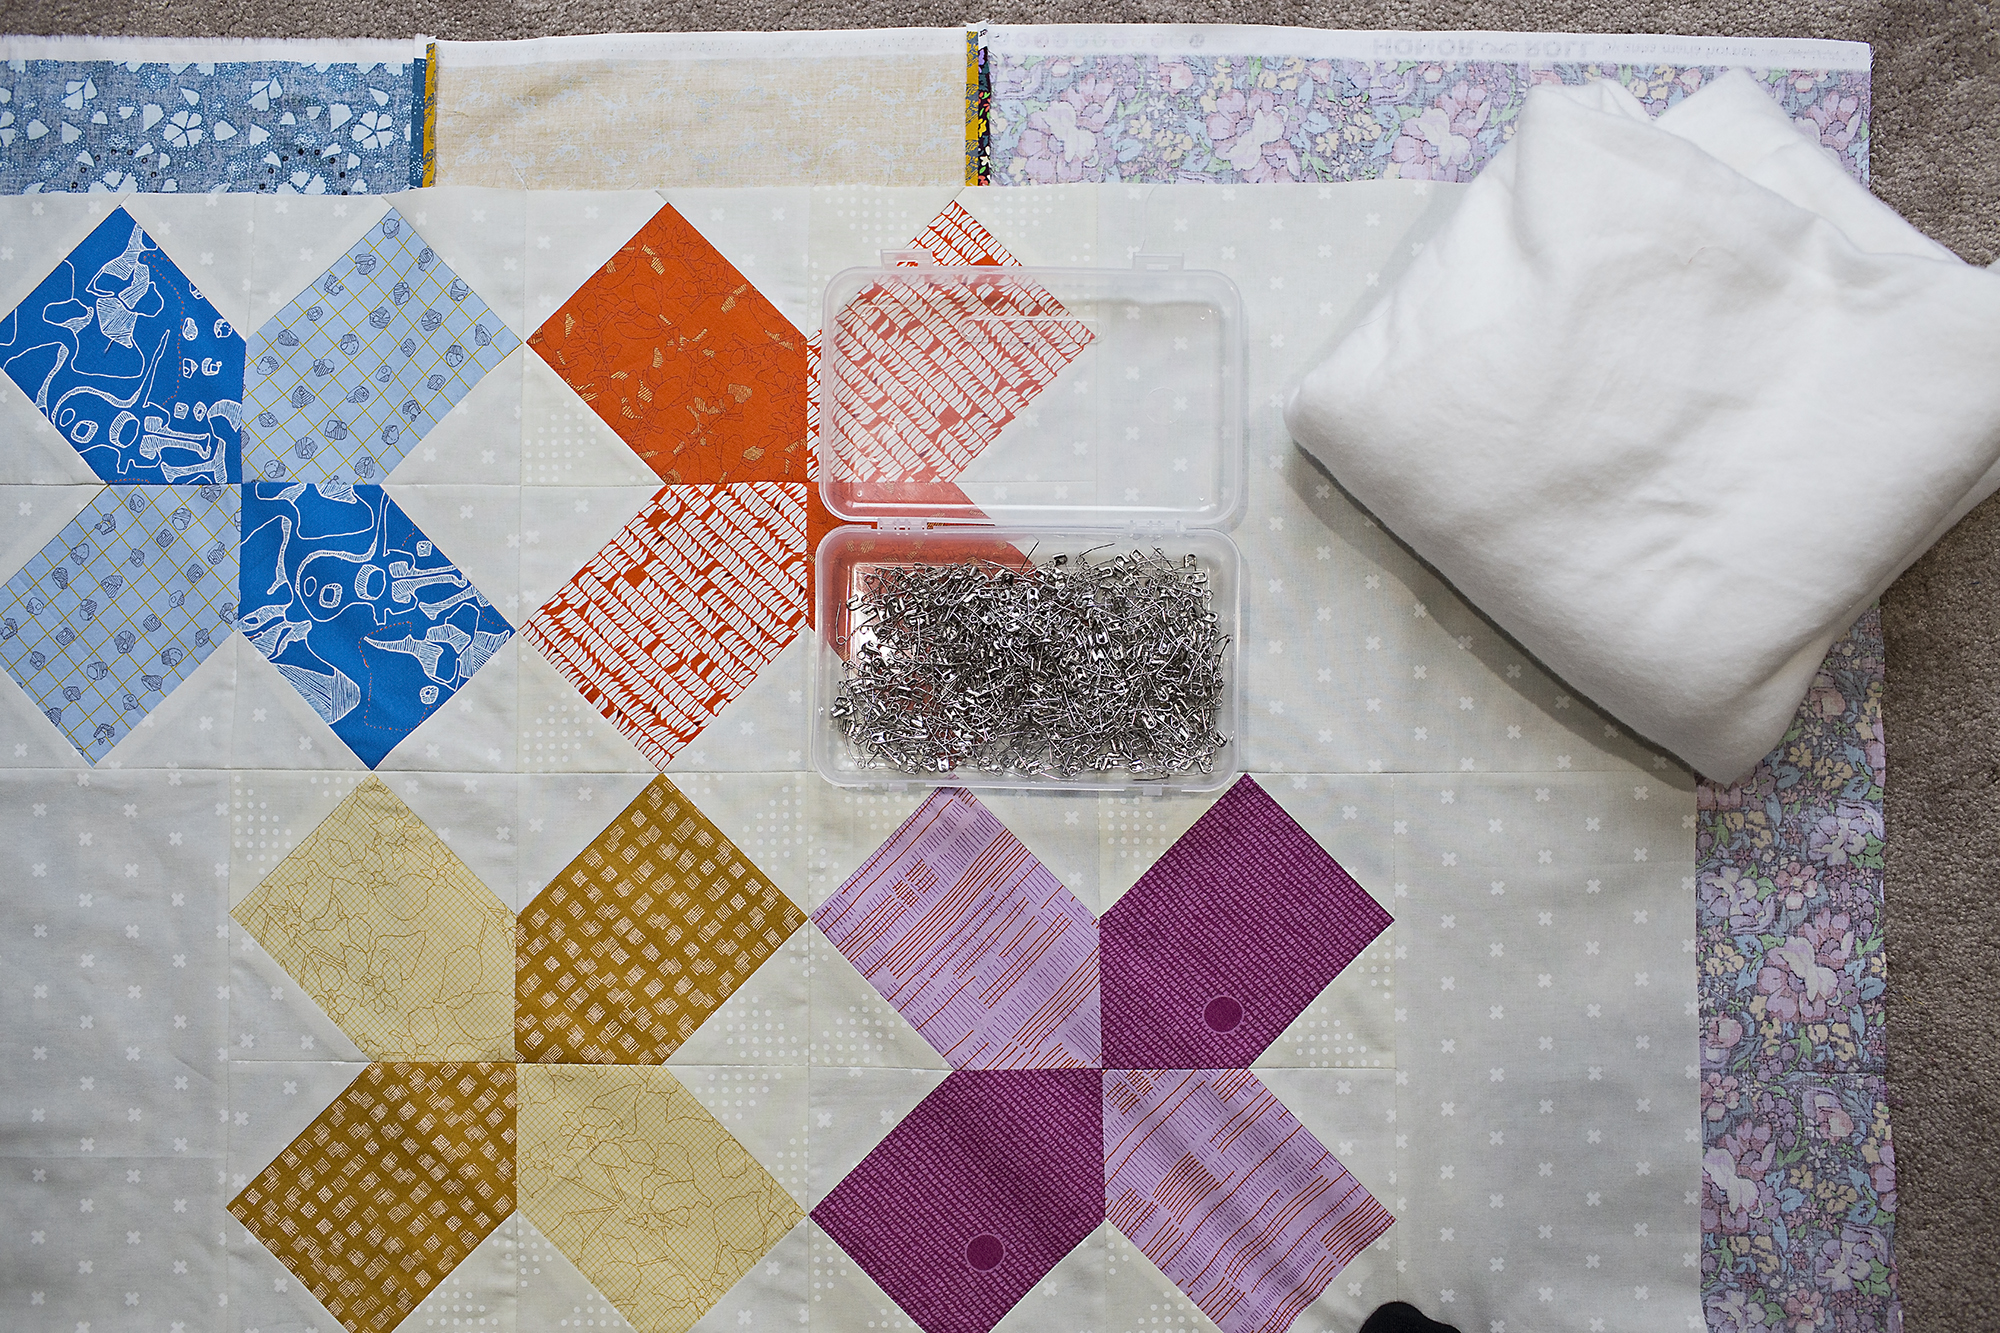
- Lay a backing fabric on the floor or work surface, wrong side up.
- Lay the batting on top of the backing fabric, making sure it is centered.
- Lay the quilt top on top of the batting, making sure that it is centered.
- Baste the batting to the backing fabric using safety pins, starting in the center and working your way out. Place one pin in the center and then place two pins every few inches apart.
- Tighten the pins as you move outward to ensure that the quilt sandwich is kept together.
- Once the middle is pinned, move to the sides and work your way to the corners, continuing to tighten the pins as you go.
- When you reach the corners, fold the excess fabric and pin it in place.
- Once the batting is pinned in place, you are ready to quilt your project.
How to Baste the Batting on a Quilt
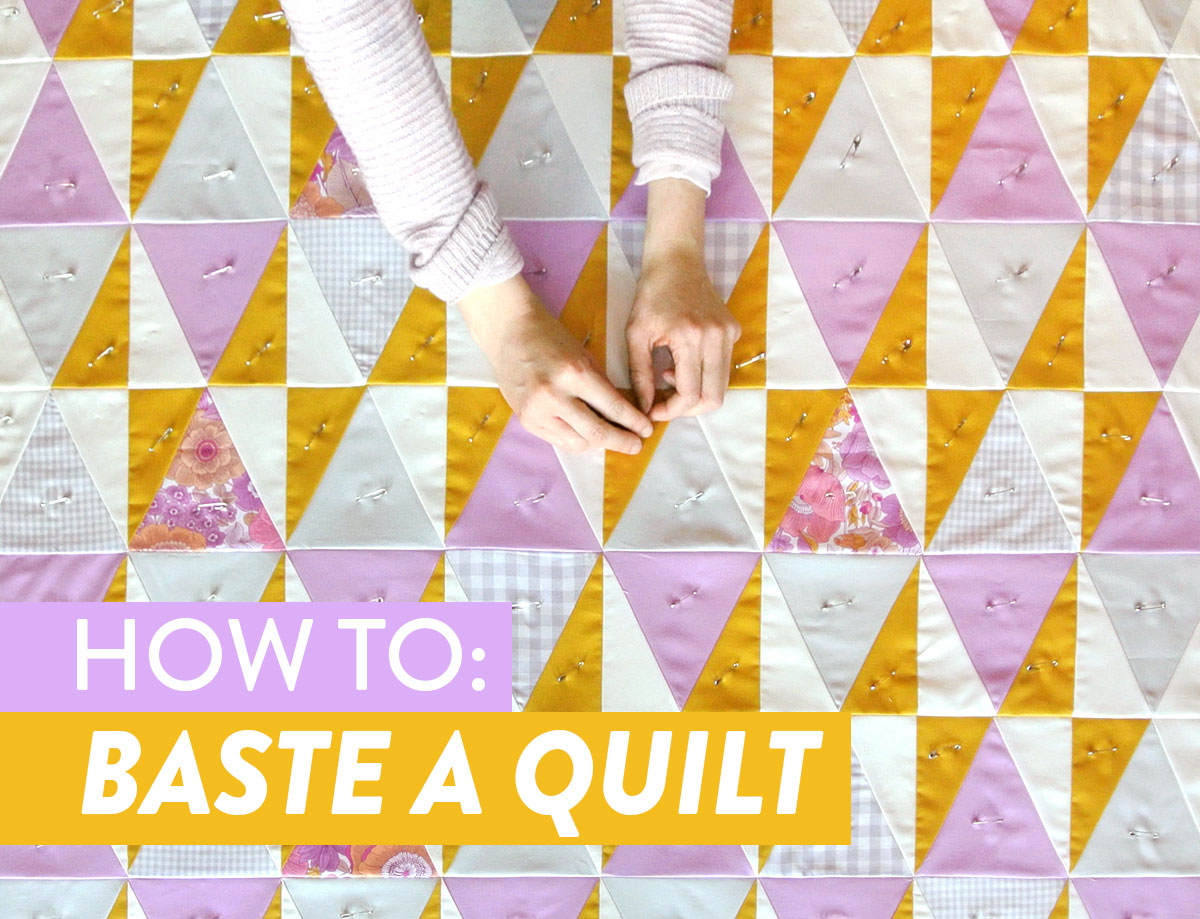
- Prepare the batting: Cut the batting to match the quilt top and bottom. Trim the batting to make sure all four sides are even.
- Lay out the batting: Place the batting on a flat surface, such as a table or the floor. Smooth out the batting to get rid of any wrinkles.
- Lay the quilt top on top of the batting: Place the quilt top on top of the batting, making sure that all four sides are even. Pin the quilt top to the batting along the edges.
- Baste the batting to the quilt top: Use straight pins or safety pins to baste the batting to the quilt top. Start in the center and work your way out to the edges. Make sure that the pins are placed at least 6 inches apart.
- Trim away any excess batting: Once the batting is basted to the quilt top, trim away any excess batting. Be sure to leave at least 1/2 inch of batting around the edges.
After basting your quilt, the next step is to layer the backing fabric and quilt the quilt together.
What to do After Basting a Quilt
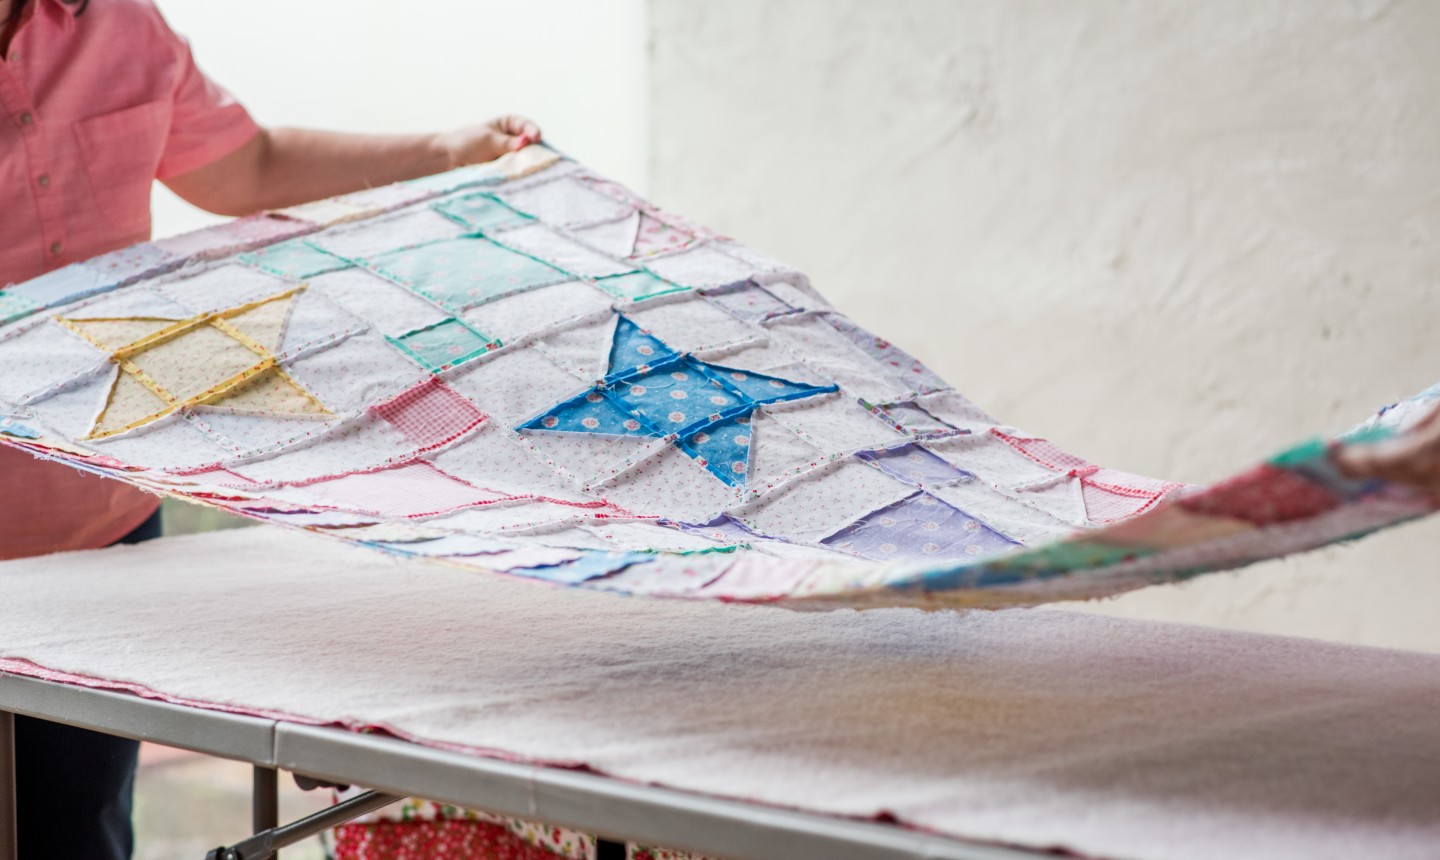
Once the quilt is basted, it is ready to be quilted. Quilting is the process of sewing the three layers together. This can be done by hand or machine. If hand quilting, use a good quality quilting thread and a quilting needle that is the right size for the quilt. For machine quilting, use a walking foot and a quilting thread that is the same color as the backing fabric.
After quilting is complete, trim the edges of the quilt to make them even. This is an important step for a neat finish.
Bind the quilt by adding a strip of fabric to the edge of the quilt. This strip should be wide enough to cover the raw edges of the quilt when folded. Sew the binding strip to the quilt with a ¼ inch seam allowance and then fold it over the raw edges of the quilt. Hand stitch the binding to the back of the quilt to finish.
Finally, label the quilt. This is an important step as it will help preserve the quilt for future generations. Include the quilt’s title, your name, and the date it was finished.
How to Layer and Baste the Quilt Top
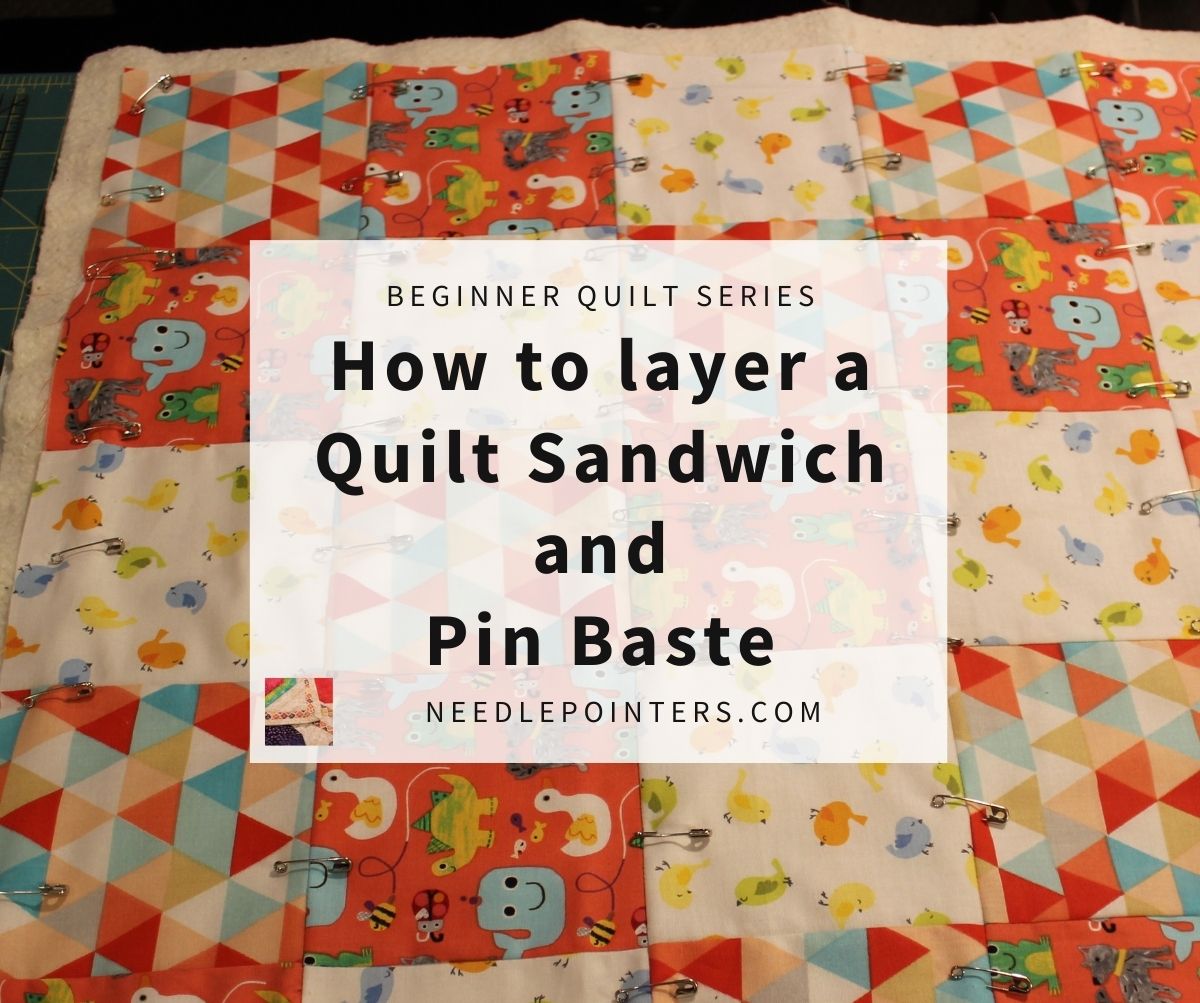
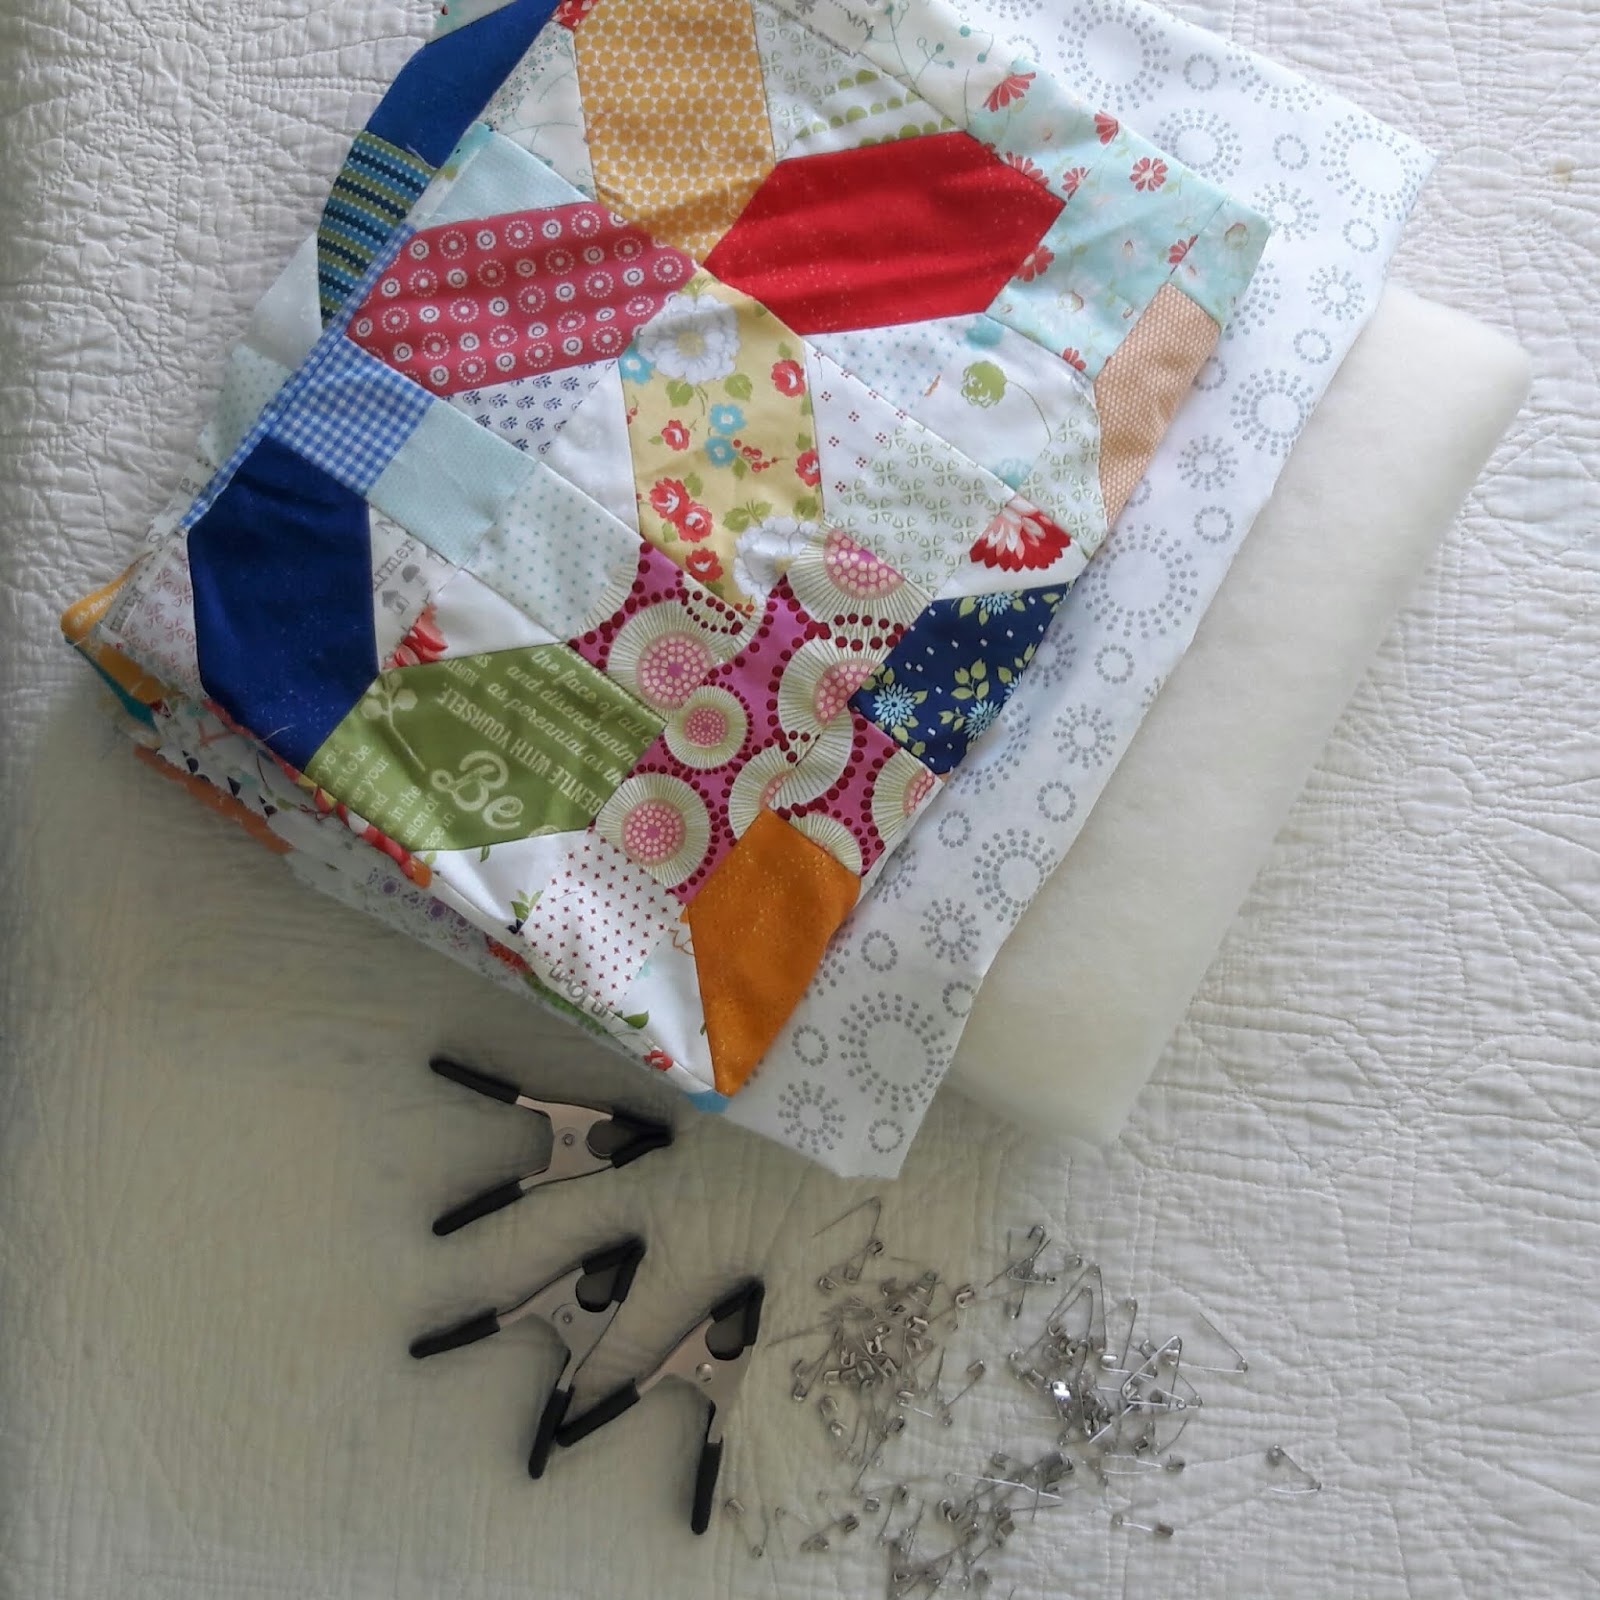
- Gather Your Supplies: You will need the quilt top, batting, backing fabric, quilt basting spray, and safety pins.
- Lay Out the Backing Fabric: Place the backing fabric on a flat surface, wrong side up. Smooth out any wrinkles or folds. If the backing fabric is not wide enough for the quilt top, sew the two pieces together.
- Lay Out the Batting: Place the batting on top of the backing fabric. Make sure the batting is evenly spread across the surface.
- Lay Out the Quilt Top: Place the quilt top on top of the batting. Make sure the quilt top is centered and the edges are even.
- Secure the Layers: Spray the quilt basting spray onto the layers. Make sure to cover the entire surface. Use safety pins to secure the layers together.
- Quilting: Once the layers are secured, you can begin quilting the quilt top. You can use a sewing machine to quilt the quilt top or hand quilt it.
How to Baste the Backing
| Steps | Description |
|---|---|
| 1. | Lay out the backing fabric wrong side up on the floor or a large table. |
| 2. | Smooth the fabric out to remove any wrinkles. |
| 3. | Lay the batting on top of the backing fabric. |
| 4. | Fold the batting and backing fabric in half and press lightly to crease. |
| 5. | Unfold the batting and backing fabric, then smooth out any wrinkles. |
| 6. | Pin one corner of the batting and backing fabric to the floor or table. |
| 7. | Pull the backing fabric taut and pin the opposite corner of the batting and backing fabric to the floor or table. |
| 8. | Continue pinning along the edges of the batting and backing fabric, making sure it is pulled taut and there are no wrinkles. |
| 9. | Once the batting and backing fabric are pinned securely, use safety pins to baste the layers together. |
| 10. | Pin each corner first, then pin the edges, spacing the pins about 4-6 inches apart. |
Finishing the Quilt Edges
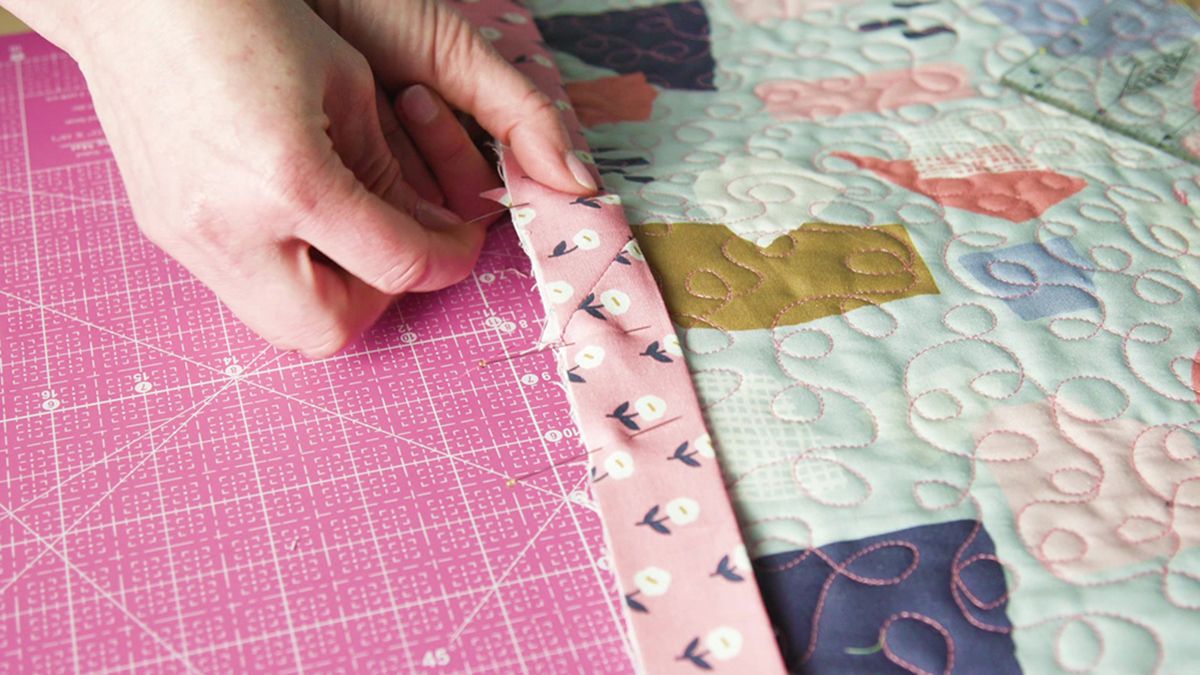
Basting a quilt is the first step in creating a real quilt. After basting the quilt, the next step is finishing the quilt edges. Here are a few steps to help you complete this task:
- Secure the batting with an additional line of basting stitches.
- Trim the excess batting and fabric, leaving a 1/4-inch seam allowance.
- Pin the binding to the quilt sandwich.
- Sew the binding in place using a scant 1/4-inch seam.
- Fold the binding over the quilt edge and pin in place.
- Sew the binding to the quilt using a 1/4-inch seam.
- Trim the excess binding.
- Hand stitch the binding to the back of the quilt.
By following these steps, you can easily finish the edges of your quilt after basting the batting and fabric together.
What Comes After Basting My Quilt?
Once you have basted your quilt, you are ready to begin quilting. The type of quilting you choose will depend on the pattern, fabric, and intended use of the quilt.
Quilting can be done with either hand or machine stitches. Hand quilting is generally used for heirloom-quality quilts, and machine quilting is often used for everyday quilts.
Once you have decided on the type of quilting to use, there are several steps that you can take to ensure that your quilt is correctly and beautifully quilted.
| Steps | Description |
|---|---|
| 1. Thread the Needle | Thread the needle with strong thread that matches the quilt top color. |
| 2. Prepare the Quilt | Lay the quilt flat on a surface and smooth it out. Pin the quilt sandwich together with safety pins if needed. |
| 3. Choose a Pattern | Decide on a quilting pattern. This can be a traditional pattern or a pattern of your own design. |
| 4. Begin Quilting | Begin quilting the quilt. For hand quilting, use a thimble and small, even stitches. For machine quilting, use a walking foot and stitch in the ditch. |
| 5. Finish Quilting | Continue quilting until the entire quilt is finished. Be sure to knot the thread after each stitch and to backstitch at the beginning and end of each line of quilting. |
| 6. Trim Thread | After finishing the quilting, trim the thread ends close to the quilt top. |
Once the quilt is quilted, it is ready to be bound. Binding is the process of adding a fabric border around the quilt to finish it off and give it a finished look. There are several different methods of binding a quilt, and the method you choose will depend on the fabric and design of your quilt.
Frequently Asked Questions
What type of basting is best for quilting?
For quilting, the best type of basting is hand basting, which involves placing the quilt layers together and then using a long-stitch running stitch to secure them. This method is preferred because it provides a secure hold, is adjustable and can be done easily. Additionally, the long running stitches can be easily removed after the quilt is finished.
What type of needle should I use when basting a quilt?
Long Quilting Needle: The best needle to use when basting a quilt is a long quilting needle. It should be larger than a standard hand sewing needle, as it needs to be able to penetrate multiple layers of fabric.
Sharp Point Needle: It is important that the needle has a sharp point to help it penetrate the fabric easily.
Crewel Needle: A crewel needle is another good choice for basting a quilt. The crewel needle is slightly larger than the standard hand sewing needle and has a longer, sharper point.
Tapestry Needle: Tapestry needles are also suitable for basting a quilt. They have a blunt point, which is ideal for passing through the fabric without damaging it.
Tulip Needle: Tulip needles are also suitable for basting a quilt. They are made from high-quality Japanese steel and have a sharp point that can easily penetrate the fabric.
How often do I need to adjust the tension while basting a quilt?
Adjusting the tension while basting a quilt is essential to ensure the quilt is evenly basted. Generally, tension should be adjusted after every 10-12 inches of basting. It is good to check the tension in between and make sure the fabric is lying flat. If the basting stitches are too tight, the fabric may pucker and if the stitches are too loose, the fabric may shift.
How do I Make Sure My Basting Stitches Are Even?
To ensure even basting stitches, use a ruler or quilting guide to keep track of the spacing of each stitch. Mark the quilt top with a water-soluble marker, tracing a grid with 1” or 2” squares. Use the grid as a guide for your basting stitches, making sure each stitch is spaced a consistent distance apart. Additionally, practice on a scrap piece of fabric to become comfortable with the spacing of the basting stitches.
Can I Baste a Quilt By Hand or Do I Need a Machine?
Hand basting is the traditional way of basting a quilt and some quilters prefer it for its simplicity. It involves pinning or tacking the quilt layers together with safety pins or thread. This is a great option for small projects, but it can be time-consuming and difficult to maneuver on larger quilts.
A machine basting is much faster and easier and is the preferred method for basting large quilts. Machine basting involves using a long straight stitch, a walking foot, and a basting spray adhesive. This method is more efficient, but it requires a sewing machine.
Conclusion
Basting a quilt can be a time consuming and tedious process, but with the right tools and techniques, you can achieve perfect quilting results. Try these steps and you will be rewarded with a beautiful and durable quilt that will last for years to come.
