Are you looking for a fun and creative way to make a quilt? Look no further than the stamped cross stitch quilt! This type of quilt is not only beautiful, but it’s also easy to make, even for beginners. In this article, you’ll find a step-by-step guide on how to do a stamped cross stitch quilt. You’ll learn how to choose the right fabric, prepare the design and complete the quilt with a few simple steps. So if you’ve been wanting to make a quilt, this is the perfect place to start.
Materials Needed
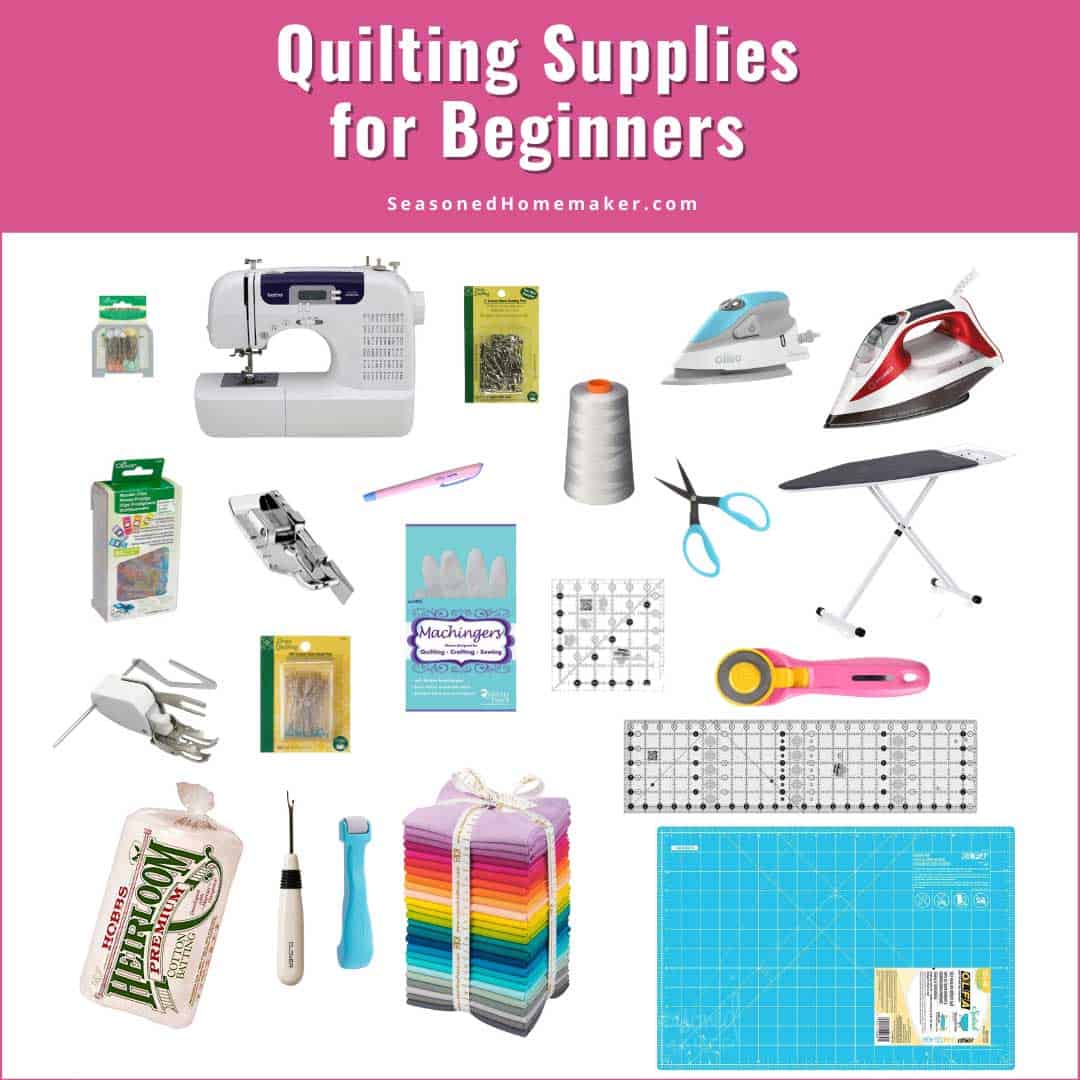
- Cross stitch fabric: This is the foundation of the quilt. Choose a fabric that is lightweight, such as Aida, evenweave, or linen. The count of the fabric will depend on the size of the quilt and the size of the stitches you plan to use.
- Thread: Choose a type of thread that will work well with the fabric you have chosen. The most common type of thread for cross stitch is stranded cotton, which comes in a wide range of colors and can be blended together to create new colors.
- Stamped design: Choose a stamped design that you like. You can buy pre-stamped cross stitch fabric and patterns, or you can transfer the design onto the fabric yourself.
- Needle: You will need a needle with a large enough eye to accommodate the thread you have chosen. Sharps needles are the most commonly used for cross stitching.
- Embroidery hoop: An embroidery hoop will help keep your fabric taut so that your stitches are even.
- Scissors: Small embroidery scissors will be helpful for cutting threads.
- Tapestry needle: You will need a tapestry needle for assembling the quilt.
- Batting: Choose a batting that is appropriate for the size of the quilt you are making.
- Fabric for backing: Choose a fabric that is lightweight and that complements the design of the quilt.
Prepping the Quilt Block
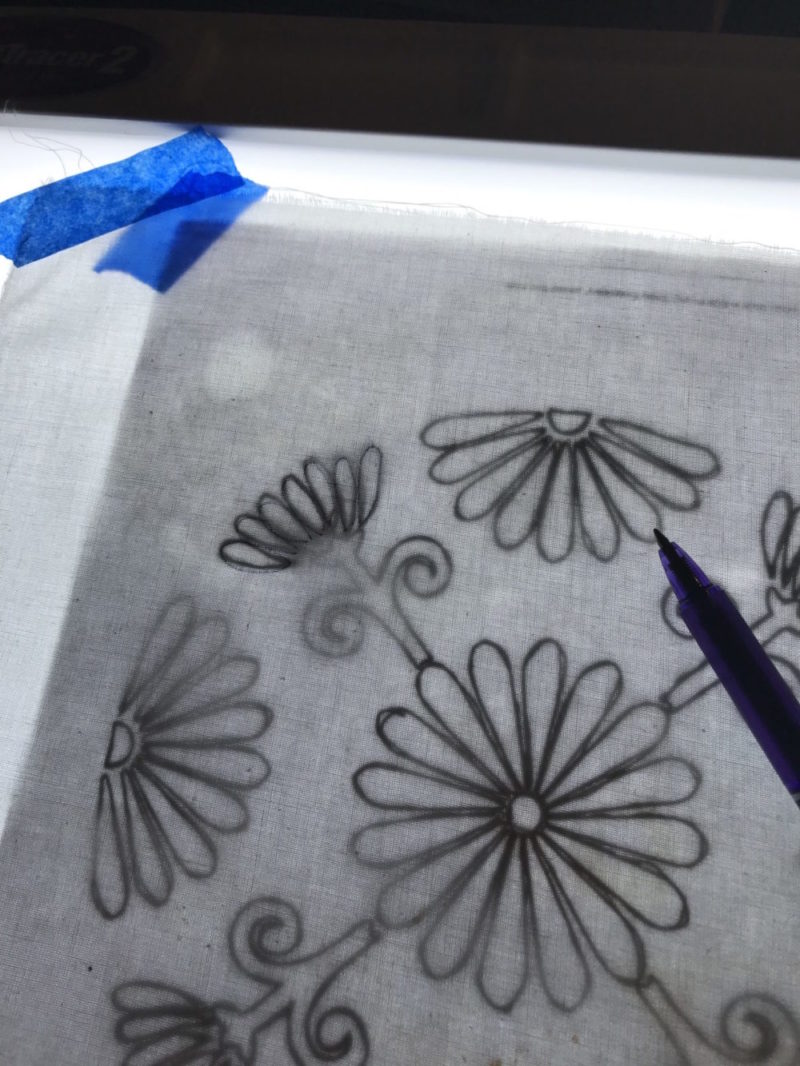
- Trace the pattern onto the quilt block: Trace the pattern onto the quilt block with a pencil. This will make it easier to follow the pattern when you are stitching.
- Choose the thread color: Select the thread color that best complements the quilt block. This will give your quilt a cohesive, professional look.
- Cut the thread: Cut the thread to the appropriate length for the project. A longer thread will make it easier to manage while stitching and a shorter thread will help reduce the risk of tangling.
- Thread the needle: Thread the needle with the thread of your choice. Make sure the thread is secure in the needle before beginning to stitch.
- Secure the thread: Secure the thread to the quilt block with a few stitches. This will ensure that the thread does not come undone when you are stitching.
Stamping the Design onto the Quilt
- Fabric Markers – Fabric markers are the most popular choice for creating stamped designs on quilts. They come in a variety of colors and allow for precise and controlled stamping.
- Stamps – Stamps are an easy and reliable way to create a uniform design on your quilt. Plastic or rubber stamps are available in a variety of shapes, sizes and motifs.
- Carving Blocks – Carving blocks are a great way to create custom stamps for your quilt. All you need is some carving foam, a carving knife, and the design you want to stamp.
- Stencils – Stencils are an excellent way to achieve a perfect and accurate design. They come in a variety of sizes and shapes, allowing you to create intricate and detailed designs on your quilt.
- Freezer Paper – Freezer paper is a great way to create your own custom stamps. Simply trace your design onto the paper, cut it out, and iron it onto your fabric.
Once you’ve chosen the method for stamping your design onto the quilt, you’re ready to begin. When stamping, be sure to use a light touch and avoid pressing too hard, as this may cause the fabric to stretch or the design to smudge. If you’re using fabric markers, it’s best to use a light hand and press down lightly to get a good impression. If you’re using stamps, be sure to press firmly and evenly to get a clean and crisp impression. Once you’ve finished stamping the design, let it dry completely before continuing.
Transferring the Design onto Fabric
| Equipment | Description |
|---|---|
| Transfer paper | A type of paper used for transferring designs onto fabric |
| Iron | For transferring the design from the paper onto the fabric |
| Fabric | The material used for the quilt |
Step 1: Print the design onto the transfer paper. Make sure that the design is printed in reverse.
Step 2: Position the transfer paper face-down onto the fabric and press down firmly with your hands.
Step 3: Turn your iron to a high cotton setting, and press it down onto the design. Hold it in place for 20 to 30 seconds until the design is transferred onto the fabric.
Step 4: Peel the paper off and check if the design is correctly transferred. If not, repeat the process.
Step 5: Once the design is successfully transferred onto the fabric, it is ready for the cross stitch quilting.
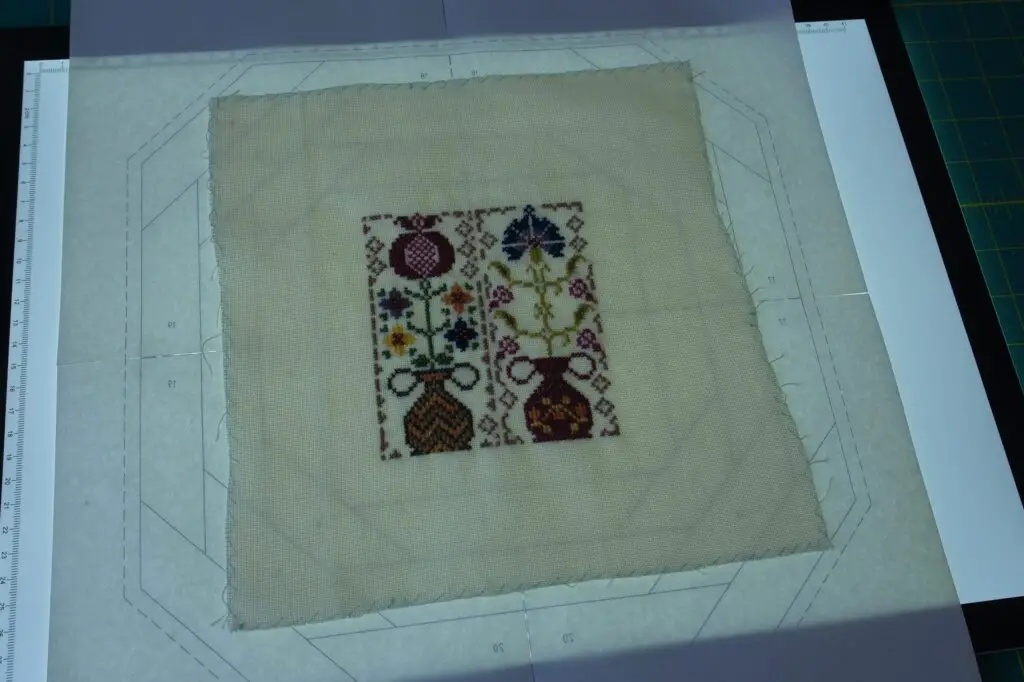
Cutting the Fabric
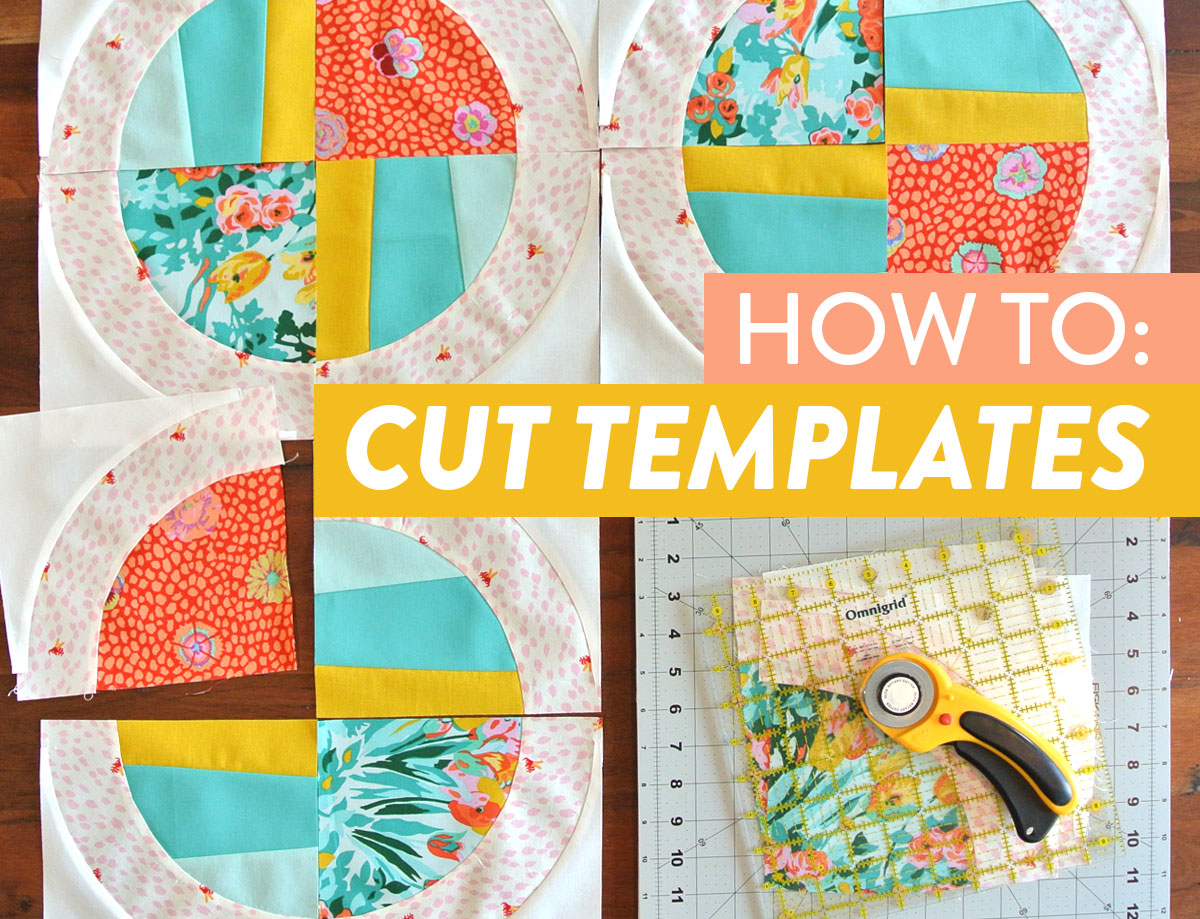
- Fabric should be cut into 12 inch squares. This will make the quilt more manageable and easier to work with.
- Use a rotary cutter and mat for the most accurate and efficient results.
- Always use a ruler when cutting to ensure straight lines.
- Cutting should be done on the right side of the fabric to make sure the pattern is visible when the quilt is completed.
- Iron the fabric before cutting to ensure accuracy and to avoid fraying.
- Cut the fabric slightly larger than the pattern so that the edges of the quilt will be even when finished.
Placing the Stitches
- Choose the pattern: Before starting the process of stitching, it is important to choose the pattern that you want to stitch. It is advisable to choose a pattern that is simple and can be easily completed.
- Select the fabric: The next step is to choose the fabric that you wish to use for the quilt. It is important to select a fabric that is lightweight and comfortable.
- Cut the fabric: Using a ruler and a rotary cutter, cut the fabric into the desired size and shape.
- Position the fabric: Place the fabric on the frame and secure it with pins.
- Thread the needle: Thread the needle with a length of thread that is long enough to stitch the entire quilt.
- Place the stitches: Begin by placing the stitches along the design lines. It is important to place the stitches close together and evenly spaced.
- Secure the stitches: Once the stitches have been placed, it is important to secure them with a knot. This will ensure that the stitches do not come undone.
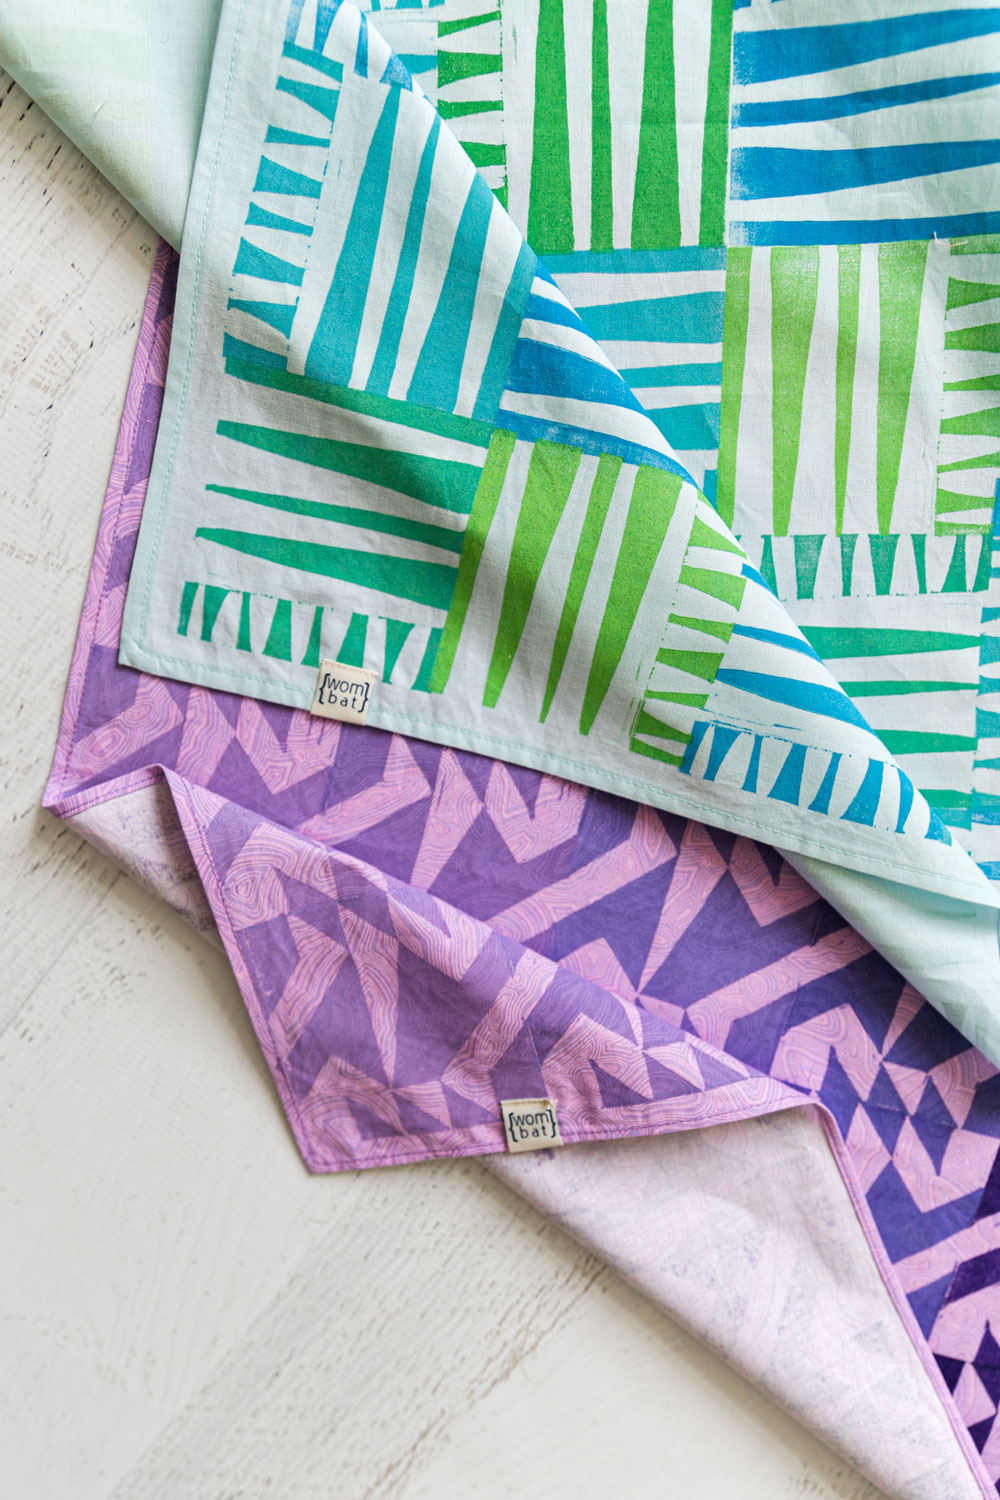
Finishing and Framing the Quilt Block
- Press the quilt block with a warm iron to remove any creases or wrinkles.
- Trim the excess fabric from the edges of the block.
- Back the block with a piece of cotton batting, and stitch the batting in place using a straight stitch.
- Cut a backing fabric of the same size as the quilt block. Place the backing fabric, right side down, on top of the batting, and pin in place.
- Stitch around the edges of the quilt block, using a straight stitch and a 1/4″ seam allowance.
- Press the quilt once again.
- Add a border of fabric to the quilt block if desired.
- Quilt the block either by hand or machine, using a decorative stitch.
- Bind the edges of the quilt using bias binding, or stitch a facing to the back of the quilt.
- Frame the quilt block in a deep frame or mount it onto a stretched canvas.
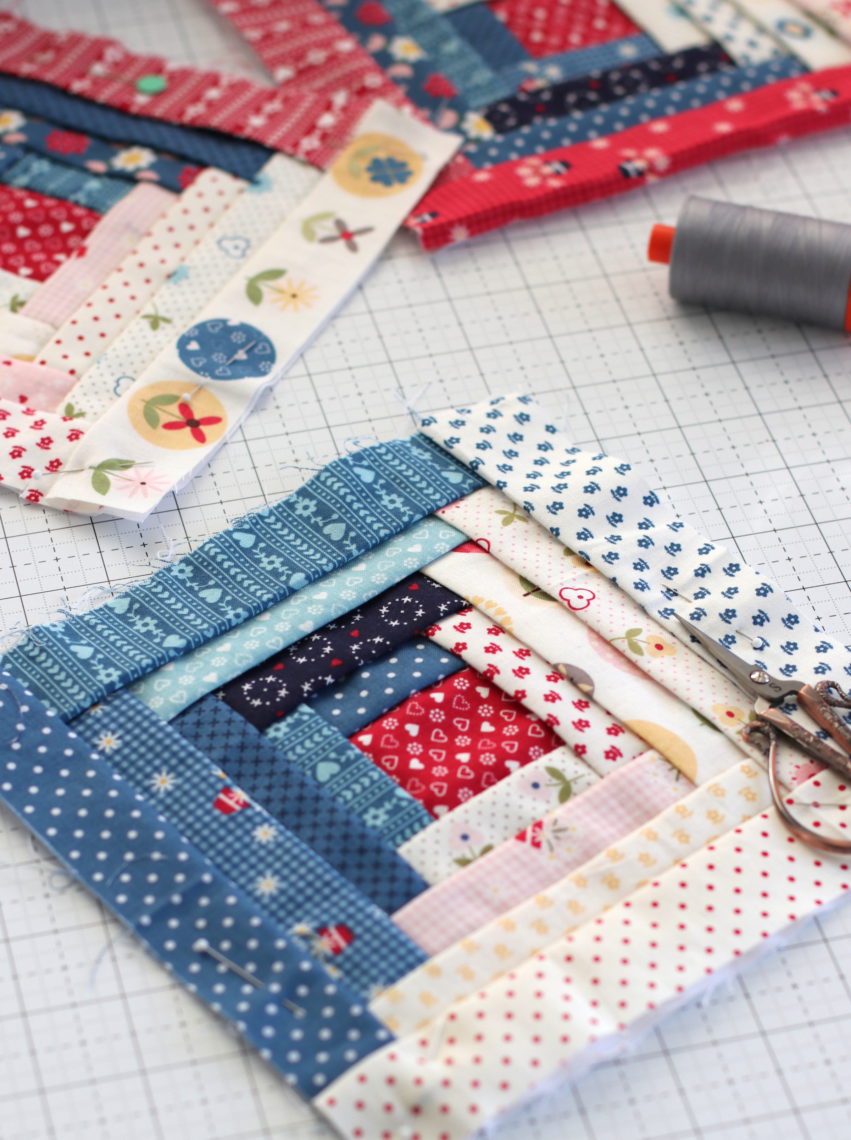
Finishing the Quilt
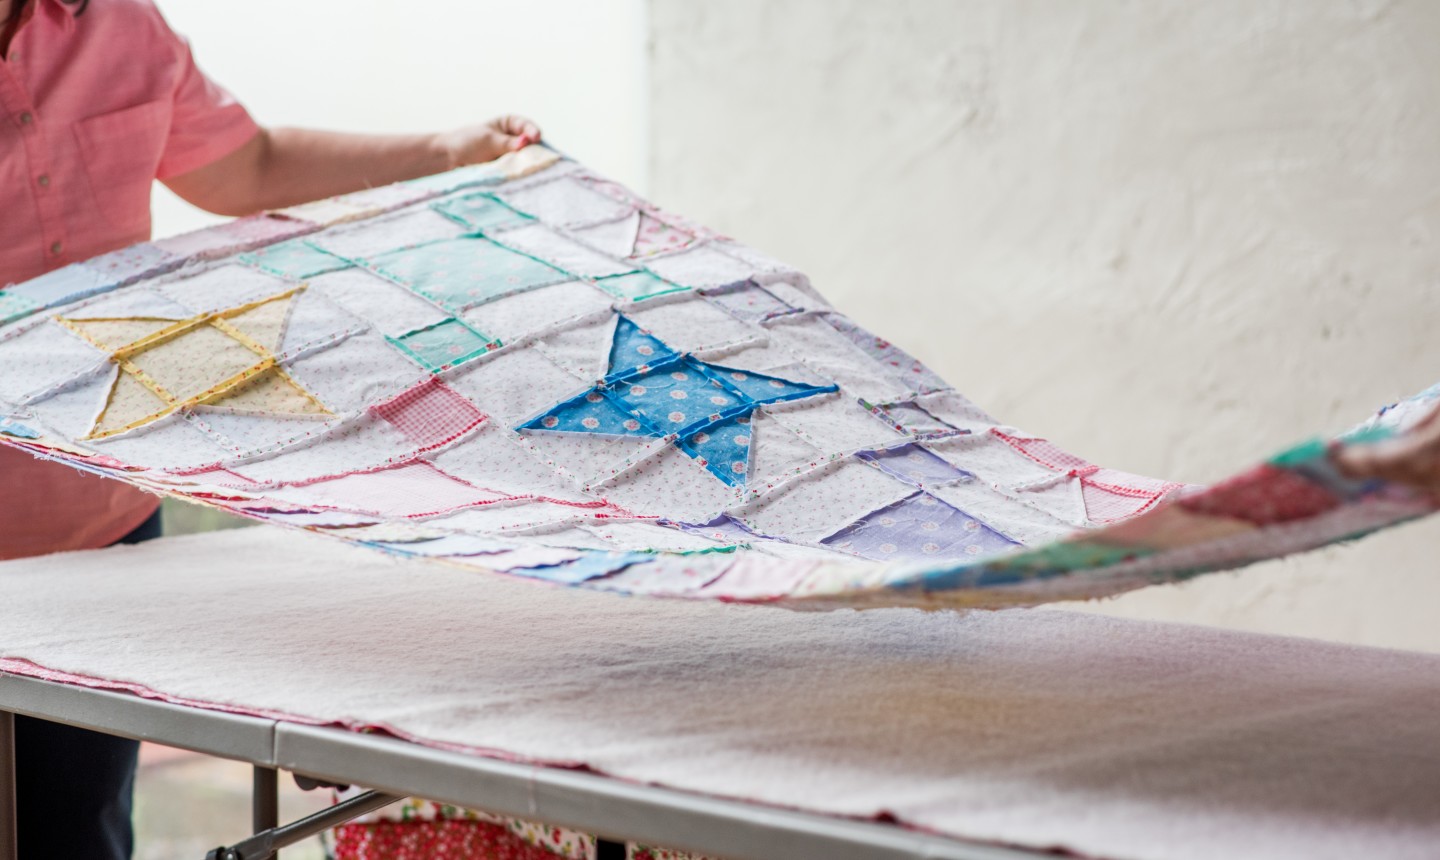
Once all the stamped cross stitch blocks have been completed, the next step is to add the borders and back of the quilt. The border can be made from a different color of fabric or the same fabric as the blocks. For a more traditional quilt, a single layer of batting can be sandwiched between the quilt top and quilt back and then stitched together with a machine. For a more modern look, a quilt-as-you-go technique can be used, where each block is quilted individually, then stitched together with the borders and back. Finally, the binding is added, usually with a single layer of bias tape around the perimeter of the quilt.
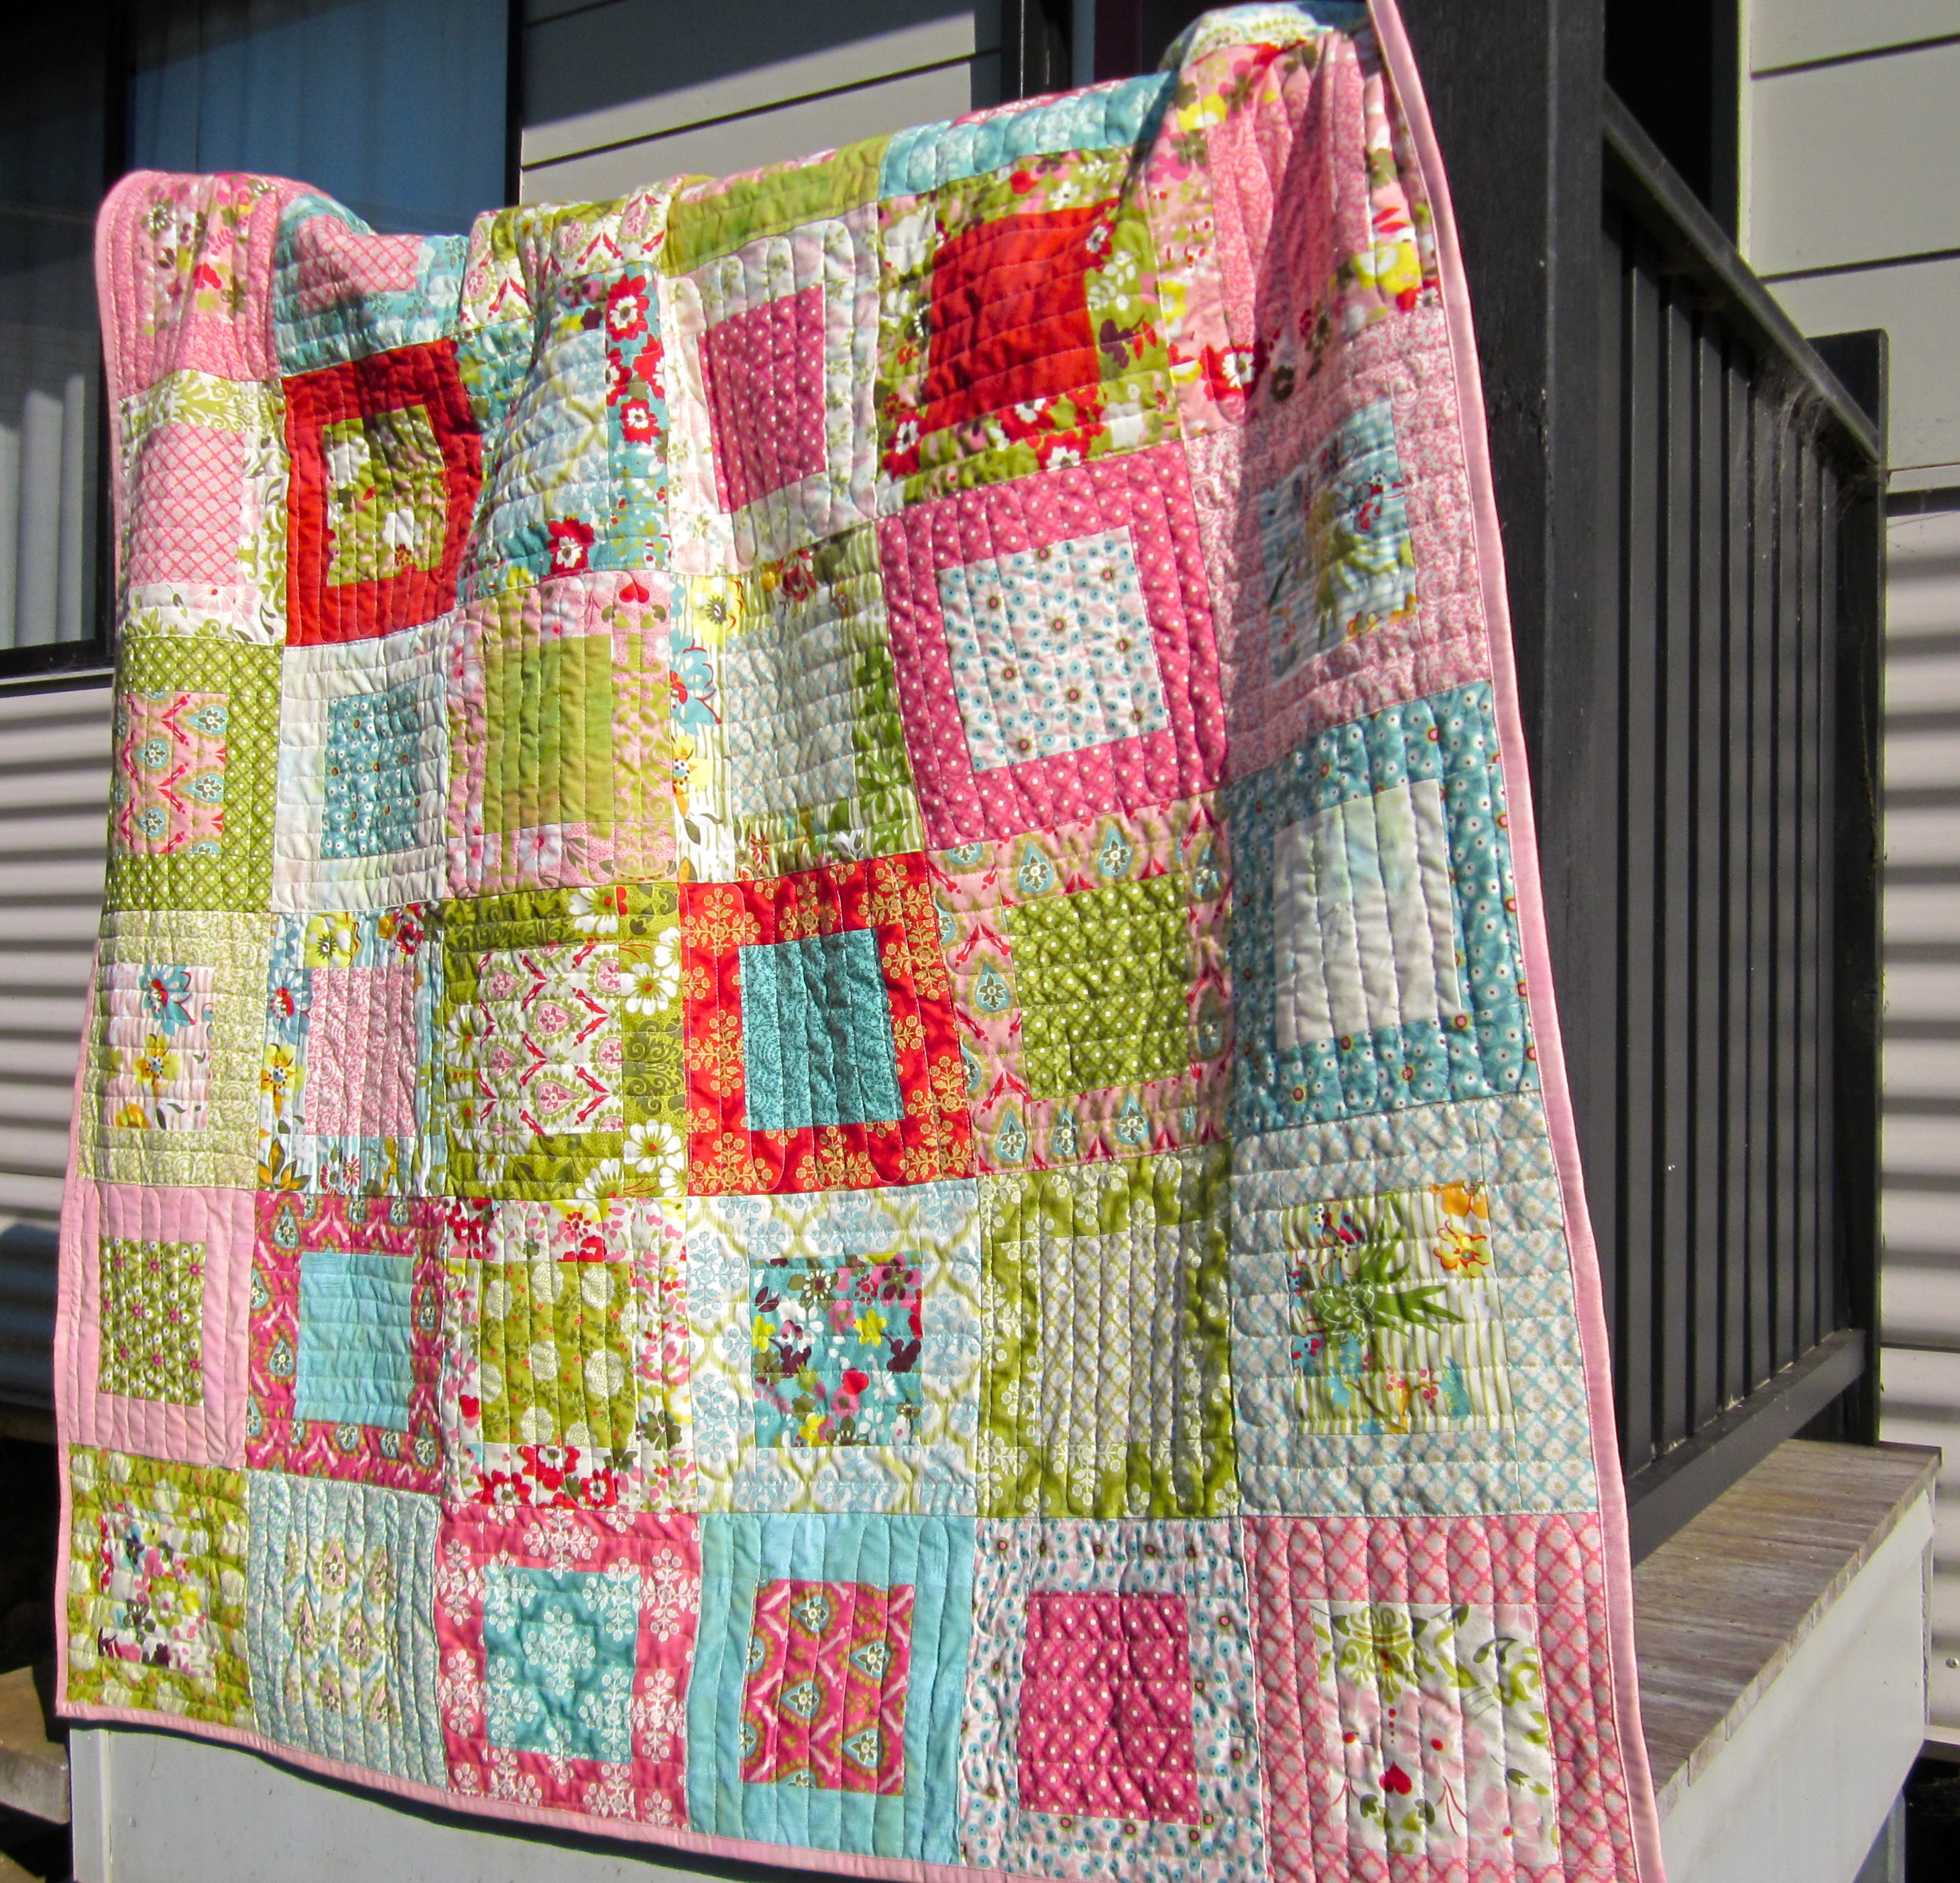
To finish the quilt, it is important to use a high-quality thread, such as a cotton-polyester blend, in a neutral color that will coordinate with the colors of the quilt. It is also important to use a thin, even tension when stitching the quilt together. Once the quilt is stitched together, it is a good idea to press it with a warm iron, to ensure the edges are crisp and the design stands out. Finally, the quilt can be washed and dried to give it a softer, more vintage look.
Now that you know how to do a stamped cross stitch quilt, you can create beautiful quilts that will last for generations. With some patience and practice, you will be able to create a quilt that you can be proud of.
Frequently Asked Questions
What kind of fabric is best to use for a stamped cross stitch quilt?
Aida cloth: Aida cloth is a stiff, slightly textured fabric that is perfect for stamped cross stitch quilts. It is made of 100% cotton and is sturdy enough to withstand countless washings. The fabric also allows for easy threading, making it easy to create intricate patterns.
Linen fabric: Linen fabric is a great choice for stamped cross stitch quilts, as it is strong and durable. It is also easy to thread and can be used to create an array of intricate designs.
Poly-cotton blend fabric: The poly-cotton blend fabric is a great choice for creating a quilt that will last many years. It is lightweight, yet strong, and is also easy to thread.
Muslin fabric: Muslin fabric is a great choice for creating a quilt that is lightweight and easy to work with. The fabric is also easy to stitch and is perfect for creating intricate designs.
Wool fabric: Wool fabric is an excellent choice for creating a quilt that is both durable and soft. It is also easy to thread and can be used to create intricate designs.
What Kind of Needles Should I Use for a Stamped Cross Stitch Quilt?
A quality tapestry needle is the best choice for a stamped cross stitch quilt. These needles have a blunt tip to help avoid damaging the fabric and a large eye to make threading easier. For the best results, use a size 24 or 26 tapestry needle.
What size embroidery hoop should I use for a stamped cross stitch quilt?
For a stamped cross stitch quilt, you should use an embroidery hoop that is larger than the design on the fabric. This will help you to keep the fabric taut while you are stitching and will prevent any puckering of the fabric. The size of the hoop should be at least double the size of the stamped design; a 12-inch hoop is a good size for a 6-inch design.
How do I secure the fabric to the hoop for a stamped cross stitch quilt?
To secure the fabric to the hoop, place the hoop on a flat surface and place the fabric over the hoop. Start by stretching the fabric over the top of the hoop, then pull the bottom of the fabric up and around the bottom of the hoop. Secure the fabric with the hoop’s tightening mechanism. Make sure the fabric is taut and even around the hoop before continuing.
What Kind of Thread Should I Use for a Stamped Cross Stitch Quilt?
When choosing thread for a stamped cross stitch quilt, look for six-stranded embroidery floss in natural fibers such as cotton and linen. Threads with a matte finish will create a better effect than those with a glossy finish. Use a single strand of thread for stitching, and double the thread when stitching over one fabric square. Keep in mind that the color of the thread will be slightly darker when stitched on fabric, so choose a thread that is slightly lighter than the fabric.
Conclusion
Creating a stamped cross stitch quilt is a fun and creative way to make a unique quilting project. With the right materials and a bit of patience, you can make a personalized quilt that will last a lifetime. Following the steps outlined in this guide, you’ll be able to successfully create a beautiful stamped cross stitch quilt.


