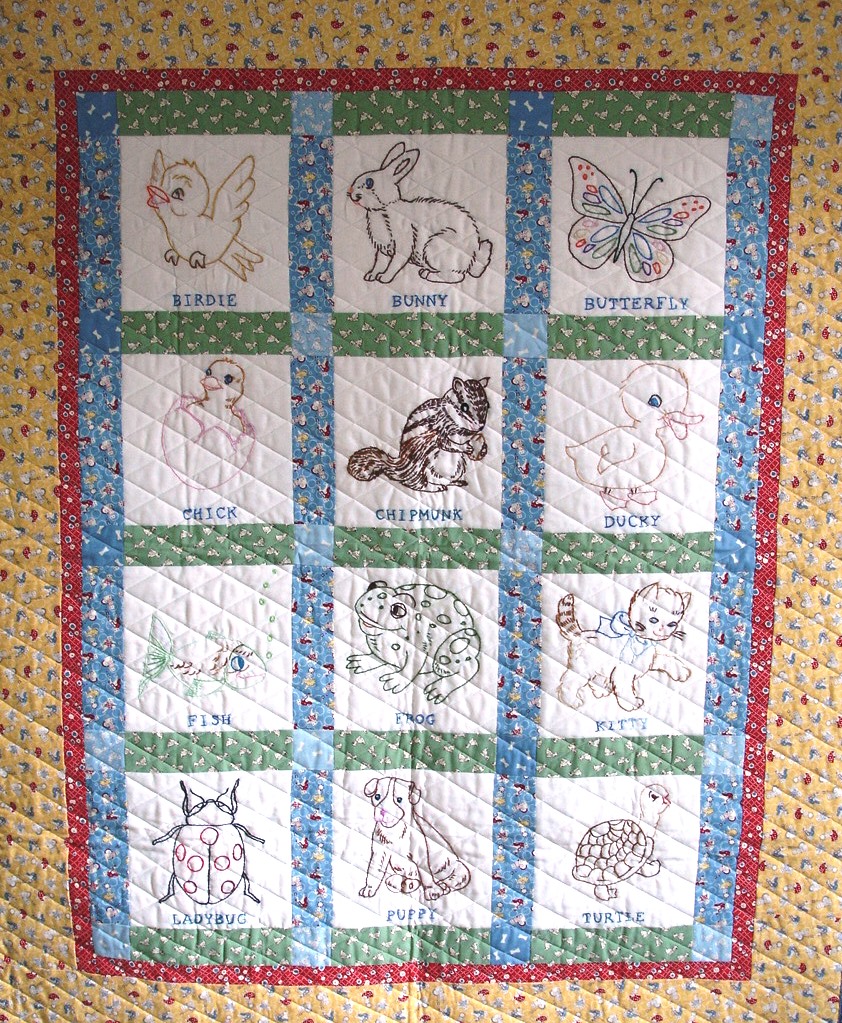
Do you want to learn how to embroider a quilt and create a beautiful heirloom piece? Embroidery on a quilt can add a personal touch and a unique, handmade feel to your piece. Whether you are a beginner or an experienced quilter, this article will help you learn how to add beautiful embroidery to your quilt and create a beautiful, unique heirloom that can be passed down for generations.
Materials Needed
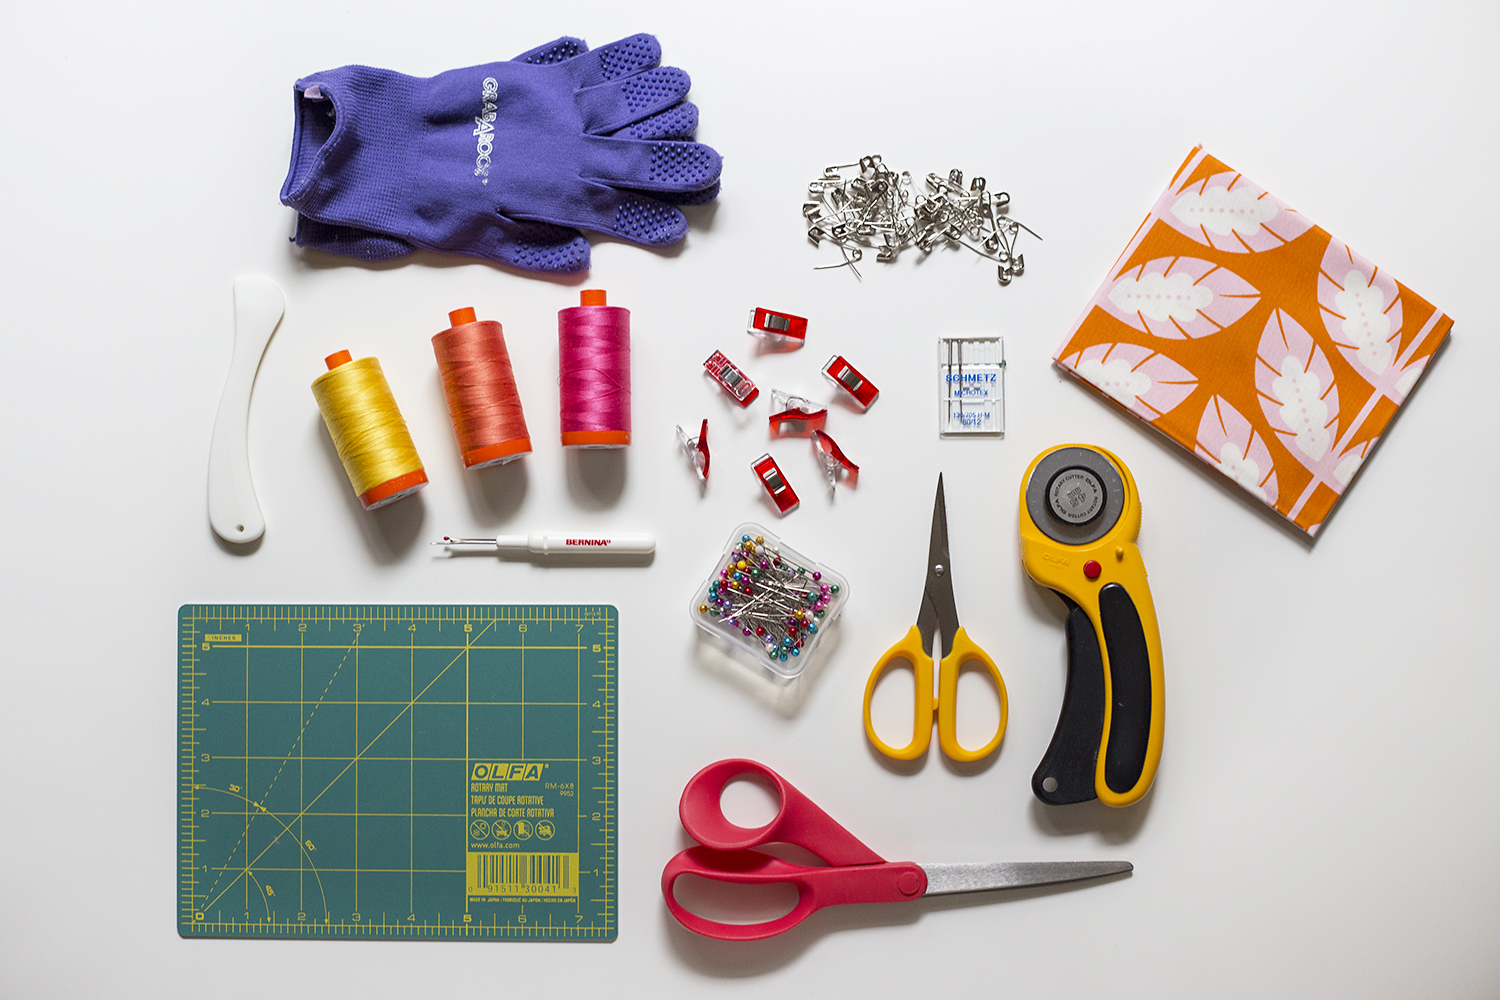
- A completed quilt top
- Embroidery hoop or frame
- Embroidery needles
- Embroidery floss
- An embroidery pattern or stencil of a name or phrase
- Scissors
- A quilt batting
- A quilt backing
- Thread to match quilt top
The above materials are essential when hand embroidering a name to a finished quilt.
Preparing the Quilt Top

| Step | Description |
|---|---|
| 1 | Prepare the quilt top fabric according to the pattern instructions. This usually involves cutting the fabric into the correct size and shape. |
| 2 | Lay out the quilt top fabric on a flat surface and arrange it in the desired pattern. Make sure the fabric is laying flat and smooth. |
| 3 | Pin the quilt top fabric together, making sure there are no wrinkles or folds. |
| 4 | Baste the quilt top fabric together by stitching along the edges. This will help prevent the fabric from shifting while you are working on the embroidery. |
| 5 | Iron the quilt top fabric to ensure that the fabric is lying flat and smooth. |
Transferring the Embroidery Design
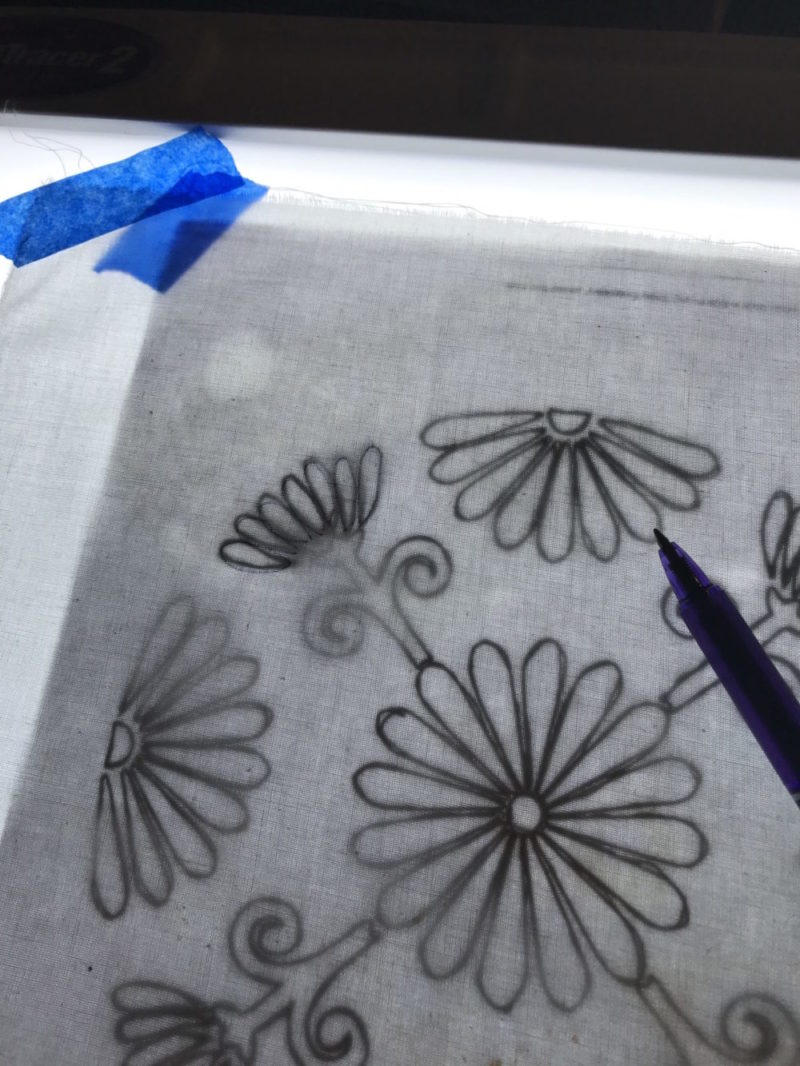
The next step in the embroidery process is to transfer the design onto the quilt. There are several methods to do this, with the most common being the use of a light box or transfer paper.
Using a Light Box
A light box is a flat surface with a light underneath that makes it easier to trace designs onto fabric. Place the quilt on top of the light box, and then place the pattern or embroidery design underneath the quilt. Trace the design onto the quilt using a tracing wheel.
Using Transfer Paper
Transfer paper is a special paper that can be used to transfer the embroidery design onto the quilt. Place the transfer paper on top of the fabric and trace the design using a tracing wheel. Now place the quilt on a flat surface and place the transfer paper on top with the design facing down. Using a hot iron, press down onto the paper, allowing the design to transfer onto the quilt. Allow it to cool before removing the paper.
Basic Hand Embroidery Stitches
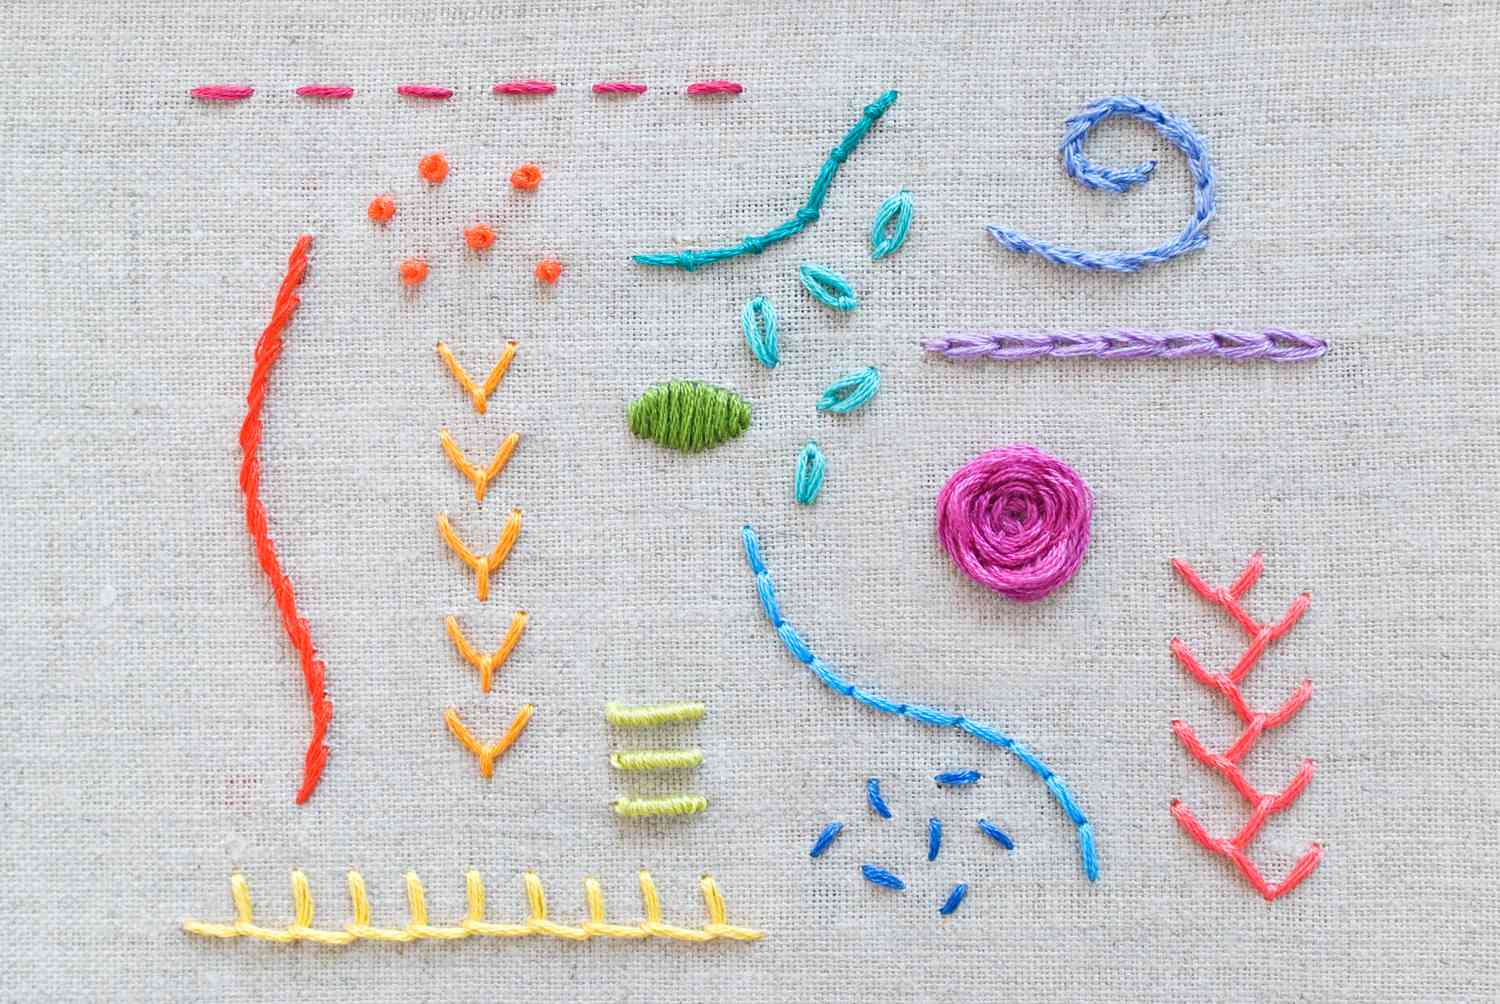
| Stitch | Description |
|---|---|
| Straight Stitch | The most basic stitch, a straight stitch is used for outlining and for attaching small elements. |
| Backstitch | A stronger stitch than the straight stitch, the backstitch is used to outline and to join two sections of fabric. |
| Running Stitch | Similar to the straight stitch, the running stitch is used to create a dashed line. |
| Satin Stitch | The satin stitch is used to fill in a shape with a series of small, straight stitches. |
| French Knot | The french knot is used to create small, raised dots or circles. |
| Feather Stitch | The feather stitch is used to create a looped, wavy line. |
| Chain Stitch | The chain stitch is used to create a line of loops that look like a chain. |
Adding a Name to the Quilt
Adding a name to a quilt is a great way to personalize it for the recipient. It can be done with a variety of embroidery stitches. The type of stitches used will depend on the size of the name, the fabric, and the desired look.
Embroidery Stitches
| Stitch Type | Description |
|---|---|
| Backstitch | A backstitch is a basic stitch used to create a strong line of stitches. |
| Split Stitch | A split stitch is used to create a textured look. It is done by taking two stitches that overlap. |
| Chain Stitch | A chain stitch is created by looping one stitch around the other. This stitch is often used to create curves. |
It is important to make sure the name is centered and that the stitches are evenly spaced. If the name is too long, it can be split into two lines. If the name is too small, a larger stitch can be used to make it stand out. It is also important to use a thread that matches the fabric for a more cohesive look.
Once the name is complete, the quilt can be finished with other decorative embroidery stitches or borders. Adding a name to a quilt is a great way to show someone how much they are loved and appreciated!
Finishing the Quilt
- Gather all the quilt pieces together and pin them together to prepare for sewing.
- Sew the pieces together with a sewing machine or by hand.
- Iron the seams.
- Lay the quilt out flat and make sure the pieces are aligned correctly.
- Pin the batting and backing fabric to the quilt.
- Stitch the quilt layers together, either with a hand-sewn quilting stitch or a sewing machine.
- Bind the edges of the quilt with bias tape.
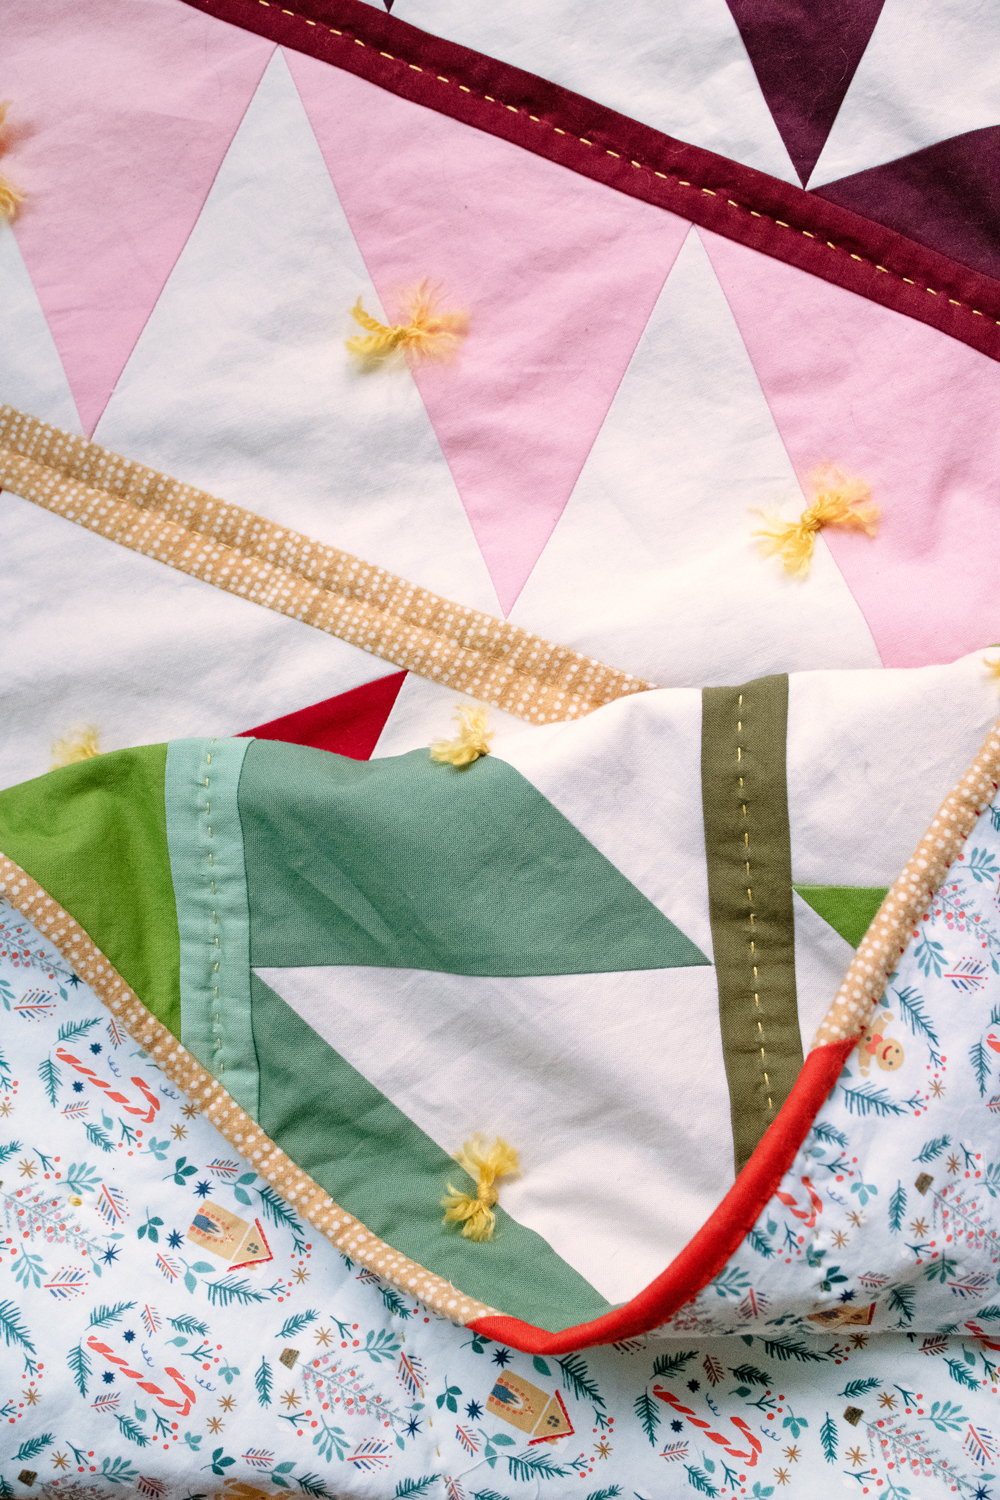
- Embroider the quilt with your desired design.
- Trim any overhanging fabric from the edges to create a clean finish.
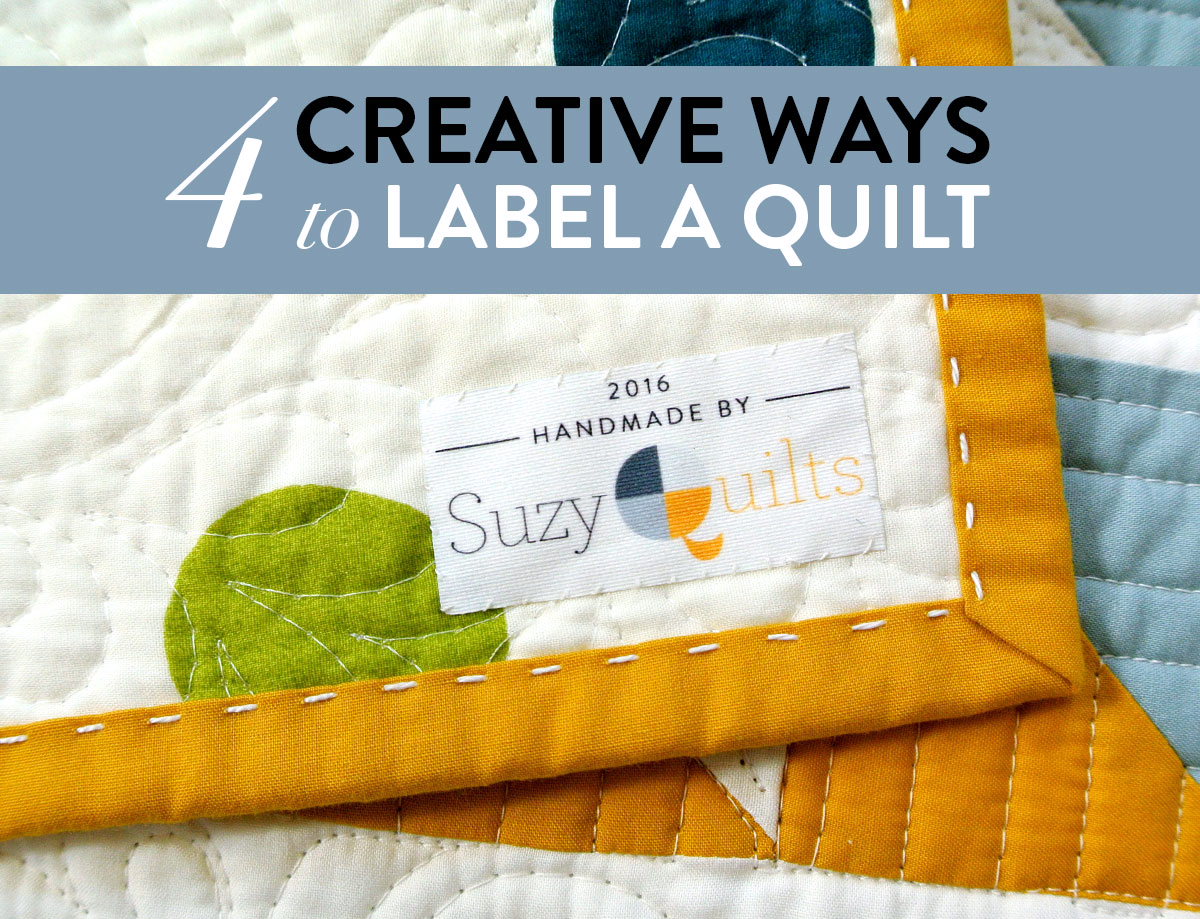
- Finish the quilt with a label.
How to Care for Your Finished Quilt
Handling: When transporting or storing your quilt, avoid unnecessary handling and folding. Instead, use a quilt hanger or lay the quilt flat on a surface.
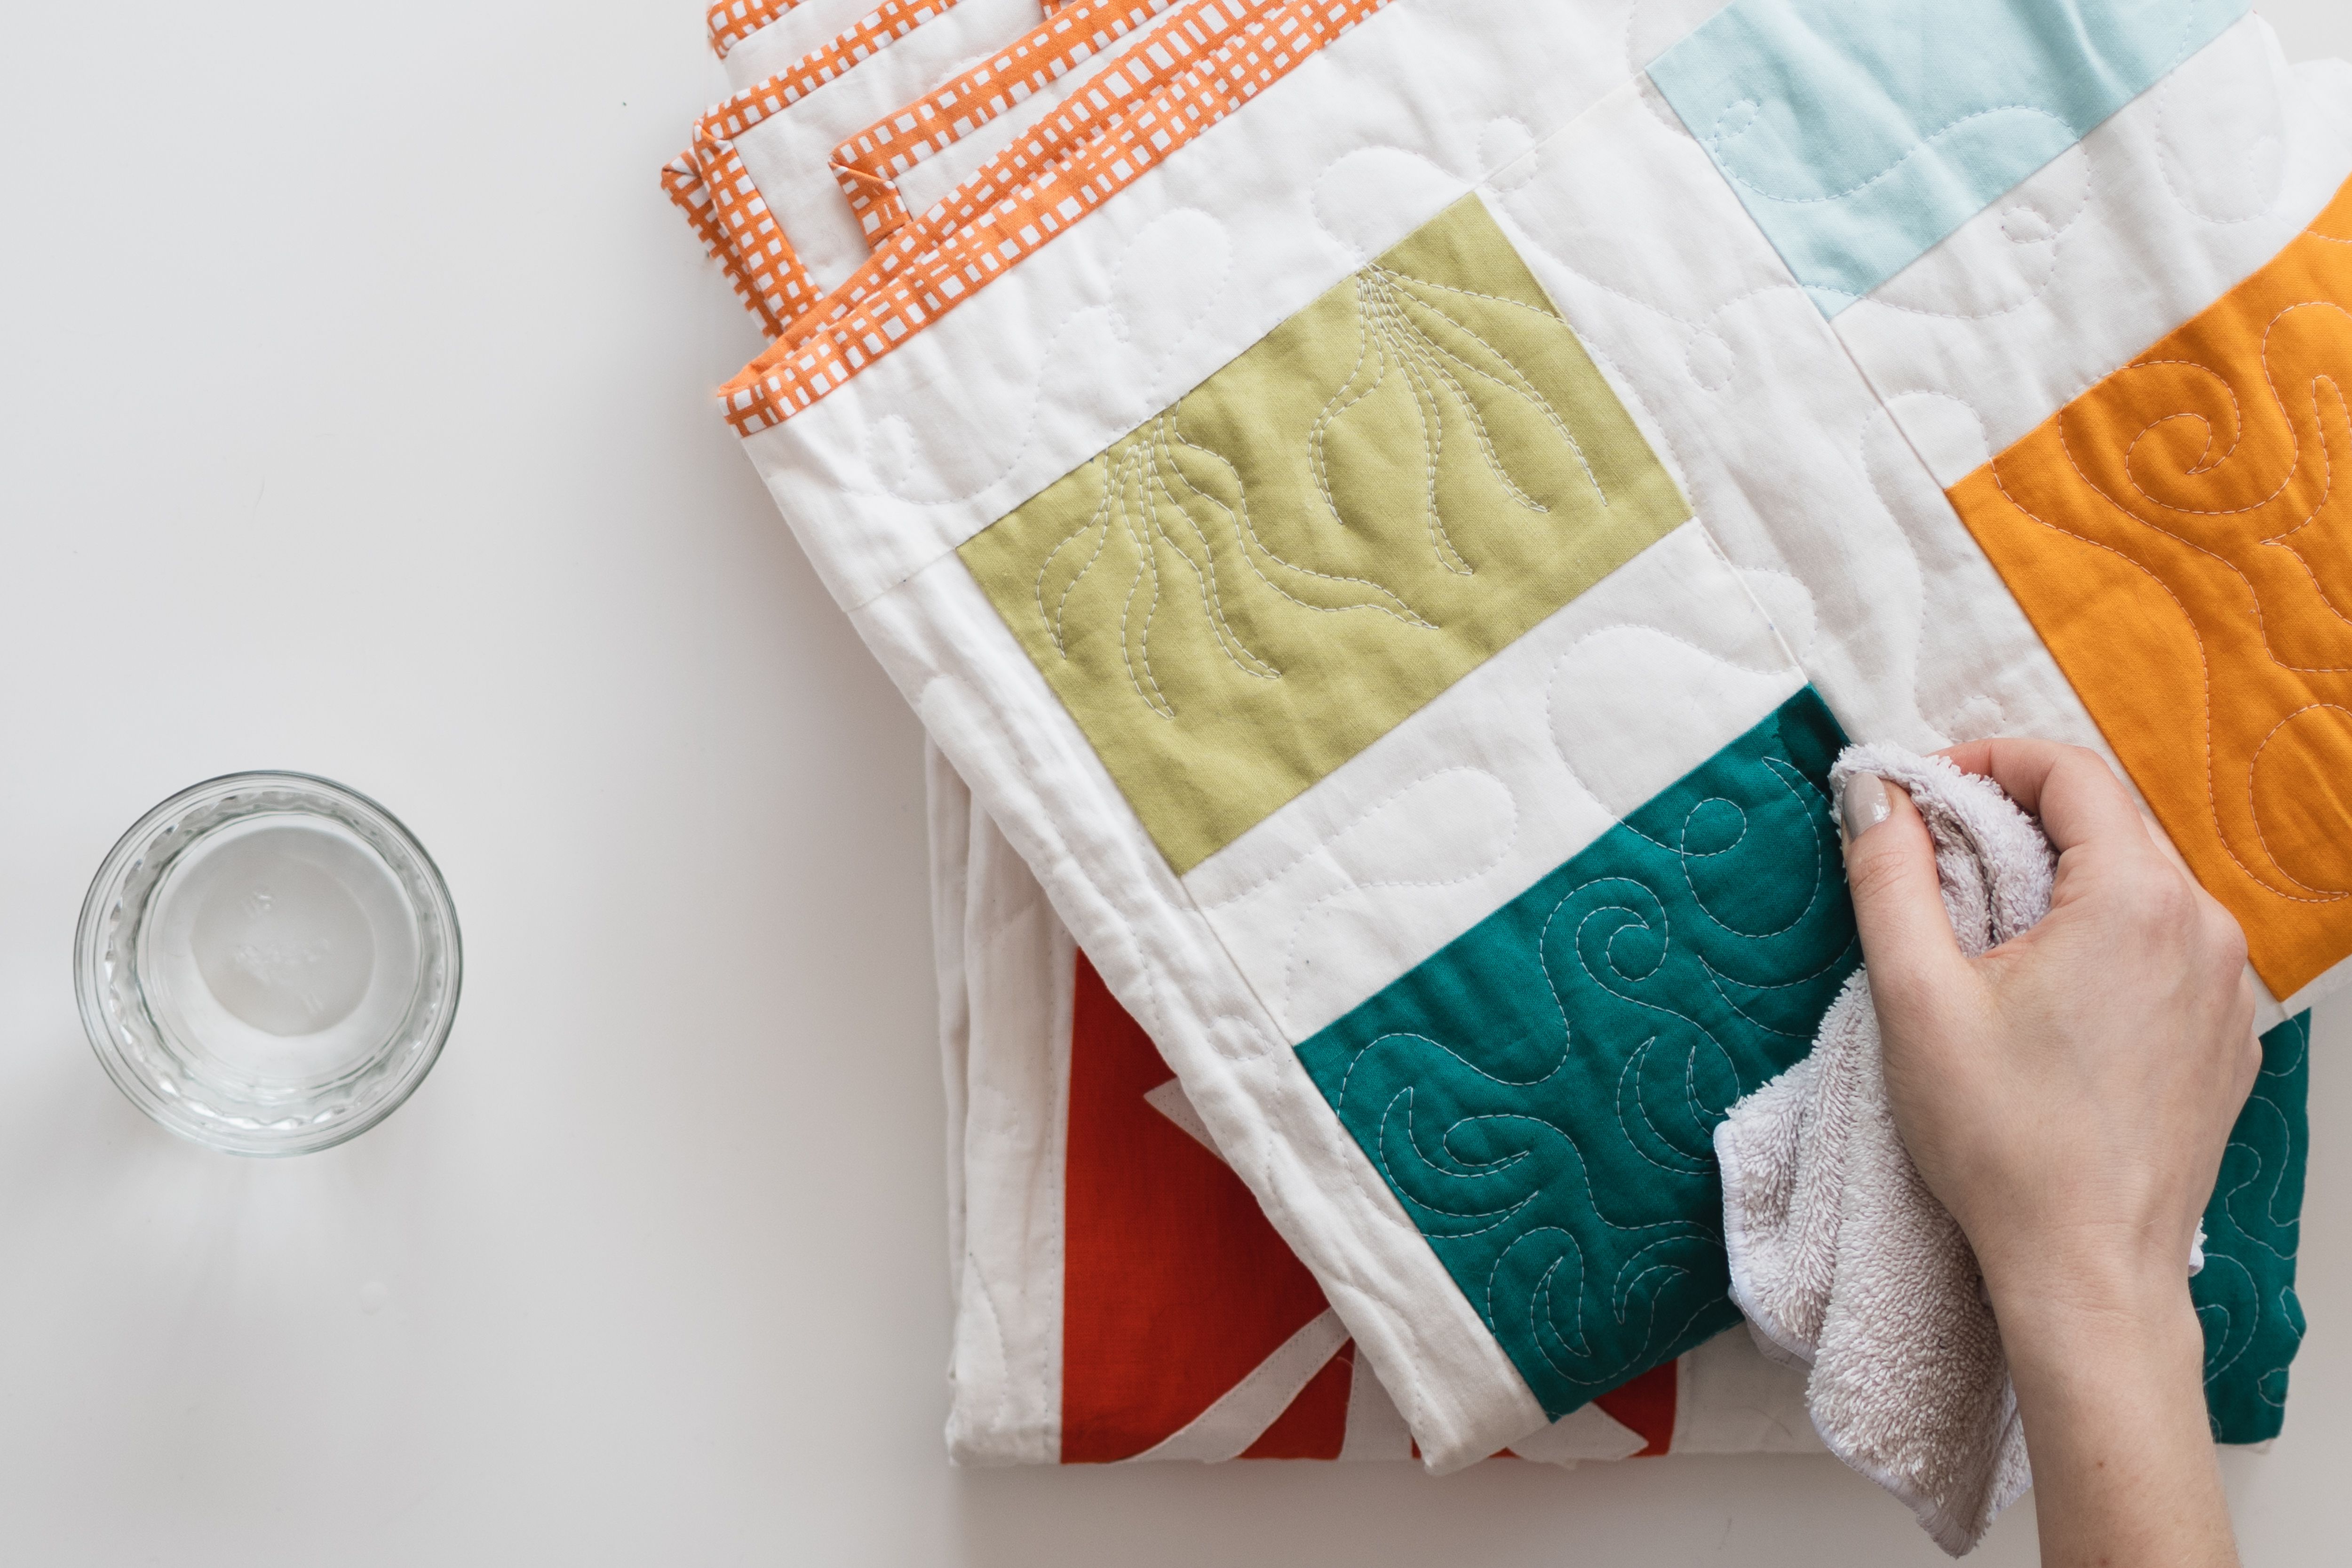
Cleaning: Gently hand-wash your quilt in cold or cool water with a mild detergent. If washing is necessary, avoid ringers and dryers, as the heat can cause shrinkage.
Storage: To protect your quilt from the damaging effects of sunlight and dust, store it in a dark and dry place. If you are using an acid-free box, make sure to use acid-free tissue paper to wrap the quilt before placing it in the box.
Preservation: Consider having your quilt professionally preserved. This often includes encapsulating your quilt in an acid-free lining to protect it from further damage.
Troubleshooting Tips
When hand embroidering a name onto a finished quilt, it can be difficult to keep the stitches looking neat and uniform. Here are some tips to help troubleshoot when things don’t go as planned:
Stitches too tight: To avoid making the stitches too tight, try pulling the needle towards the finished side of the quilt instead of pushing it. This will help to keep the stitches loose and even.
Stitches too loose: If the stitches are too loose, try using a hoop or frame to keep the fabric taut while stitching. This will help to keep the stitches even and consistent.
Stitches uneven: If the stitches are uneven, try using a thicker thread or a larger needle. This will help to make the stitches look more uniform.
Thread tangles: If the thread tangles, try using a thread conditioner to help keep the thread from knotting up.
Stitches not straight: If the stitches are not straight, try using a piece of masking tape to draw a line to follow. This will help to keep the stitches in a straight line.
By following these troubleshooting tips, you can make sure that your hand embroidered name looks neat and uniform.
Frequently Asked Questions
What Materials Are Needed for Embroidering a Quilt?
Fabric – Choose a fabric for the quilt top that is lightweight and has minimal stretch. Cotton and linen are ideal.
Thread – Select a thread in a color that matches or complements the fabric.
Needles – Needles should be sharp and small enough to fit through the fabric, with an eye that won’t split the thread.
Embroidery Scissors – Have a pair of scissors handy for cutting thread and trimming away fabric around the embroidery.
Transfer Paper – Design templates can be drawn and then transferred onto the quilt top with a lightbox or transfer paper.
Embroidery Hoop – Choose a hoop that is just large enough to fit the fabric. This will help keep the fabric taut while stitching.
How Much Time Does It Take to Embroider a Quilt?
Embroidering a quilt can be time-consuming, but the amount of time it takes to complete depends on the size and complexity of the quilt, as well as the skill level of the embroiderer. Generally, a small quilt with simple designs will take around 8 hours to complete, while a large quilt with intricate designs can take up to 30 hours or more.
What type of needle should be used for embroidering a quilt?
- Embroidery Needle: An embroidery needle is a sharp needle with a large eye, enabling the thread to be pulled through the fabric easily.
- Sharp Needle: A sharp needle should be used for embroidering on a quilt. This is because sharp needles create a neat, precise stitch.
- Crewel Needle: A crewel needle is a type of needle that is slightly longer than a sharp needle. This type of needle is good for stitching on thicker fabrics, as it can penetrate the fabric easily.
- Tapestry Needle: A tapestry needle is a type of needle that has a rounded tip, making it ideal for embroidering on a quilt. It is also good for stitching delicate fabrics, as it won’t damage the fabric.
Are There Any Special Techniques for Embroidering a Quilt?
To embroider a quilt, use a small, sharp-pointed needle that is suitable for the fabric and thread being used. Select a hoop that is larger than the area to be embroidered, to keep the fabric flat and taut. To start the embroidery, use a knot at the end of the thread, pierce the fabric with the needle, and pull the thread through. To end a thread, use a tiny stitch to secure the thread and tie a knot. Some special embroidery stitches used for quilts include French knots, satin stitch, stem stitch, chain stitch, and blanket stitch.
What Types of Fabric are Best for Embroidering Quilts?
- Cotton Fabrics – Cotton is the most popular choice for quilt embroidery. It’s lightweight, durable and soft, making it easy to manipulate and embroider. Cotton fabrics come in a variety of colors, textures, and weights, giving you plenty of options when selecting your fabric.
- Wool Fabrics – Wool is a great fabric for quilt embroidery because it is strong and durable. It’s also easy to manipulate and embroider, and it holds its shape well. Wool comes in a variety of colors and textures, so you can easily find a fabric that matches your project.
- Silk Fabrics – Silk is a luxurious fabric that is perfect for quilt embroidery. It’s lightweight, strong, and easy to manipulate, making it ideal for intricate designs. Silk comes in a variety of colors and textures, so you can find one that suits your project.
- Linen Fabrics – Linen is a versatile fabric that is perfect for quilt embroidery. It’s lightweight, strong, and easy to manipulate, making it easy to embroider intricate designs. Linen is available in a variety of colors and textures, so you can find one that matches your project.
- Polyester Fabrics – Polyester is a synthetic fabric that is great for quilt embroidery. It’s lightweight, strong, and easy to manipulate, making it perfect for intricate designs. Polyester comes in a variety of colors and textures, so you can find one that suits your project.
Conclusion
Embroidery is an age-old tradition that can be used to create custom, beautiful quilt pieces. With a few tools and some patience, you can easily learn how to embroider a quilt and create a stunning heirloom that will be treasured for generations.


