Are you looking to find out how to frame a quilt block? You can take your quilting masterpiece to the next level with a few simple steps. This step-by-step guide will show you how to properly frame a quilt block and enhance your quilting project. From picking the right fabric and cutting the perfect frame to sewing and finishing the edges, you’ll be able to transform your quilt block into a beautiful and lasting work of art.
Materials Needed
- Quilt Square
- Frame of desired size
- Scissors
- Glue or tape
- Fabric for background
To frame a quilt square, you’ll need the quilt square itself, a frame, scissors, glue or tape, and a piece of fabric for the background.
How to Cut Frames for Quilt Blocks
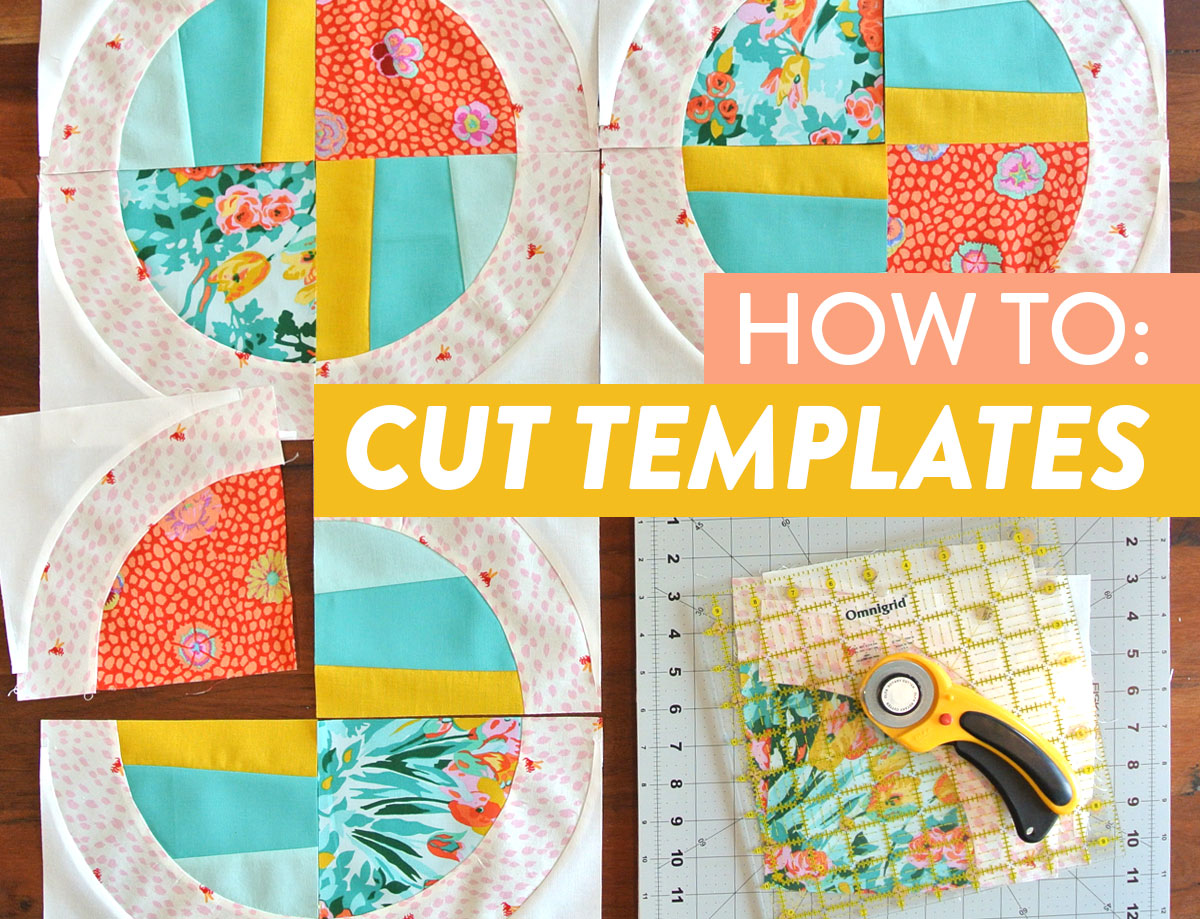
Cutting frames for quilt blocks is a great way to display your quilt in a finished and professional manner. Frames act as a border around the quilt block, giving the quilt a neat and finished look. Here are the steps to follow when cutting frames for a quilt block:
- Measure the quilt block and decide on the size of the frame.
- Cut two strips of fabric, one for the top and one for the bottom of the frame.
- Cut two strips of fabric, one for each side of the frame.
- Sew the strips together, starting with the top and bottom of the frame.
- Sew the two side strips to the top and bottom strips.
- Press the seams open.
- Lay the frame on the quilt block, centering it.
- Pin the frame in place.
- Sew the frame to the quilt block using a ¼ inch seam allowance.
- Press the seams open.
- Trim away any excess fabric from the frame.
- Repeat the process for each quilt block.
By following these steps, you can easily create frames for a quilt block that will make your quilt look great for how to frame a quilt for display.
How to Make the Frames for the Quilt Squares
Cutting frames for quilt blocks is an important part of making a quilt. To make the frames, cut strips of fabric that are slightly larger than the quilt square. The size of the strips should be 1/2 inch wider and 1/2 inch longer than the quilt square. For example, if the quilt square is 10 inches by 10 inches, the fabric strips should be cut 10 1/2 inches by 10 1/2 inches.
Once the strips are cut, fold them in half lengthwise, with wrong sides together. Press with an iron to create a crease. Unfold the fabric strips, and then fold the two long edges in to meet the crease. Press with an iron again. Fold the fabric strip in half, lengthwise, again, and press with an iron. This will create a finished edge.
The fabric strips are now ready to be sewn onto the quilt squares. Place a fabric strip along one edge of the quilt square. Sew the strip in place, using a straight stitch. Repeat the process for the remaining three sides of the quilt square.
Once all the fabric strips are sewn in place, trim the excess fabric from the corners. Finally, press the frames with an iron to flatten and secure them. The frames are now ready to be used in the quilt.
How to Frame a Quilt Block
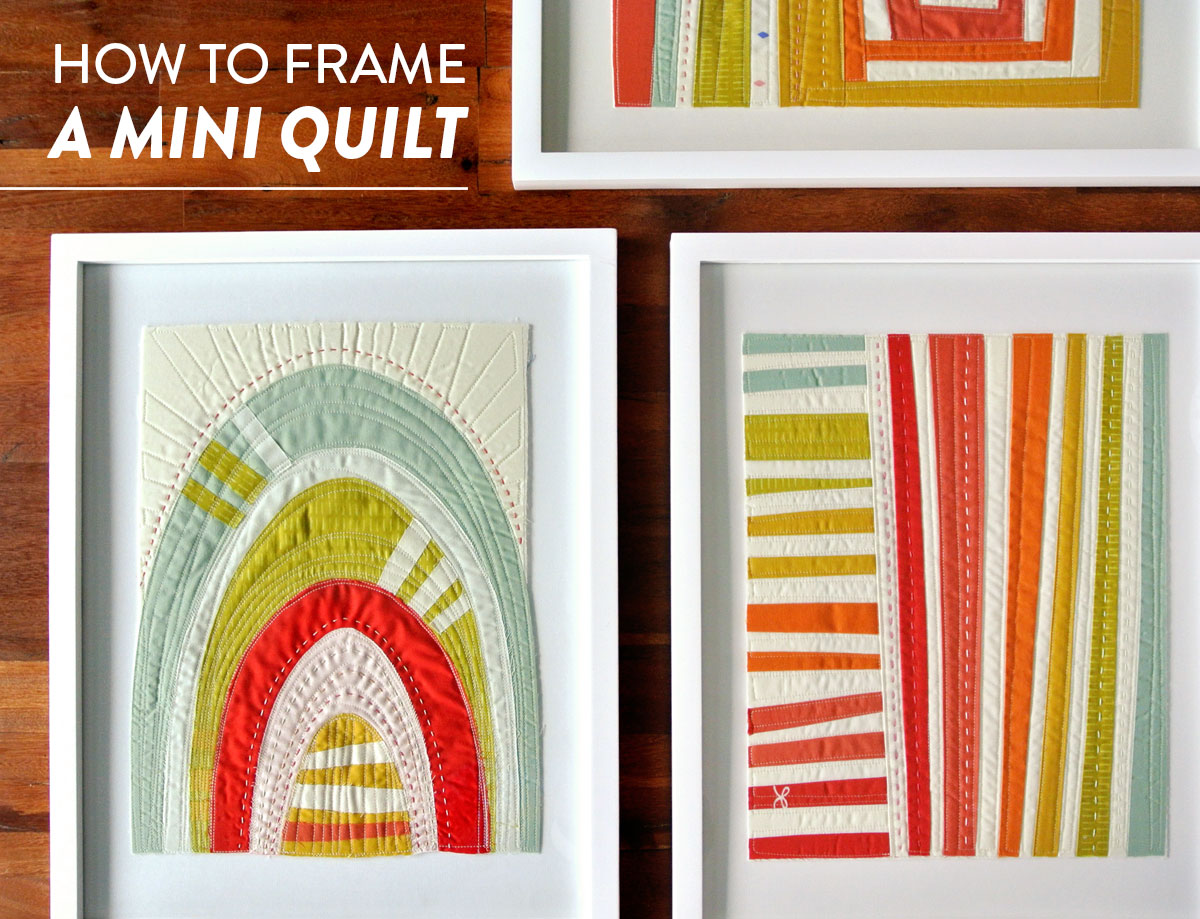
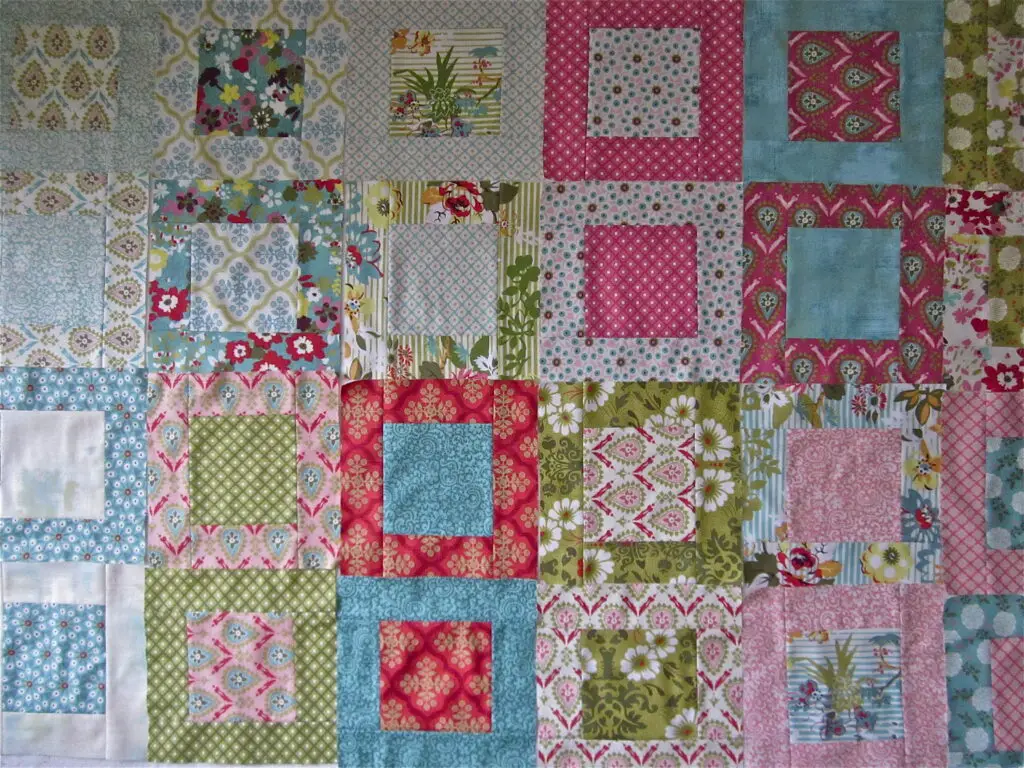
Framing a quilt block is an excellent way to showcase the vibrant colors and intricate designs of the quilt squares. The frames create a beautiful display that can be hung on any wall. Here are the steps on how to make the frames for the quilt squares.
- Gather the materials needed. These include:
- Quilt block
- Mat board
- Picture frame
- Masking tape
- Scissors
- Cut the mat board to the size of the quilt block. The mat should be slightly larger than the quilt block to provide a nice frame.
- Place the quilt block on the mat board. Secure the quilt block to the mat board with masking tape.
- Place the mat board and quilt block in the picture frame. Secure the mat board and quilt block in the frame with masking tape.
- Hang the quilt block on the wall.
Framing a quilt block is a great way to add a unique touch to any room. With a few simple steps, you can turn a quilt block into a beautiful wall hanging.
How to Frame a Quilt Square
- Choose a Frame: Choose a frame that complements the colors, design, and fabric of the quilt block. Wood or metal frames are the most popular for quilt blocks, but other materials such as plastic, acrylic, or canvas are also options.
- Cut Matting: Cut the matting to fit the frame, leaving a one-inch border around the quilt block. The matting should be slightly larger than the quilt block to ensure it is centered in the frame.
- Secure the Quilt Block: Place the quilt block on the matting and secure it with pins, glue, or fabric adhesive. Make sure the quilt block is centered and straight.
- Mount the Matting: Place the matting with the quilt block into the frame and secure it with either screws or clips, depending on the type of frame. Make sure the frame is secure and won’t move.
- Add Glass: Place a piece of glass or acrylic over the quilt block and secure it with either clips or adhesive. This will protect the quilt block from dust and dirt.
- Hang the Frame: Hang the frame and enjoy your framed quilt block!
For an extra level of protection, you can frame a quilt block under glass to ensure it stays in the best possible condition for years to come. This will prevent any dust or dirt from settling onto the quilt block, which could damage or discolor the fabric. Framing a quilt block under glass is a great way to preserve its beauty and quality.
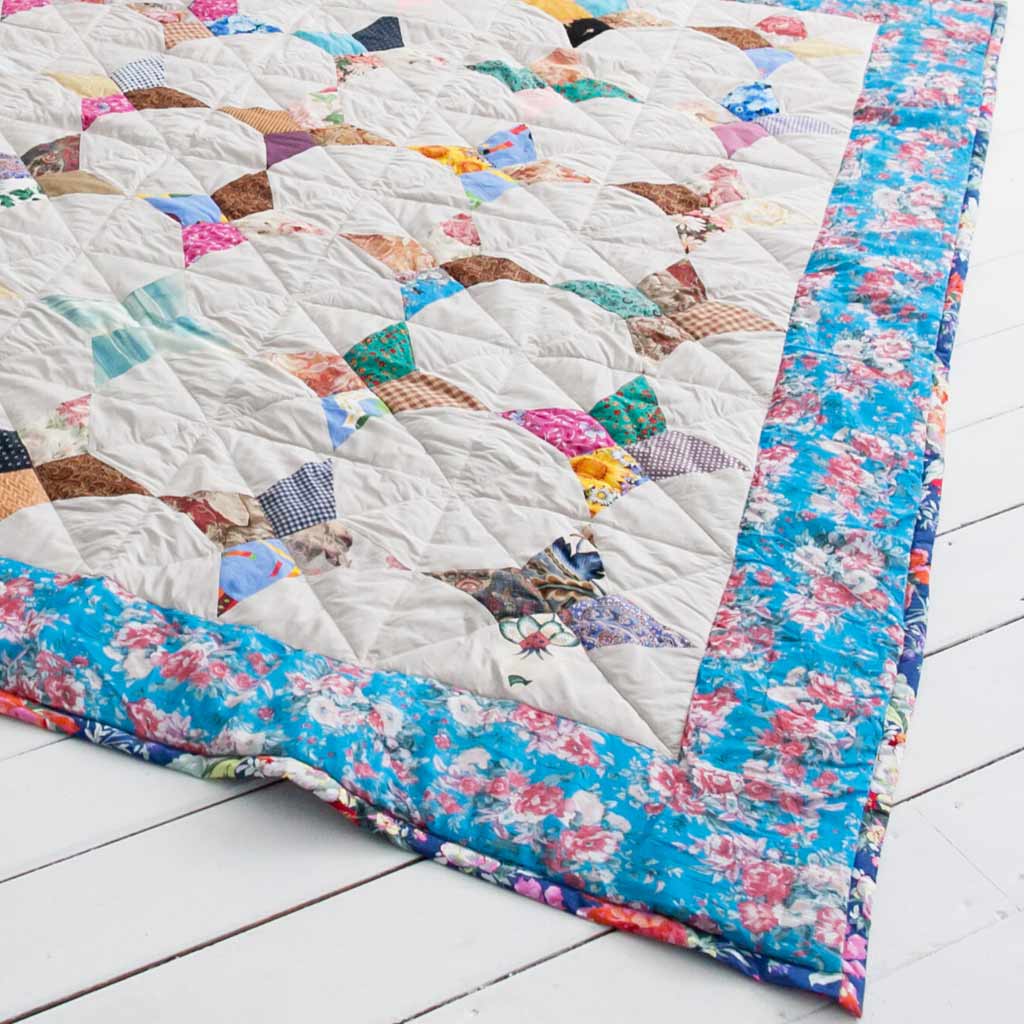
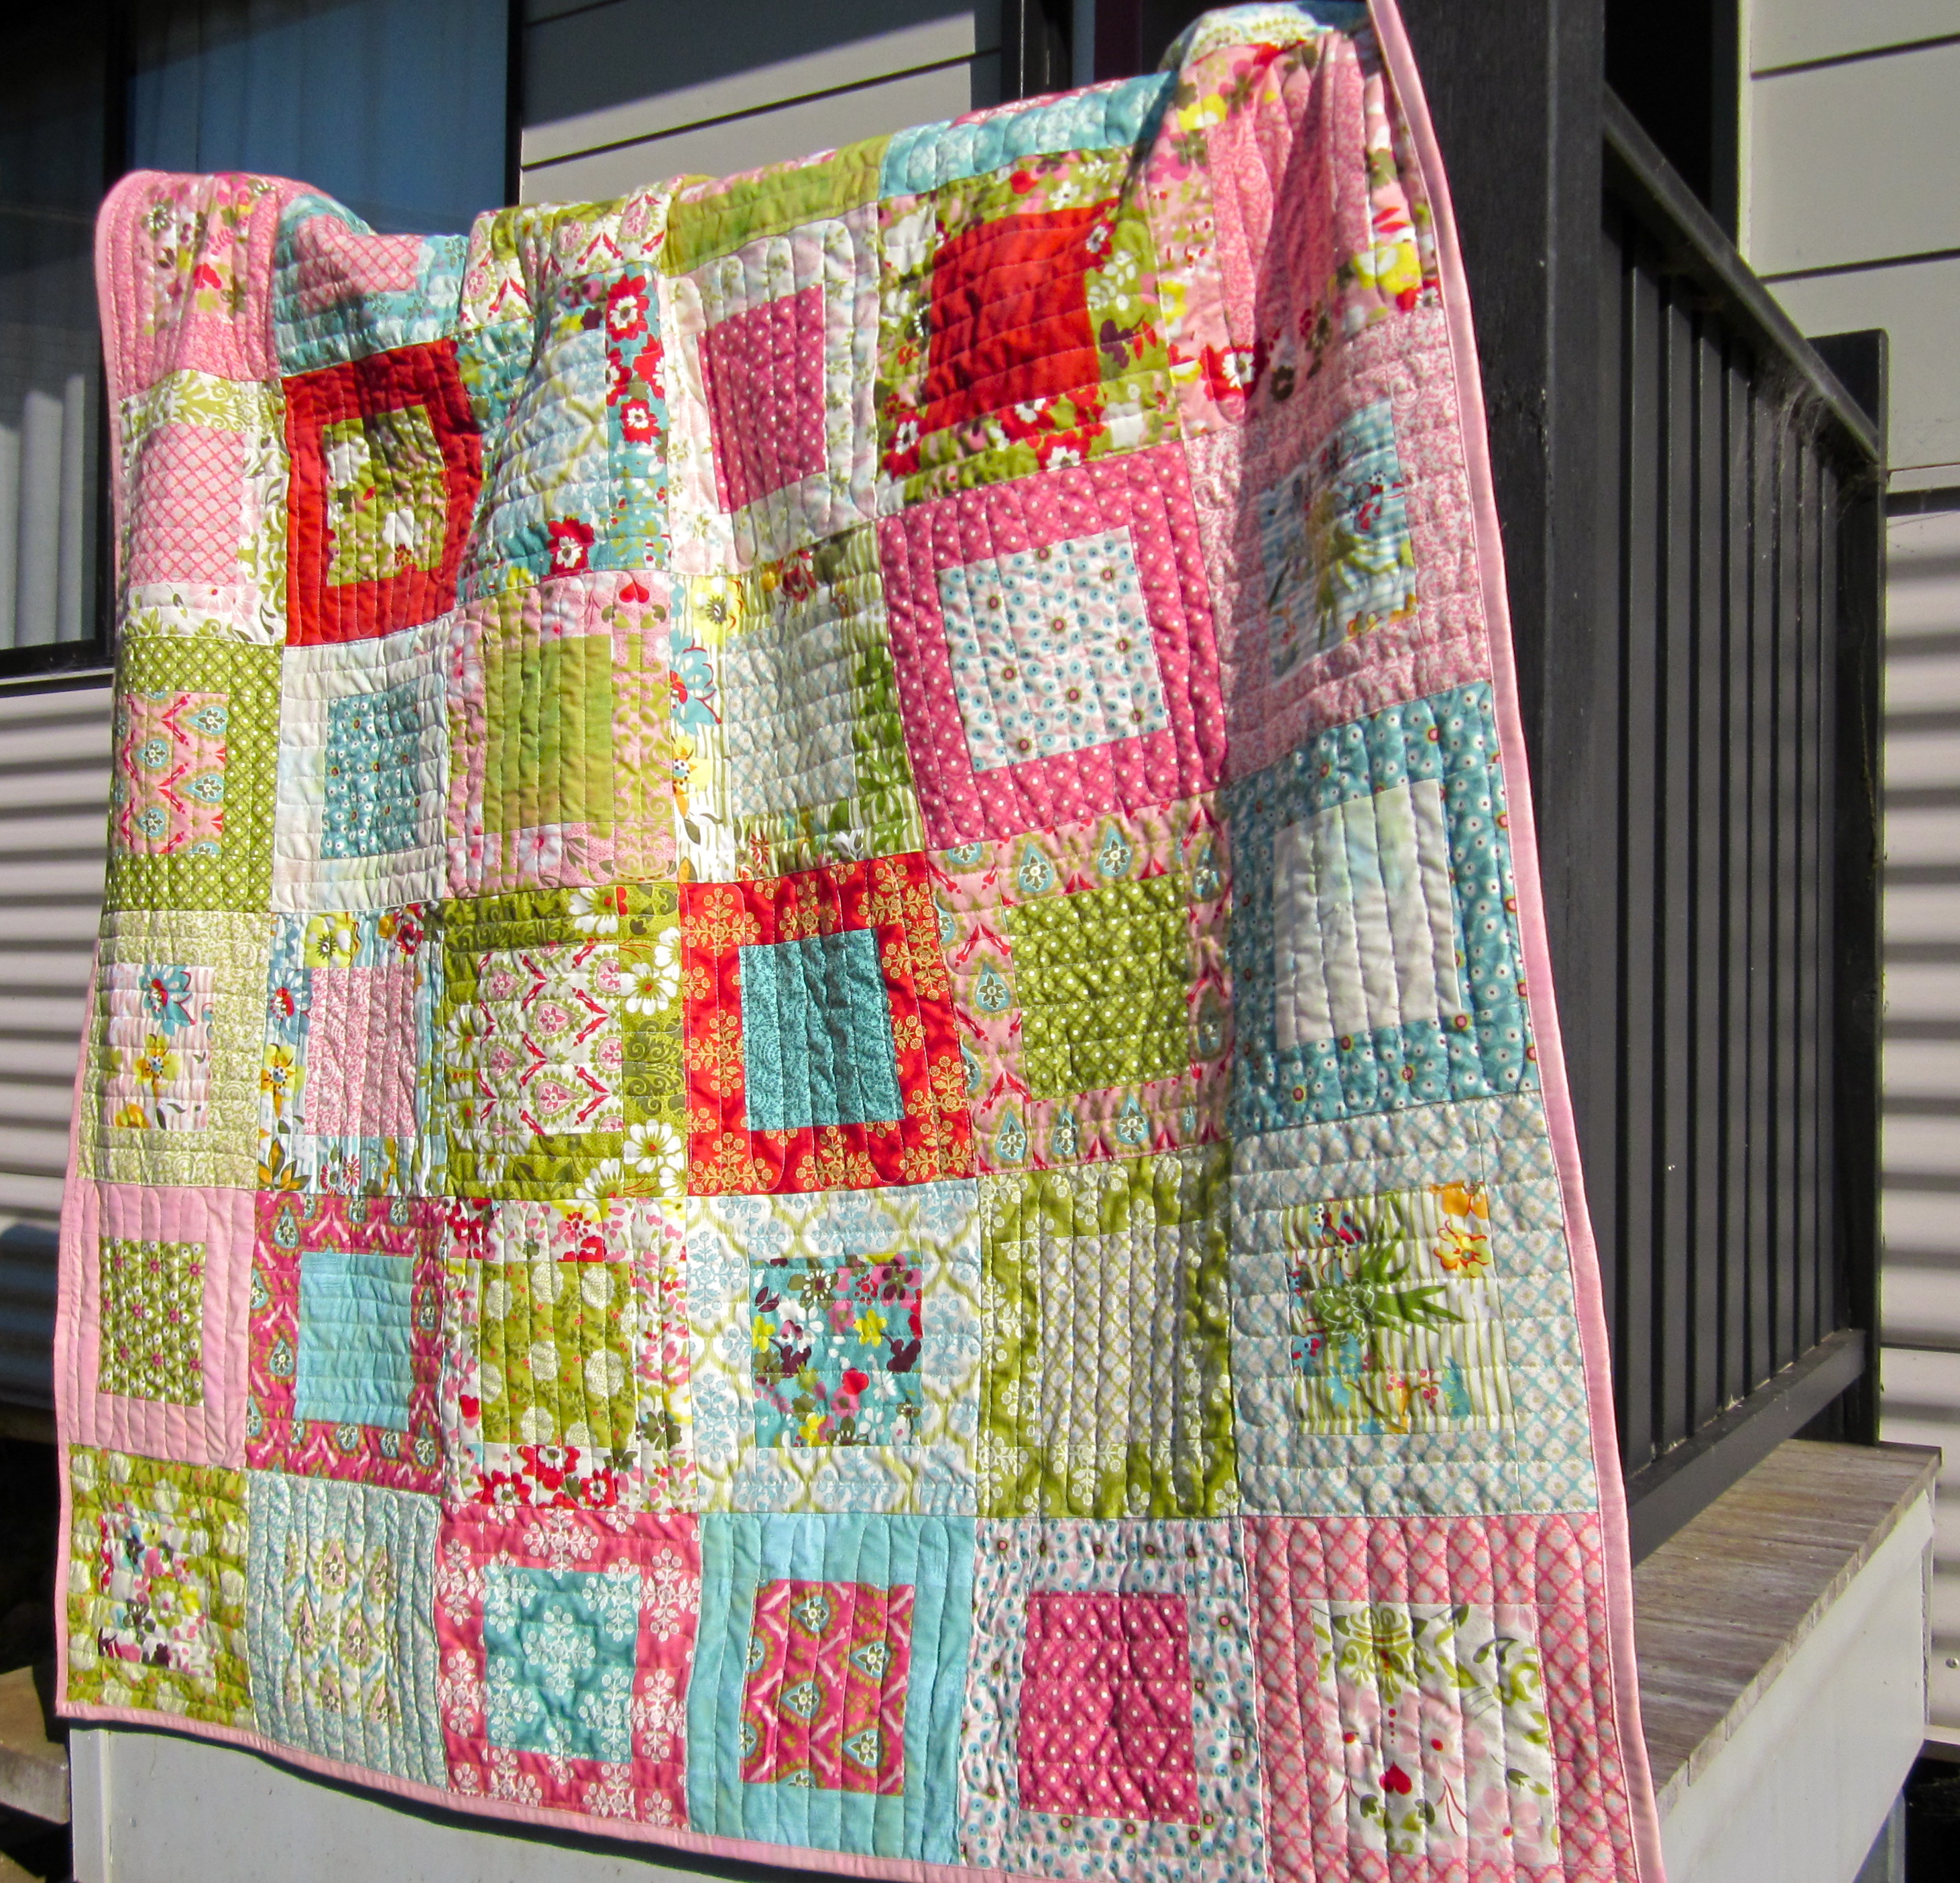
How to Frame a Quilt For Display
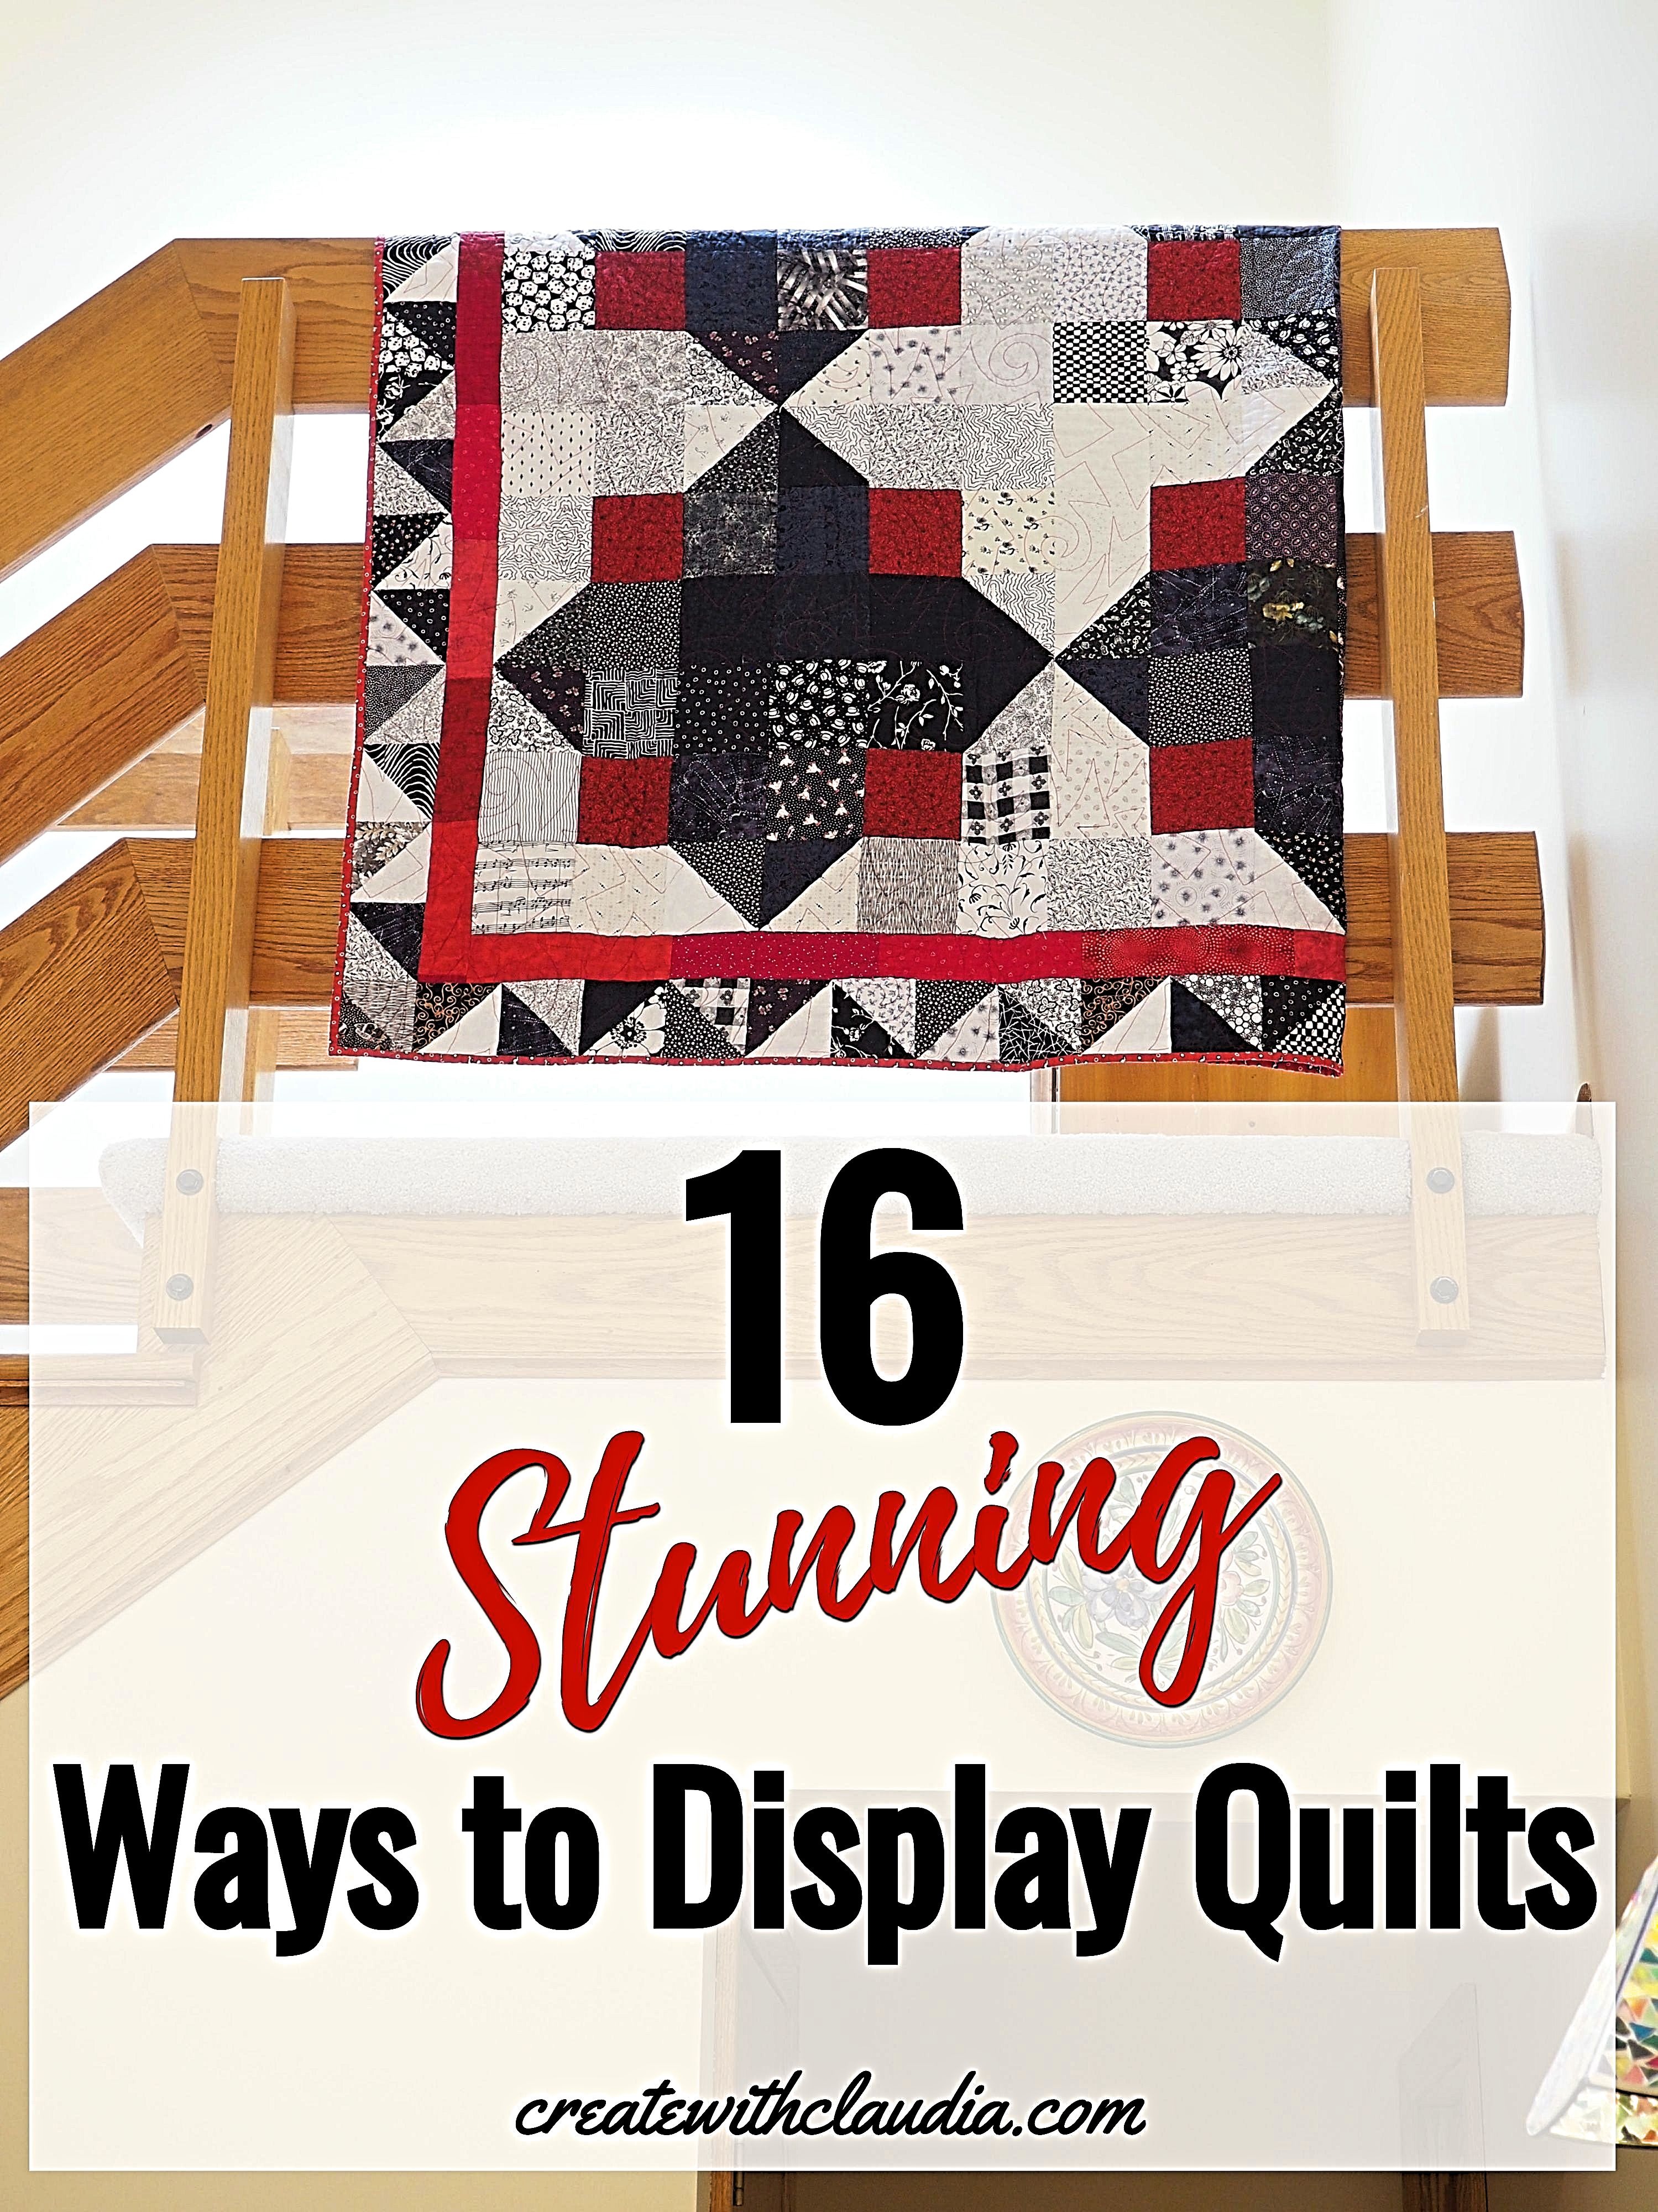
- Choose the right frame: Select a frame that is not too large or too small for the quilt. The frame should also be strong enough to hold the quilt in place and protect it from dust and dirt.
- Choose the right mat: Select a mat that complements the colors and patterns of the quilt. A black or white mat can provide a nice contrast to the quilt.
- Attach the quilt: Stretch the quilt over the frame and attach it with pins or tacks. It is important to ensure that the quilt is not too tight or too loose.
- Add a backing material: To protect the quilt, it is important to add a backing material such as cotton or flannel. This will provide additional support and help keep the quilt from sagging.
- Seal the frame: To protect the quilt from dust and dirt, it is important to seal the frame with a sealant such as polyurethane.
- Hang the quilt: Place the quilt in a spot that receives plenty of natural light. This will help to keep the colors of the quilt vibrant.
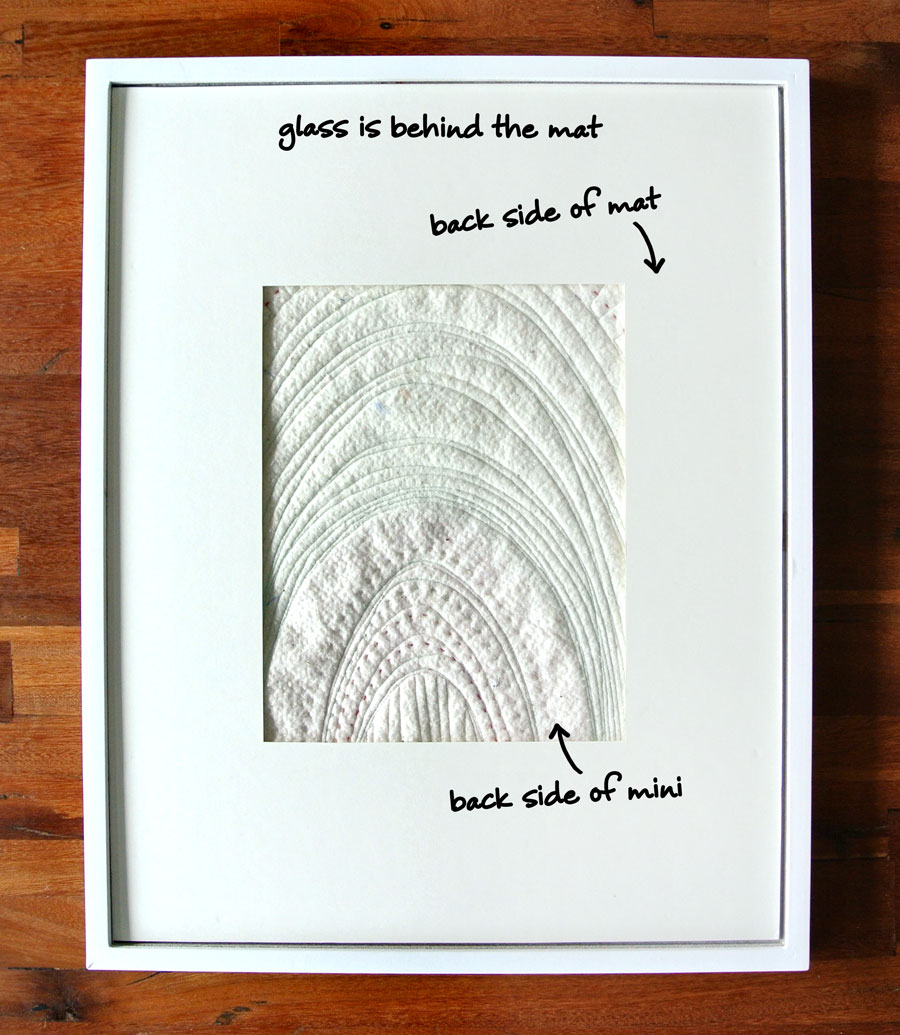
How to Frame a Quilt Under Glass
- Choose the right frame – Select a frame that will fit the quilt and provide adequate space between the frame and the quilt block. It should be wide enough to provide a clean, finished look.
- Measure – Measure the quilt block and the frame to ensure that the quilt block fits properly inside the frame.
- Cut the mat – Cut a mat that is slightly larger than the quilt block. This will create a border around the quilt block.
- Attach the mat – Place the mat inside the frame and attach it securely with double-sided tape.
- Place the quilt block – Place the quilt block on top of the mat. Make sure it is centered and secure it in place with pins.
- Place the glass – Place the glass on top of the quilt block and secure it with the frame’s clips.
- Hang the frame – Hang the frame on the wall and enjoy your finished quilt block.
Tips and Tricks
Choose the right frame: Select a frame that is the right size for your quilt block. It should be slightly larger than the quilt block to provide a border of approximately 1/2 inch.
Choose the right backing: Choose a backing that is acid-free and archival-safe, such as a cotton batting or a linen-blend fabric.
Use a frame mat: Place a frame mat around the quilt block to provide a border. This will help protect the quilt block from dust and dirt.
Secure the quilt block: Secure the quilt block to the backing with a few stitches or glue.
Use a sealant: If the quilt block is not sealed with a sealant, it can become discolored over time.
Cut the frame: Cut the frame to size using a miter saw or a coping saw.
Attach the frame: Attach the frame to the backing with a staple gun or brads.
Add a border: Use a decorative border around the quilt block to add a finishing touch.
Frame under glass: To protect the quilt block from dirt and dust, consider framing it under glass.
Frequently Asked Questions
What type of frame should I use to display my quilt block?
- Shadow Box Frame: A shadow box is a deep frame that can be used to display your quilt block. This type of frame is ideal for those looking to display their quilt block without the need to use a backing board. It is also great for displaying a quilt block without the use of glass, as it allows the quilt block to be viewed from both the front and back.
- Wide Frame: A wide frame is ideal for quilt blocks that have intricate designs. This type of frame allows for the quilt block to be seen from multiple angles and creates an interesting focal point. It is great for displaying larger quilt blocks as well.
- Floating Frame: A floating frame is a great way to create a modern look while still giving your quilt block the attention it deserves. This type of frame allows the quilt block to be seen from all angles, while giving it a unique look.
- Wooden Frame: A wooden frame is a great way to give your quilt block a traditional look. It is also great for showing off the intricate details of your quilt block. The natural wood look can add a rustic feel to your quilt block display.
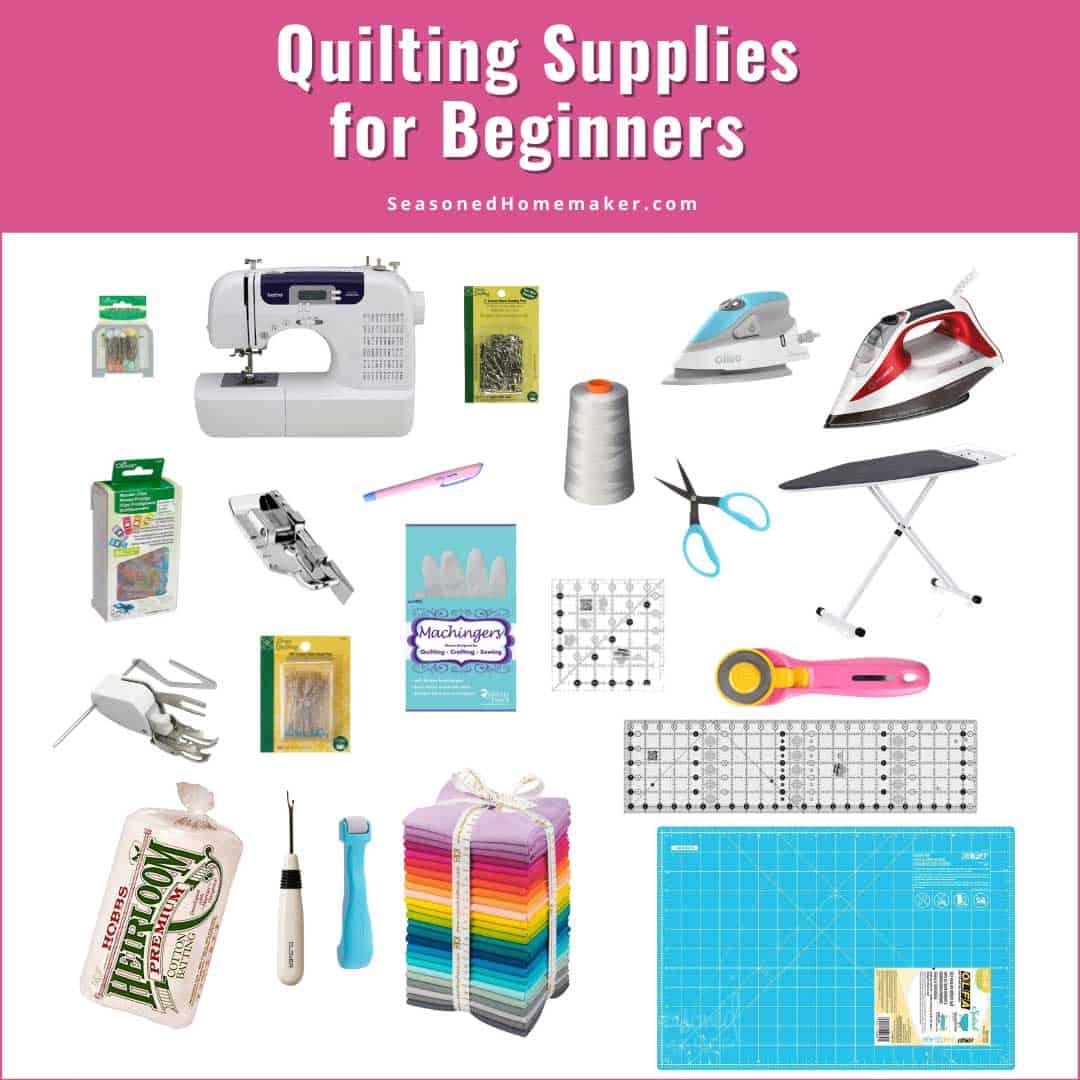
What Kind of Materials Do I Need to Frame My Quilt Block?
You will need a frame, backing board, glass of the desired size, a mat (if desired), mounting supplies, and framing tape. You may also need a saw and other tools depending on the size of your block and the size of the frame you plan to use. The frame should be acid-free, as this will help preserve the colors and fabrics of your quilt block. The backing board should also be acid-free, and you should consider using a mat to add an extra layer of protection. The mounting supplies should be chosen to match the type of frame you are using. Finally, use framing tape to secure the frame and glass to the backing board.
How can I ensure that my quilt block is securely attached to the frame?
To ensure that your quilt block is securely attached to the frame, use a high-quality spray adhesive. Make sure to use enough adhesive to create a strong bond between the quilt block and the frame. When attaching the quilt block, press firmly on all sides to avoid any air gaps. Once the quilt block is secure, use a staple gun to secure the edges. This will ensure that the quilt block is firmly attached to the frame.
What is the Best Way to Preserve My Quilt Block for Long-Term Display?
Ensure the quilt is clean and dry before framing. Use an acid-free backing board to help protect the quilt from dust and dirt. Use an acid-free or conservation grade mat board to protect the quilt from light. Use a cotton or linen fabric for covering the quilt to protect it from dust, dirt, and other contaminants. Frame the quilt block using a ultraviolet filtering glass or acrylic to help protect the quilt from fading. Use archival grade adhesive to attach the quilt to the backing board and mat board.
Are there any special techniques I should use when framing a quilt block?
Stabilization: Stabilize the quilt block by using fusible web, starch, or a product like Stitch & Steam. This will protect the quilt block from sagging or stretching during the framing process.
Backing: Use a sturdy backing material, such as muslin, for the back of the frame. This will provide support for the quilt block and help it retain its shape.
Mounting: Mount the quilt block onto the backing material using a lightweight adhesive, such as spray mount.
Borders: Add a border around the quilt block to frame it. This can be done using fabric strips, wooden or metal frames, or other decorative materials.
Binding: Secure the edges of the quilt block with binding tape. This will help keep the edges of the quilt block from fraying and protect the block from dust and dirt.
Finishing: Finish the frame with a protective coating, such as a sealant or lacquer. This will help protect the quilt block from moisture and environmental damage.
Conclusion
Framing your quilt blocks is a great way to show off your quilting masterpiece. With a few easy steps and some simple supplies, you can frame a quilt block in no time. Be sure to measure accurately and use the right supplies for the best results. Now you can proudly display your quilt for years to come.


