
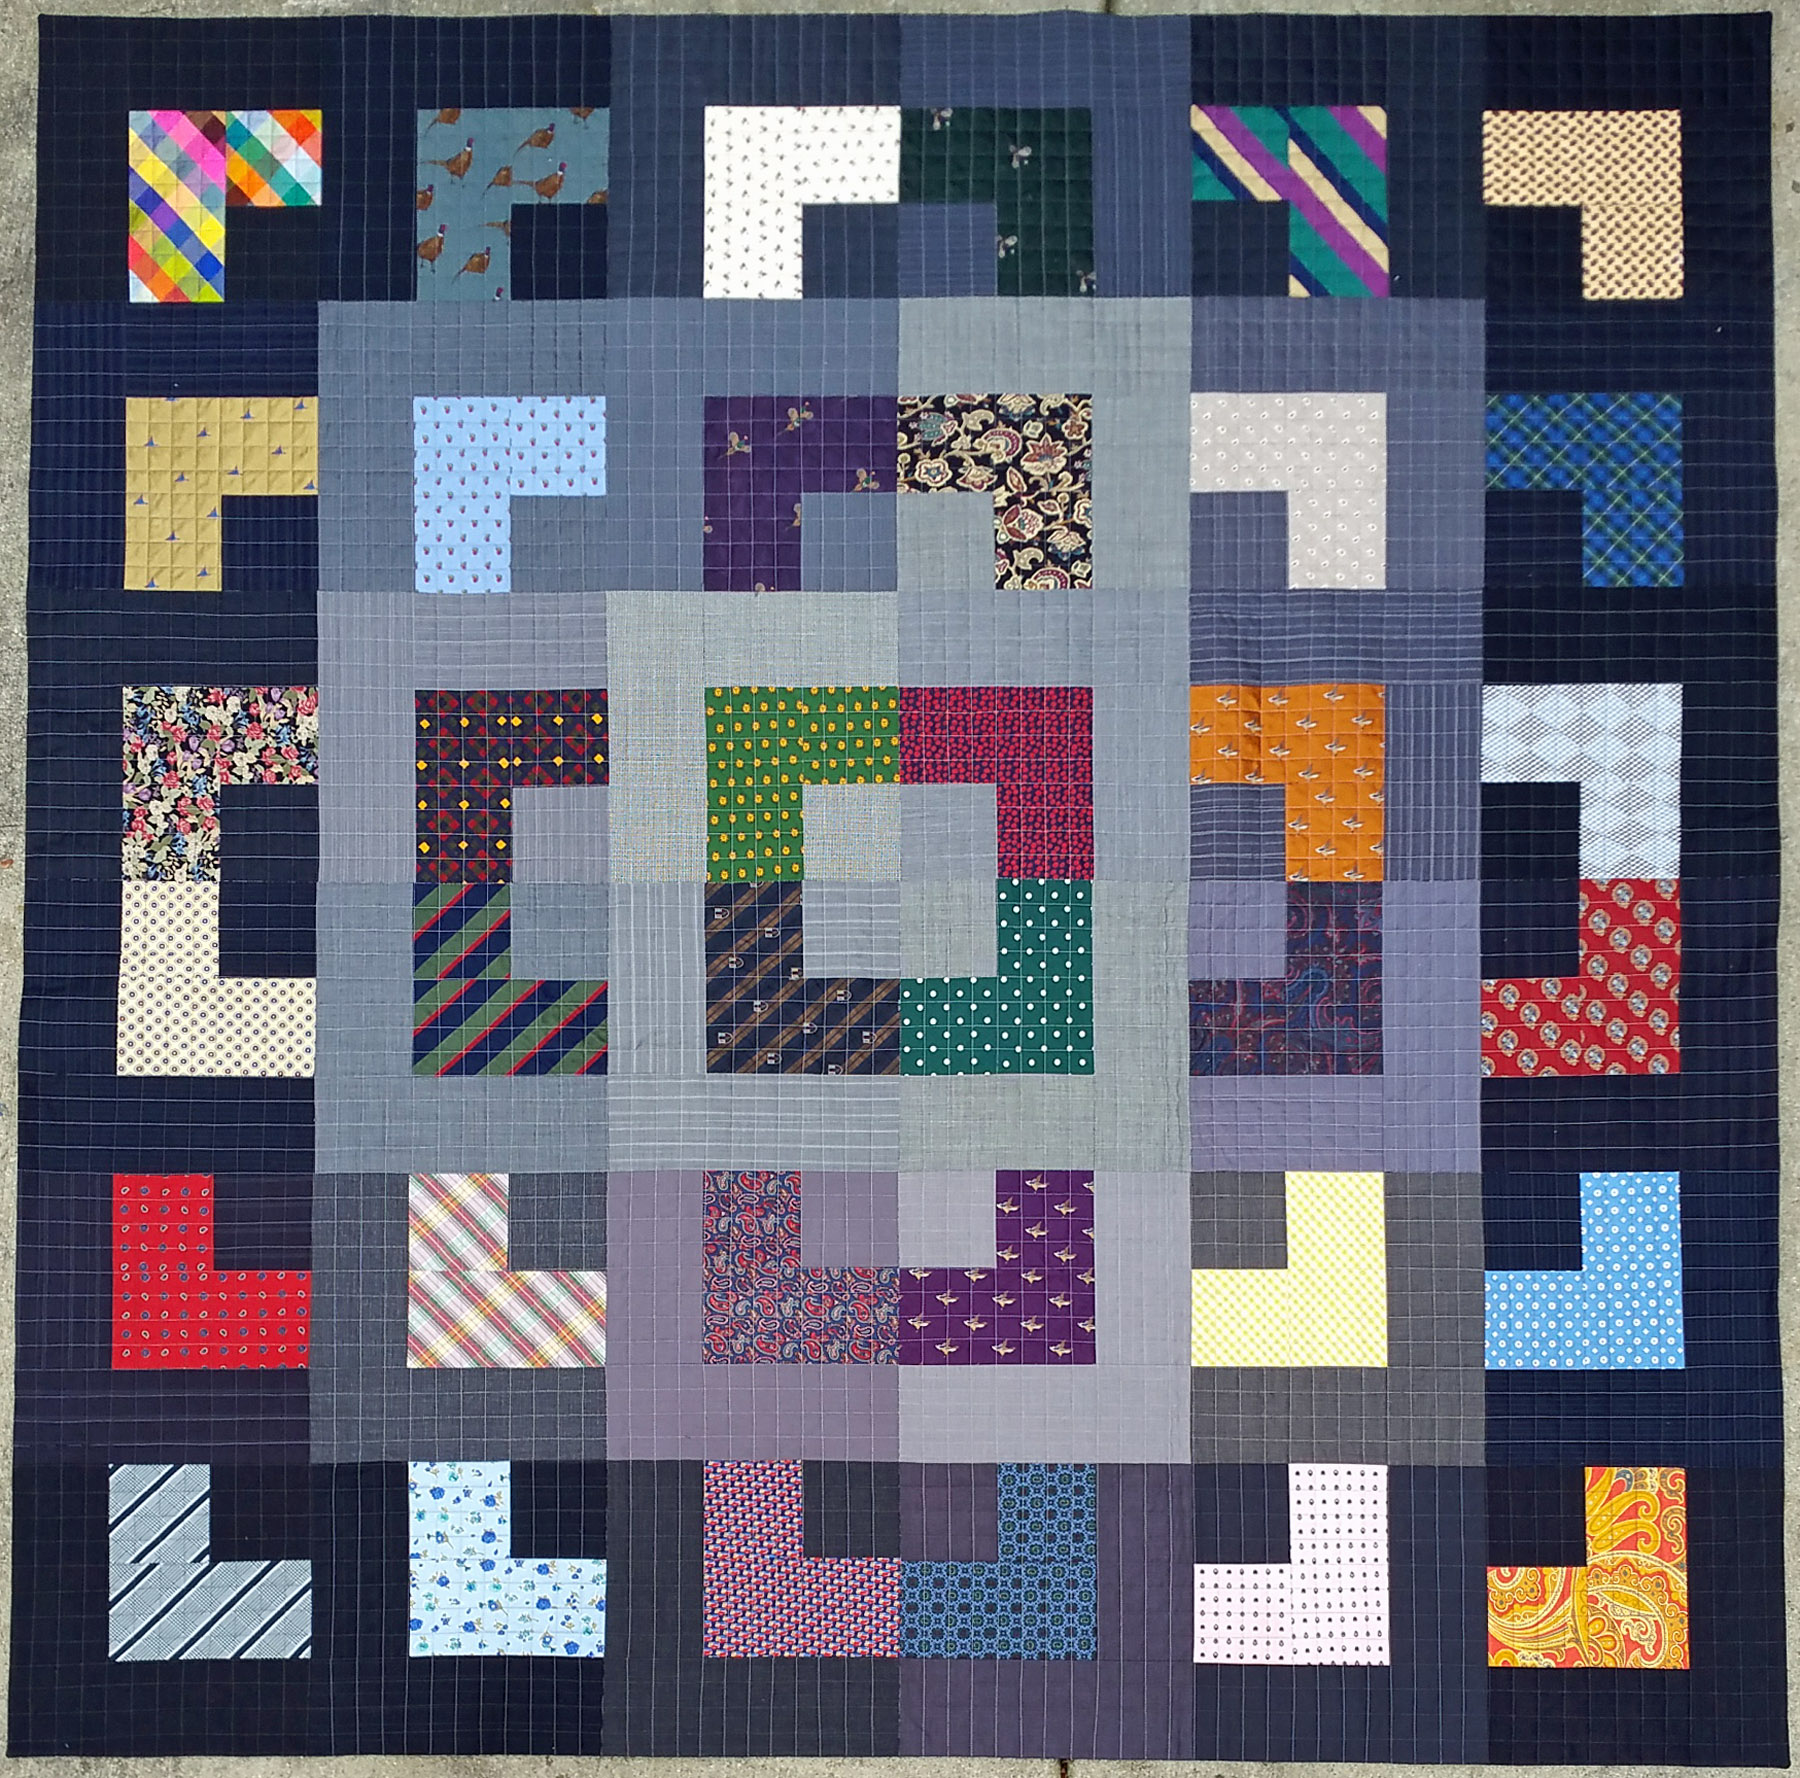
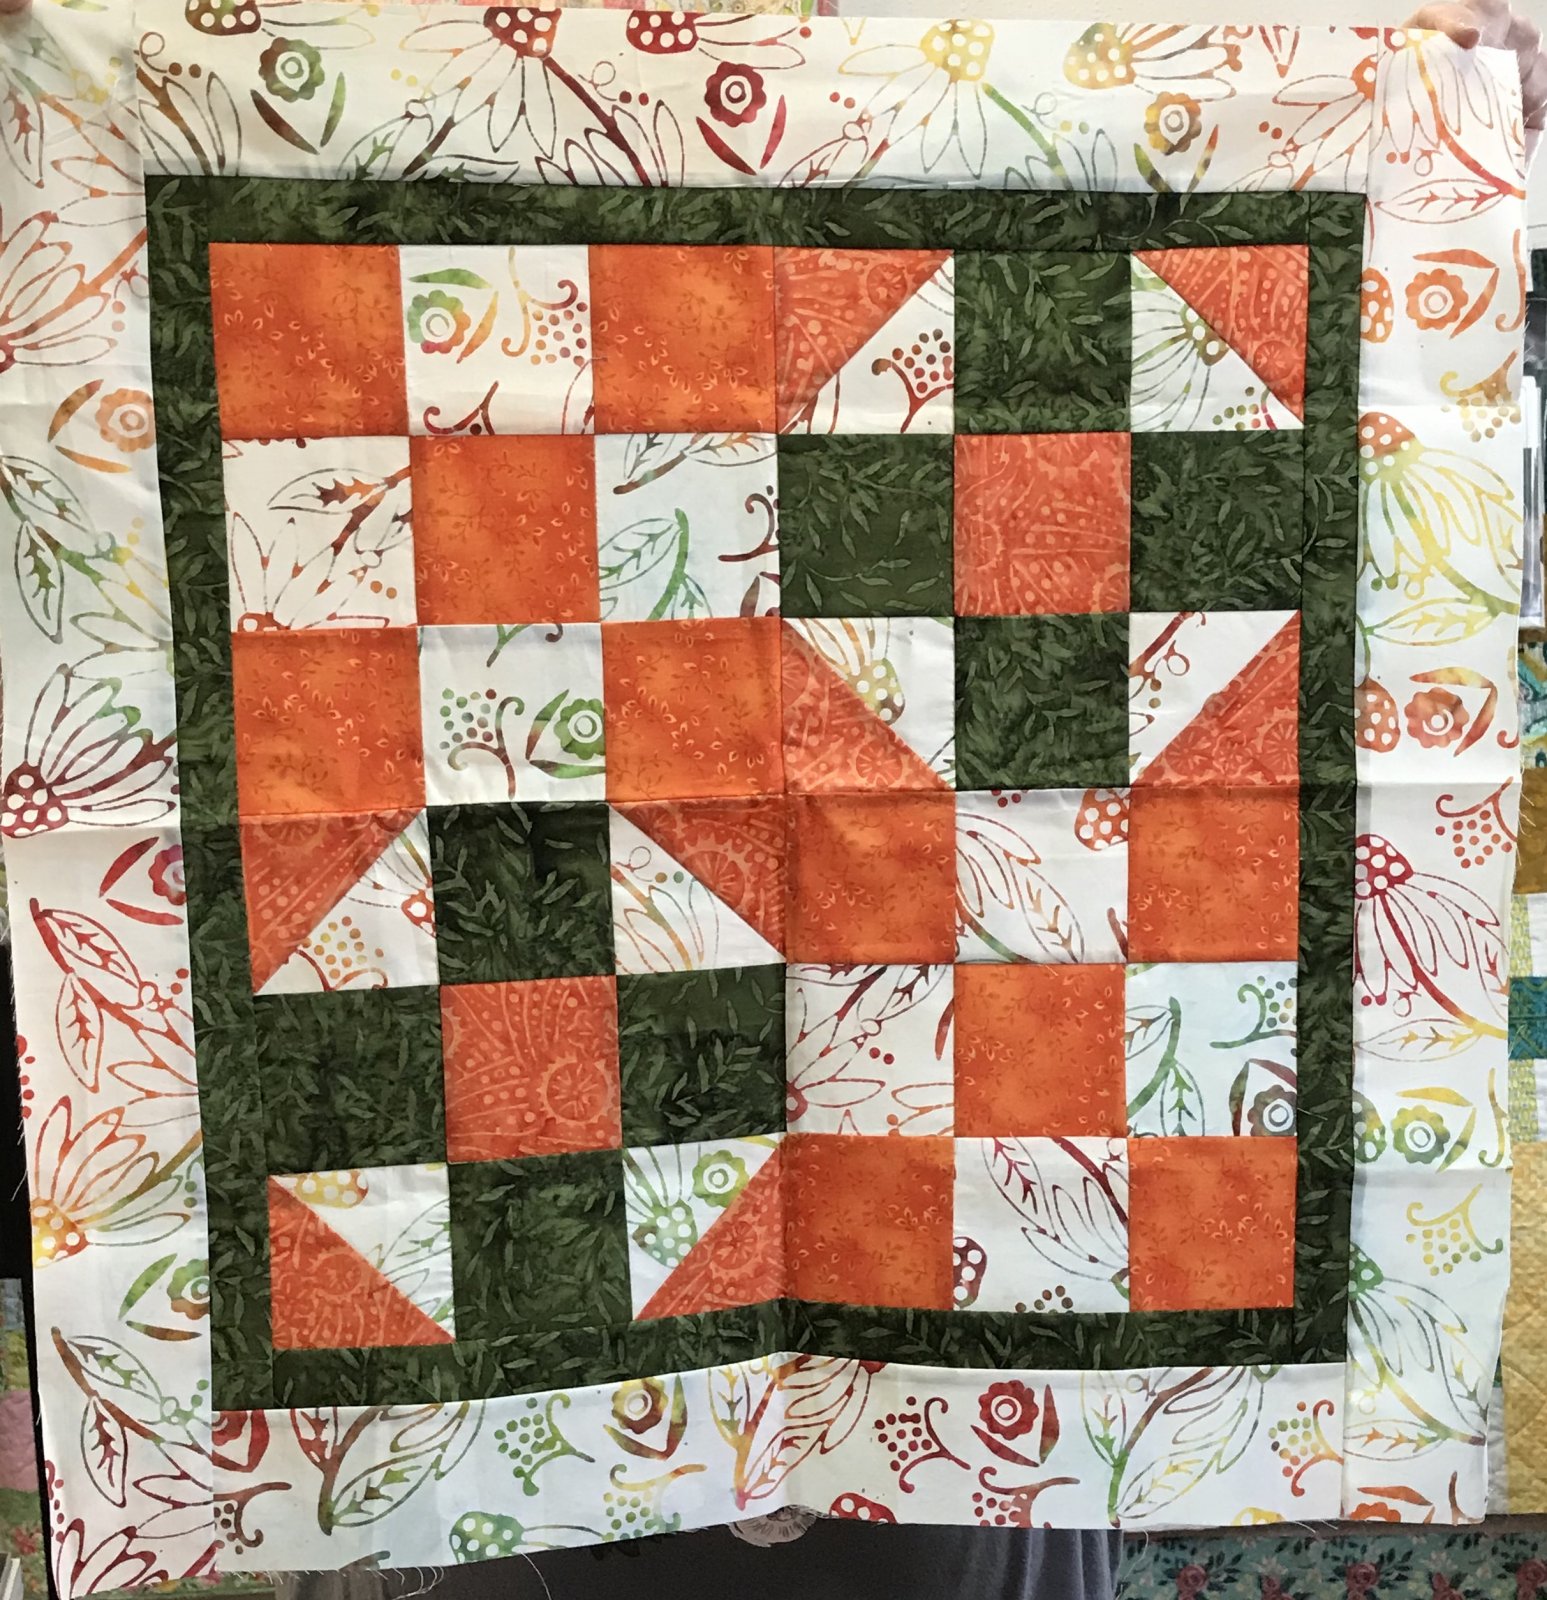
Are you looking for a fun, creative way to make a quilt that stands out from the rest? If so, you may want to consider making a collage quilt! A collage quilt is a unique and eye-catching quilt made from scraps of fabric that are pieced together in an artistic way. In this article, we will provide you with a step-by-step guide on how to make a collage quilt, so you can create your own beautiful and one-of-a-kind quilt.
What is a Collage Quilt?
A collage quilt is a type of art quilt that is created by combining different fabrics, textures, and colors to create a visually stunning piece of art. It is a form of quilt-making that allows you to express yourself through your fabric choices and design. Collage quilts are usually made with cotton fabric and batting, but can incorporate a variety of other materials such as silk, linen, felt, and vintage fabrics.
Materials Needed to Create a Collage Quilt:
- Cotton fabric
- Batting
- Silk, linen, felt, and vintage fabrics (optional)
- Scissors
- Ruler
- Sewing machine
- Thread
- Iron
Creating a collage quilt is an exciting way to express yourself through art quilting. It allows you to combine different fabrics, textures, and colors to create a unique piece of art. The possibilities are truly endless when it comes to creating a collage quilt and the end result can be a truly beautiful work of art.
Materials Needed
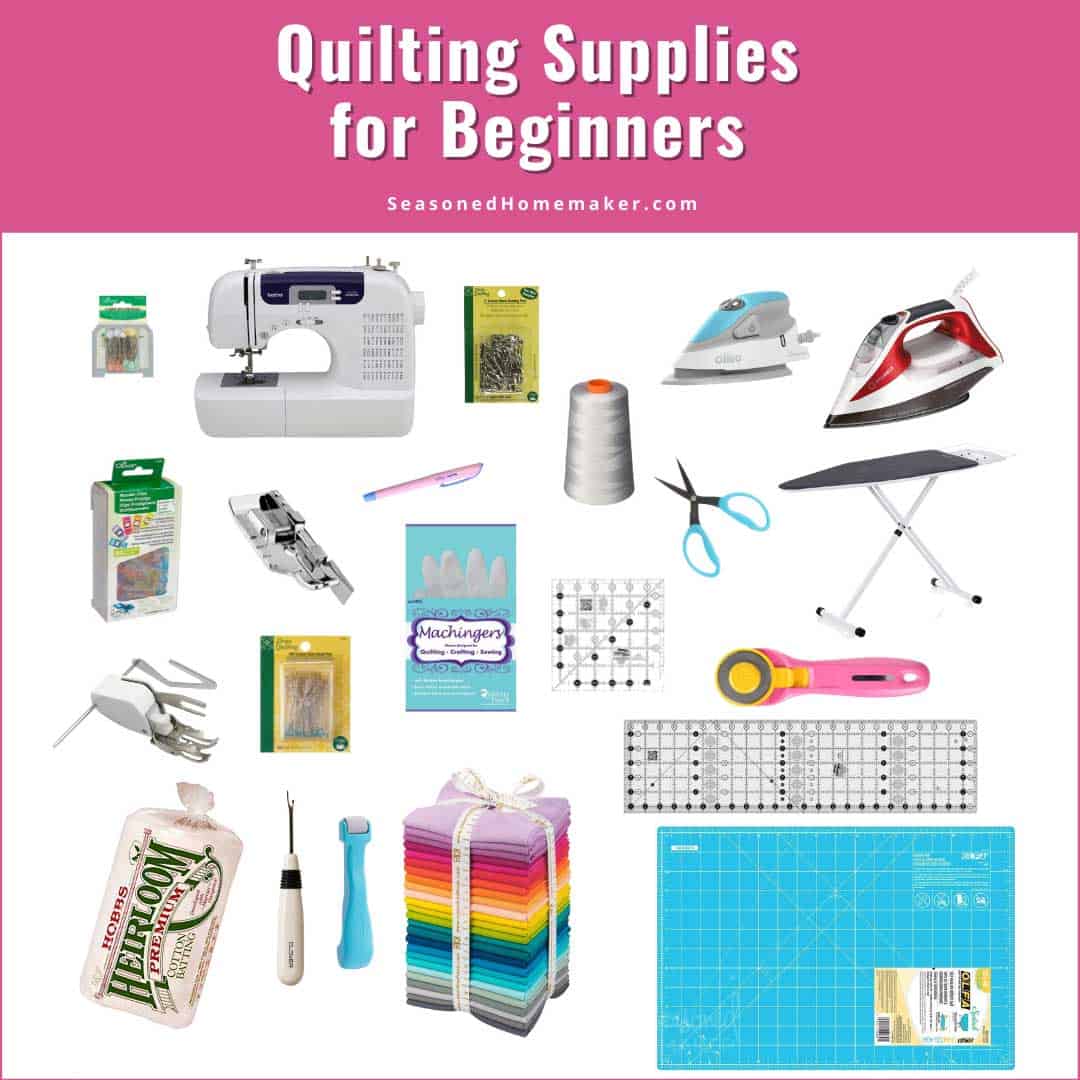
- Fabric scraps: Choose a variety of fabrics in different colours, textures and patterns for your quilt’s collage. Consider using a combination of traditional quilting fabrics, recycled fabrics and novelty prints.
- Background fabric: Select a solid or print fabric for the background of your quilt.
- Bonding material: You will need an adhesive to bond the fabrics together. Fusible web, fusible adhesive, fusible interfacing, and even spray adhesives can be used.
- Batting: A quilt requires batting or wadding to provide warmth and padding. Select a batting that is suitable for machine-washing.
- Backing fabric: Select a solid or print fabric for the back of your quilt.
- Thread: Select a thread that will blend with the fabrics of your quilt.
- Scissors: Choose a pair of scissors that will cut through your fabrics and batting easily.
- Rotary cutter: A rotary cutter is very useful for cutting the smaller pieces for your collage quilt.
- Ruler: A ruler is essential for accurately measuring and cutting your fabric pieces.
- Iron: An iron is needed to press the fabric pieces in place.
- Sewing machine: A sewing machine is needed to sew the collage quilt sandwich together.
Collage quilts are an exciting way to create artistic quilts by piecing together fabric scraps and other materials. Using a variety of fabrics, you can make beautiful and creative quilts that are truly one-of-a-kind. Before you start, make sure you have all the materials needed to make a collage quilt.
Preparing the Fabric
Lay Out the Design: Once you’ve gathered all of your fabrics, lay them out in the desired pattern for your collage quilt. Arrange the fabric pieces until you’re happy with the design.
Cutting the Fabric: Cut the fabric pieces into the desired shapes and sizes. Use a rotary cutter and mat for the most accurate cuts.
Iron the Fabric: Once the pieces have been cut, iron each one to make sure they’re flat and free of wrinkles.
Starch the Pieces: Starching the fabric pieces helps them hold their shape while you’re sewing them together. Use a spray starch, available at any craft store, and gently mist each piece. Let the pieces dry before continuing.
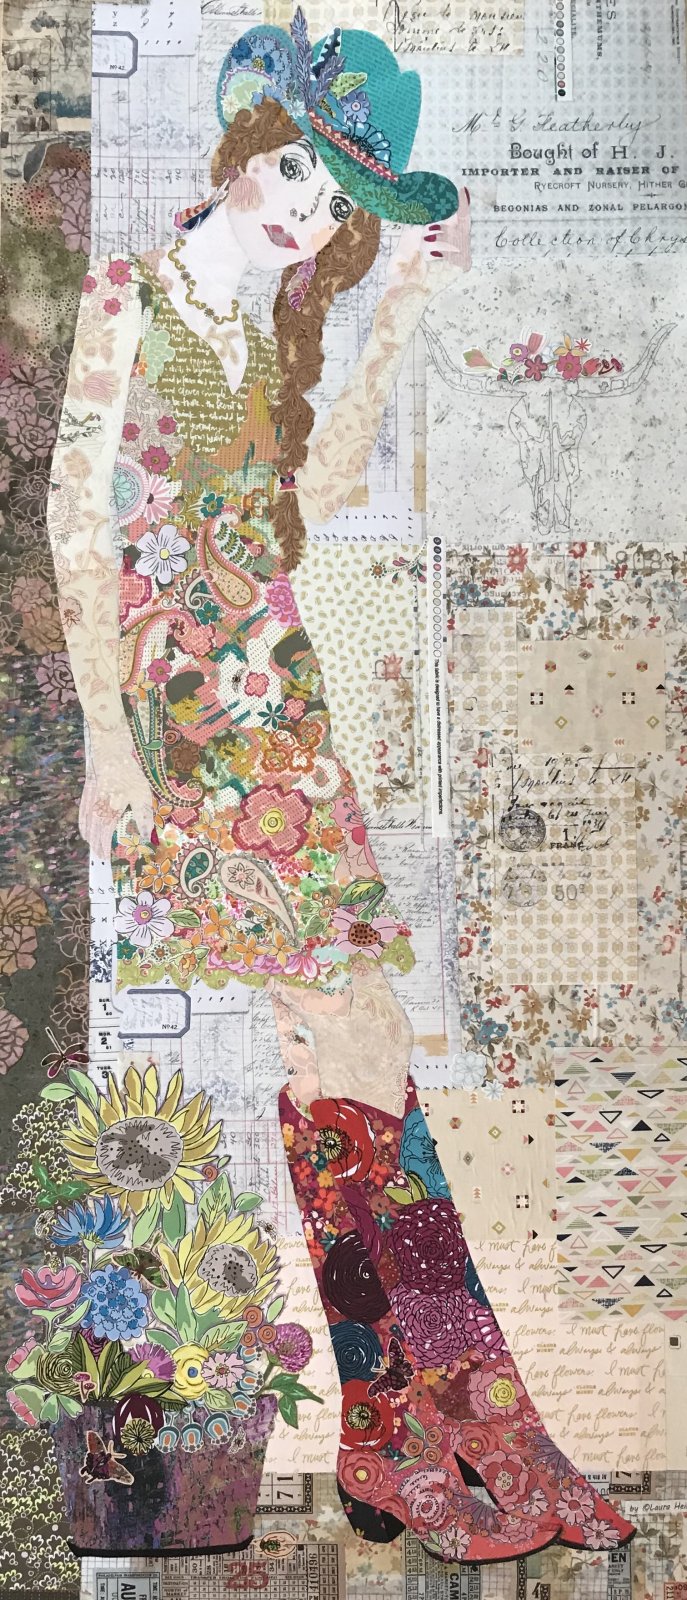
Selecting the Images
When making a collage quilt, it is important to select the images that will be used. The images should be chosen carefully, considering the size, colors, and theme of the quilt. Images can be found online, taken from magazines, or printed from photographs.
One of the most popular approaches is to pick a theme and then find images that correspond to that theme. For example, if the theme of the quilt is “nature,” then the images used should be of nature-related subjects. Another approach is to pick images that have a certain color scheme in mind. For instance, if the quilt is going to be made in pastel colors, then the images should be chosen to match that color scheme.
Once the images are chosen, they should be printed out in the size desired for the final quilt. It is important to remember that the images should be printed to scale, since they will need to fit together in the quilt. It is also important to use a good quality printer and ink in order to ensure that the colors of the images remain vibrant and true to life.
Finally, it is important to remember when choosing images that the quilt should have a cohesive look and feel. Selecting images that are too different from each other in terms of color, tone, and theme can create a quilt that looks disjointed and unfinished.
Cutting and Fusing the Images
To create a collage quilt, the first step is to cut out the images you would like to include in the design. For fabric collage quilts, use a sharp pair of fabric scissors or a rotary cutter to cut out the desired shapes and sizes. When cutting, be sure to leave a small seam allowance of 1/4 inch around the edges of the images.
Once the images are cut, you can begin to arrange them in a pattern to form the desired design. Once the pattern is complete, use a fabric fusing adhesive to attach the pieces to a stable backing fabric. This will ensure that the images stay in place and do not move around when you are quilting the project. Be sure to follow the manufacturer’s instructions for the best results when fusing the images.
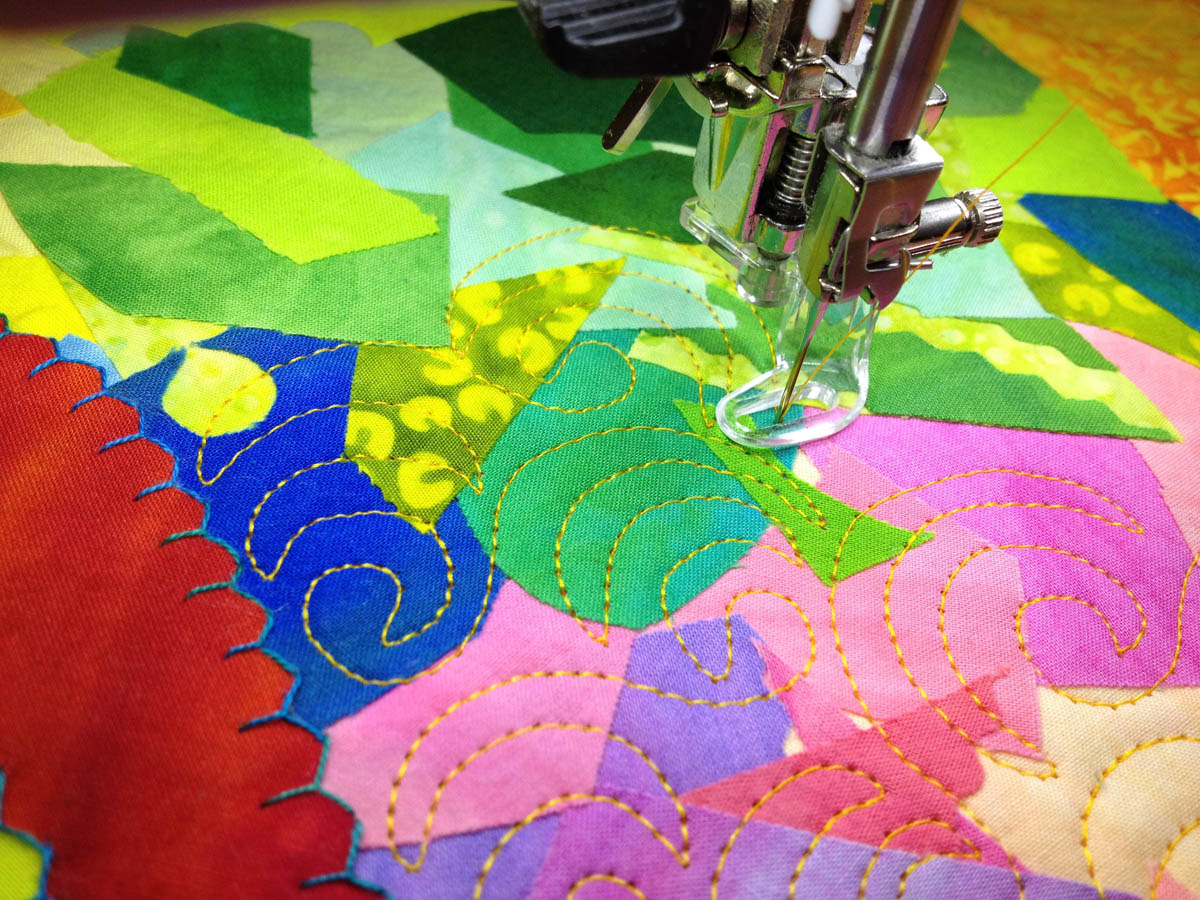
To further secure the images, you may want to use a sewing machine to stitch around each image. This will help to keep the images secure and in place. If you are creating a complex quilt pattern, you may want to use a stabilizer to help keep your fabrics in place as you sew.
By following these steps, you will have all the tools you need to assemble a beautiful and unique collage quilt pattern.
Assembling the Quilt Blocks
Lay the quilt blocks out on a flat surface in the desired pattern. Pin the blocks together, right sides facing out, using colored quilting pins. Sew the blocks together with a ¼-inch seam allowance. Press the seams open with an iron. If adding borders, trim the quilt to the desired size, then add the borders and sew them in place. Once all the blocks are sewn together, press the quilt top again to ensure the seams are flat.
Layer the quilt top, batting, and backing fabric. Pin the layers together. Quilt the layers together in the desired pattern. Remove the pins and trim the excess batting and backing fabric. Bind the edges of the quilt with bias binding.
Finishing the Quilt Top

| Step | Instructions |
|---|---|
| 1 | Lay the quilt top on a flat surface and smooth out any wrinkles. |
| 2 | Place a layer of batting on top of the quilt top. |
| 3 | Put the backing fabric on top of the batting. |
| 4 | Pin the three layers together. |
| 5 | Using a sewing machine, stitch the three layers together. |
| 6 | Trim away the excess backing fabric and batting. |
| 7 | Bind the edges of the quilt using a binding strip. |
Adding the Backing and Quilting
- Using a walking foot or a darning foot, quilt the top layers together in a pattern of your choice.
- Trim the batting and backing fabric to the same size as the quilt top.
- Layer the backing fabric, batting, and quilt top.
- Secure the layers with safety pins, or quilt basting spray.
- Quilt the layers together using a walking foot and a straight stitch.
- Trim the excess batting and backing fabric from the edges of the quilt.
- Finish the edges of the quilt with binding, or with a wide zig-zag stitch.
Binding the Quilt
Step 1: Measure the edges of the quilt, adding 1/2 inch to all sides. Cut the binding strips to these measurements.
Step 2: Sew the binding strips together, end to end, to make one long strip. Press the seams open.
Step 3: Fold the binding strip in half lengthwise and press.
Step 4: Pin the binding strip to the front of the quilt, starting in the middle of one side. Place the raw edges of the binding strip along the raw edge of the quilt and leave a tail at the beginning.
Step 5: Sew the binding strip to the quilt, using a 1/4 inch seam allowance. Remove the pins as you sew.
Step 6: When you get to a corner, stop sewing 1/4 inch from the edge. Fold the binding strip into a triangle and back along the next side of the quilt, as shown.
Step 7: Continue sewing the binding strip to the quilt, mitering the corners as you go.
Step 8: When you reach the beginning of the binding strip, overlap the tail by 1/2 inch and trim off the excess.
Step 9: Sew the binding to the back of the quilt, using a 1/4 inch seam allowance.
Step 10: Turn the binding to the front of the quilt and sew in place, using a blind stitch or slip stitch.
Frequently Asked Questions
What materials are needed to make a collage quilt?
- Fabric scraps: Fabric scraps in various sizes and colors, such as cotton, flannel, and satin.
- Thread: Thread to match the fabric scraps.
- Backing fabric: A larger piece of fabric to use as the backing of the quilt.
- Basting spray: A temporary adhesive spray to hold the fabric pieces in place while sewing.
- Needle and thread: A needle and thread to hand-stitch or machine-stitch the pieces together.
- Scissors: Scissors to cut the fabric pieces.
- Iron: An iron to press the fabric pieces.
- Pins: Pins to hold the pieces together while sewing.
- Quilt batting: A layer of batting to provide warmth and padding to the quilt.
- Ruler: A ruler to measure and cut the pieces.
How long does it take to make a Collage Quilt?
The time it takes to make a collage quilt varies depending on the complexity of the design and the size of the quilt. Generally, it takes several days to complete a collage quilt from start to finish. However, the actual time will depend on how quickly you can sew the pieces together and how intricate the quilt design is. Additionally, if you are using hand-dyed fabrics or embellishments, the process may take longer.
Does the quilt need to be quilted or can it be tied together?
Quilting:
- Involves sewing two or more layers of fabric together with batting or wadding in between.
- Often done in patterns and designs for decorative purposes.
- Typically done with a sewing machine or by hand.
Tying:
- Involves tying the top layer of fabric to the batting with pieces of yarn or thread.
- Much simpler and faster than quilting.
- May not hold up as well over time.
When making a collage quilt, it is up to the quilter to decide whether to quilt or tie the layers together. Quilting is a more traditional approach and involves sewing the layers together with batting or wadding in between. This provides a more secure connection and can also be used to add decorative elements. On the other hand, tying the quilt is much simpler and faster, but may not hold up as well over time.
How do You Attach the Fabric Pieces Together?
- Pin the Pieces Together: Lay the two pieces of fabric together and pin them in place. Make sure they are aligned the way you want them to be.
- Sew the Pieces Together: Using a sewing machine, sew the pieces together along the pinned edges. Be sure to use a stitch that’s suitable for the type of fabric you’re using.
- Press the Seam: Take the seam to the ironing board and press it flat. This will ensure that the seam is secured and holds the pieces together.
- Finish the Edges: If desired, finish the edges for a neat and professional look. Options for this include using an overlock stitch, using bias binding, or using pinking shears.
What is the Best Way to Select Fabrics for a Collage Quilt?
When selecting fabrics for a collage quilt, choose fabrics that create a pleasing balance of color and texture. Consider how each fabric will look against the others and think about how it will fit in with the overall design. Consider using a variety of fabrics, such as solids, prints, and textured fabrics, to add visual interest. Choose fabrics that will work together, such as a coordinating color palette, to create a cohesive look. Pay attention to the scale of the fabrics, as well as the scale of the quilt, to ensure that it looks balanced. Finally, consider the amount of fabric needed for the project and select fabrics accordingly.
Conclusion
Creating a collage quilt is a fun and creative way to express yourself and make a beautiful quilt that stands out. By following a few simple steps, you can easily create a unique and eye-catching quilt that is sure to impress. With the right tools and materials, you can make a collage quilt that is perfect for any home.


