Do you have a collection of beautiful cross stitch quilts that you would love to transform into a special quilt for your home? If so, this step-by-step guide on how to make a cross stitch quilt will walk you through the process of creating a beautiful quilt that you can proudly display as a conversation piece in your home. From gathering the materials to creating the quilt top and binding, this guide will provide you with all the information you need to make a stunning cross stitch quilt. Let’s get started!
Materials Needed
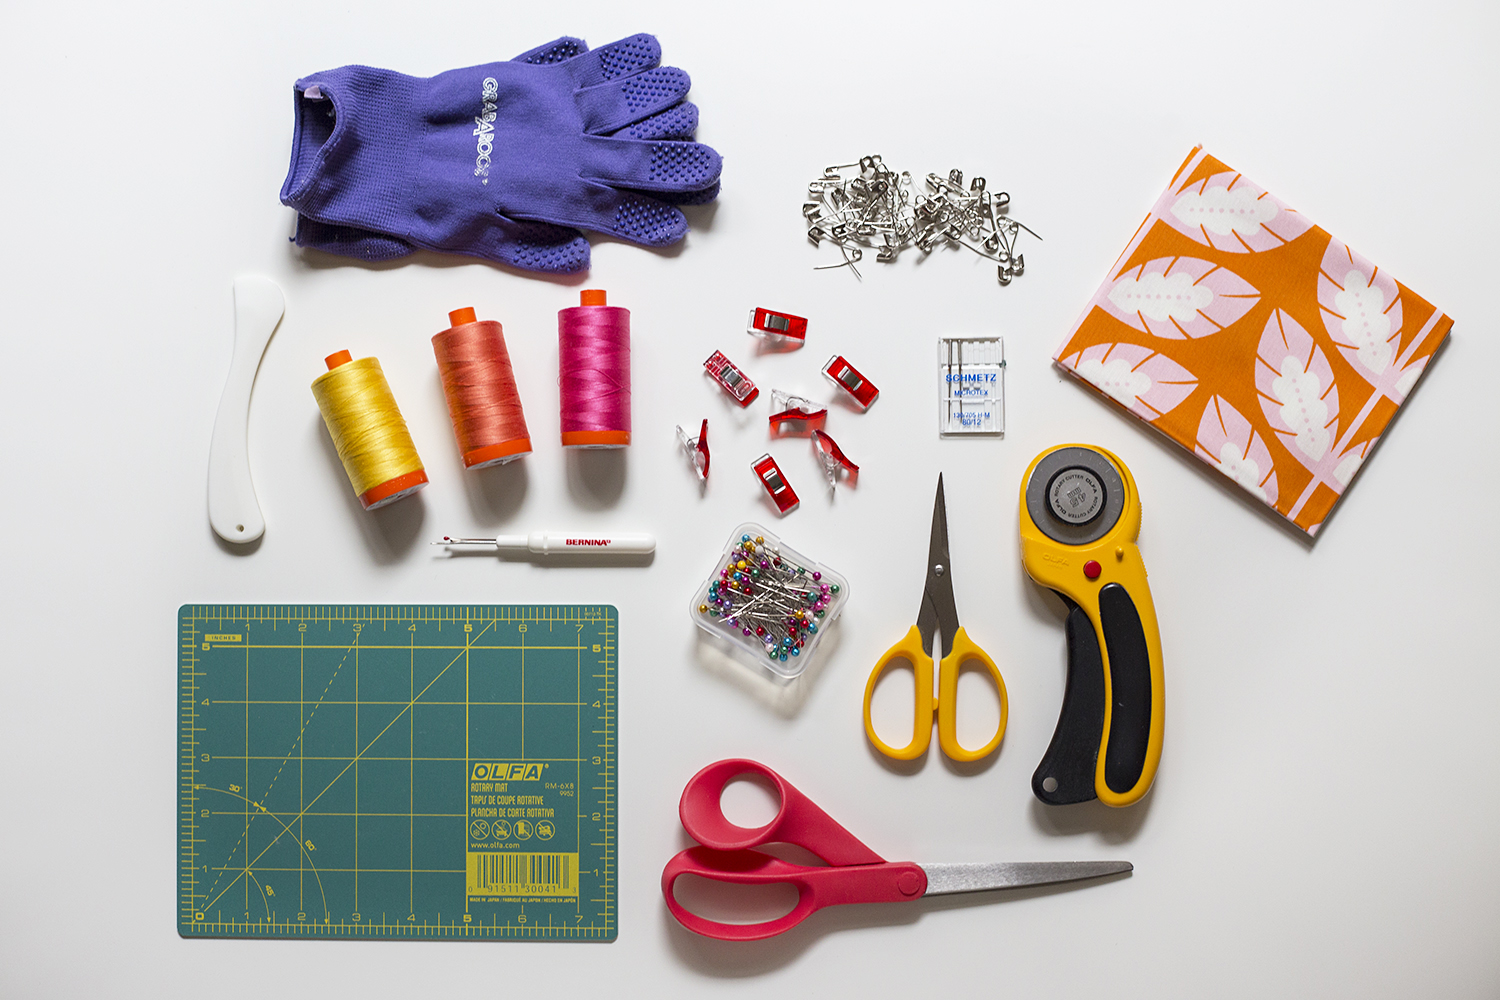
- Fabric: A medium-weight cotton fabric, such as muslin, is perfect for creating a cross stitch quilt by hand.
- Thread: A cotton floss in a variety of colors is needed to complete the cross stitch pattern.
- Needles: A size 24 tapestry needle is the best choice for making a cross stitch quilt.
- Embroidery Hoop: An embroidery hoop is a must when learning how to cross stitch a quilt by hand.
- Embroidery Scissors: Specialty scissors designed for embroidery are a must.
- Embroidery Floss: A variety of colors of embroidery floss is needed to create the perfect design.
- Stitch Markers: Stitch markers are a great way to keep track of your stitches.
Preparing the Fabric
| Step | Description |
|---|---|
| 1 | Wash and dry fabric prior to use. This will help to prevent any shrinkage when finished. |
| 2 | Iron fabric to remove wrinkles and to ensure that the fabric is flat and smooth. |
| 3 | Cut fabric into a square or rectangle, depending on the size of the quilt. |
| 4 | Optional: Starch fabric to add stiffness and to make it easier to embroider. |
| 5 | Lay fabric on a flat surface. |
| 6 | Pin pattern pieces to the fabric. |
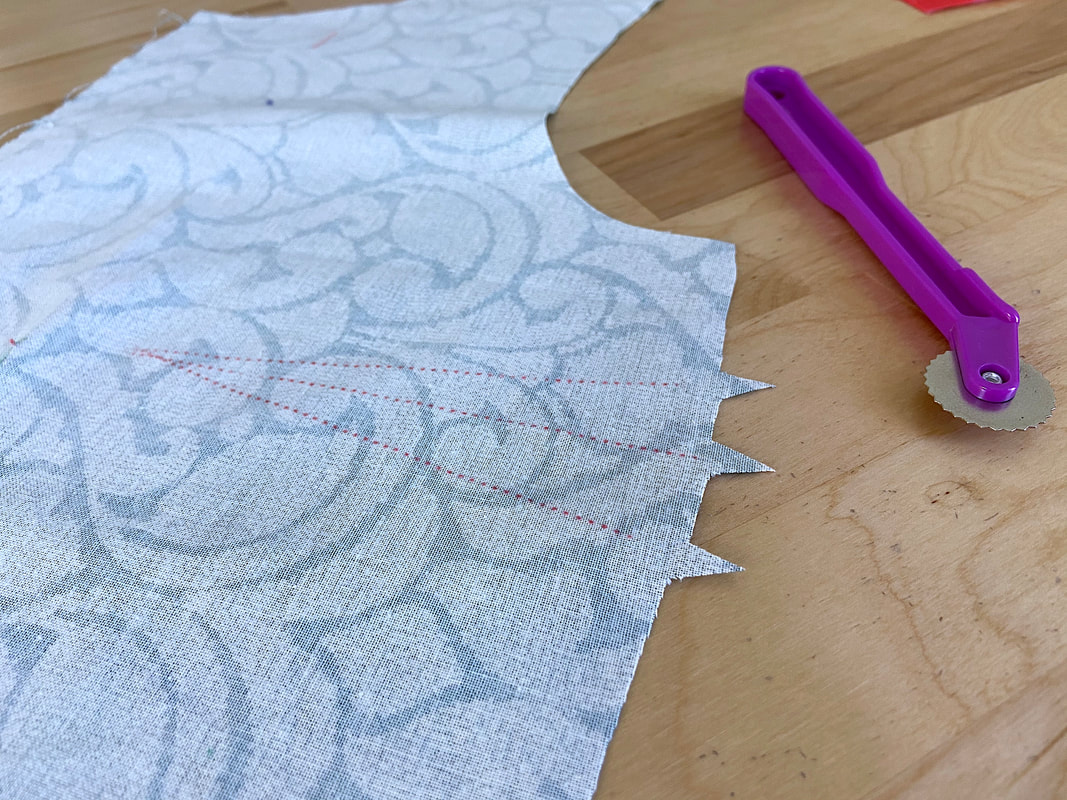
Cut the fabric around the pinned pattern pieces. It is important to leave a small margin around the pattern pieces so that the embroidery will not unravel. Leave a few inches between the pattern pieces to make sure that the embroidery will not be too tight.
Making the Cross Stitch Pattern
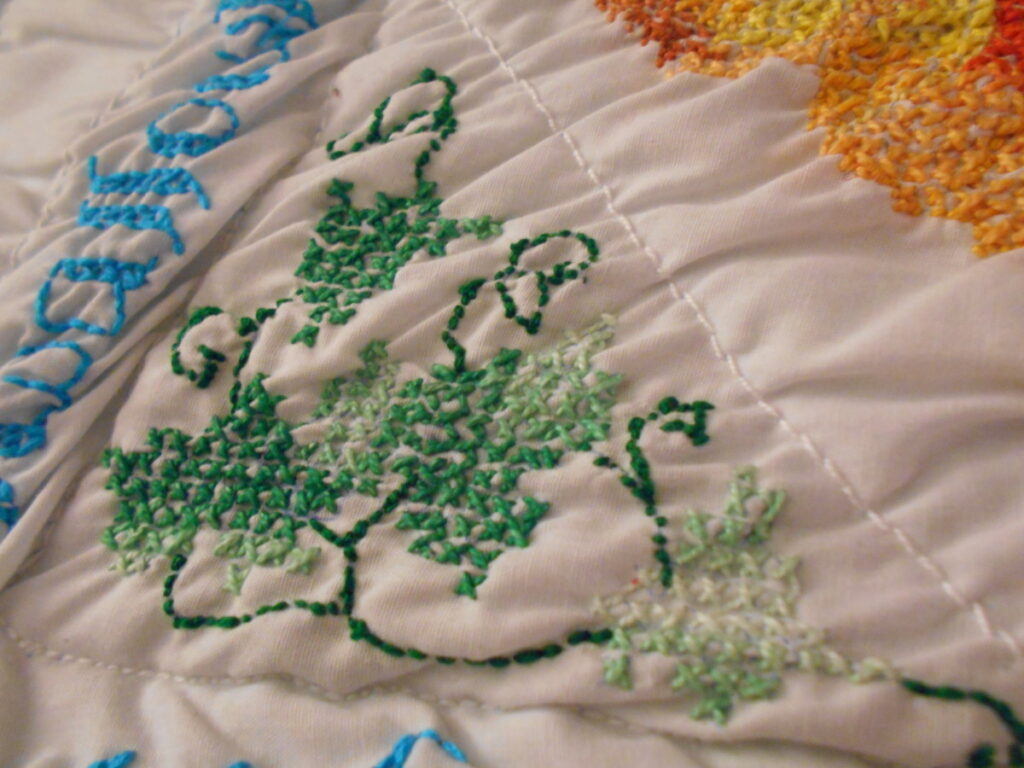
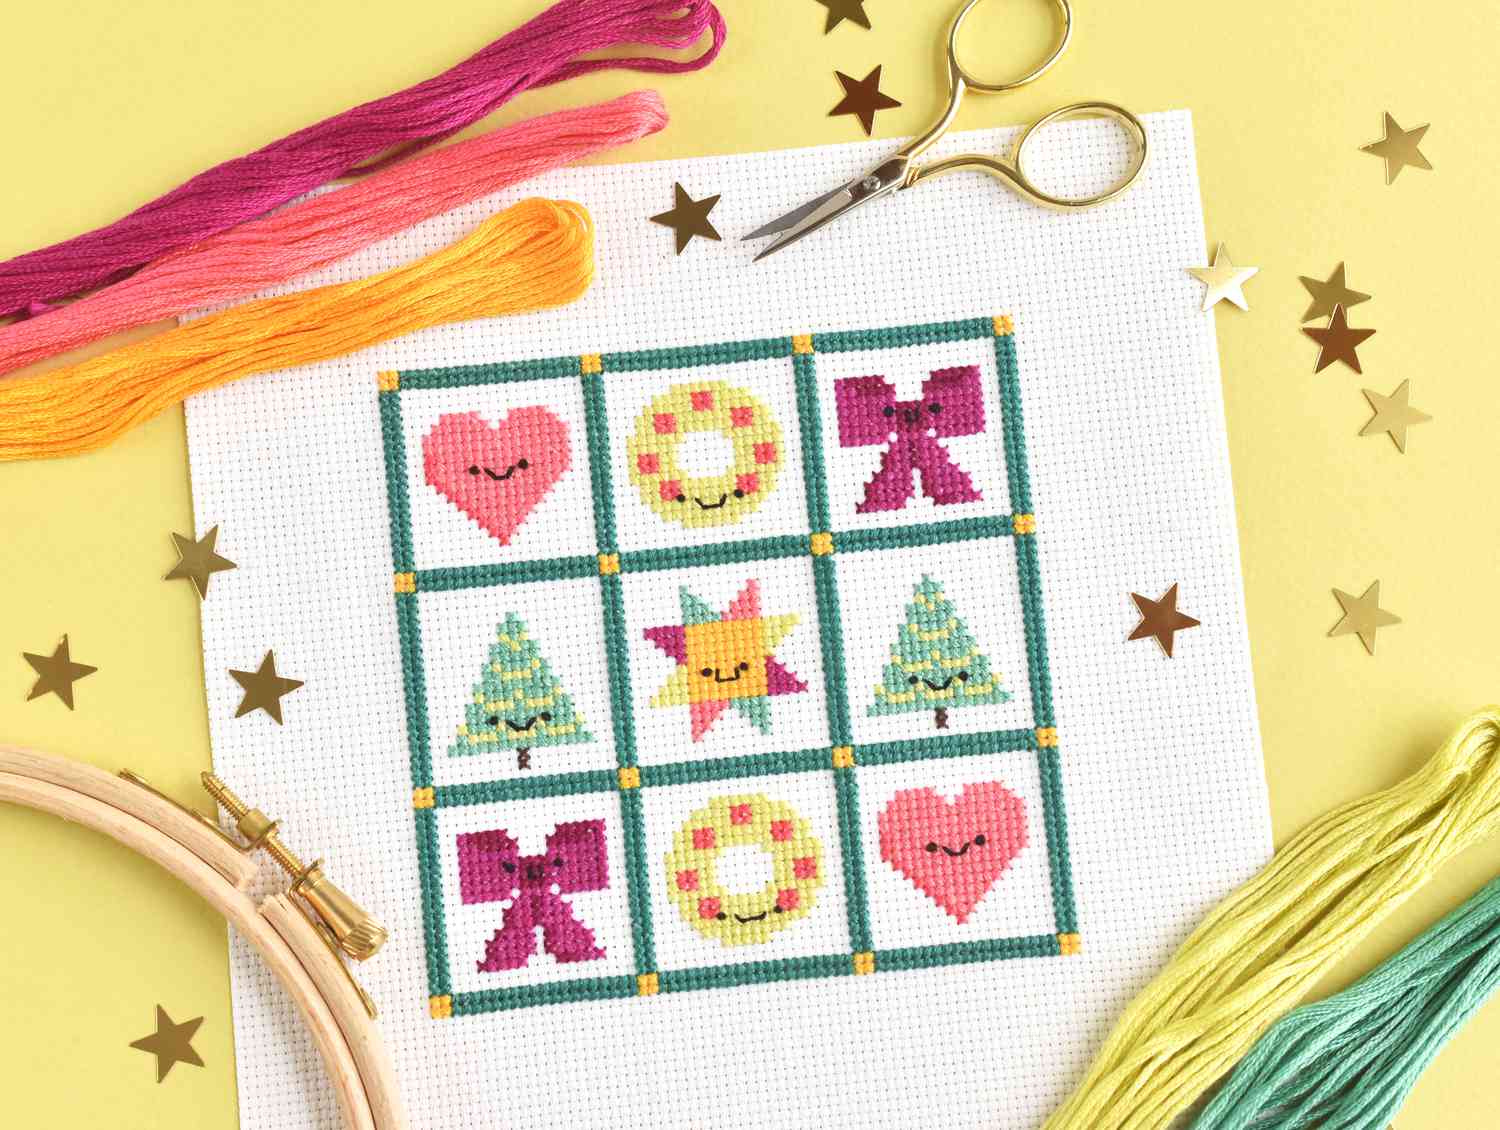
- Cross stitch is an embroidery technique that uses small x-shaped stitches to create a pattern. It is one of the oldest forms of embroidery and is popular for both beginners and experienced stitchers alike.
- Creating a cross stitch pattern begins with a design that is then translated into a grid pattern. The pattern is made up of a series of squares and each square represents a stitch.
- The pattern is usually drawn onto graph paper with a pencil and ruler. The graph paper helps to ensure that the pattern is even and the stitches are all the same size.
- The pattern is then divided into color blocks and each color is assigned a specific stitch. The stitches are counted and the pattern is repeated until the desired size is achieved.
- Once the pattern is complete, it is ready to be stitched onto the fabric. The fabric should be pre-washed and ironed before stitching to ensure the stitches are even and the pattern is centered.
- Cross stitch patterns can be customized by changing the colors and adding embellishments such as beads, sequins, and buttons. This allows the stitcher to create a unique design that is truly their own.
Transferring the Pattern to the Fabric
1. Prepare the Pattern
- Start by printing or photocopying the pattern onto paper.
- Using a graphite tracing paper, trace the pattern onto the tracing paper.
- Cut the tracing paper to the same size as the fabric.
2. Secure the Pattern to the Fabric
- Place the tracing paper on the wrong side of the fabric.
- Secure the pattern to the fabric by lightly ironing or pinning the edges.
3. Transfer the Pattern to the Fabric
- Trace the pattern onto the fabric using a sharp pencil, pressing firmly.
- Erase any markings on the fabric that are visible from the right side.
4. Remove the Pattern
- Carefully remove the pattern paper from the fabric.
- If you used an iron to secure the pattern, make sure to iron the fabric after the pattern is removed.
Sewing the Cross Stitch Pattern onto the Fabric
- Lay the cross stitch pattern on the fabric.
- Thread a needle with embroidery thread and knot the end.
- Start stitching the pattern, beginning at the center. Stitch each square of the pattern.
- Secure the thread with a knot when the pattern is complete.
Finishing the Fabric
- Cutting: Before joining fabric pieces to make a quilt, cut them into the desired size and shape. It is best to use a rotary cutter and a cutting mat for best results.
- Piecing: After cutting, sew the pieces together with a ¼ inch seam allowance. If the fabric pieces have different sizes, use a larger seam allowance.
- Basting: Before stitching, basting helps in keeping the fabric layers together. Basting can be done by hand or by machine.
- Quilting: Once the layers of the quilt are basted, they can be quilted together using a quilting machine or by hand. It is best to use a walking foot or a quilting guide to ensure even stitching and to avoid stretching the quilt.
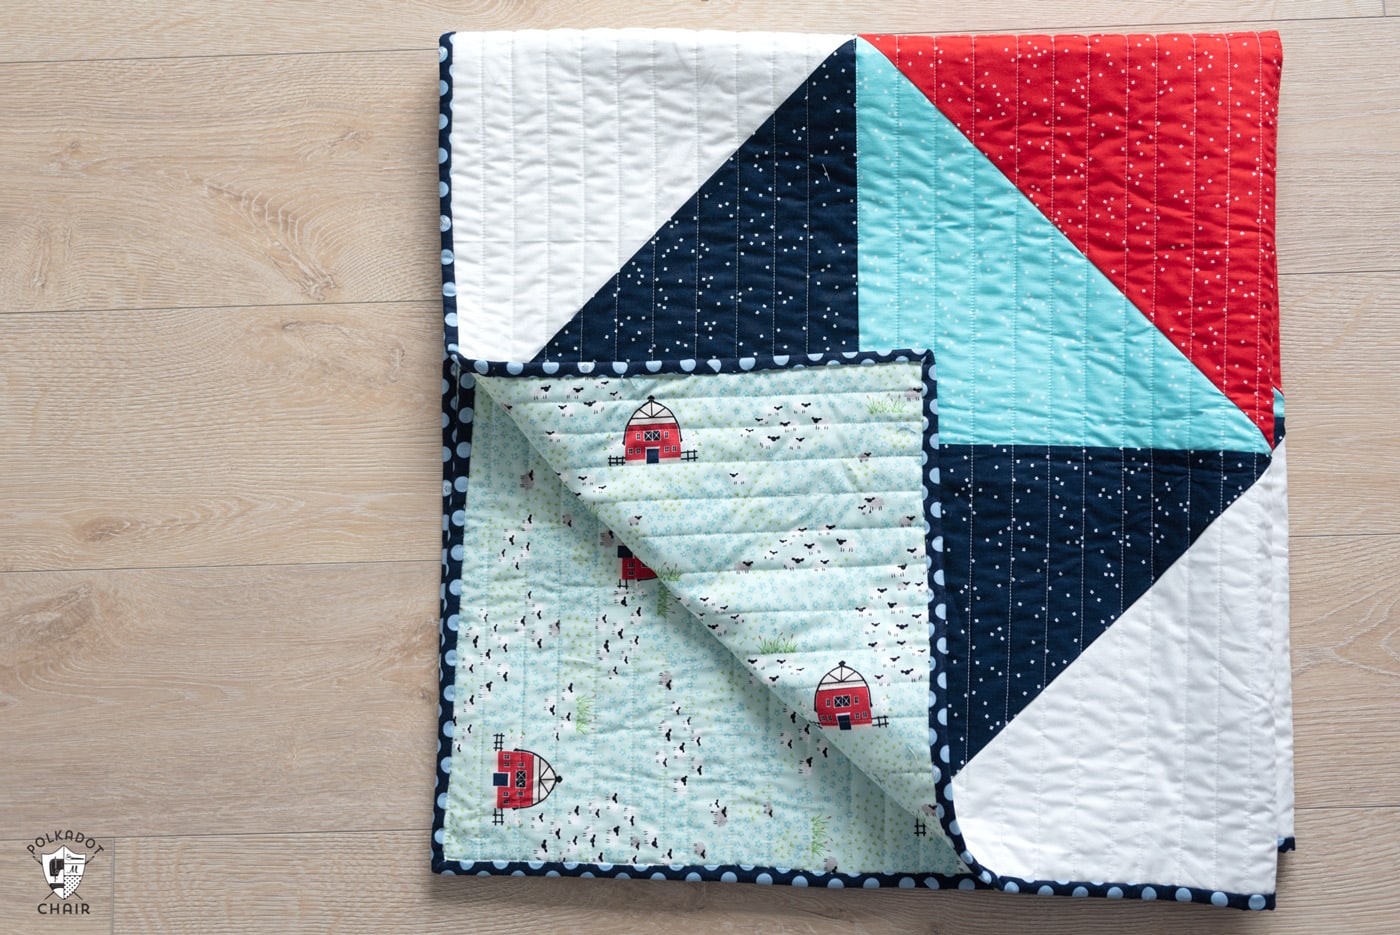
- Binding: After quilting, the edges of the quilt need to be bound. This can be done by hand or by machine. If binding is done by hand, use a needle and thread. If binding is done by machine, use a bias binding foot and a coordinating thread.
- Finishing: Once the binding is complete, the quilt can be finished off with a label. The label should include the quilter’s name, the date the quilt was made, and any other information the quilter would like to include.
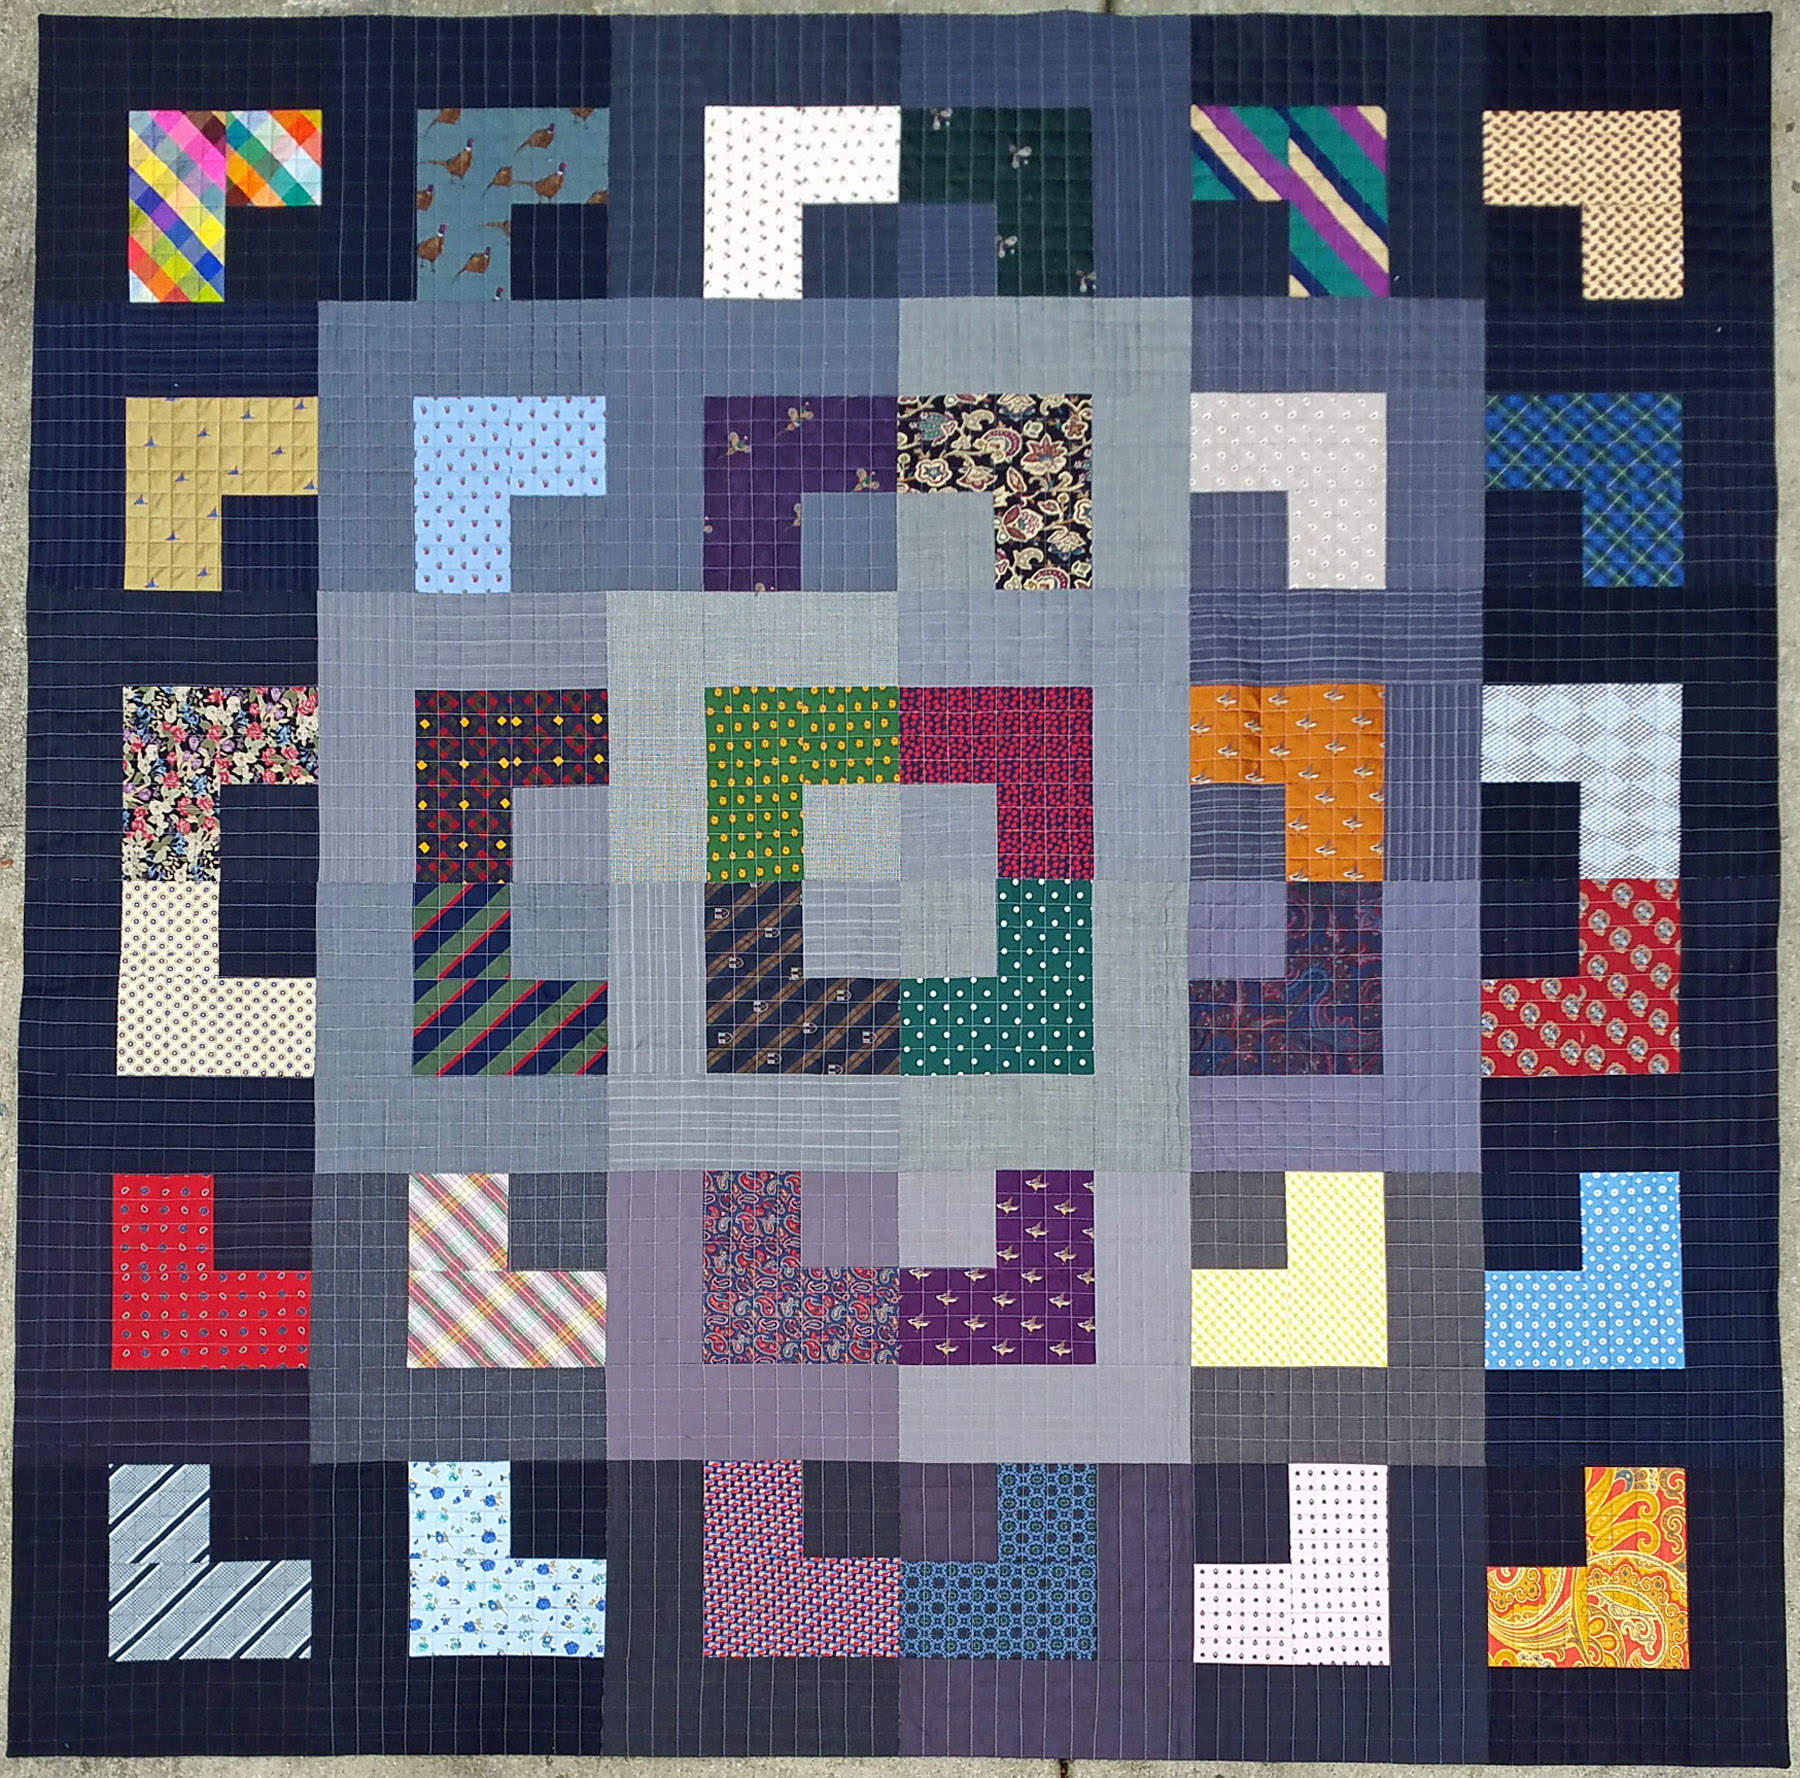
Quilting the Fabric
Once all your pieces have been cross stitched, it’s time to assemble them into a quilt. To do this, stack the pieces in the order you want them and sew them together with a ¼ inch seam allowance. If you have an extra piece of batting, it can be sewn in between the layers of fabric. This will add extra padding and warmth to the quilt.
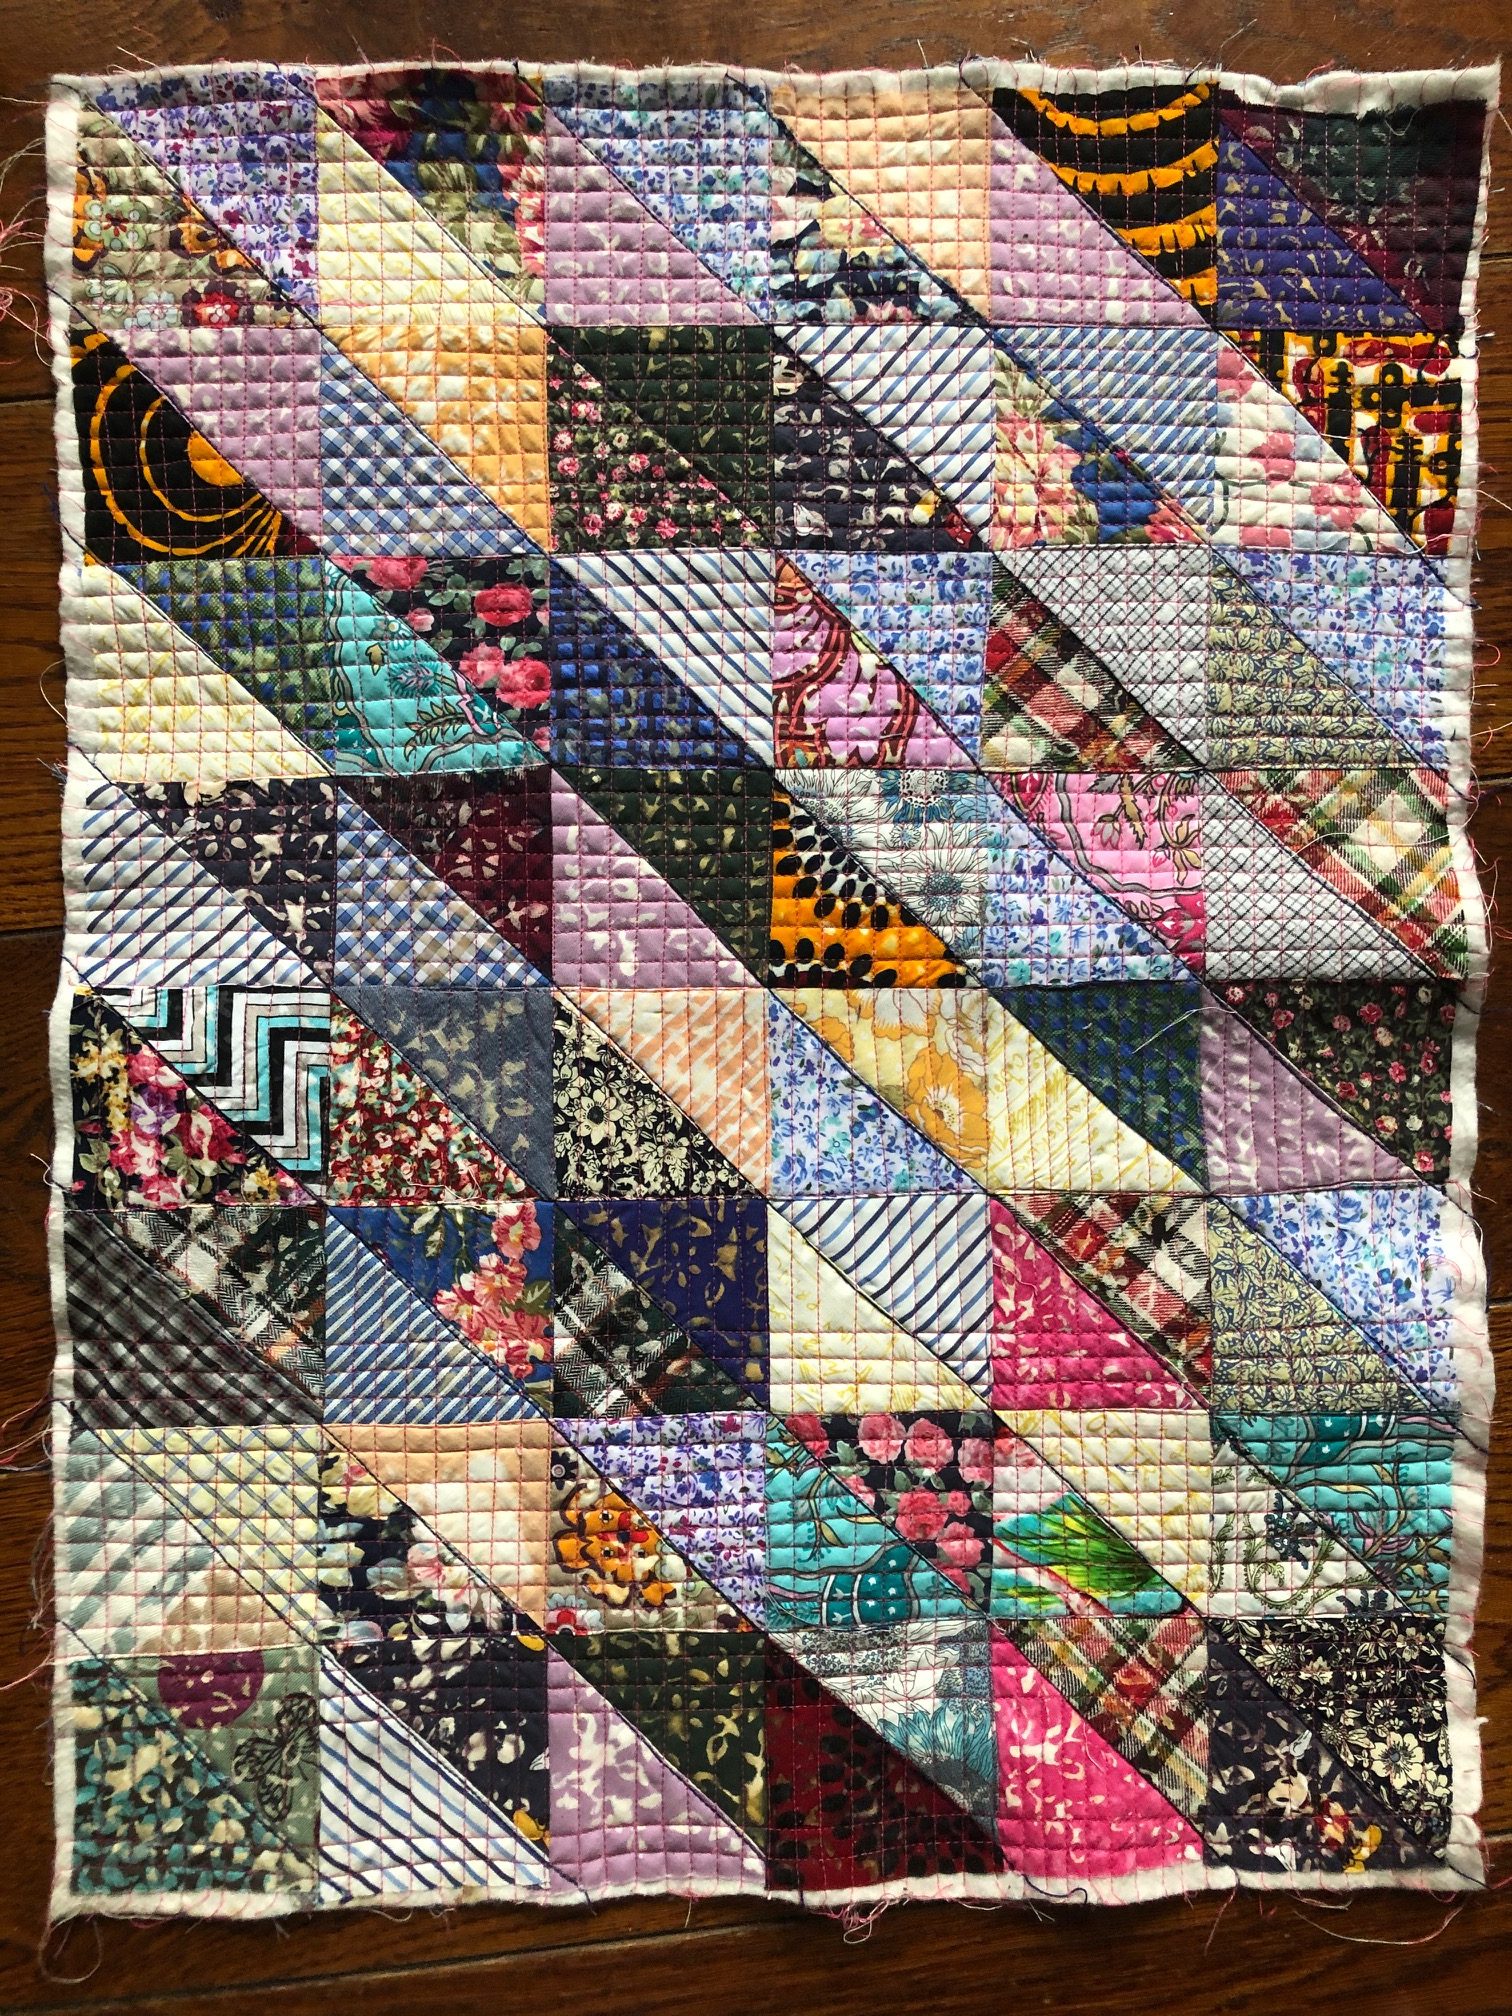
Once the pieces have been sewn together, it’s time to quilt the fabric. To do this, choose a design or pattern that you’d like to use and stitch it in straight lines on your quilt. The quilting should be done with a larger stitch than the cross stitching, so use a heavier needle. If you’re worried about the stitches showing, you can use a thread that matches the color of your fabric. Keep the quilting lines close together for extra warmth and durability.
Once the quilting is finished, it’s time to add the binding. The binding should be sewn around the edges of the quilt to give it a neat and finished look. You can use any fabric that you’d like, but choose one that complements the colors of your quilt. Sew the binding in place with a ¼ inch seam allowance and the quilt is finished.
Finishing the Quilt
- Iron the quilt – Use a hot iron to press the quilt and make sure all the fabrics are adhered to each other.
- Trim the edges – Trim any excess fabric from the edges of your quilt.
- Stitch the quilt – Using a sewing machine, stitch around the entire quilt to secure all the fabrics and batting together. Use a specific quilting pattern or style to add detail to your quilt.
- Bind the edges – Cut strips of fabric and fold them in half. Use a sewing machine to attach the folded fabric strips to the edges of the quilt. Overlap the ends of the strips and stitch them together to complete the binding.
- Add a label – Add a label to the back of the quilt with the date and your name. This will help preserve the quilt and ensure it is correctly attributed to you.
Once you have followed these steps, your how to make a cross stitch quilt by hand is complete! Enjoy the satisfaction of having created something beautiful.
Frequently Asked Questions
What Type of Fabric Should I Use for a Cross Stitch Quilt?
When making a cross stitch quilt, the type of fabric you choose is important. It should be sturdy enough to support the stitching, but also soft and drapeable for a quilt-like finish. A cotton/polyester blend is ideal as it will be strong enough to handle the multiple stitches and easy to wash. Look for fabric with a high quality thread count and a soft, natural finish. Avoid overly stiff fabrics and those with a shiny finish as they will not hold the stitches as well.
How Many Different Colors of Thread Should I Use?
For a traditional cross stitch quilt, you should use a minimum of 10 different colors of thread. However, this is just a guideline and you can use as many or as few colors as you like. If you use fewer colors, your quilt will look more uniform and simpler. If you use more colors, your quilt will be more vibrant and complex. Consider the size of your quilt and the type of design you want to create to determine the number of colors you should use.
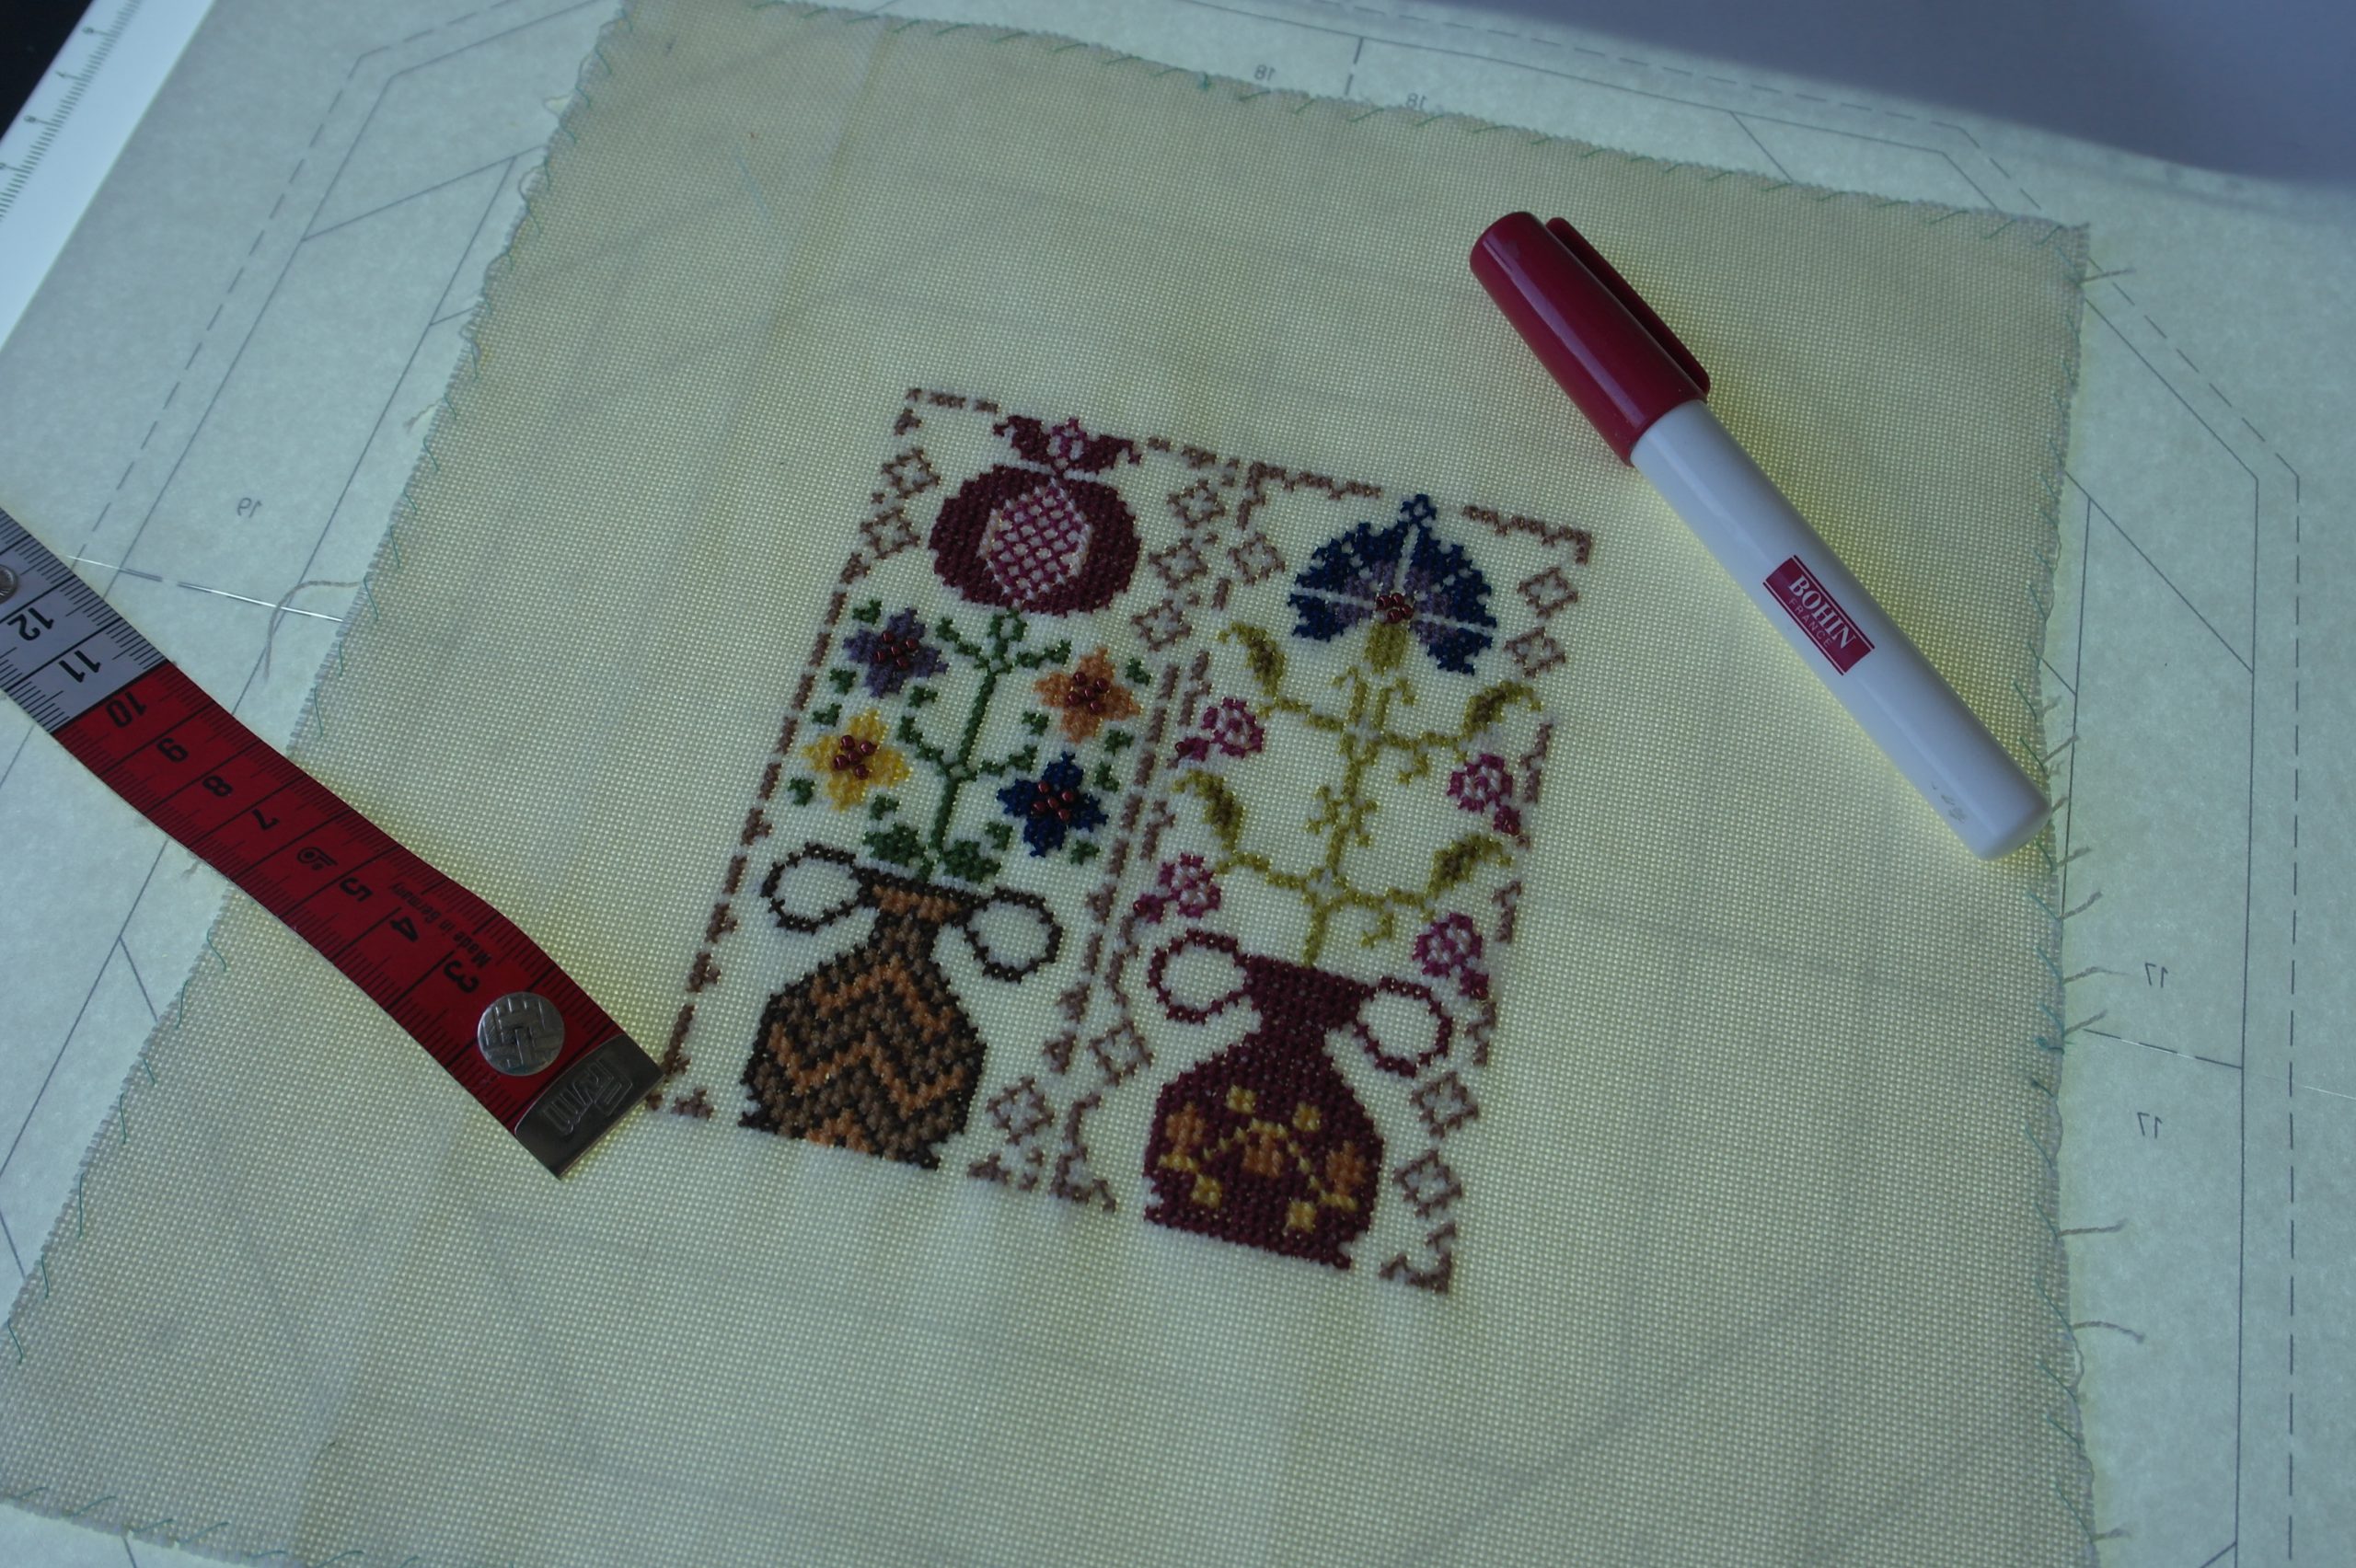
How do I make sure the stitches are even?
Measure the fabric: Before stitching, use a ruler to measure the fabric and ensure that the spaces between each stitch are the same.
Use a frame: Use a quilting frame to evenly pull the fabric taut while stitching.
Mark the fabric: Draw a light pencil line on each row to indicate where each stitch should go.
Check your work: Regularly check your work while stitching and make sure that the stitches are even and straight.
Use a quilting ruler: Place a quilting ruler along the line of stitches and use it as a guide to ensure that the stitches are even.
How do I measure the cross stitch pattern for the quilt?
Calculate the size of the quilt
- Determine the finished size of the quilt you would like to make.
- Measure the estimated size of the quilt from the center outwards to the edge.
- Subtract the seam allowance from the edge measurement.
Calculate the size of the cross stitch pattern
- Measure the size of the cross stitch pattern you would like to put on the quilt.
- Add a seam allowance to the size of the cross stitch pattern.
- The size of the cross stitch pattern should be greater than the size of the quilt.
Calculate the number of stitches
- Measure the size of the cross stitch pattern in stitches.
- Multiply the size of the pattern in stitches by the number of times that you want to repeat it.
- The total number of stitches should be greater than the size of the quilt.
How do I secure the quilt when it is finished?
- Steam press the quilt to ensure that all the stitches are securely in place.
- Backstitch along the edges of the quilt to prevent the edges from unraveling.
- Border stitch around the quilt to give it a finished look.
- Secure the batting with a zigzag stitch around the edges.
- Secure the backing fabric with a straight stitch around the edges.
- Add a binding to the edges of the quilt to finish off the look.
Conclusion
Cross-stitch quilting is a great way to create a beautiful and unique quilt. With the right materials and supplies, you can easily create a beautiful quilt in no time. Whether you’re a beginner or experienced quilter, this guide can help you create a stunning quilt for yourself or for someone else.


