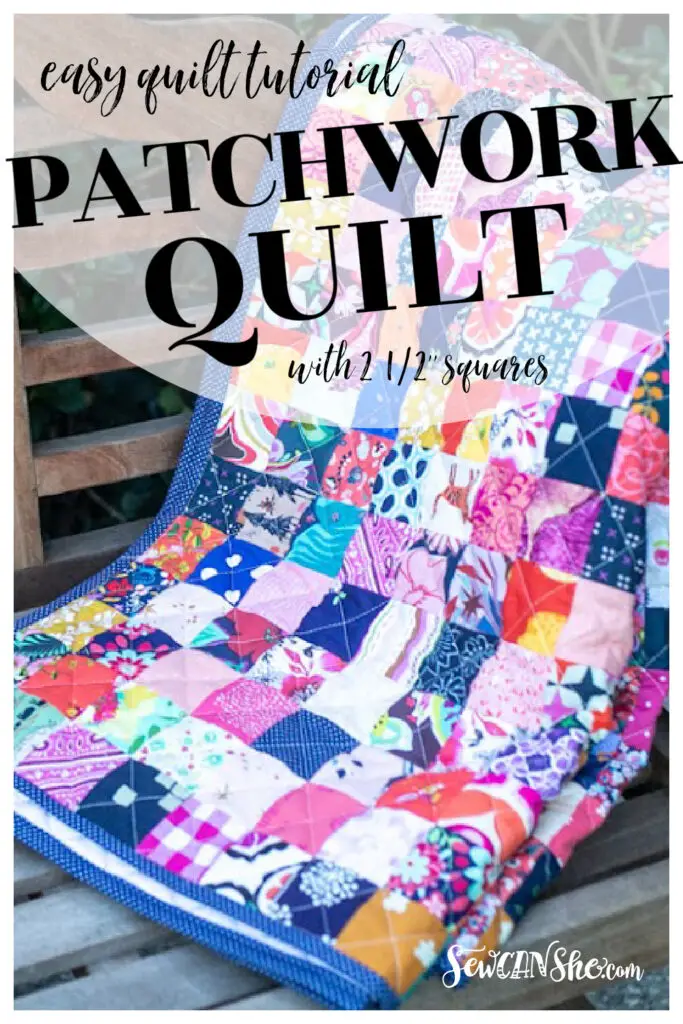
Are you looking for an easy and fun way to make a quilt? Making a quilt with squares is an ideal project for beginner quilters or those who want to make something quickly. This guide will provide you with step-by-step instructions on how to make a simple quilt with squares. With the right fabric, tools and techniques, you can create a beautiful quilt that will last for years to come.
Materials Needed
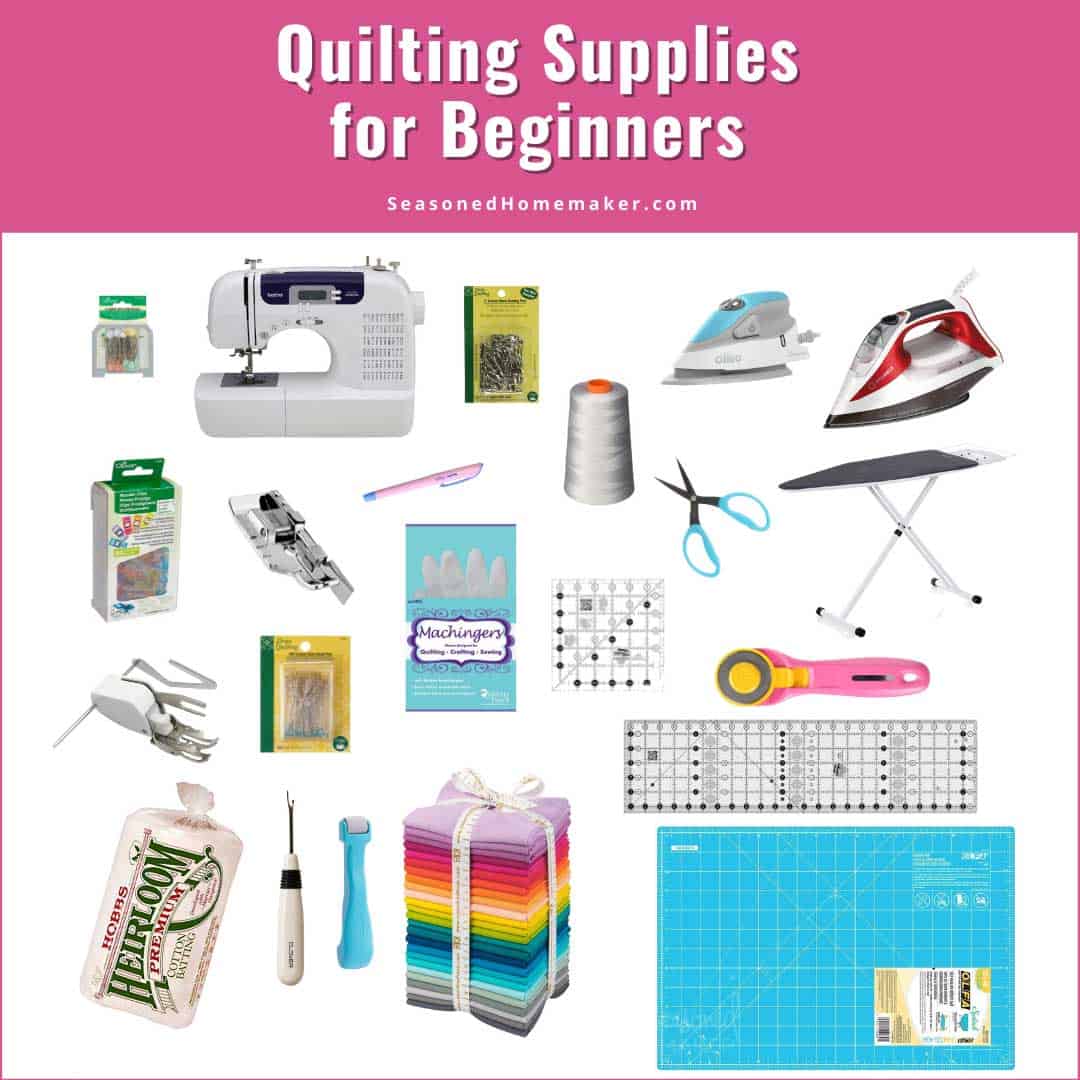
- Fabric for quilt top: 6–7 yards of 42″–45″ wide quilting fabric
- Fabric for quilt back: 5–6 yards of 42″–45″ wide quilting fabric
- Batting: 1 roll of pre-cut batting (90″ x 108″)
- Thread: 1 spool of coordinating thread
- Ruler: 6″ x 24″
- Rotary cutter and mat
- Scissors
- Safety pins
- Sewing machine
- Iron and ironing board
You have all the materials needed to start creating your quilt! Now you can lay out your quilt squares and begin piecing them together to form the quilt top.
Layout of Quilt Squares
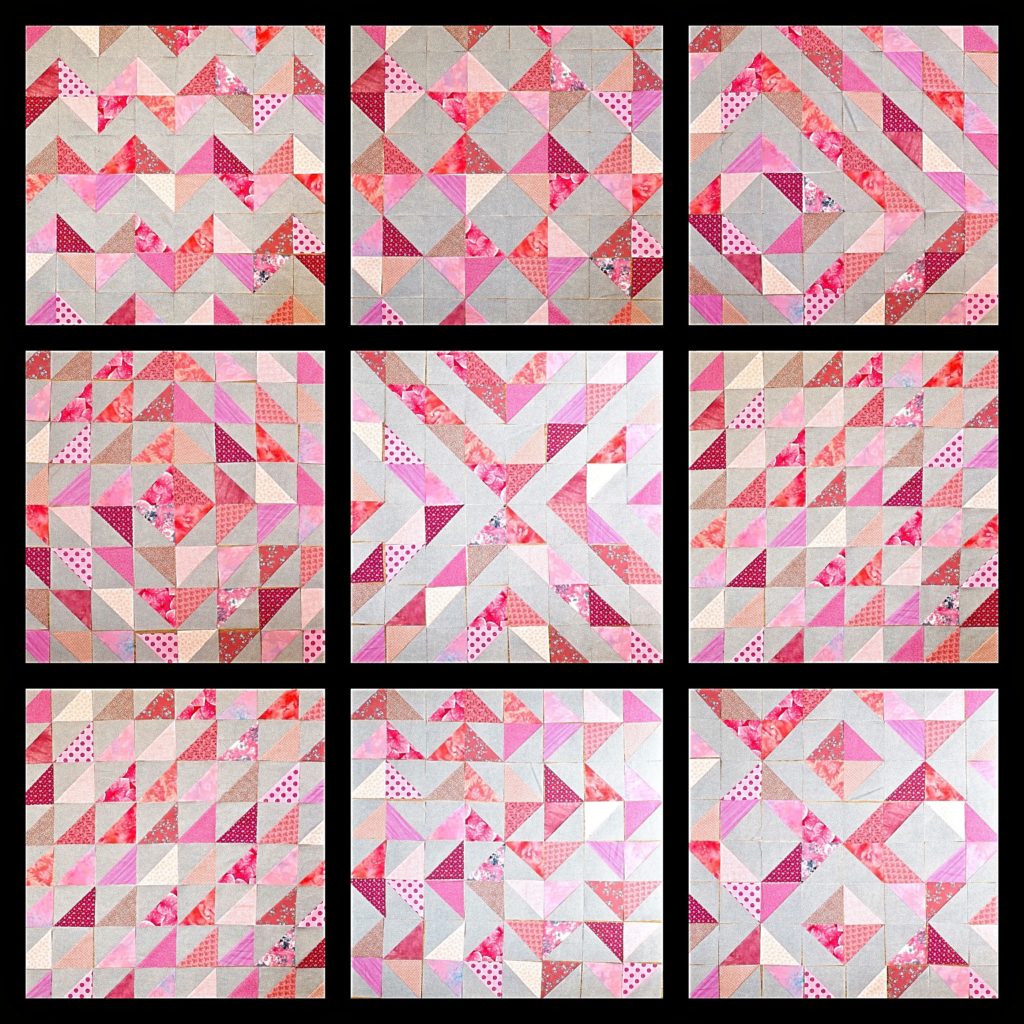
- Choosing a Pattern: Quilting with squares can be done in many ways. Popular patterns include the classic patchwork quilt, a checkerboard pattern, or a chevron pattern. Consider the size of each square, the colors that you’ll be using, and the overall design when deciding on a pattern.
- Tying It Together: Once you have chosen a pattern, you can begin to plan out your quilt. Start by laying out the squares on a flat surface. If you are using a patchwork quilt pattern, you can use a design board or grid to arrange your pieces. When you have the layout you like, you can begin to sew the pieces together.
- Adding the Borders: To add a finished look to your quilt, you may choose to add a border. Measure the width of your quilt and choose a fabric that compliments the quilt center. Sew the borders to the quilt and press. You may opt to add a binding to the edges for a polished look.
- Quilting: Once you have finished piecing the quilt together, you can begin to quilt. This is the process of stitching the quilt layers together with decorative stitches. You can use a quilting frame to keep the layers even while quilting. This will help to ensure even stitches and a professional-looking quilt.
Quilting with squares can be a fun and rewarding experience. With the right tools, some fabric, and a bit of creativity, you can create a unique quilt that will last for years. Whether you’re a beginner or a seasoned quilter, quilting with squares is a great way to practice your craft and make something beautiful.
Making the Square Patchwork Quilt
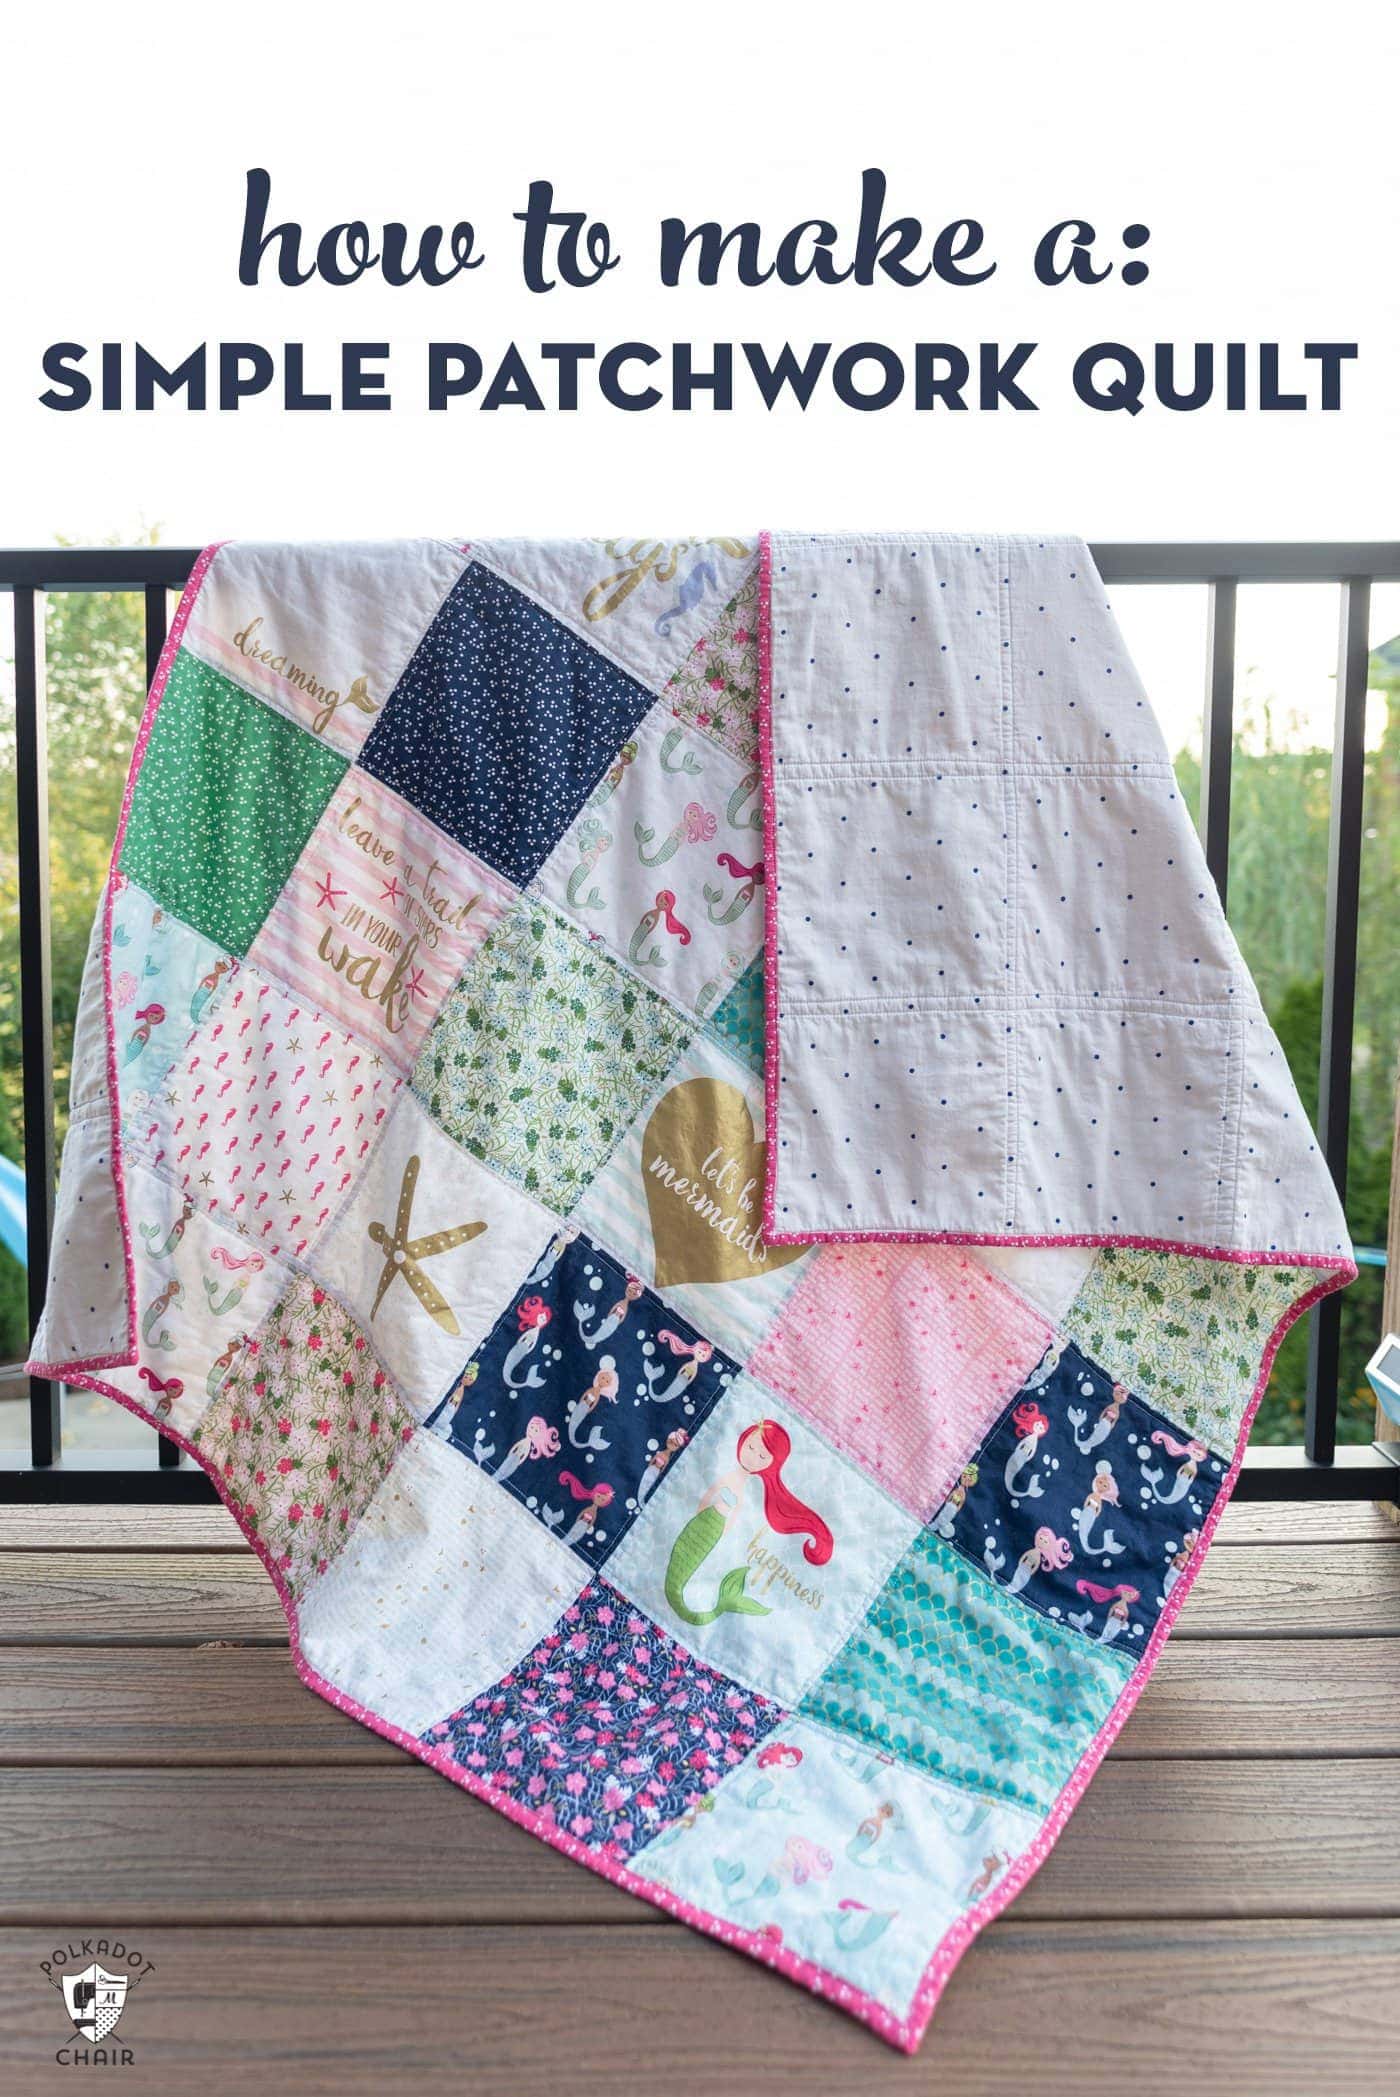
Cutting Squares
Cut your fabric into 2.5 inch (6.4 cm) squares. You can use a ruler and rotary cutter for accuracy and to speed up the process. To get the most out of your fabric, try to fit as many squares as possible onto the fabric before cutting.
Laying Out the Squares
Layout your squares in the design you have chosen. Play around with the pattern until you are happy with the result. You can also add in a few extra blocks of solid fabric to add texture and color.
Sewing the Squares Together
Using a sewing machine, stitch the squares together into rows. Make sure that the edges are even and the seams are straight. When you have finished stitching each row, press the seams with a warm iron to ensure that the quilt looks neat. Sew the rows together to complete the quilt top.
Quilting the Squares
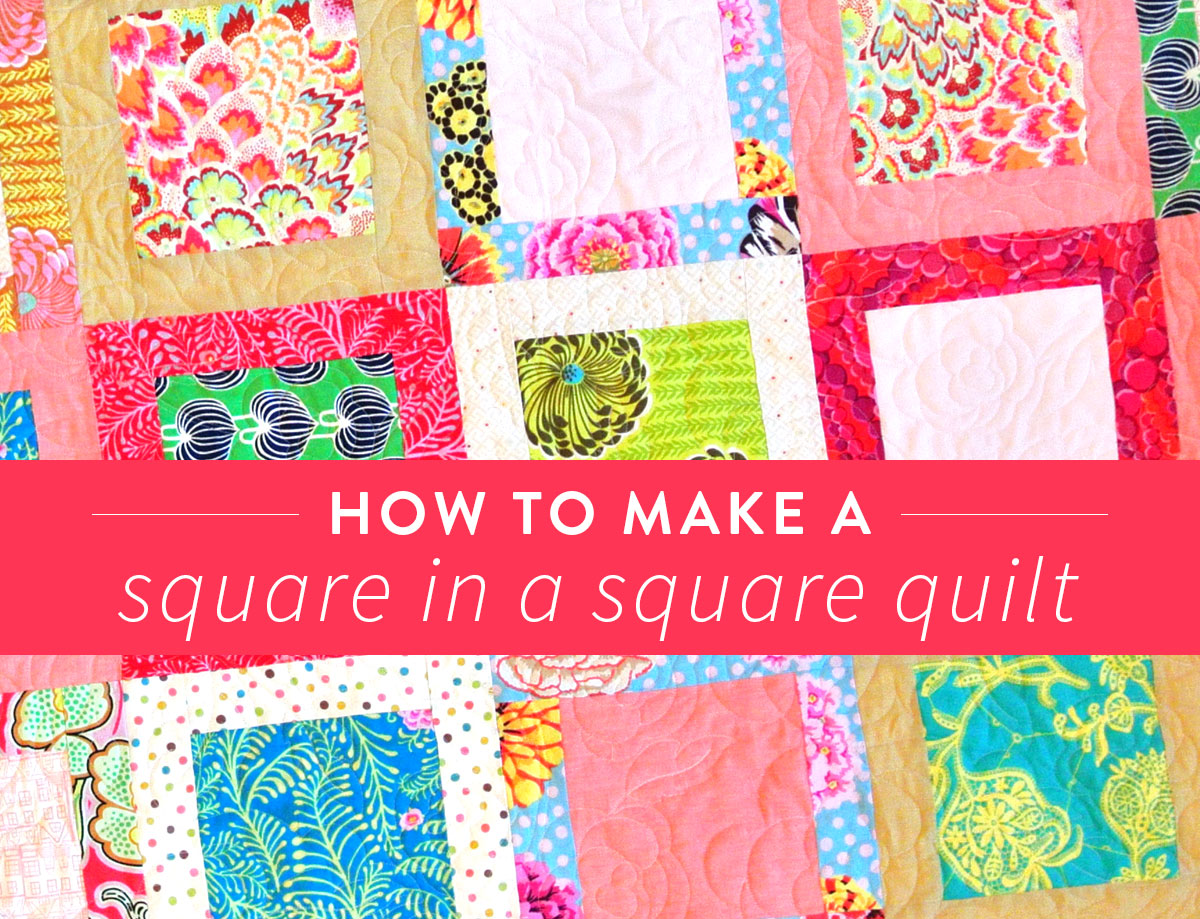
Quilting small squares is relatively easy and is a great way to get started in quilting. To get started, you will need fabric, batting, and a sewing machine. Cut the fabric into small squares, usually two to three inches in size, and arrange them in a quilt pattern. Pin the batting to the back of the squares, making sure to secure the batting to each individual square. Sew the squares together along the edges, leaving a quarter-inch seam allowance.
Quilting Small Squares
For quilting small squares, a straight stitch is often used. Set the stitch length of the sewing machine to a low number, such as two or three. Begin quilting the squares by stitching a line of straight stitches along the edges. Repeat this process for all the small squares until the quilt top is complete.
Quilting Large Squares
When quilting large squares, a walking foot may be needed to ensure even stitches. Set the stitch length of the sewing machine to a higher number, such as five or six. Start quilting from the center of the square and slowly move outward. Stitch a line of straight stitches along the edges until the quilt top is complete. To finish the quilt, add a binding strip to the edges and press the quilt for a professional look.
By following these simple steps, you can easily make a beautiful quilt with small or large squares. With just a few simple supplies and some basic sewing skills, you can create a beautiful quilt that can be treasured for years to come.
Finishing the Quilt
Adding the Borders
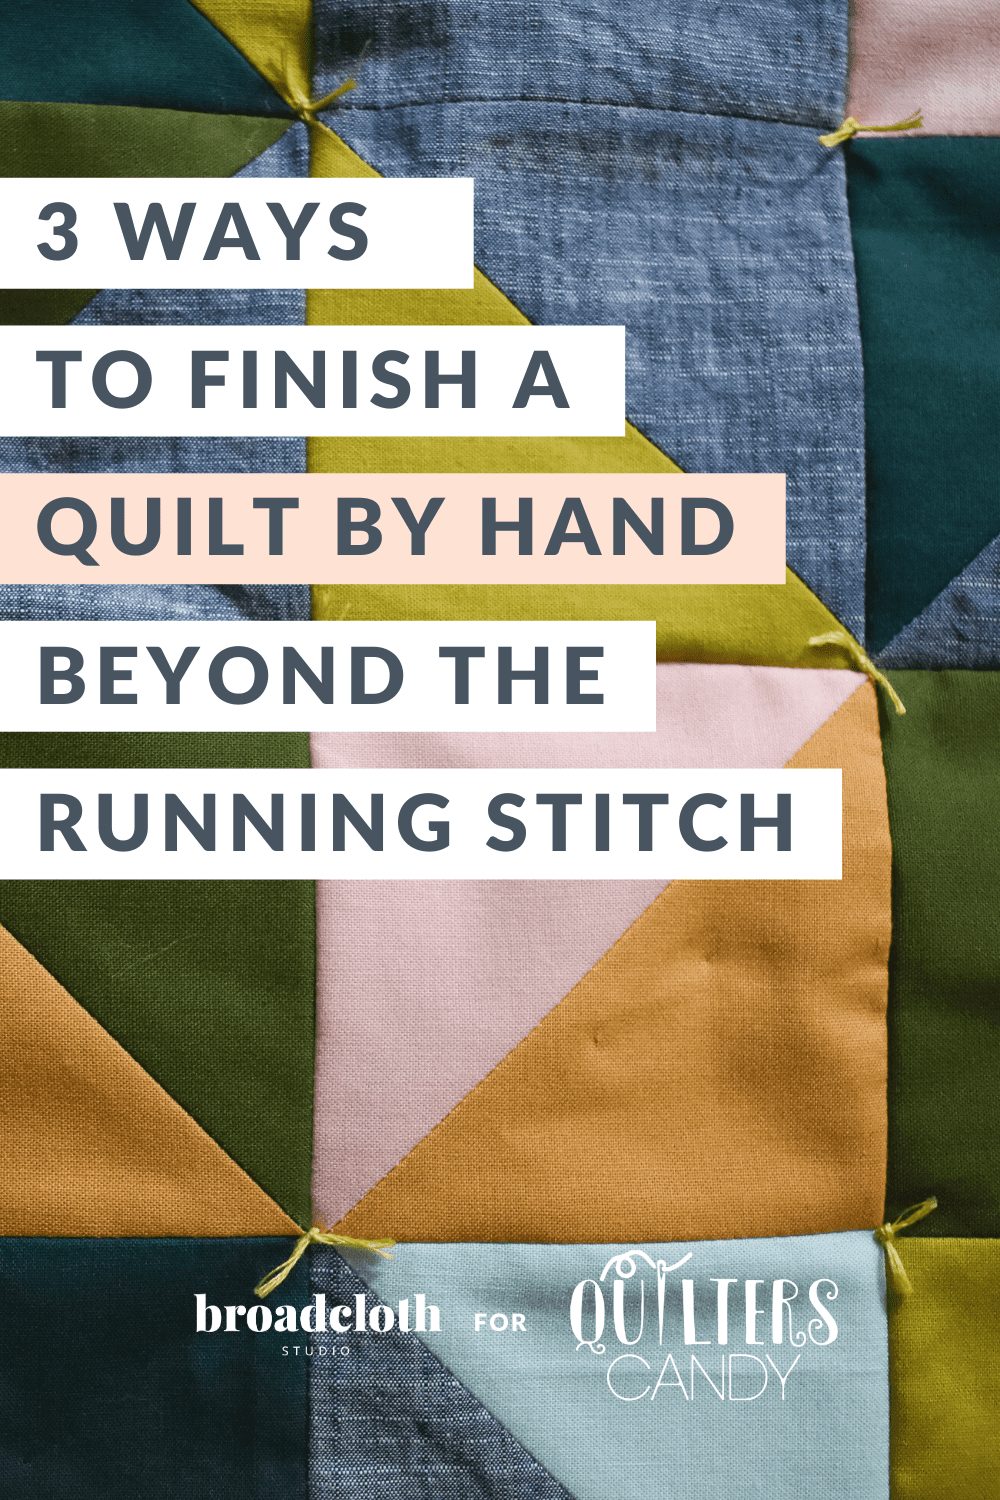
Using contrasting fabrics, sew the border strips together to create two long strips. Measure the two sides and the top and bottom of the quilt top to determine the length of the border strips. Attach the border strips to the quilt top using a quarter-inch seam allowance. Press the seams outward.
Finishing the Quilt Top
Trim the corners of the quilt top to make them square. Trim any threads or fabric along the edges. Iron the top if needed.
Adding the Backing
Place the backing fabric right side down on the floor. Place the batting on top. Place the quilt top right side up on top of the batting. Pin the layers together.
Stitching Together the Layers
Using a quarter-inch seam allowance, stitch the three layers together. Start in the middle of one side and make sure to backstitch at the beginning and end of each side. Once complete, trim off any excess fabric along the edges. This completes the simple quilt with squares.
Finishing Touches
Adding the Binding
Binding is the finishing touch to your quilt. It adds a neat frame and provides stability to the quilt. Choose a binding fabric that is a complimentary color to your quilt. Measure the quilt and cut the binding fabric to that length. Cut the binding strips 2-3 inches wide, then sew the strips together. Fold the binding in half lengthwise and attach it to the quilt using a straight stitch.
Finishing the Edges
To finish the edges, fold the binding over the edges of the quilt and pin in place. Use a straight stitch to sew the binding in place. Once the binding is attached to the edges, you can press the binding with an iron to make sure it is flat and secure. Finally, stitch the binding down on the back of the quilt. This will complete the quilt and give it a polished look.
Frequently Asked Questions
What type of fabric is best suited for quilting?
-
Cotton: Cotton is the most popular choice for quilting due to its softness, breathability, and affordability. It is easy to work with, and it comes in a variety of colors and patterns.
Linen: Linen is a durable and lightweight fabric that is perfect for quilting. It has a beautiful texture and can be dyed in many colors.
Wool: Wool is a popular quilting fabric because it is warm and very durable. It is also easy to work with and comes in a variety of colors and textures.
Silk: Silk is a luxurious fabric that is perfect for quilting. It is lightweight and has a beautiful sheen. It is also very durable and can be dyed in many colors.
Synthetic fabrics: Synthetic fabrics such as polyester and nylon are also popular for quilting. They are durable, lightweight, and come in a variety of colors and patterns.
What Size of Squares Should I Cut for a Quilt?
The size of the squares you need to cut for a quilt will depend on the size of the quilt and the pattern you are using. Generally, a square quilt will require squares between 4 and 12 inches in size. You can also use a combination of sizes. When deciding on the size of the squares, consider the type of quilt batting you will be using, as this can affect the finished size of the quilt.
How do I ensure the quilt blocks are even and properly aligned?
Pin: Secure the blocks in place with quilting pins. As you sew, remove pins one at a time in order to ensure even alignment.
Measure: Use a ruler to measure each block and ensure they are all the same size.
Press: Use a hot iron to press each block after it is sewn in order to reduce any wrinkles or fabric distortion.
Trim: If necessary, use a rotary cutter to trim any uneven edges.
Check: Check the alignment of the blocks before sewing them together to ensure they are properly aligned.
What is the Best Way to Attach the Quilt Batting?
Using safety pins is the easiest way to attach the quilt batting to the backing fabric. Place pins approximately every 6-8 inches apart, starting from the center of the quilt and working outward in all directions. Make sure to pin the quilt batting to the edges of the backing fabric to secure it in place. Once the batting is securely pinned in place, you can layer the top quilt fabric and begin quilting.
How do I Know When the Quilt is Ready to Be Quilted?
When all the squares have been sewn together and the three layers (top, batting, and backing) have been basted together, the quilt is ready to be quilted. The quilting process secures the three layers together and adds decorative stitching.
Conclusion
Quilting is a fun, creative activity that can be enjoyed by adults and children alike. Making a quilt with squares is a great way to get started, as it can be completed relatively quickly and is straightforward. With the right supplies and a step-by-step guide, anyone can create a beautiful quilt.
