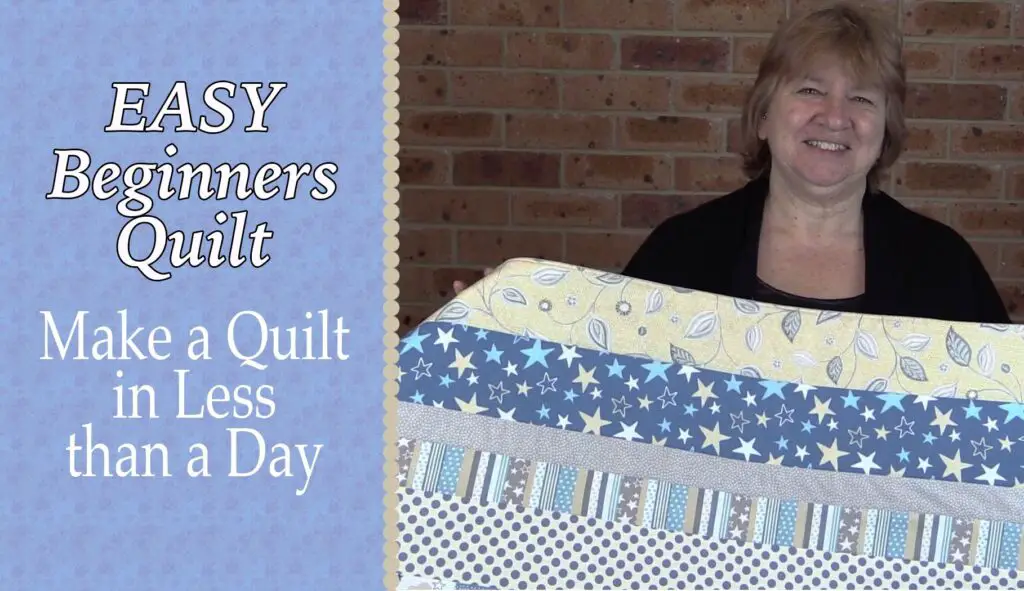
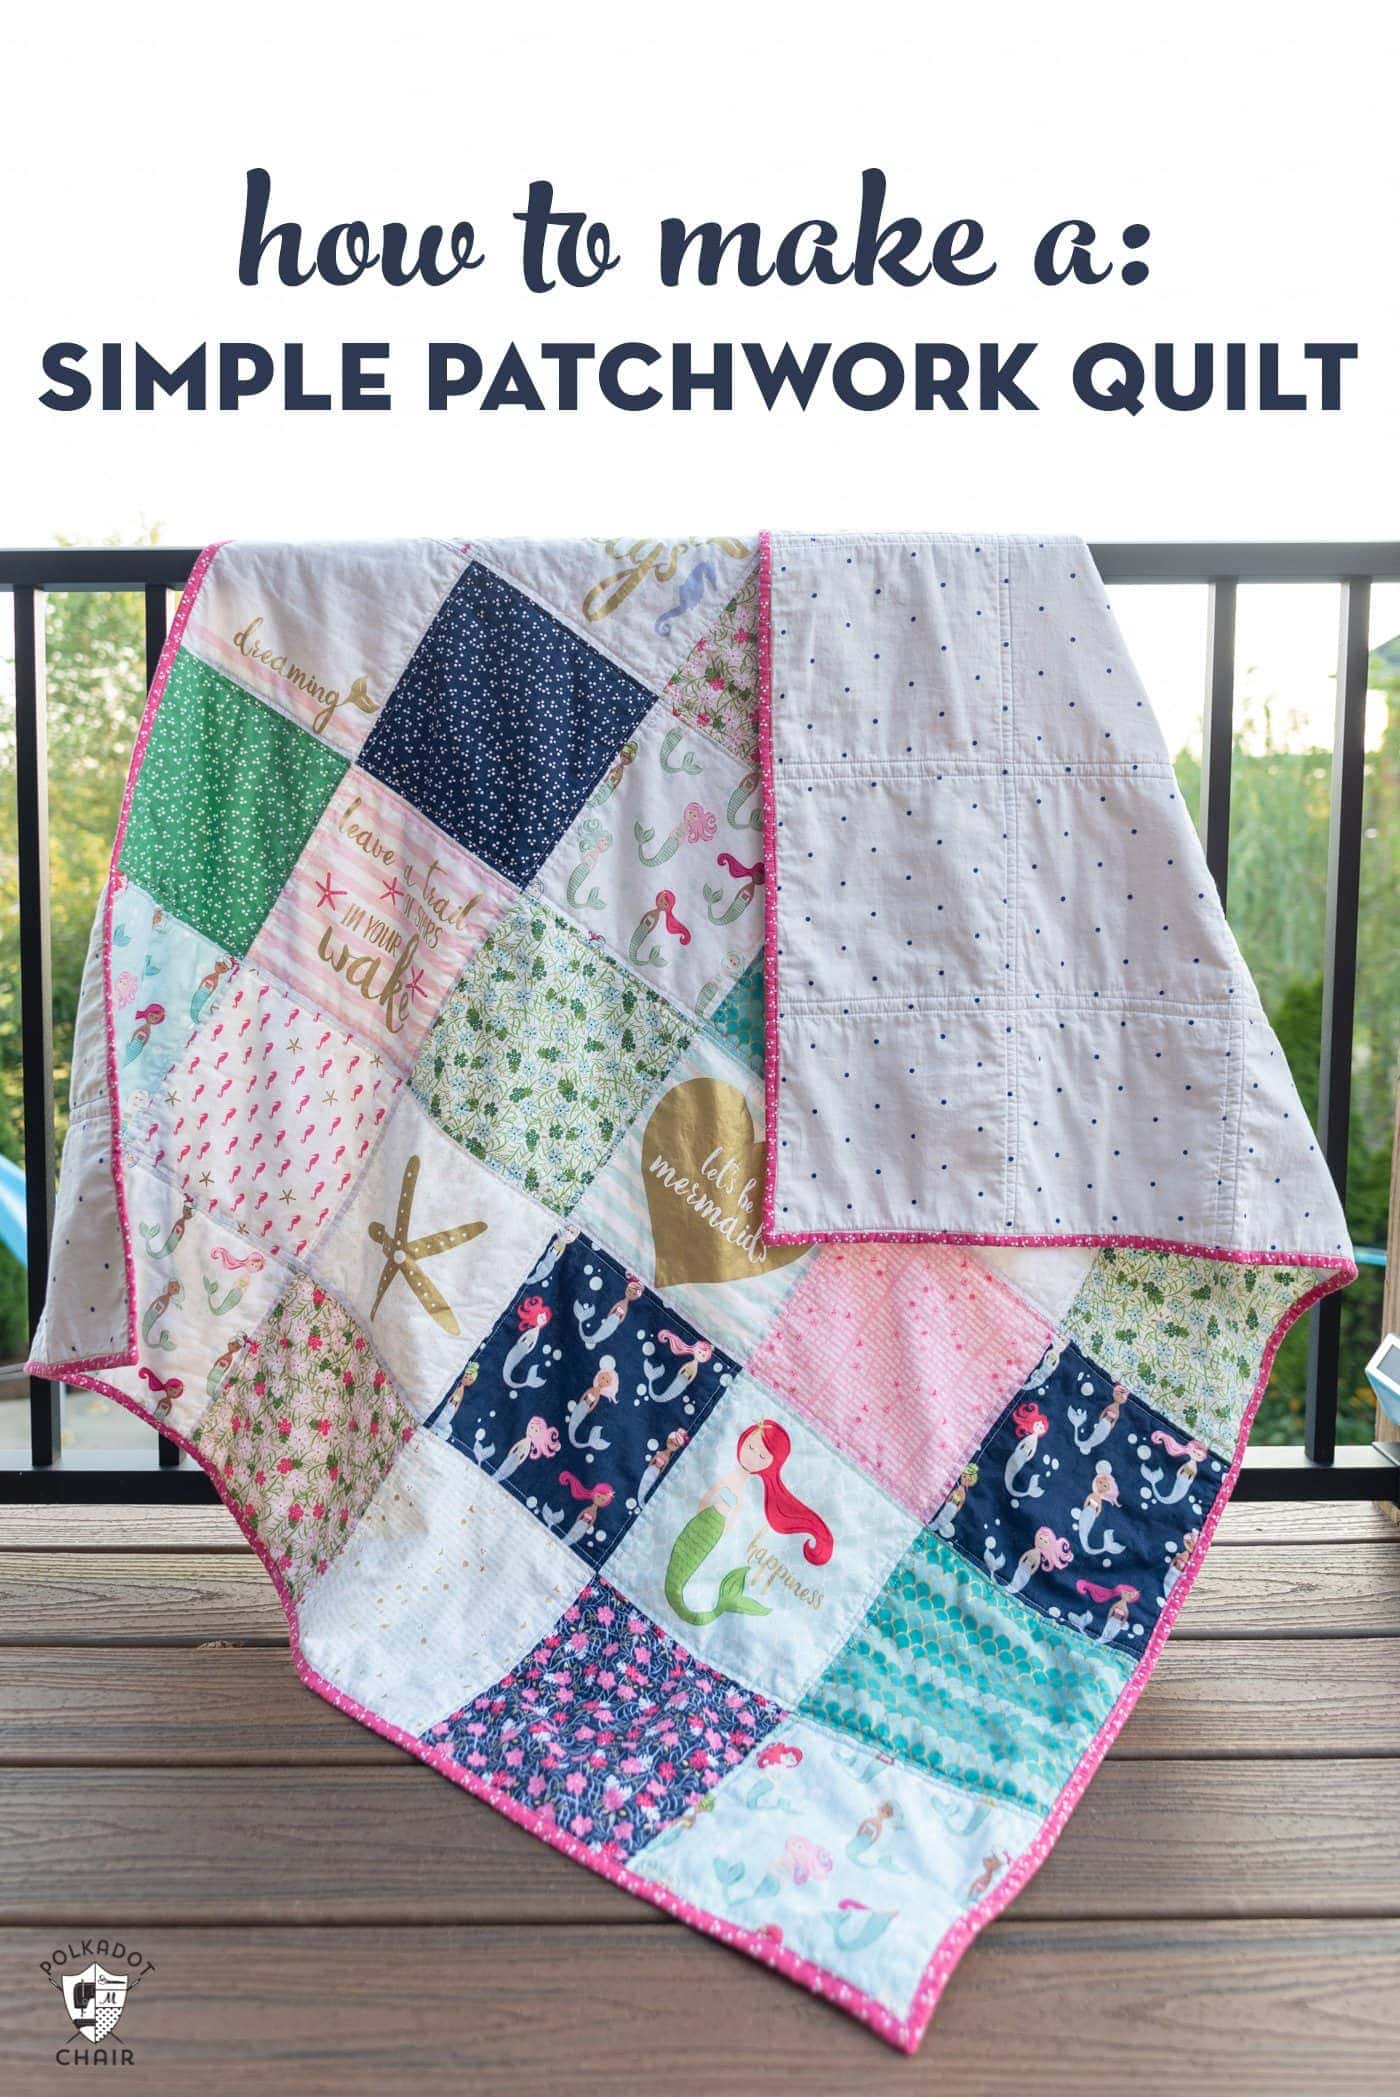
Have you ever wanted to make a quilt but felt overwhelmed by the thought of the time and effort required? With this step-by-step guide, you can learn how to make an easy quilt in a day. With the right supplies and a little bit of patience, you’ll be able to create a beautiful quilt that you can be proud of. Read on to discover the tips and tricks necessary to make an easy quilt in a day.
What You Need
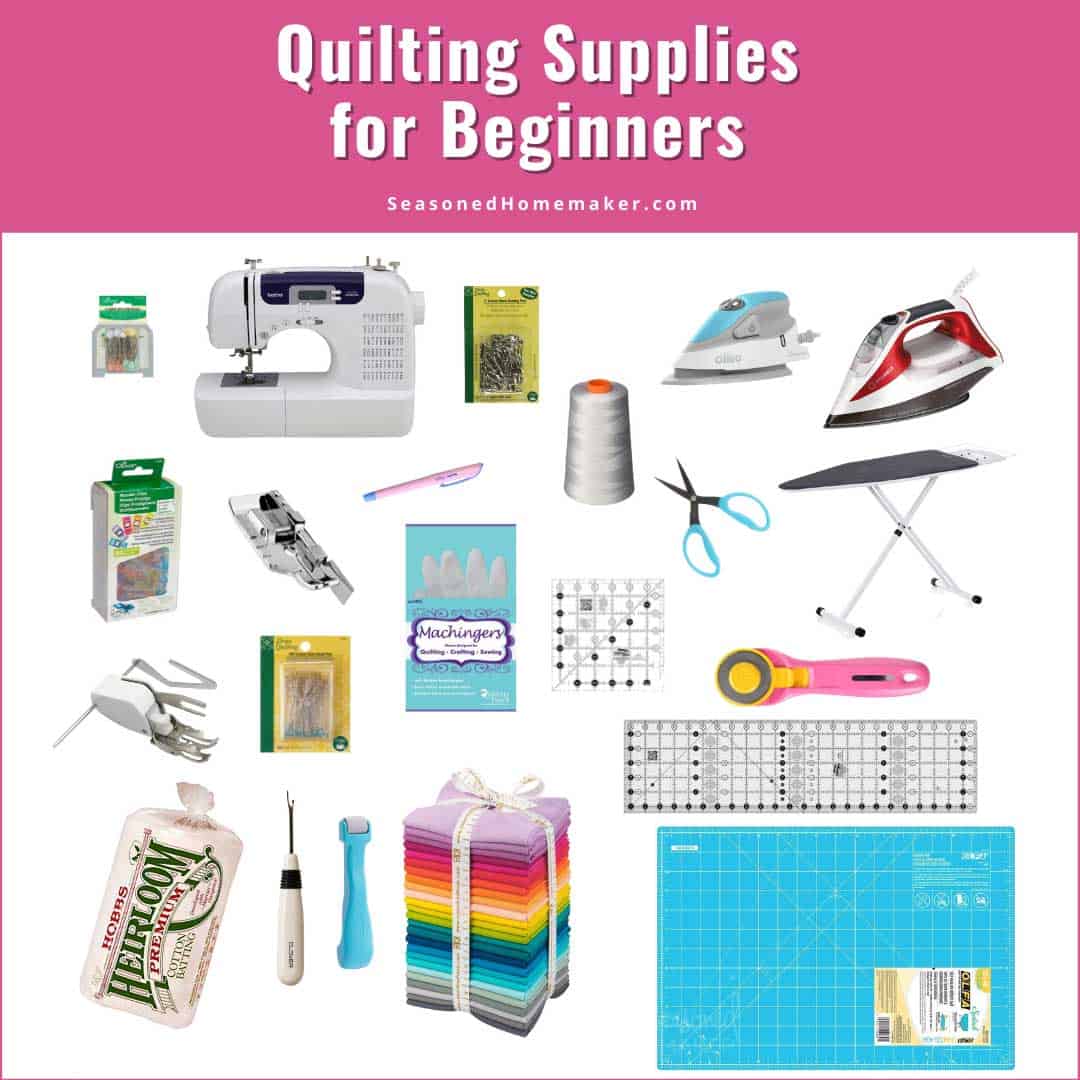
To make a quilt in one day, you will need: fabric in the amount and pattern desired, a sewing machine and related supplies, batting (the material between the quilt top and the backing fabric), a large cutting mat, rotary cutter, ruler and other sewing supplies. You may also need an iron and an ironing board for pressing seams. Depending on the size of the quilt, you may need a large table or work surface for cutting the fabric and piecing the quilt top.
Preparing the Quilt Top
Cutting the Fabric
Measure and cut the fabric into the desired shapes and sizes. Make sure to leave a seam allowance of at least 1/4 inch around each piece.
Arranging the Fabric
Lay out all the pieces of the quilt top, in the desired pattern. Adjust the pieces until you are happy with the arrangement.
Sewing the Pieces Together
Use a sewing machine to begin stitching the pieces together. Make sure to use the right type of thread and needle for the fabric you are using. Start by stitching two pieces together, then add the next two, and so on. Once the top is complete, press it with an iron.
Adding the Batting
- Cut the batting to the size of the quilt top, plus an extra 5 inches all around.
- Layer the quilt top, batting and backing fabric with the quilt top facing up.
- Pin the three layers together.
- Quilt the layers together using either a walking foot or free motion quilting.
- Trim the batting and backing fabric to the size of the quilt top.
Sewing the Quilt Sandwich
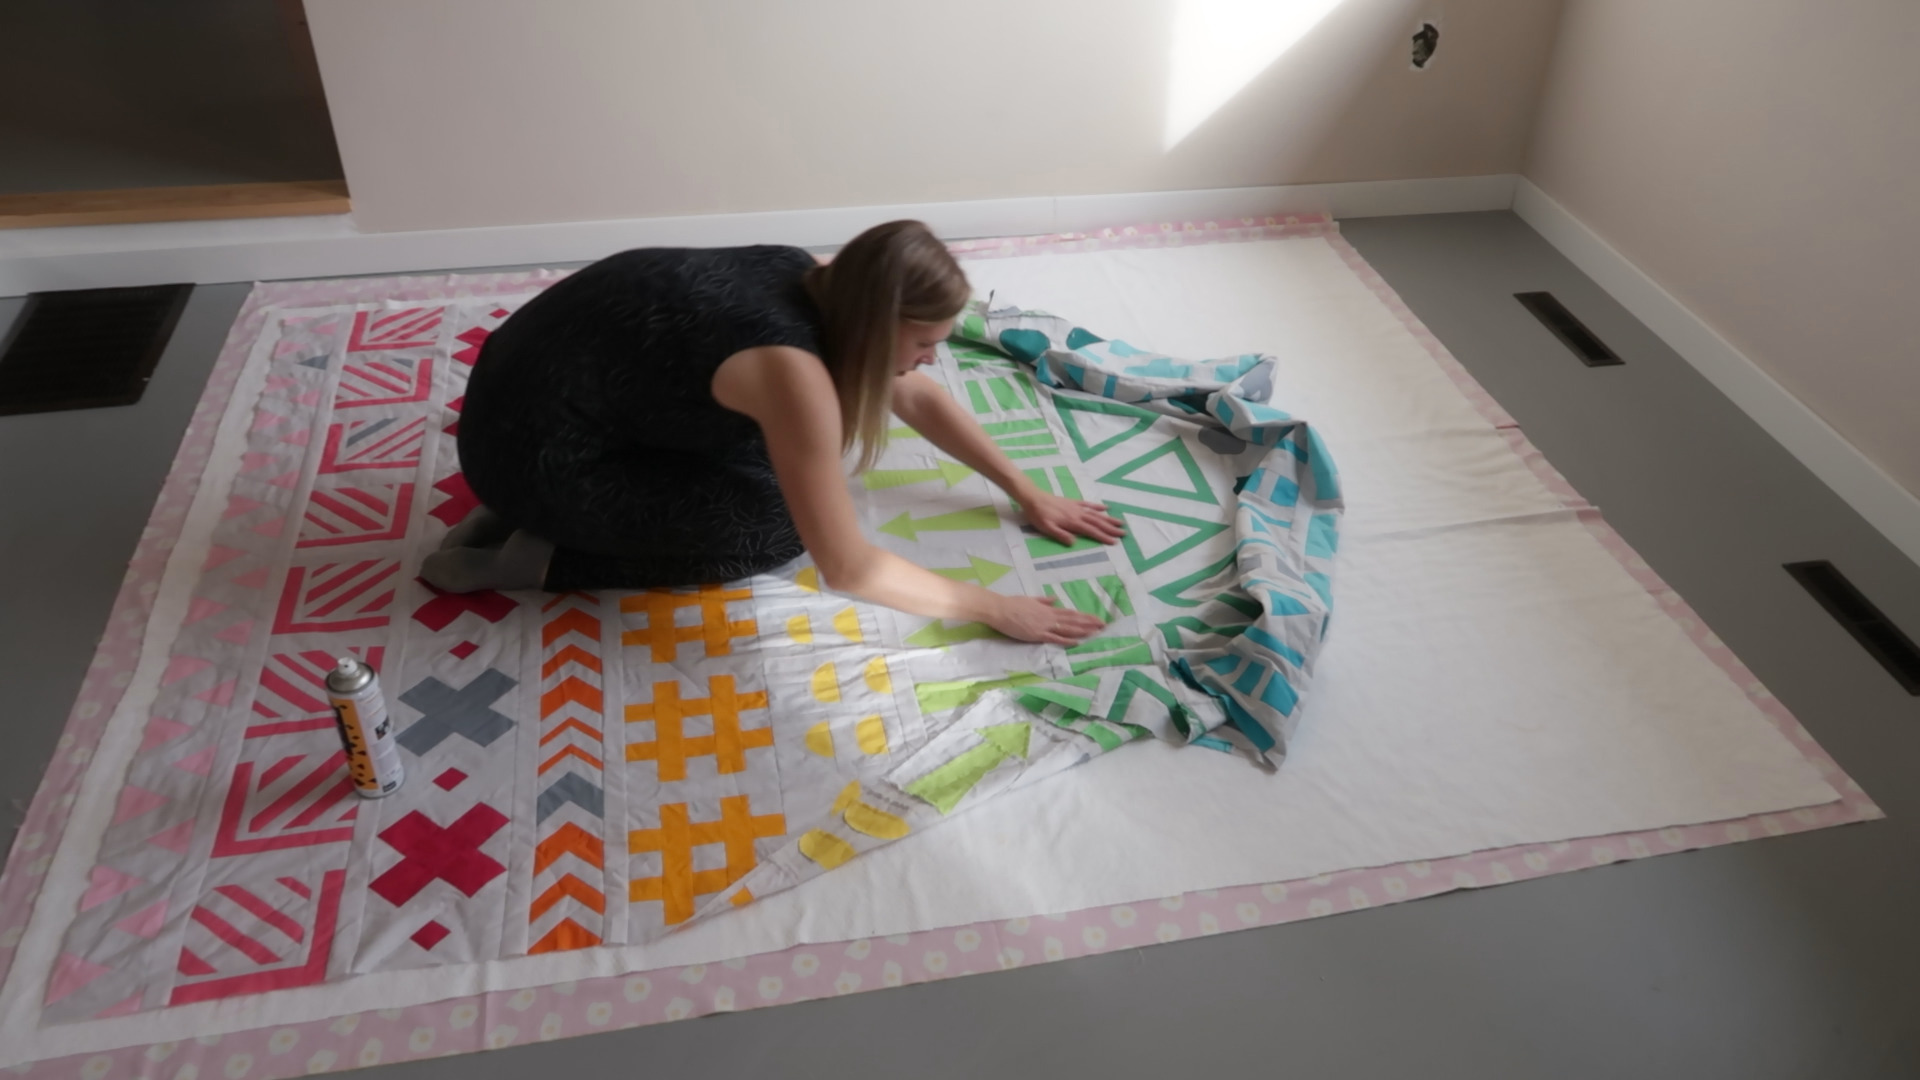
To begin sewing, lay the backing fabric right side down on a large flat surface. Arrange the batting evenly over the backing fabric, and then lay the quilt top right side up on top of the batting. Pin the layers together to secure them.
Use a walking foot and a ¼-inch seam allowance to sew the quilt layers together. When sewing around the edges of the quilt, make sure that the backing fabric and quilt top are even with the batting. Do not pull or stretch any of the layers.
Continue to sew the quilt layers together until the entire quilt has been sewn. When you reach the corners, stop sewing and pivot the quilt before sewing in the opposite direction.
Once the quilt has been sewn together, trim the excess batting and backing fabric from the edges of the quilt.
Now the quilt sandwich is complete!
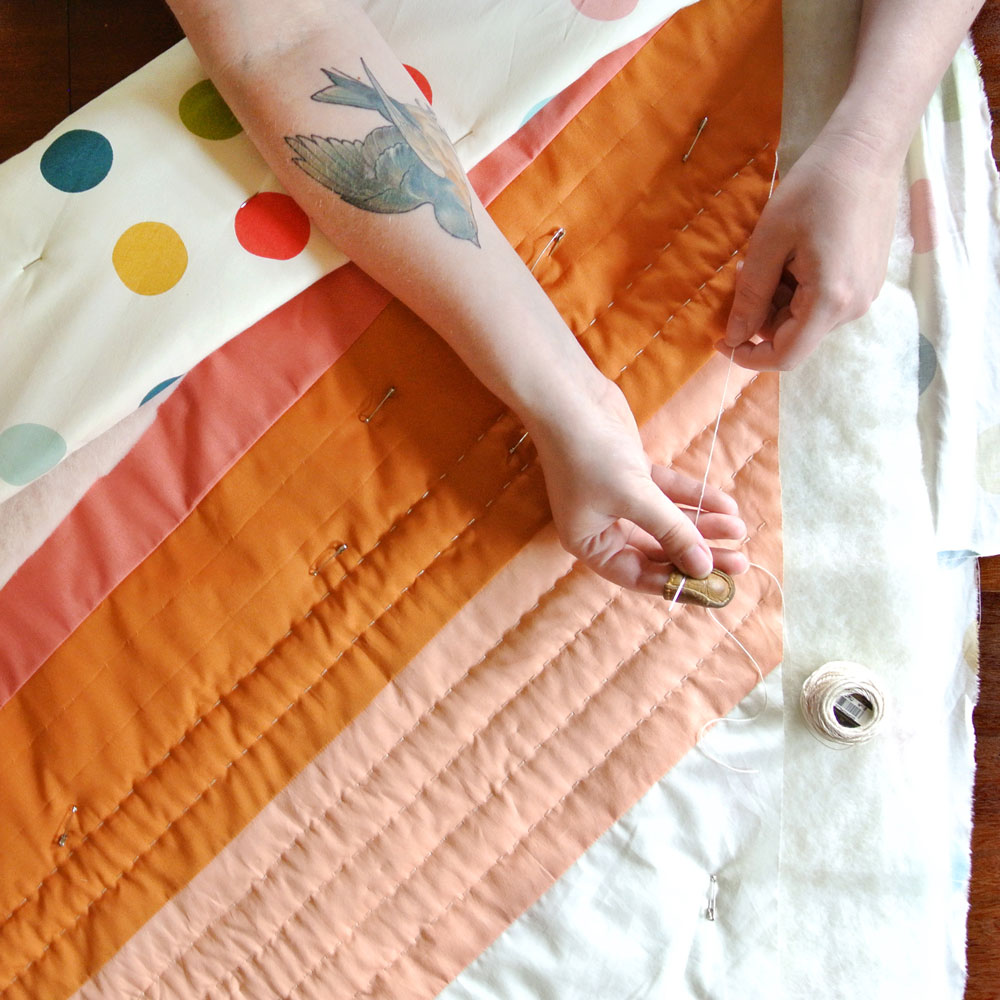
Quilting the Quilt
Now that you have completed the patchwork top and quilt back, it is time to join them together. Start by laying the patchwork top and quilt back with their wrong sides facing together. Secure with safety pins, making sure to keep the edges aligned.
Next, thread your quilting needle with the quilting thread and tie a knot. Start quilting by stitching the layers together. You can quilt in any pattern you like, from a straight line to a diamond pattern. Make sure to secure the thread with a knot at the end.
Finally, trim off the excess fabric around the edges of the quilt and add a binding. To do this, cut a strip of fabric 4 inches longer than the quilt perimeter and press the strip in half lengthwise. With right sides together, sew the binding to the quilt edge and turn the binding to the back, folding the raw edges in. Sew the binding by hand or machine to the back of the quilt.
And there you have it: an easy quilt made in a day!
Binding the Quilt
Once you have sewn all the pieces of the quilt together, it’s time to bind the edges to create a neat, finished look. The binding is the fabric that wraps around the edges of the quilt and creates a finished look. To calculate the amount of binding fabric needed, add the lengths of all four sides of the quilt together.
Measuring the Binding
| Measurement | Length of Binding |
|---|---|
| Up to 40 inches | 4 yards |
| 41-60 inches | 5 yards |
| 61-80 inches | 6 yards |
| 81-100 inches | 7 yards |
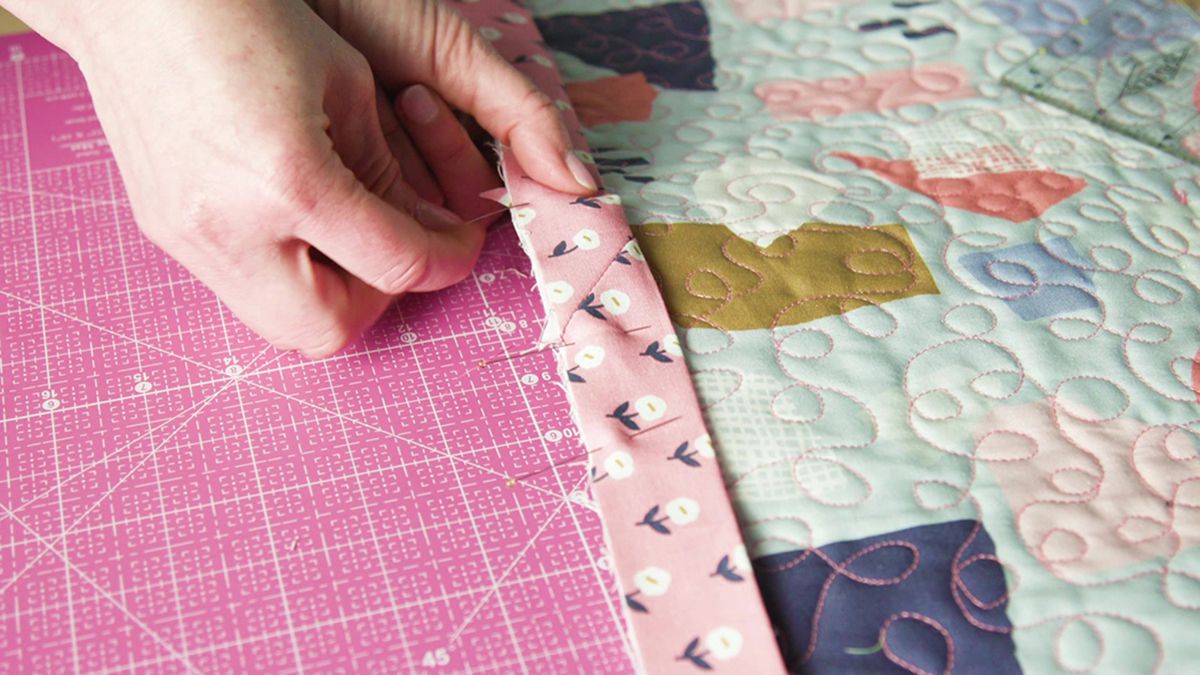
Cut the binding fabric into strips that are 2 1/2 inches wide and long enough to equal the total length you calculated. Sew the strips together end-to-end to create one long piece of binding. Press the seams open.
Attaching the Binding
Fold the binding in half lengthwise and press. Place the folded edge of the binding along the edge of the quilt and pin in place. Unfold the binding and sew, using a 1/4-inch seam allowance. When you reach a corner, stop sewing 1/4 inch before the corner, backstitch, and clip the threads. Fold the binding up and away from the quilt at a 90-degree angle. Fold the binding down and press. Sew from the fold to the next corner.
Finishing the Binding
When you reach the end of the binding, stop 1/4 inch before the end. Backstitch and clip the threads. Fold the binding over to the back side of the quilt and pin in place. On the back side of the quilt, fold the binding over the raw edges and pin. Sew the binding in place using a 1/4 inch seam allowance. When you reach the end of the binding, fold the binding over the raw edges and sew in place. Trim the excess binding fabric.
Finishing Touches
| Step | Instructions |
|---|---|
| 1 | Press the quilt top and backing with an iron. |
| 2 | Cut batting to the same size as the quilt top. |
| 3 | Lay the batting on a flat surface and top with the quilt top. |
| 4 | Place the backing fabric on the wrong side of the quilt top. |
| 5 | Baste the layers together with safety pins or spray baste. |
| 6 | Quilt the sandwich as desired. |
| 7 | Trim all the layers even with each other. |
| 8 | Bind the edges with a straight binding or mitered binding. |
Frequently Asked Questions
What Type of Fabric Do I Need for This Quilt?
- Quilt Top: Consider pre-cut fabric bundles for easy selection. Choose 100% cotton for best results.
- Backing: Choose a larger piece of fabric to cover the entire back of the quilt. For a unique look, consider using two pieces of fabric.
- Batting: Choose a batting that is appropriate for the size of the quilt. Natural fibers, such as cotton and wool, are best.
- Binding: Choose a coordinating fabric to finish off the quilt. Pre-cut binding strips are available for added convenience.
For best results, use fabrics that are colorfast, preshrunk, and easy to work with. It is recommended to prewash all fabrics before cutting.
How Much Batting Will I Need?
To determine the amount of batting needed, measure the width and length of the quilt top and add 8-10 inches to each side. For example, if the quilt top measures 48 inches wide and 60 inches long, the batting should measure 56 inches wide and 70 inches long. Cut the batting 1-2 inches larger than the quilt top on each side to ensure coverage.
What is the best way to cut fabric for a quilt?
- Use a rotary cutter: A rotary cutter is the best way to cut fabric for a quilt. It is the fastest and most accurate way to cut fabric accurately, with minimal fraying. It is also the safest way to cut fabric, as it does not require sharp scissors or a knife.
- Cut the fabric accurately: Accurate cutting of the fabric is essential for a quilt. The pieces should be cut precisely, so that they fit together perfectly. Always use a ruler to measure and mark the fabric, and cut along the marked lines.
- Cut multiple layers at once: To save time, cut multiple layers of fabric at once. This is especially useful when cutting lots of small pieces. Make sure to use a cutting mat to protect your table or countertop.
- Fold the fabric: Folding the fabric is another good way to cut fabric for a quilt. Start by folding the fabric in half, either along the length or the width. Then fold it in half again and cut along the fold line. This will help ensure that all the pieces are the same size.
How do I sew the Pieces of the Quilt Together?
To sew the pieces of the quilt together, start by laying out the fabric pieces in the desired pattern. Pin the pieces together, then use a sewing machine to stitch along the edges of each piece. Make sure to back stitch at the beginning and end of each seam. For a more secure joining, use a zigzag stitch or a double-stitch. Once all pieces are joined, press flat with an iron and trim any loose threads.
What Tools Do I Need to Complete This Project?
Fabric: At least 2 yards of fabric for the top layer, 2 yards of batting, and 2 yards of fabric for the backing.
Thread: Thread to match the fabric you choose.
Rotary Cutter: To quickly and accurately cut your fabric.
Ruler and Marking Tool: To measure and mark lines and angles.
Iron and Ironing Board: To press and flatten fabric pieces.
Sewing Machine: To sew the quilt together.
Safety Pins: To temporarily attach the quilt layers together before sewing.
Conclusion
Making a quilt in a day is achievable. With the right materials, a bit of patience, and a few basic sewing skills, anyone can make a beautiful quilt in a single day. Whether you are an experienced quilter or a beginner, the step-by-step guide provided in this article will help make it an enjoyable and successful experience.


