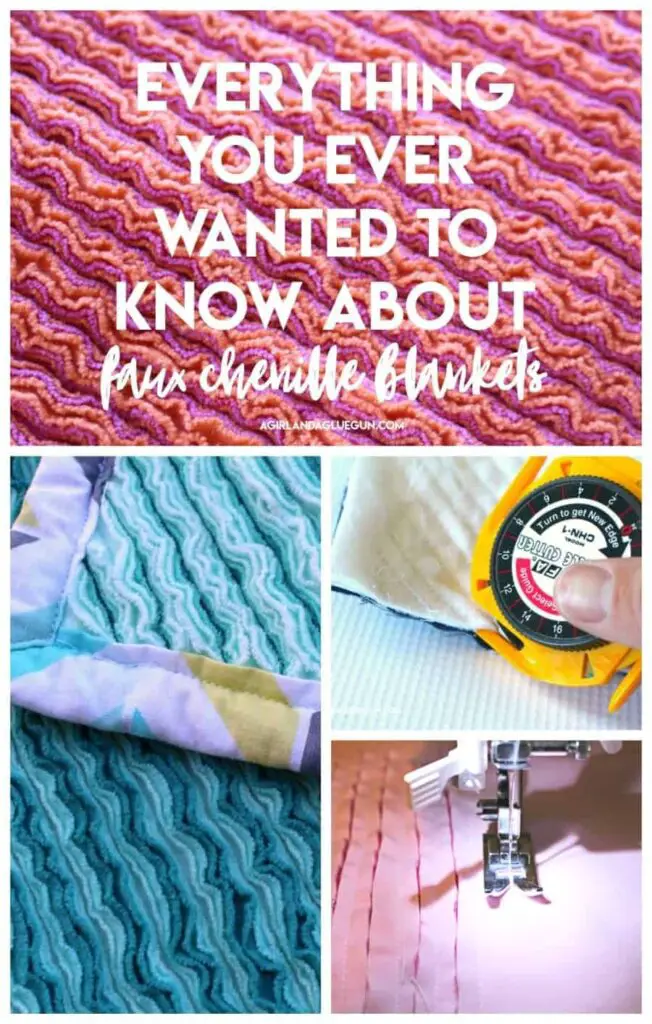
Making a chenille quilt is a great way to add warmth and texture to any room. This step-by-step guide will teach you how to make a chenille quilt from start to finish, so you can create a cozy, unique piece of art for your home. After reading this guide, you’ll have all the information you need to make a beautiful chenille quilt of your own.
Materials Needed
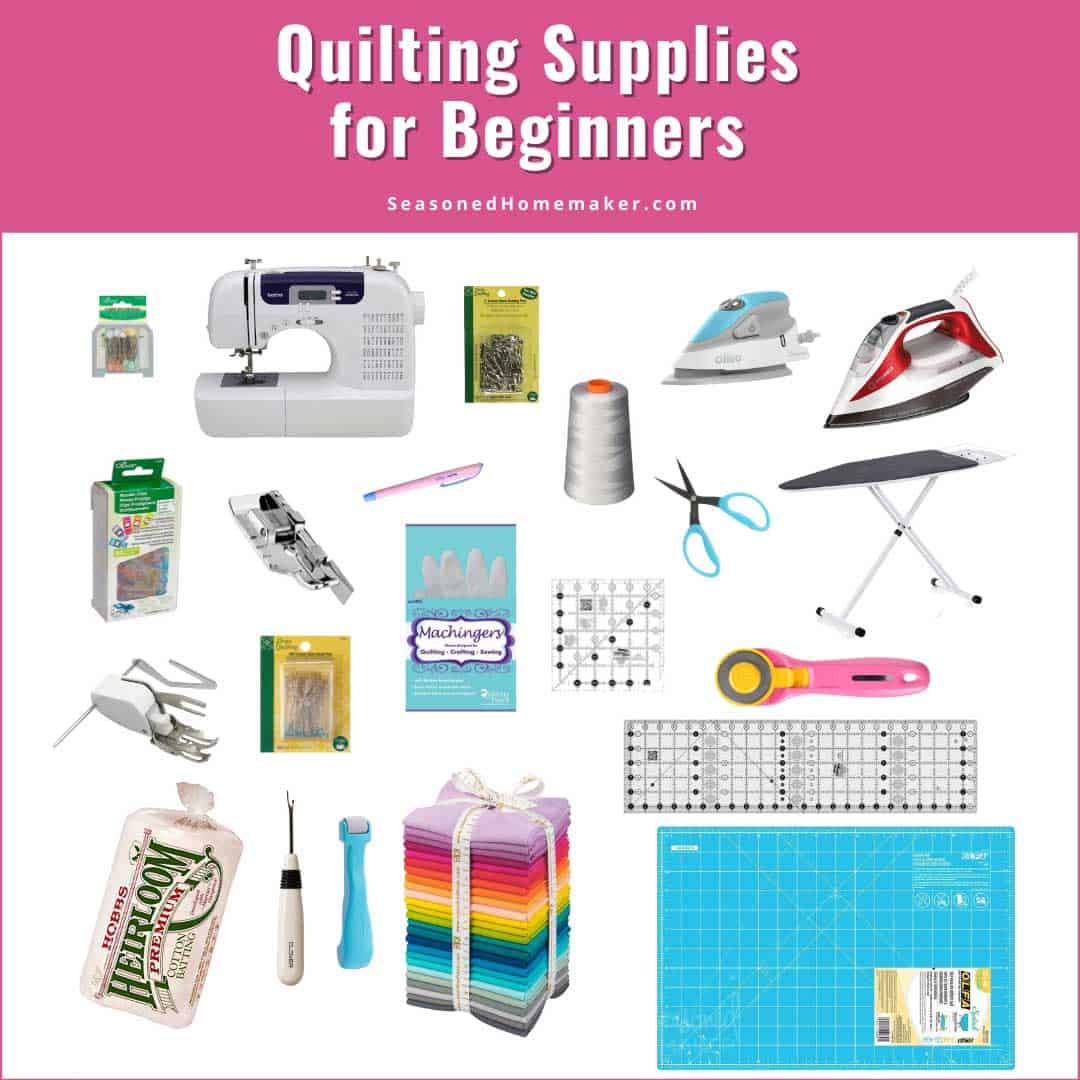
Fabric
Fabric is the main material for making chenille quilts and the type of fabric used will depend on the design. It is recommended to use two to three layers of fabric for the quilt top, but the user can choose how many layers they want.
Batting
Batting is the material used to add warmth to the quilt and can be made of cotton, wool, or synthetic fibers. It is important to use the right batting density for the size of the quilt to ensure the quilt holds its shape.
Thread
Thread is used to make the quilt and should be chosen to match the fabric. A strong thread is recommended for chenille quilts to ensure the stitches last for a long time.
Sewing Machine
A sewing machine is used to stitch the fabric and batting together for the quilt. The user should make sure that the sewing machine is in good working condition before starting the project.
Other Tools
Other tools that may be needed for making chenille quilts include scissors, pins, and an iron. In addition, a quilting ruler can be useful for making sure the quilt is cut accurately. How do you finish the edge of a chenille quilt? After the quilt has been stitched together, the edges can be finished with binding or a machine stitch.
Preparing the Fabric
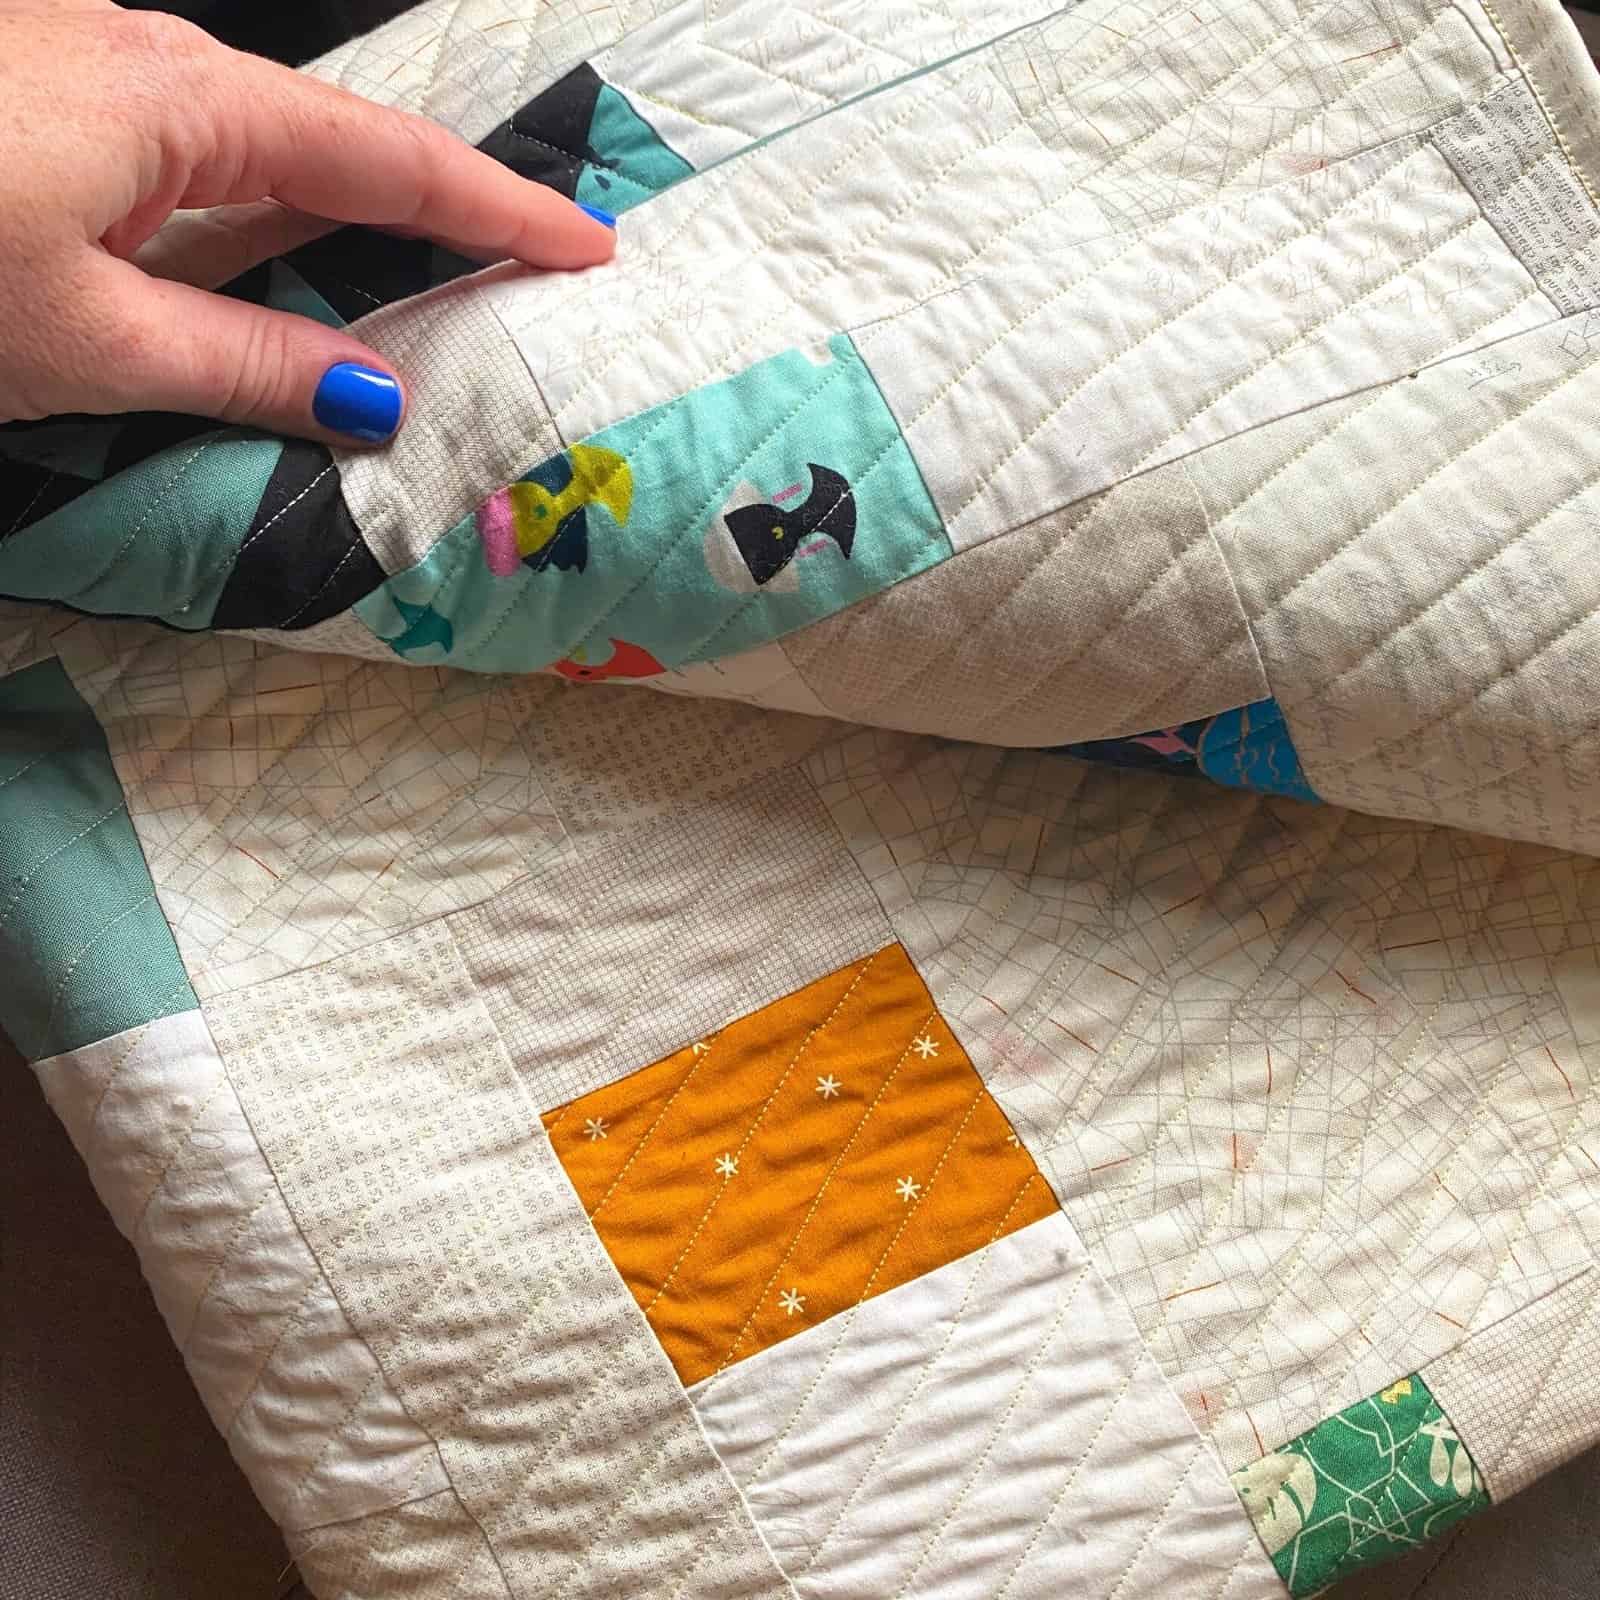
- Select the fabric that you would like to use for the quilt. Chenille fabric is typically used, however, any type of soft fabric can be used.
- Wash the fabric according to the instructions on the care label.
- Iron the fabric if necessary to remove any wrinkles.
- Cut the fabric into strips that are 3 inches wide and the length of the fabric.
- Stack the strips on top of each other and cut the fabric into 3-inch squares.
- To create the chenille effect, use a sewing machine to stitch the squares together. Sew the squares together side by side to create a large quilt panel.
For further guidance, you can watch this how to make a chenille quilt YouTube video.
Cutting the Pieces
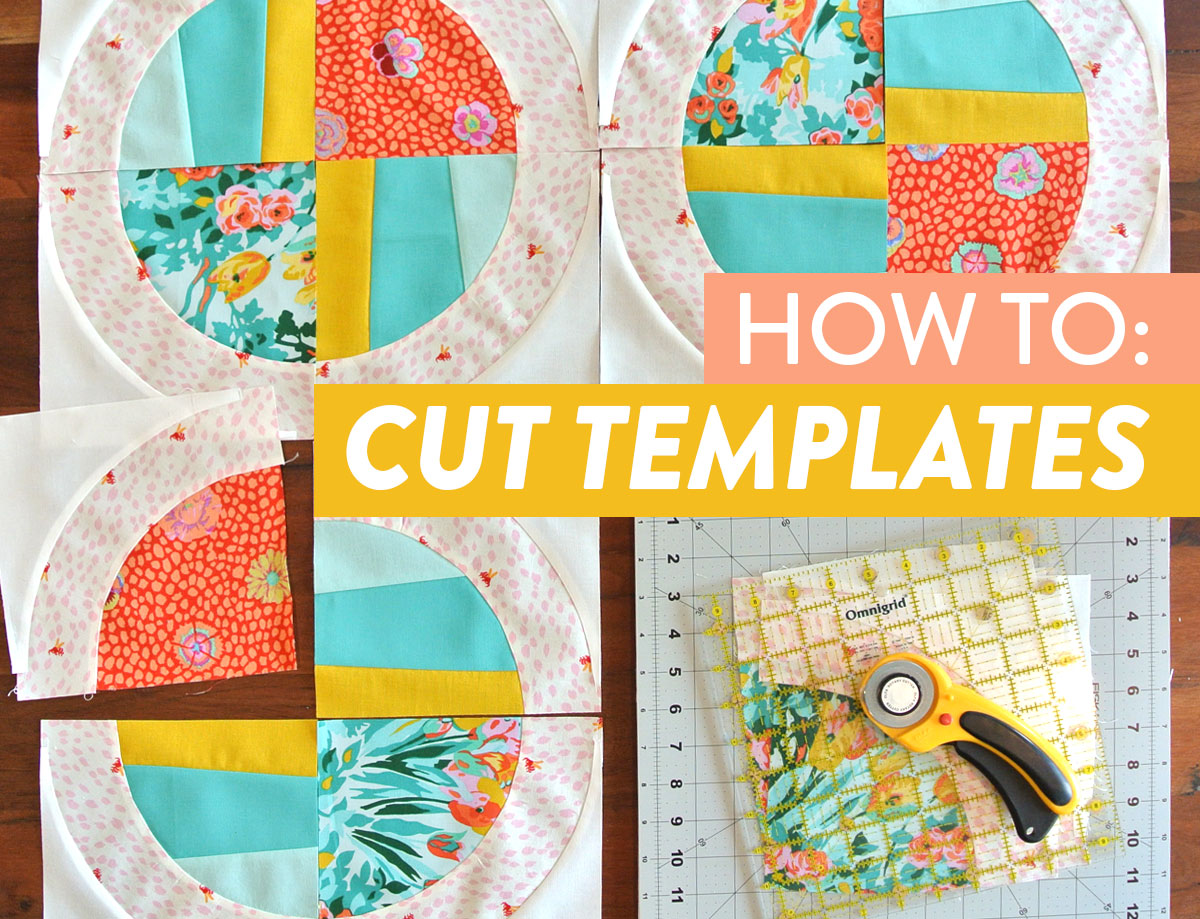
To begin making your chenille quilt, start by cutting the fabric into the desired quilt block sizes. Measure and cut each piece to the exact size you’re looking for using a rotary cutter and cutting mat. When cutting the pieces for a chenille quilt, it’s important to use a sharp blade and straight edge to ensure clean, accurate cuts. To make sure your quilt is the size you want, use a quilting ruler to measure each piece before cutting. Once all the pieces are cut, you can begin assembling the quilt top.
Sewing the Pieces
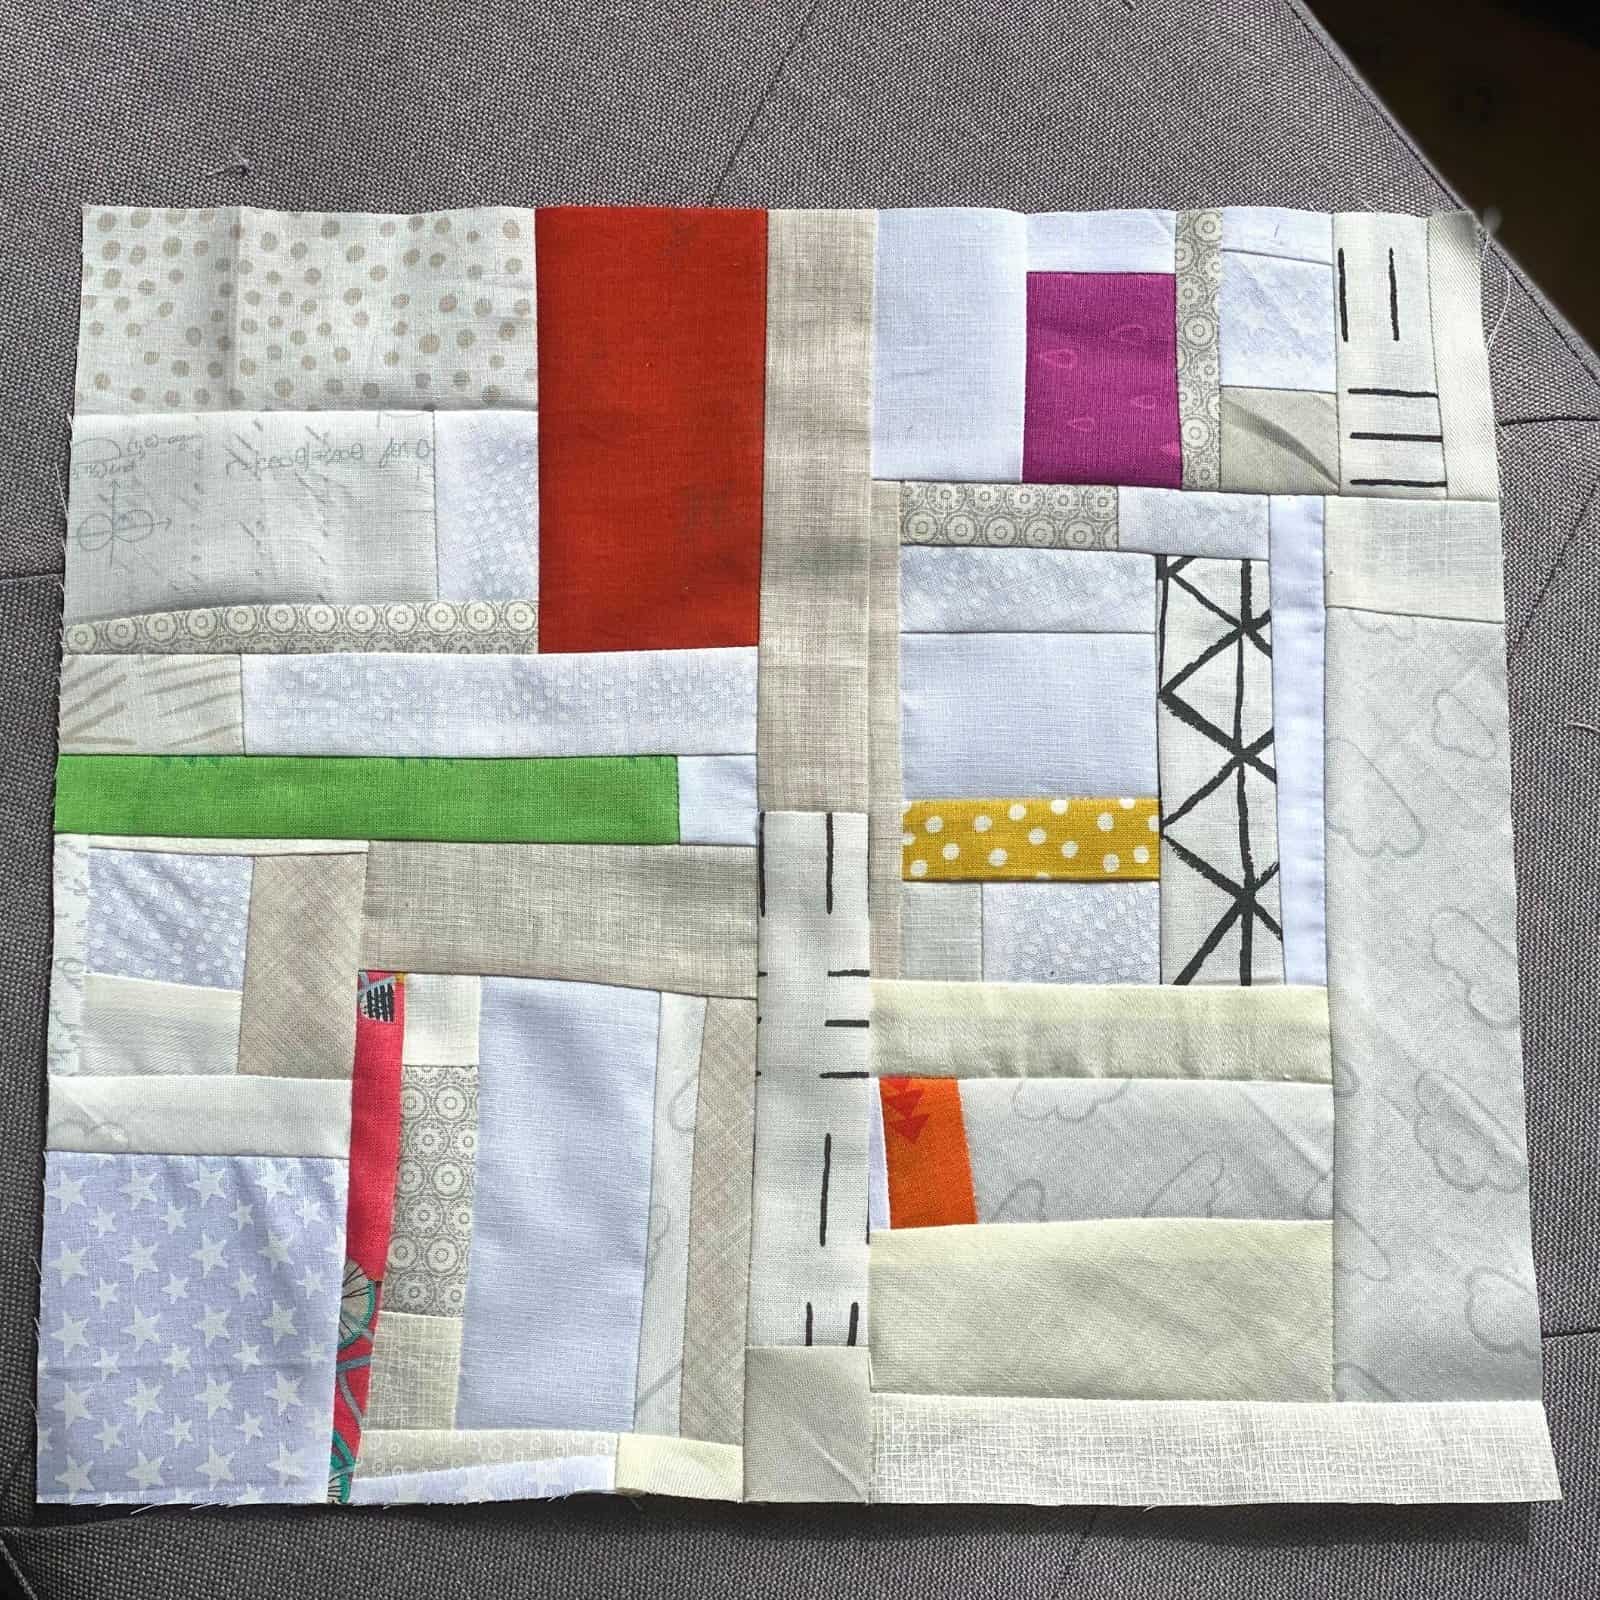
Lay out the quilt pieces on a large flat surface. Start by working in rows, ensuring that the backing fabric faces up. Place the batting between the two pieces of fabric and pin the fabrics together. Sew along the edge of the quilt using a ¼ inch seam allowance. Make sure to leave a 4-inch gap at the end of each row to allow for turning the quilt right side out. After all the rows have been sewn together, turn the quilt right side out and press the seams. Finally, close the 4-inch gap in each row by sewing a line of stitches to secure the quilt together. Now the chenille rag quilt is ready for quilting.
Finishing the Edges
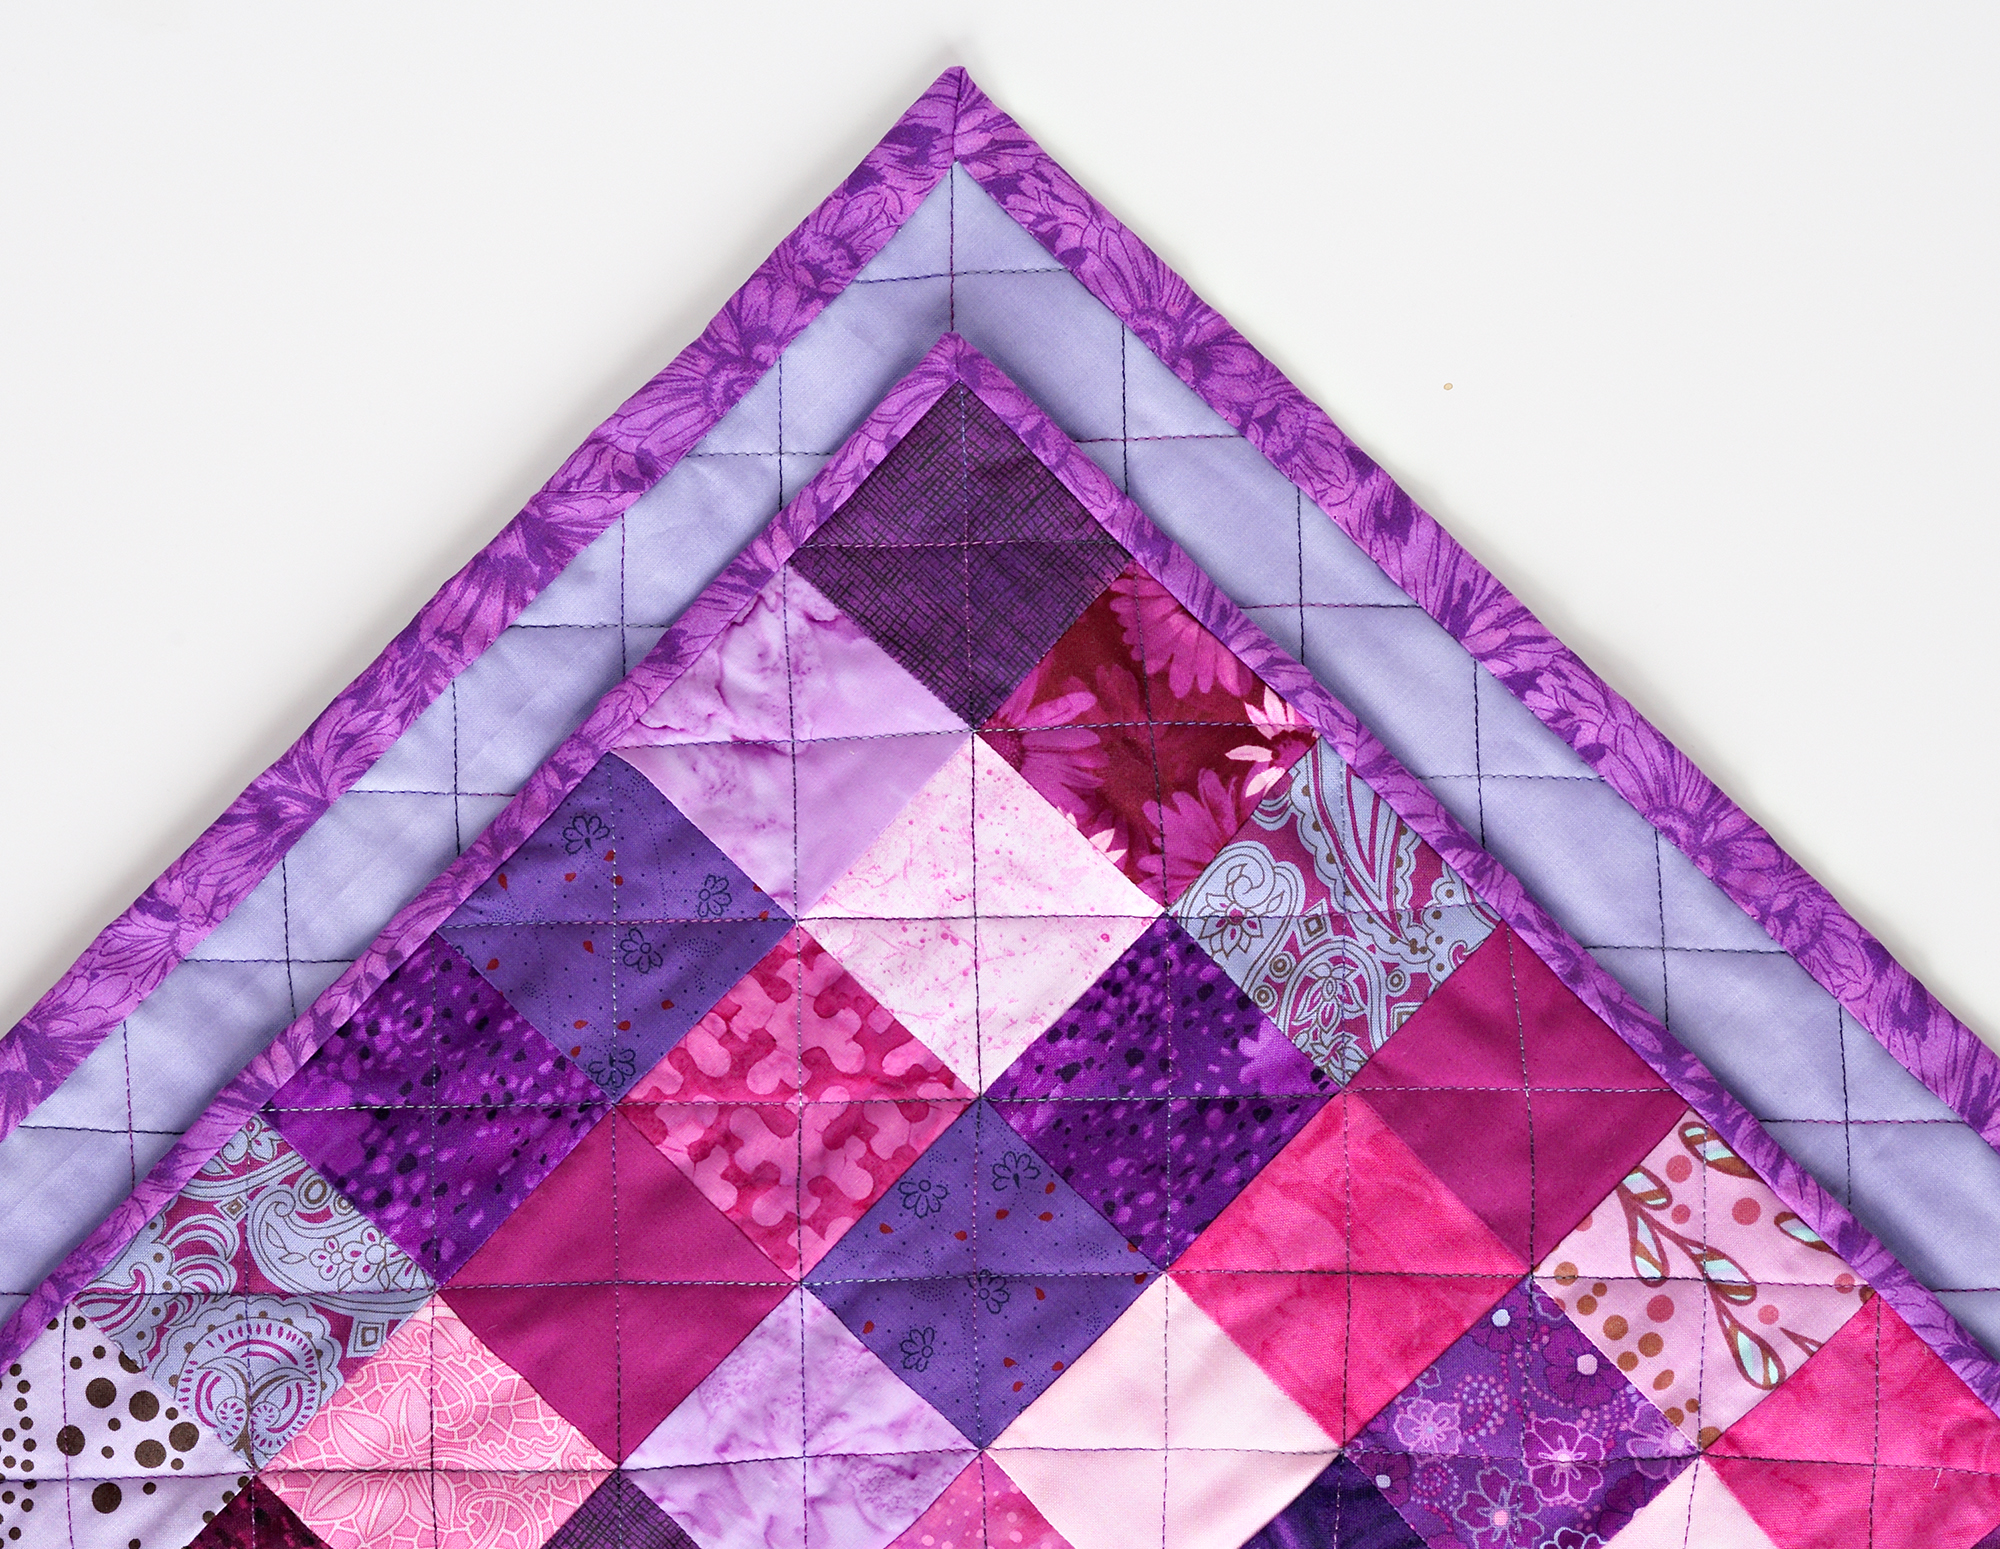
Once the quilt has been sewn together, the edges need to be finished. This can be done with a binding strip or with a mitered corner. To make a binding strip, cut strips of fabric in the desired width and sew them around the edges of the quilt. To make a mitered corner, fold the fabric over the corner and then sew it down. The difference between chenille and rag quilts is that chenille quilts are made with chenille fabric, which is a thick and soft material, while rag quilts are made with multiple layers of fabric sewn together.
How to Make Chenille Quilt YouTube Tutorial
| Step | Instructions |
|---|---|
| 1 | Gather all the necessary fabrics and supplies needed to make your quilt. You will need a quilt batting, a backing fabric, and your front chenille fabric. You will also need some quilting thread, quilting pins, and a quilting ruler. |
| 2 | Lay out the batting on a flat surface. Place the backing fabric on top of the batting and smooth out any wrinkles. Pin the backing fabric to the batting. |
| 3 | Lay out the chenille fabric on top of the batting and backing fabric. Smooth out any wrinkles in the fabric. Pin the chenille fabric to the batting and backing fabric. |
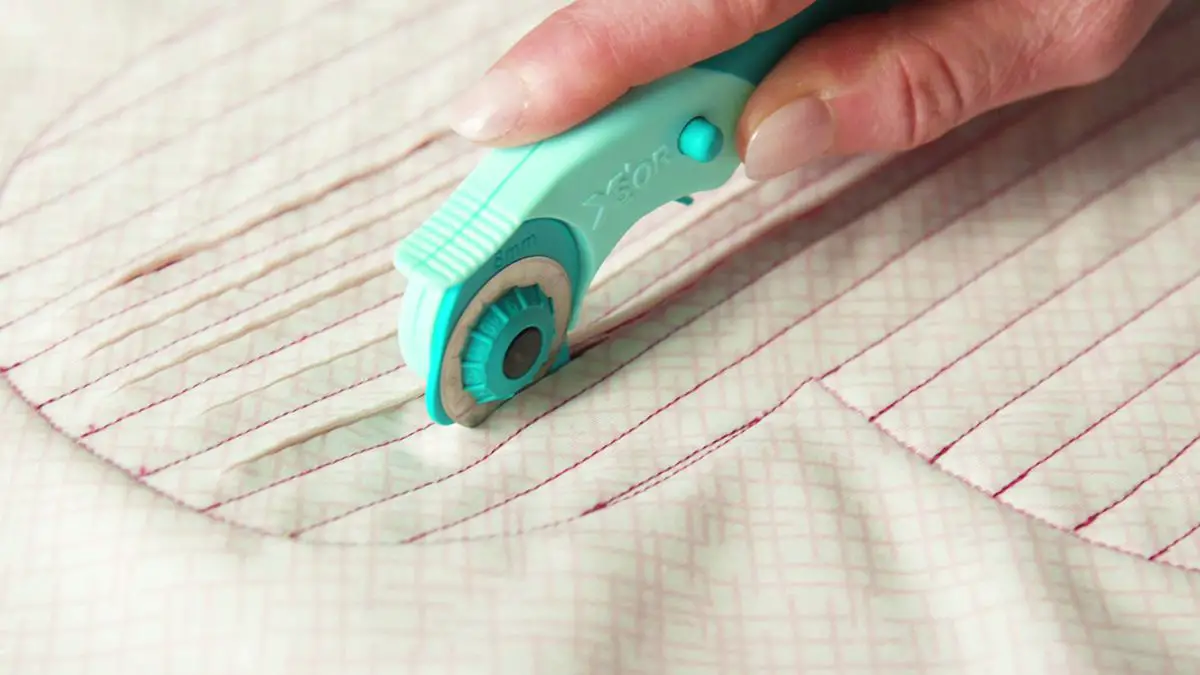
| 4 | Using a quilting ruler, measure out a series of straight lines in the chenille fabric. Use quilting pins to mark the lines. Begin quilting along the quilting lines. |
| 5 | Once the quilting is finished, snip away any excess batting and backing fabric. This will leave you with a finished chenille quilt. |
Watching a YouTube tutorial is a great way to learn how to make a chenille quilt. Tutorials can provide helpful visuals for each step of the process. You can find many different tutorials online, depending on your skill level. Be sure to read the description of the video to make sure it is a tutorial that fits your needs.
What is the Difference Between Chenille and Rag Quilts
| Chenille Quilt | Rag Quilt |
|---|---|
| Uses strips of fabric sewn together | Uses cut up pieces of fabric |
| Finished look is smooth | Finished look is shaggy |
| Fabric pieces are all the same size | Fabric pieces can be different sizes |
| More complex to make | Easier to make |
Chenille quilts are created using strips of fabric sewn together, while rag quilts are made using cut up pieces of fabric. The finished look of a chenille quilt is smooth, while the finished look of a rag quilt is shaggy. The fabric pieces used for a chenille quilt are all the same size, while rag quilts can have fabric pieces of different sizes. Chenille quilts are more complex to make, whereas rag quilts are easier to make.
Making a Chenelle Rag Quilt
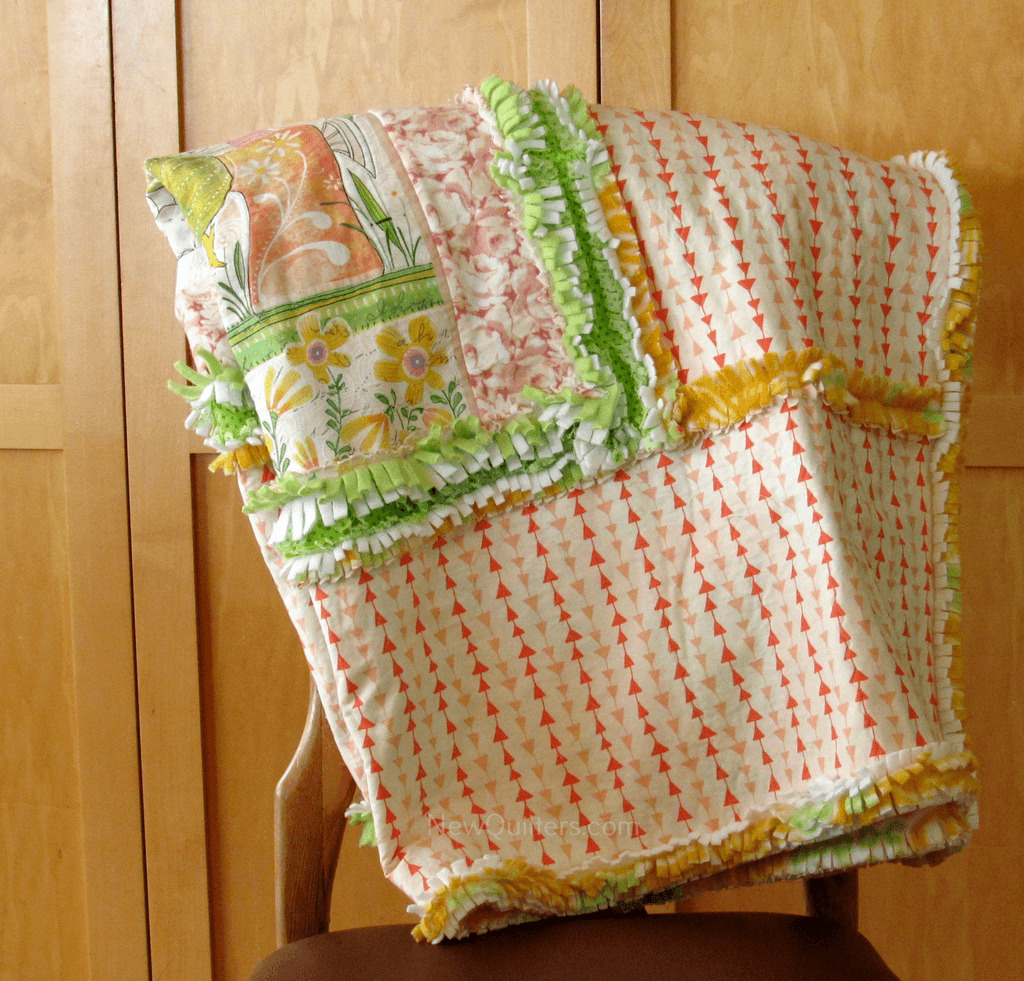
- Chenille quilts are thicker, warmer and softer than regular quilts. They are created by cutting out patches of fabric and layering them on top of each other with batting in between. The edges of each patch are then tied together with a crochet chain stitch, and then sewn with a blanket stitch.
- Chenille quilts are perfect for winter, as they are warm and cozy. The chenille fabric makes the quilt softer and fluffier, while the batting adds a layer of insulation to keep you warm.
- Chenille fabric is available in a variety of colors and patterns. You can choose the colors and patterns that best suit your decor and style.
- The batting used for chenille rag quilts needs to be quilted. Quilting the batting helps it stay in place, and prevents it from shifting over time.
- Chenille rag quilts are easy to make. The most time-consuming part is the tying of the crochet chain stitch. It can be done by hand or you can purchase a chenille rag quilt kit that includes the necessary tools.
- To finish the edges of your chenille rag quilt, use a wide binding. This will help to keep the edges of your quilt from fraying, and will give it a professional finish.
- You can find many tutorials online on how to make a chenille rag quilt. YouTube is a great resource for learning how to make a chenille rag quilt.
- The main difference between chenille and rag quilts is the fabric used. Chenille fabric is a velvety material while rag quilts use cotton fabric.
Frequently Asked Questions
What Materials Will I Need to Make a Chenille Quilt?
- Fabric: You will need fabric for the top, bottom, and batting of your quilt. You can use any type of fabric, but it’s best to use a cotton fabric for the top and bottom layers. You can also use a flannel or fleece fabric for extra warmth.
- Chenille yarn: You will need chenille yarn for the quilting. Make sure to pick a yarn that is thick enough to give your quilt a nice texture.
- Batting: You will need to buy a batting for your quilt. Batting will help to keep your quilt warm and also make it look fluffy. You can use any type of batting, but cotton batting is the most popular.
- Thread: You will need a good quality thread for quilting. Make sure to choose a thread that is strong enough to hold the quilt together.
- Quilting needles: You will need quilting needles to sew the quilt together. Make sure to buy the right size needles for the type of fabric you are using.
- Scissors: You will need a pair of sharp scissors to cut the fabric and chenille yarn.
What type of fabric should I use for the backing of my chenille quilt?
-
1. Cotton: Cotton is an ideal fabric to use as the backing of a chenille quilt since it’s strong, breathable, and allows the quilt to drape nicely.
2. Flannel: Flannel is another option for backing a chenille quilt, as it’s soft and comfortable, and is less likely to tear.
3. Fleece: Fleece is an excellent choice for the backing of a chenille quilt, as it’s soft, warm, and provides a good layer of insulation.
4. Muslin: Muslin is a lightweight, breathable fabric that can be used as a backing for a chenille quilt. It’s also fairly inexpensive, making it a great budget option.
5. Batting: Batting is a type of padding typically used to make quilts thicker and warmer. It can be used as a backing for a chenille quilt, however it’s not as durable as other fabrics.
How do I prepare the fabric for the quilt top?
Pre-washing: All fabrics should be pre-washed before cutting and piecing to prevent shrinking and dye bleeding. Use mild detergent and cold water to avoid discoloration.
Cutting: Cut strips of fabric according to the desired size of the quilt top. To ensure precision, use a cutting mat and ruler.
Pressing: Press all seams open with a hot iron and a pressing cloth to avoid fabric distortion.
What is the Best Method for Layering the Quilt Top and Batting Together?
The best method for layering the quilt top and batting together is to start by laying the quilt top face-down on a flat surface. Then, position the batting on top, making sure it is evenly spread out. Finally, lay the backing fabric face-up on top, ensuring all three layers are perfectly aligned. Pin the layers together and then machine stitch them together.
How do I bind the edges of my quilt once I am finished?
To bind the edges of the quilt, cut a piece of quilt binding fabric that is twice the width of the quilt edge plus 1 inch. Fold the binding in half lengthwise and press. Sew the binding to the quilt edge, leaving a ¼ inch seam allowance. Fold the binding over the quilt edge and pin in place. Sew the binding down using a ¼ inch seam allowance. Finish the binding with a hand stitch or a machine stitch.
Conclusion
Making a chenille quilt is a wonderful way to express your creativity and make something unique for yourself or as a gift. With careful preparation and attention to detail, you can create a one-of-a-kind quilt that will be treasured for years to come.
