Making quilt art is an enjoyable and rewarding way to express your creativity. With the right materials and some patience, you can craft a unique quilt art piece that you can show off to your family and friends. This guide will provide you with step-by-step instructions on how to make quilt art, from selecting the right fabrics and colors to putting the final touches on your masterpiece.
Materials Needed

- Fabric: You will need a variety of fabrics in different colors and prints to create the quilt design. Choose fabric that is 100% cotton for best results.
- Quilt Batting: This is the layer of fabric in between the top and the backing of the quilt. It provides warmth and insulation.
- Quilting Needles: These needles are specifically designed for quilting, so they are a must-have for a successful quilt art project.
- Thread: Get a variety of colors to match the fabrics you’ve chosen. Polyester thread is the most popular choice.
- Rotary Cutter: A rotary cutter makes it easy to cut fabric quickly and accurately.
- Sewing Machine: A sewing machine is an essential tool for quilting, especially for a beginner.
- Iron: An iron is necessary for pressing the seams and fabrics.
These are the basic materials needed for how to make an art quilt for beginners.
Drawing and Tracing the Design
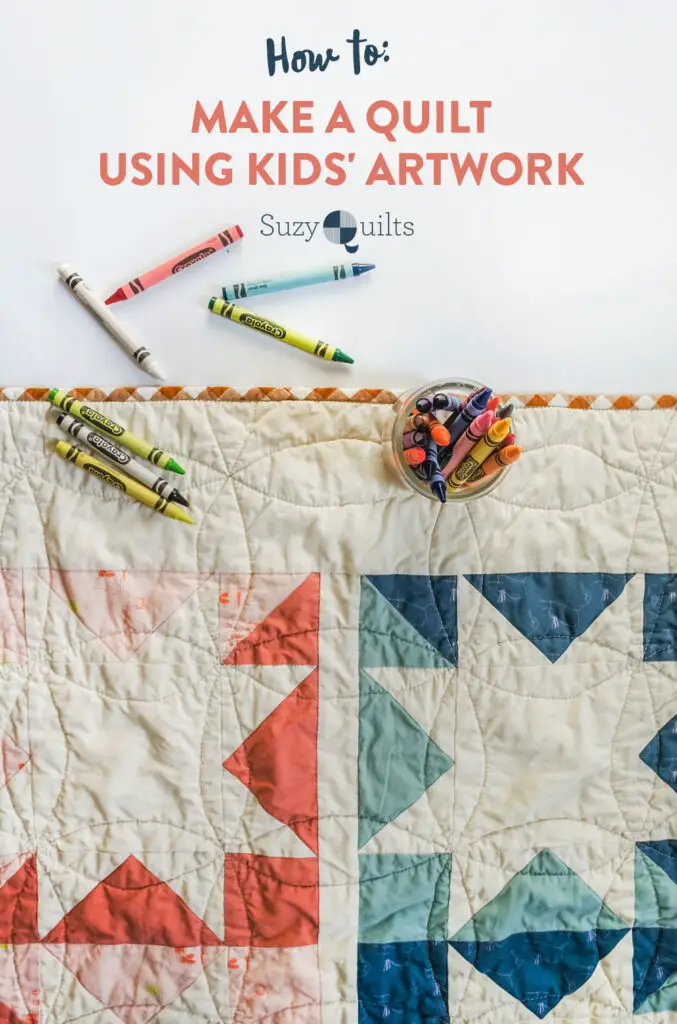
Creating a quilt with drawings requires careful planning and precise execution. First, decide on a design that you would like to incorporate into your quilt. It could be a simple pattern or a more complex one with multiple colors. Once you have chosen your design, draw it out on a piece of paper or use a computer program to create a template. The template will help you to accurately trace your design onto the fabric for your quilt.
Once the design is drawn onto the fabric, it is time to trace the design. The best way to do this is by using a light box or tracing paper. Place the fabric onto the light box and, then, place the drawing on top of the fabric. Trace the design onto the fabric using a fabric marker or pen. If you are using a computer program to create a template, you can print the template directly onto the fabric using a special printer.
After the design is traced onto the fabric, it’s time to start piecing together the quilt. Using the pattern or template, cut the fabric into the necessary pieces and sew them together. Keep in mind that the pattern pieces must be cut precisely in order to create the desired quilt design. Once all the pieces are sewn together, the quilt is ready to be quilted, which involves adding batting and a backing fabric to the quilt top.
With a little bit of planning and creativity, you can create a beautiful quilt with drawings that will be enjoyed for years to come.
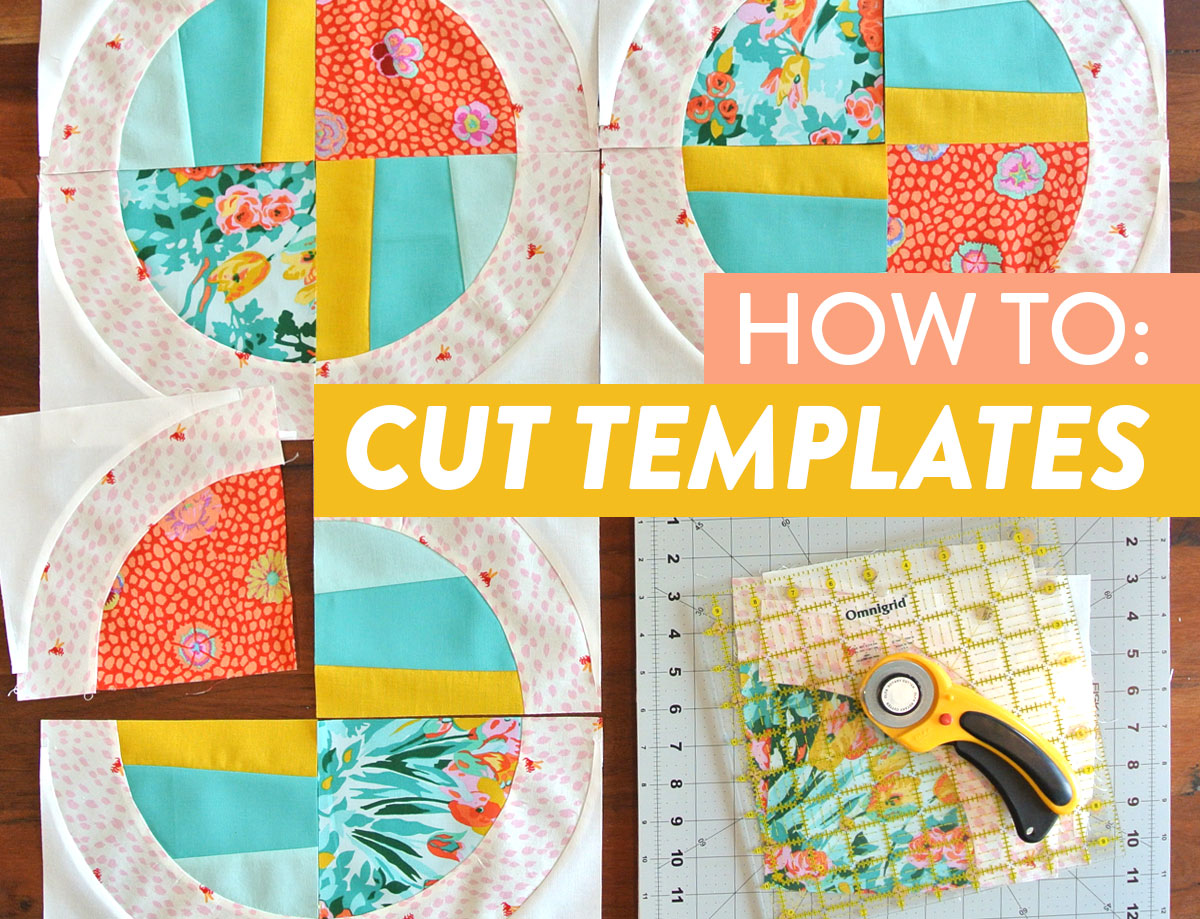
Cutting the Pieces
- Gather supplies – all the fabric, thread and notions needed to create a quilt art masterpiece.
- Choose fabric – select fabrics that coordinate with the quilt art design, making sure to include a variety of colors, textures and prints.
- Cut fabric – using the quilt art pattern as a guide, cut the fabric into the appropriate pieces, being sure to leave a bit of extra fabric for seam allowances.
- Arrange fabric – lay out the quilt art pattern on the floor or table and arrange the fabric pieces accordingly.
- Sew the pieces – begin sewing the pieces together with the quilt art simple how to instructions.
Sewing the Quilt Top
| Steps | Instructions |
|---|---|
| 1 | Lay out the quilt top pieces in the desired design. |
| 2 | Pin each pair of pieces together along the edges you want to sew. |
| 3 | Sew the two pieces together with a 1/4 inch seam allowance. |
| 4 | Press the seam with an iron. |
| 5 | Continue to add pieces to the quilt top, sewing each pair of pieces together and pressing the seams. |
| 6 | Check that all the pieces are in place, then stitch the entire quilt top together. |
Basting the Layers
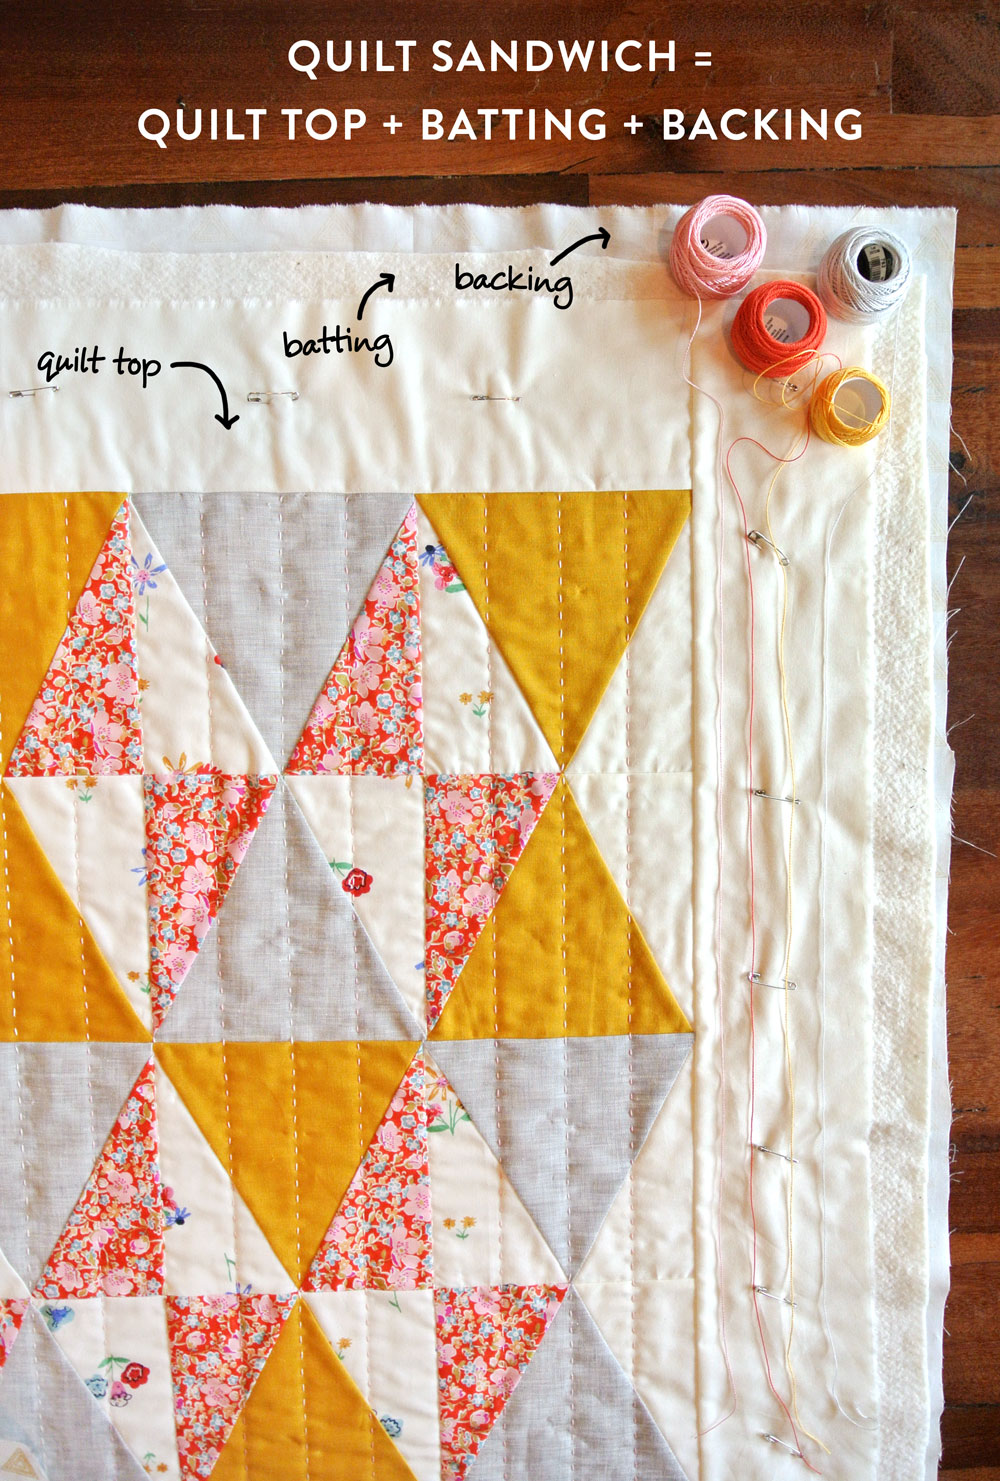
Before quilting, the layers of the quilt must be basted together. Basting is the process of securing the layers in place with pins, tacks, or thread. To baste the layers, start with the backing fabric. Place the backing fabric on a flat surface, wrong side up. Place the batting on top of the backing fabric, and the quilt top right side up on top of the batting.
Using quilting pins, tacks or basting thread, secure the layers together. If using pins, insert pins about every 6″ along the edges. If using thread, use a running stitch or large basting stitch and baste along the edges and in the center of the quilt. Take care to avoid any puckers in the fabric or batting.
Once the layers have been basted together, the quilt is ready for quilting. Basting the layers is an important step in the quilting process, and should not be skipped. It is necessary for the quilt to keep its shape and to ensure the quilt top and backing are not pulled taut during the quilting process.
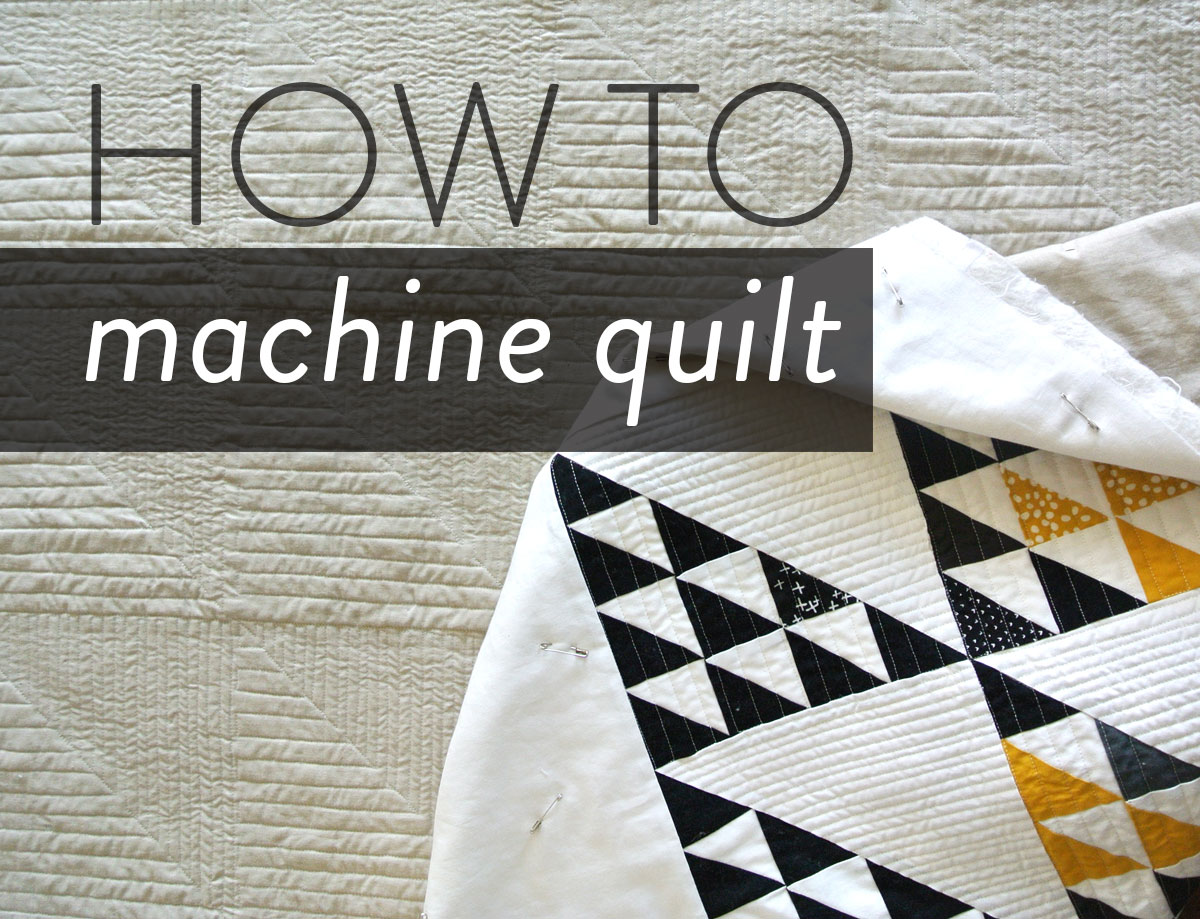
Quilting the Piece
- Choose a fabric: Select quilting fabric based on the design or motif you want to create. You can also use a combination of fabrics to create interesting textures and patterns.
- Layout the pieces: Arrange the fabric pieces to form the desired pattern or design on the quilting board. Make sure to leave enough space between each piece for stitching.
- Stitch the pieces: Use a sewing machine to stitch the fabric pieces together. Make sure to use the same thread and needle size for all the pieces.
- Add batting: Place a piece of batting between the top and bottom layers of the quilt. This will give the quilt extra warmth and insulation.
- Quilt the piece: After the pieces are stitched together, it’s time to quilt the piece. This involves stitching the top and bottom layers of the quilt together with a quilting machine. Use patterns or designs to add interest to the quilt.
- Finish the quilt: After the quilt is quilted, it is time to finish the piece. This includes trimming off any loose threads, adding a binding, and adding a label to the back of the quilt.
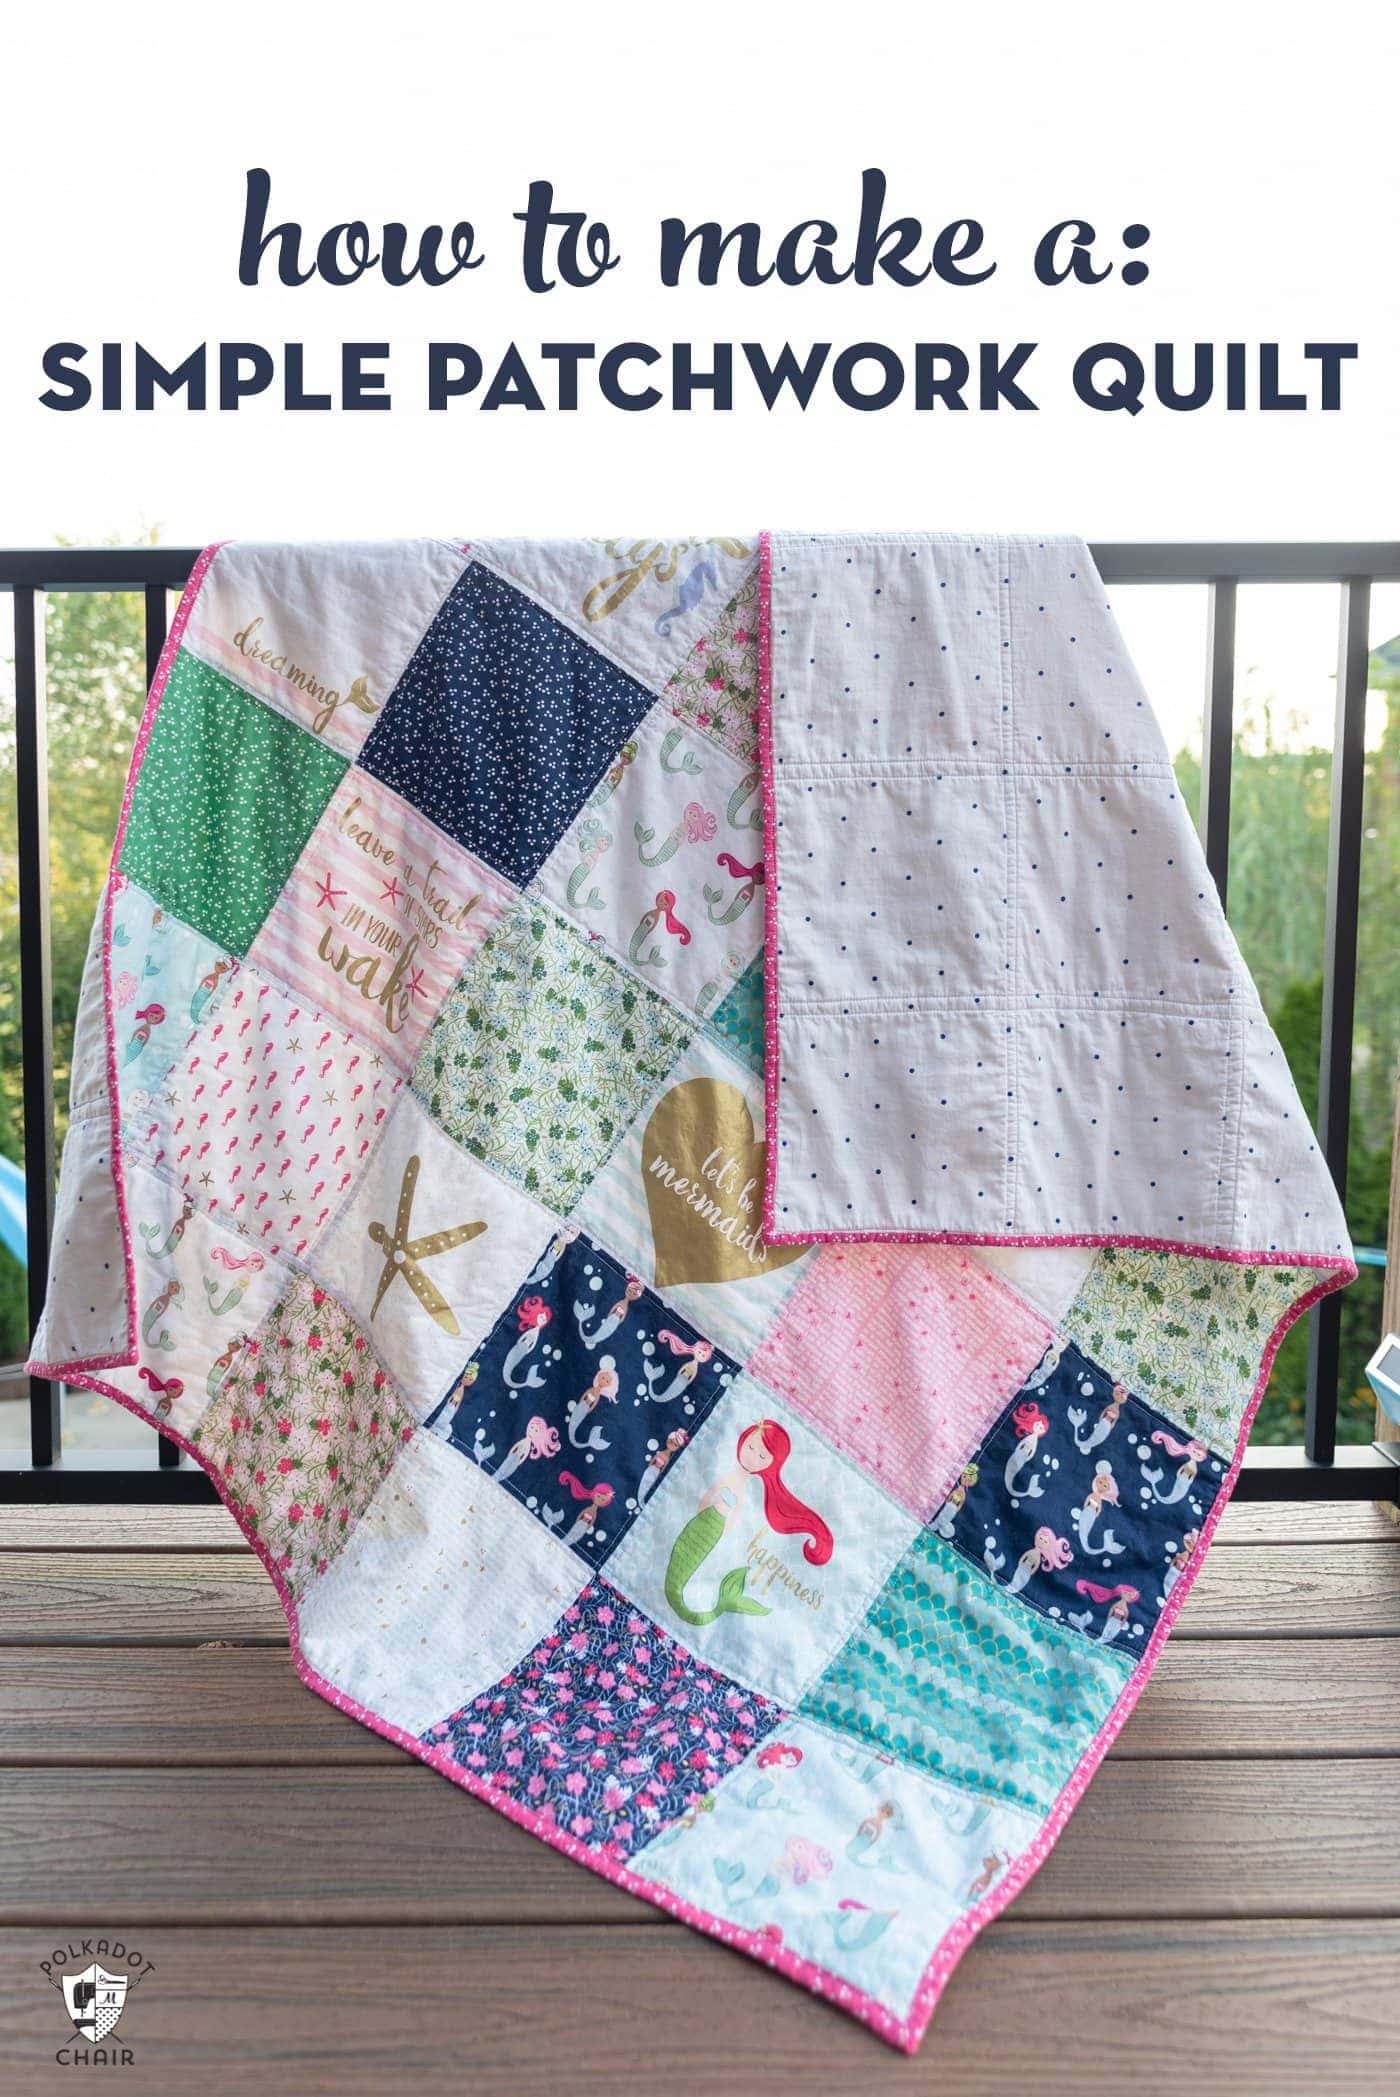
Adding the Binding

Once the quilt top has been pieced together, the edges need to be bound. Cut lengths of fabric 2.5-inches wide and long enough to bind the entire quilt. Fold the strips in half lengthwise, wrong sides facing, and press. Align the folded binding along the edge of the quilt, raw edges even, and pin in place. Starting at the middle of one side, stitch the binding to the quilt top using a 1/4-inch seam allowance. Stop at the corner and use a diagonal stitch to pivot, then continue stitching along the next edge. Stop stitching 1/4-inch before the next corner, pivot and continue around the quilt. When you reach the beginning of the binding, overlap the binding 1/2-inch and cut off the excess. Fold the binding over the raw edge of the quilt, covering the stitching line. Pin in place, and edgestitch the binding to the quilt top.
Finishing the Piece
- Quilt Binding – Quilt binding is the method of enclosing the edges of a quilt. You can use fabric, bias tape, or ribbons for this purpose. It’s recommended to use a machine stitch for this step, as hand-stitching is time-consuming.
- Quilt Batting – Quilt batting is the layer of material placed between the quilt top and bottom that provides warmth and softness. It is usually made from cotton, wool, or polyester.
- Quilting – Quilting is the process of stitching together the quilt top, batting, and backing. This can be done by hand or machine and can be done in a variety of patterns and designs.
- Quilt Labeling – Quilt labeling is the process of adding labels to the quilt, such as the maker’s name, the date it was completed, and the quilt pattern used. Labeling the quilt will ensure it is preserved for future generations.
- Quilt Finishing – Quilt finishing is the final step in the process of making a quilt. This involves trimming excess fabric, pressing seams, and adding a final decorative touch.
Frequently Asked Questions
What tools and Materials Do I Need to Make Quilt Art?
Fabric: You will need fabric for the quilt top, backing, and batting. It is best to get 100% cotton fabric for the quilt top and backing. You can also use other fabrics such as flannel, broadcloth, and muslin.
Thread: You will need thread to quilt the layers together. It is best to use 100% cotton thread in a color that will blend with the quilt top.
Rotary Cutter: This is a tool used to cut fabric into the correct sizes and shapes. It is important to use a sharp rotary cutter and a cutting mat to ensure accuracy.
Ruler: You will need a ruler to measure and cut fabric pieces. It is best to use a clear ruler with measurements marked in inches and centimeters.
Pins: Pins are used to hold the pieces together while sewing. It is best to use quilting or dressmaker pins.
Iron and Ironing Board: The iron and ironing board are used to press the seams and ensure accuracy.
Needles: You will need needles for hand quilting or machine quilting. It is best to use a size 11 or 12 needle for hand quilting and a size 14 or 16 needle for machine quilting.
Quilting Frame: This is an optional piece of equipment that is used to hold the quilt while it is being quilted.
Scissors: Scissors are used to trim threads and cut fabric. It is best to use fabric scissors or thread snips.
Thimble: This is an optional item that is used to protect the finger while hand quilting.
What Type of Fabric is Best for Quilt Art?
Cotton is the best choice for quilt art, as it is strong and durable, and it can withstand the wear and tear of frequent use. Cotton is also less prone to wrinkling and shrinking than other fabrics such as polyester or rayon, making it a great choice for quilts that need to last for many years. Additionally, cotton is highly absorbent and breathable, which makes it an ideal choice for quilts that will be used in warm climates.
Is there a specific size or shape that I should use for my quilt art?
No, you can create quilt art in any size or shape you choose. However, it is important to keep in mind that the larger the quilt, the more difficult and time consuming it will be to create. Additionally, if you are making a quilt to fit a bed or other piece of furniture, you will need to measure the dimensions carefully. When it comes to shape, you can create traditional quilt blocks or use more modern and abstract designs.
How do I choose a design for my quilt art?
Look around: Start by gathering inspiration from your environment. Look at the colors and shapes of your surroundings such as furniture, art, and nature.
Research: Take some time to explore quilt patterns and designs online or in books. Check out the work of other quilters and see what appeals to you.
Pick a theme: Narrow down your ideas by selecting a theme for your quilt. This could be a color palette, a pattern, or a subject like flowers or animals.
Draw it out: Sketch your design on paper. Make sure to use a ruler to keep your lines straight.
Choose fabrics: Select fabrics that match the colors and patterns of your design. Consider the scale and texture of the fabrics as well.
Make a plan: Once you have your design and fabrics ready, plan out how you will assemble the quilt. Consider how to piece together the design, as well as how to quilt and finish it.
Are there any tips or tricks to make the quilt art process easier?
Plan ahead: Start with a plan of the finished quilt to ensure you have the right supplies and materials. Also, consider the different techniques to achieve the desired effect. Choose the right fabric: Select fabrics with a tight weave and colorfast dyes for the best results. Take measurements: Carefully measure and cut the fabric for the quilt pieces. Use templates: Use templates to make sure the quilt pieces are uniform and accurate. Choose the right batting: Choose the right batting for the quilt to ensure a strong, durable finished product. Use a sewing machine: Using a sewing machine will make the quilt art process much easier and faster. Press seams: Press each seam as you go to ensure the quilt pieces have a neat, professional finish.
Conclusion
Quilt art is a creative and unique way to express yourself. With a few simple supplies and step-by-step instructions, you can create a beautiful quilt that is all your own. With practice and patience, you can create beautiful quilt pieces that will last for generations.


