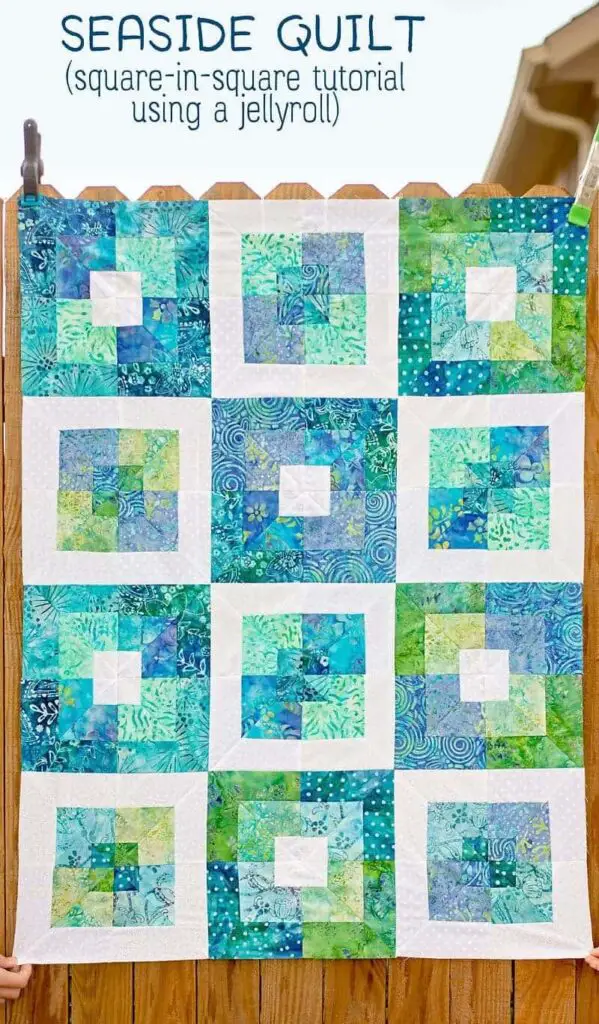
Creating a lap quilt is a great way to add warmth and comfort to any room in your home. With the right tools and materials, you can make a beautiful lap quilt in just 8 simple steps. Whether you’re a beginner or a seasoned quilter, this “how to make a lap quilt” guide will provide you with all the steps and tips you need to make a stunning lap quilt.
Materials Needed
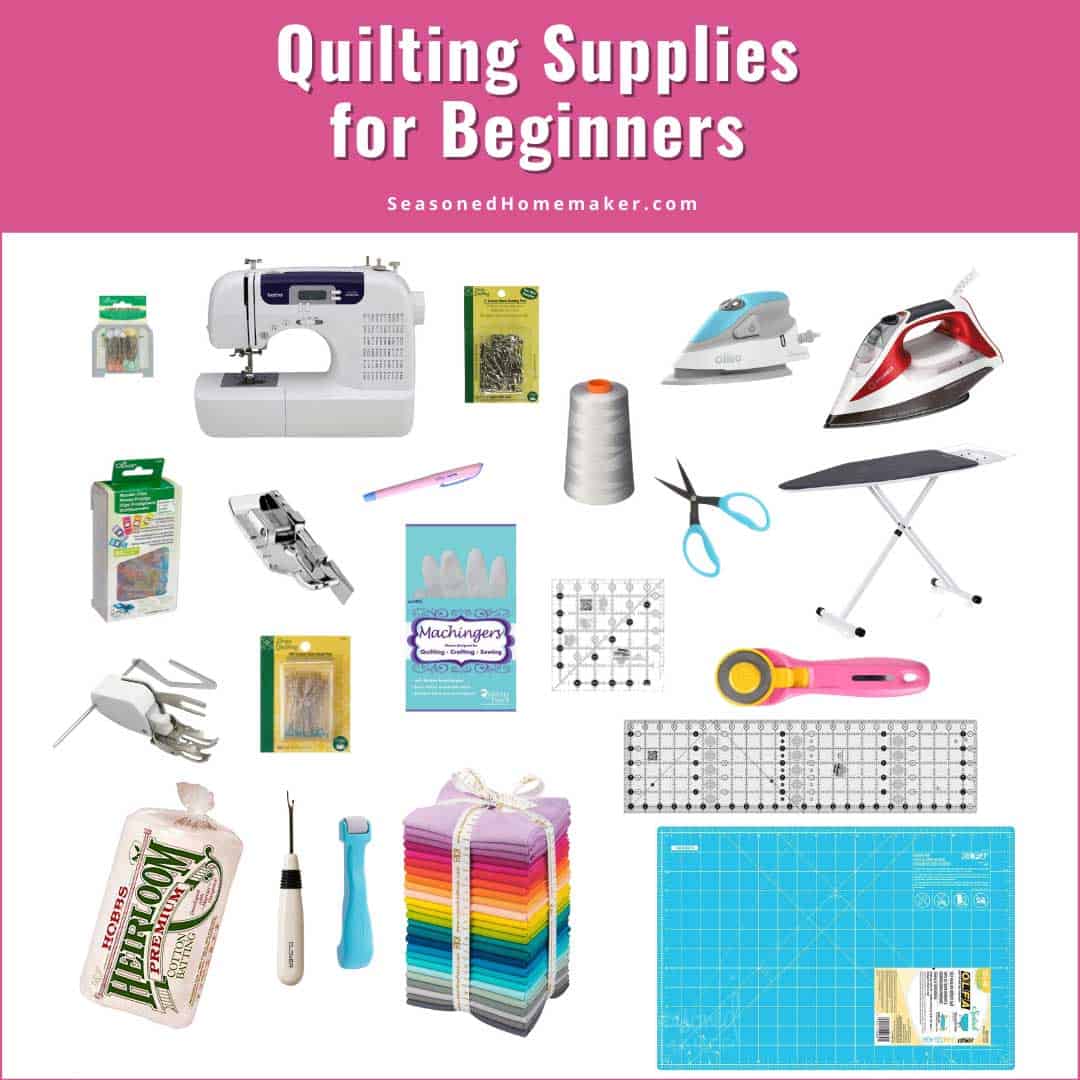
- Fabric – for the quilt top, backing and binding
- Cotton Batting – for a lightweight quilt
- Rotary Cutter – for cutting fabric
- Ruler – for measuring fabric and cutting straight lines
- Thread – for machine quilting and binding
- Sewing Machine – for piecing and quilting the quilt together
For those wanting to make a simple lap quilt, you will need the above materials to create your quilt.
Cutting the Fabric
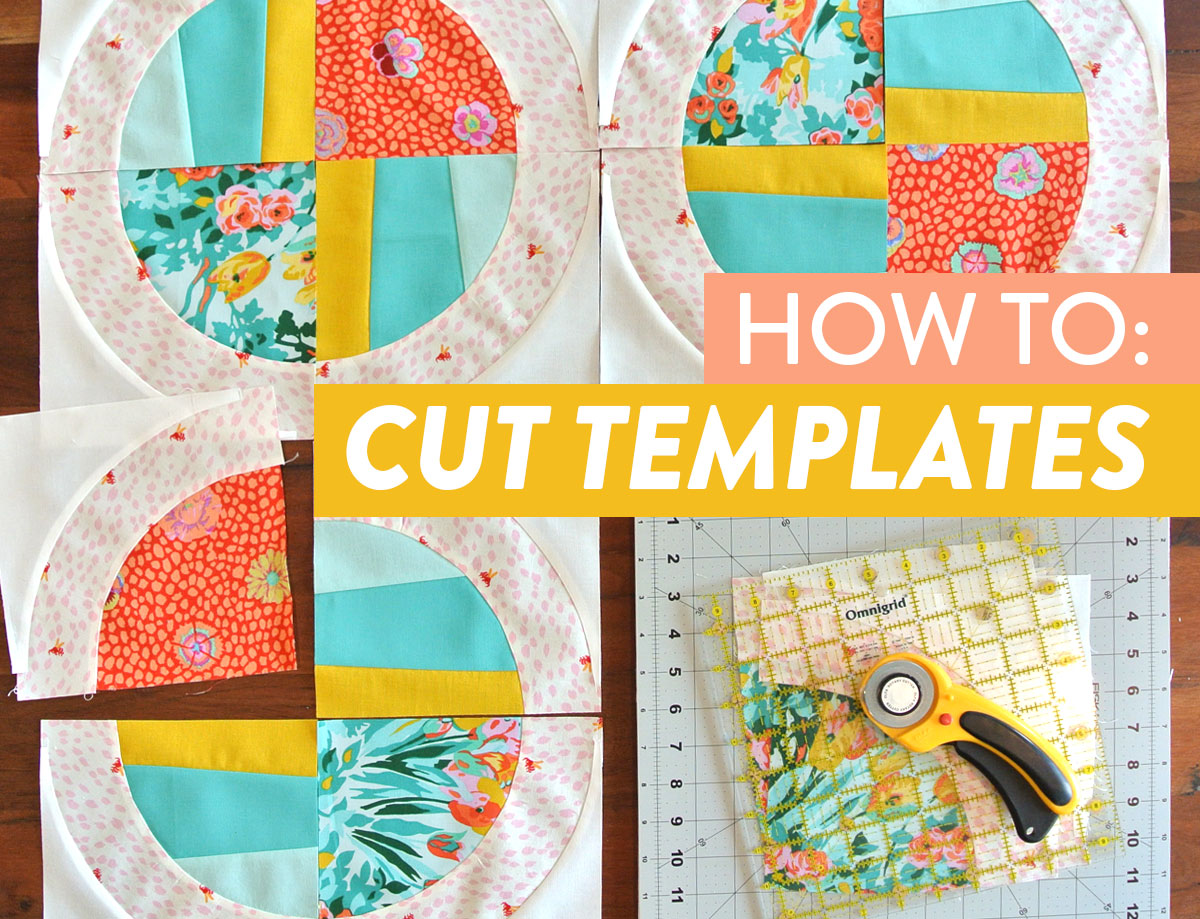
For a lap quilt, you need to cut three pieces of fabric:
- Top Fabric: This will be the top layer of your lap quilt.
- Batting: This will provide padding and insulation to your lap quilt.
- Backing Fabric: This will be the bottom layer of your lap quilt.
For all the pieces, you will need to measure and cut the fabric to the desired size of your lap quilt. Measure the width and length of the quilt and add an extra 2 inches to each side to account for the seam allowance. Make sure to use sharp scissors when cutting the fabric and follow the grain of the fabric to ensure that the lap quilt will hold its shape.
If you are a beginner and need help with how to make a lap quilt, it is best to lay out the fabric pieces on a flat surface and mark the fabric for cutting. This will help you to cut the fabric accurately and make the lap quilt look neat.
Piecing the Quilt Top
Arrangement
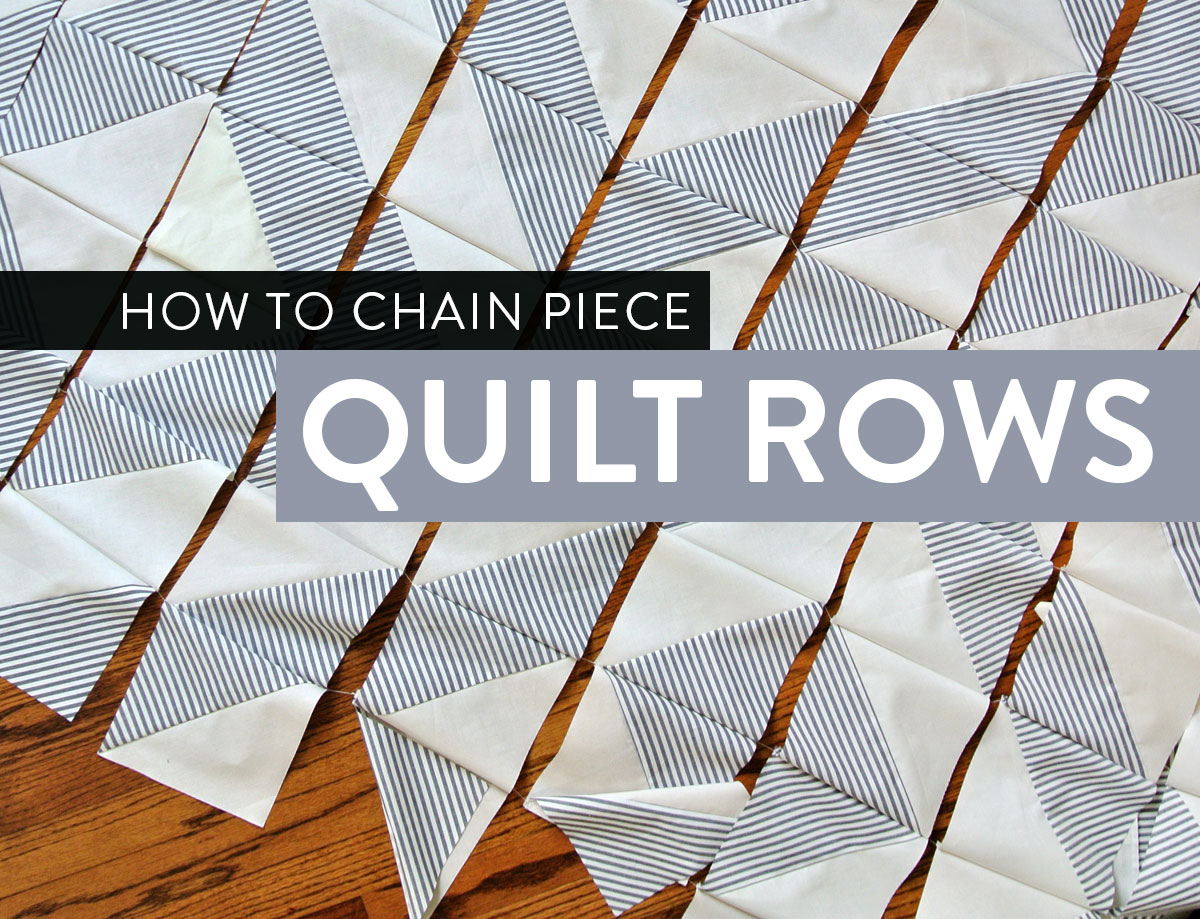
Choose a pattern for the quilt top and arrange the fabric pieces in the desired order. Place the pieces on the floor or on a large table and move them around until a pleasing arrangement is achieved. Once the layout is finalized, pin the pieces together.
Sewing the Pieces Together
Using a sewing machine, sew the pieces together in rows. To create a patchwork effect, use a ¼ inch seam allowance. Start with the bottom row and work up. Use a pressing cloth and an iron to press each piece as it is sewn.
Adding the Borders
Cut strips of fabric for the borders. Measure the quilt top and cut the strips to the desired length. Sew the strips to the quilt top, starting with the shorter sides first. Press the seams and sew the longer strips to the top and bottom. Trim and square the quilt top.
Quilting
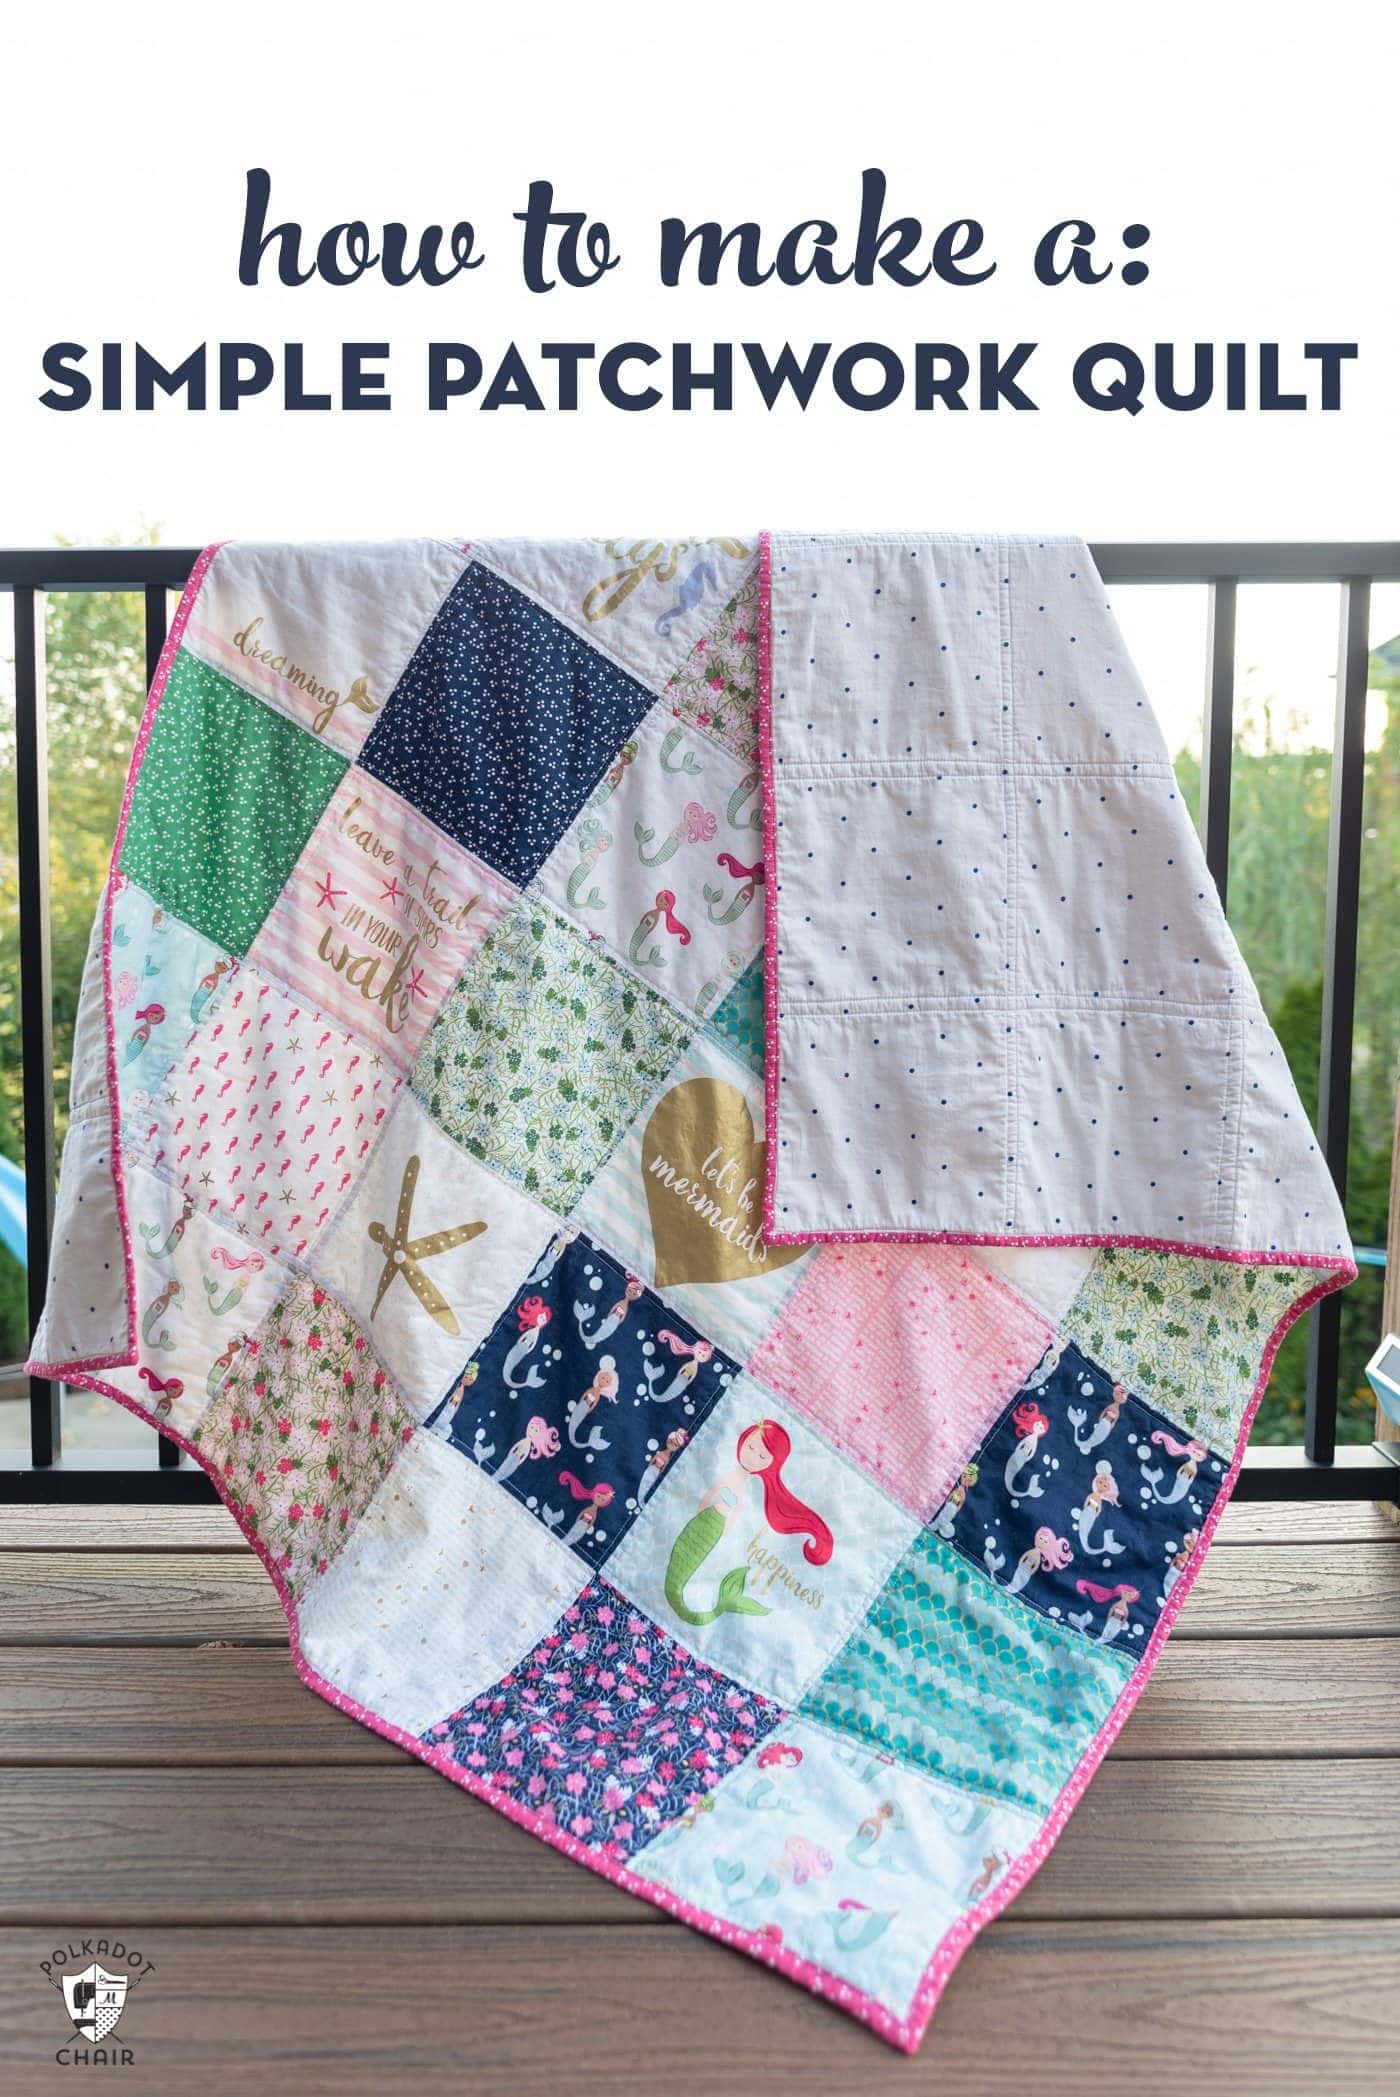
| Step | Instructions |
|---|---|
| 1 | Layer the backing fabric, batting and quilt top in that order. |
| 2 | Secure the layers together with pins or spray baste. |
| 3 | Thread the machine with quilting thread. |
| 4 | Start quilting from the middle and work your way outward. |
| 5 | Choose the desired stitch pattern, such as stitch in the ditch, straight line quilting, or free motion quilting. |
| 6 | Stitch the quilt top, batting, and backing together. |
| 7 | Change the thread color or add quilting motifs when desired. |
Making the Binding
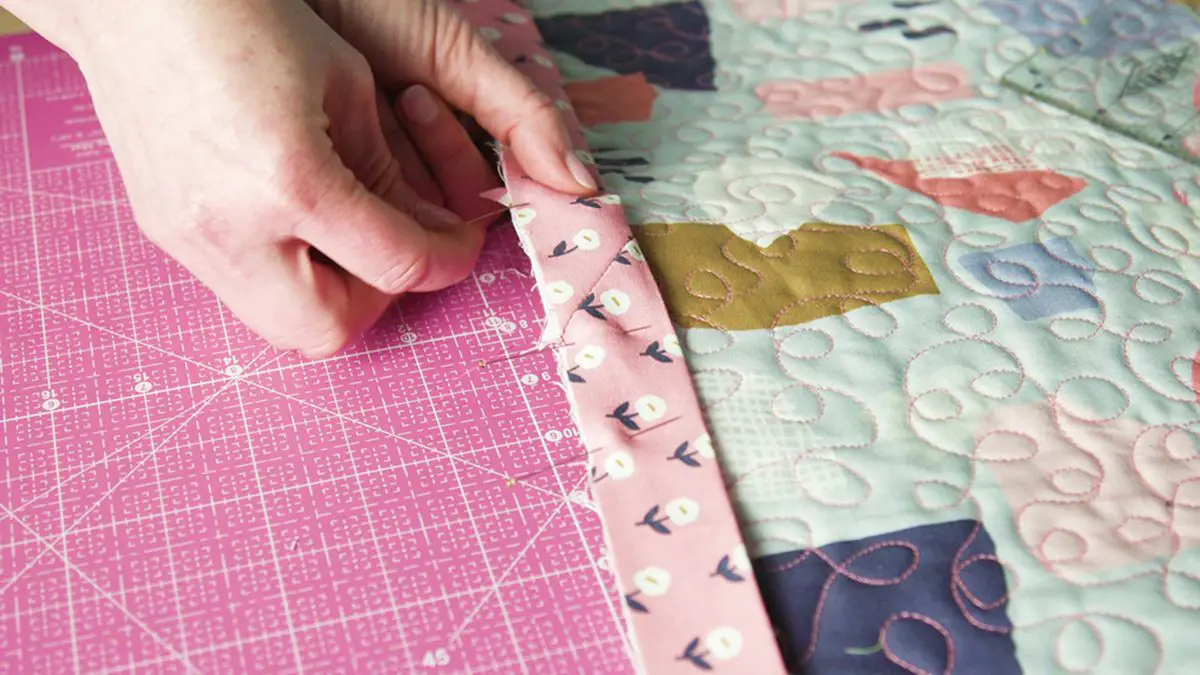
| Step | Instructions |
|---|---|
| 1 | Cut a strip of fabric 2½ inches wide and long enough to go around the entire edge of the quilt. |
| 2 | Fold the strip in half lengthwise with wrong sides together and press. |
| 3 | Open the strip and press each fold again, this time opening up the raw edges to the middle, wrong side up. |
| 4 | Pin the binding to the edge of the quilt top, starting at the corner and matching raw edges. Using a ¼ inch seam allowance, stitch the binding to the quilt. |
| 5 | Fold the binding over the raw edges of the quilt and press. |
| 6 | Pin the binding to the back of the quilt and hand stitch it in place. |
Finishing the Quilt
Stitch the quilt together. Layer the backing fabric, batting, and quilt top together with right sides of the fabric facing up. Pin all the layers together. Start in the middle and work outwards to avoid wrinkles. Sew the layers together using a 1/2 inch seam allowance. Leave a 12-inch opening at the end to allow you to turn the quilt right side out.
Trim the excess fabric. Use scissors to trim away any excess fabric from the edges of the quilt.
Turn the quilt right-side out. Reach through the 12-inch opening and grab the fabric on the other side. Pull the fabric through the opening and turn the quilt right side out.
Hand-sew the opening. Turn the edges of the opening inwards and hand-sew the opening closed.
Quilt the quilt. Make the quilt sandwich again, pinning the layers together. Start in the middle and quilt outward in a straight line, making sure to quilt the edges of the quilt.
Bind the quilt. Cut strips of fabric for binding, 2.5 inches wide. Sew the strips together and press the seam. Fold the fabric strip in half lengthwise and press. Place the binding around the quilt, with raw edges even. Sew the binding to the quilt, mitering the corners. Turn the binding to the back of the quilt and hand-stitch in place.
Frequently Asked Questions
What type of fabric should I use?
- Quilting cotton: This type of fabric is perfect for lap quilts. It is lightweight and comes in a wide variety of colors and prints. Quilting cotton is also easy to sew and is durable for washing.
- Flannel: Flannel is another great fabric choice for lap quilts. It is soft and comfortable, making it perfect for snuggling up on the couch. Flannel is also easy to sew and comes in a wide variety of prints.
- Fleece: Fleece is a great fabric choice for lap quilts. It is warm and lightweight, making it perfect for chilly days. Fleece is also soft and durable, making it ideal for washing.
- Minky: Minky fabric is a great choice for lap quilts. It is luxuriously soft and comes in a wide variety of colors and prints. Minky is also easy to sew and is durable for washing.
What type of batting should I use?
Using the right batting is key to creating a well-crafted lap quilt. The batting should be lightweight and breathable, such as cotton or bamboo batting, to ensure the quilt is comfortable to use and easy to care for. Avoid using synthetic batting, as it can make the quilt too heavy and retain heat.
What Size Should I Make My Quilt?
The size of your quilt will depend on the purpose it will serve. If it is a lap quilt, its size should be between 34” x 50” and 48” x 58”. These measurements will allow you to use the quilt comfortably while sitting on the couch or in a chair. For a bed quilt, the size should be at least 66” x 90”. This size will fit a twin-sized bed with a few inches of overhang. If you are making a quilt for a queen-sized bed, the size should be at least 90” x 90”. For a king-sized bed, the size should be at least 108” x 90”.
How do I bind the quilt edges?
Step 1: Measure the perimeter of your lap quilt. Cut a piece of binding fabric that is twice the length of the perimeter, plus an additional 10 inches.
Step 2: Fold the binding in half lengthwise, wrong sides together.
Step 3: Attach the binding to the right side of the quilt using a ¼ inch seam allowance. Start by aligning the raw edges of the binding and the quilt and stitching.
Step 4: When you reach the corner of the quilt, stop sewing ¼ inch from the edge. Raise the presser foot and pivot the quilt so you can continue stitching in the same direction.
Step 5: When you have sewn a full side of the quilt, fold the binding away from the quilt and press the fold.
Step 6: Fold the binding back over the edge of the quilt, aligning the raw edges, and stitch in place.
Step 7: Continue stitching until you have completed sewing around the entire perimeter of the quilt.
Step 8: Trim the binding so that the ends are even.
Step 9: Join the two ends of the binding together by overlapping them and stitching.
Step 10: Fold the binding to the wrong side of the quilt and stitch in place.
Step 11: Hand stitch the binding in place to finish.
Is it necessary to use a quilting machine?
- Yes, if you are looking to make a lap quilt quickly and with accuracy.
- A quilting machine can help you to make your quilt blocks with ease and accuracy.
- It can also help you to quilt the fabric layers together quickly and with precision.
- You can also use a quilting machine to add decorative stitches and embellishments to your quilt.
- Using a quilting machine can save time and energy, and make the entire process of making a lap quilt much easier.
Conclusion
Creating a lap quilt requires a few basic steps, but can be accomplished by any quilter of any skill level. With the right materials, patience, and a few simple steps, you can make a cozy lap quilt in no time.
