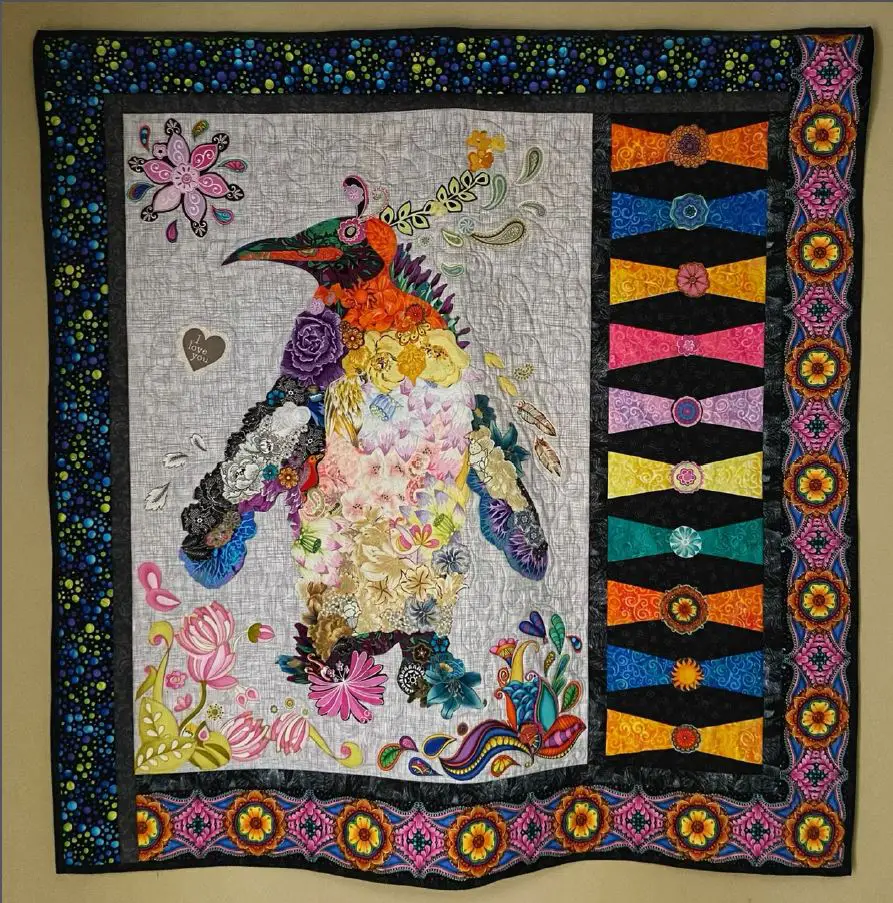
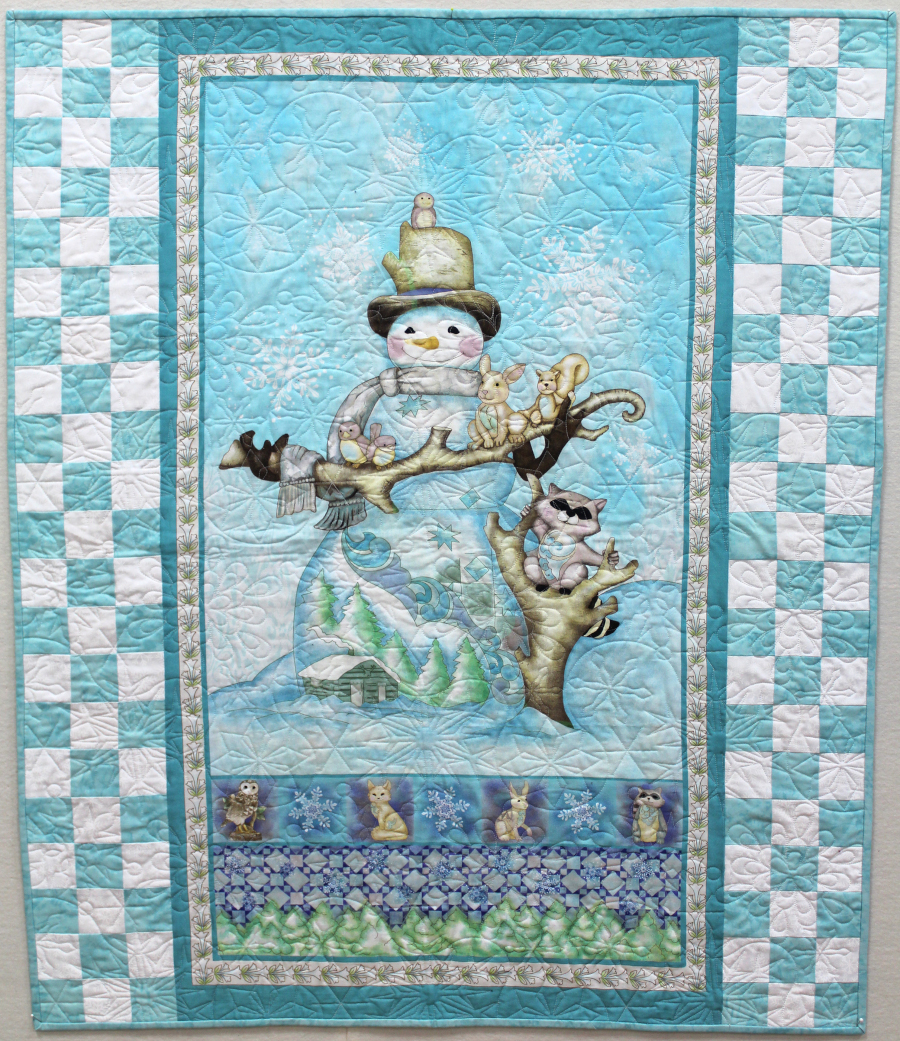
Are you looking to learn how to quilt a panel wall hanging? Whether you are a beginner or an experienced quilter, this guide will provide you with an easy step-by-step guide to creating beautiful wall hangings. Here, you will learn how to select the right fabric and batting, prepare the panel, and assemble the quilt. Additionally, this guide will provide tips on quilting, binding, and finishing your panel wall hanging. With this guide, you can craft stylish wall hangings with confidence.
Materials Needed
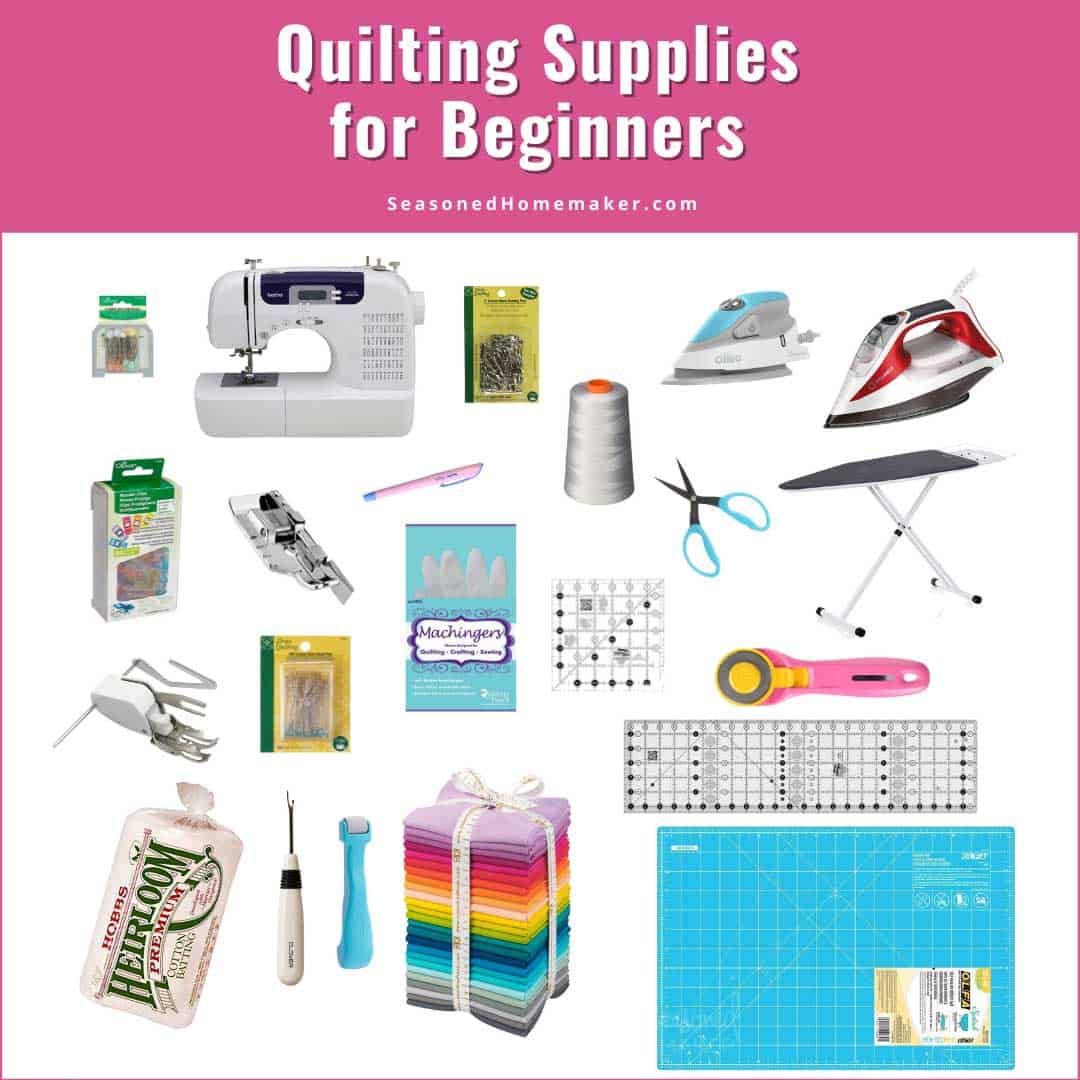
- Quilt Panel – a fabric panel of the desired size
- Backing Fabric – a piece of fabric to be used as backing fabric
- Batting – batting of the same size as the quilt panel
- Thread – a thread of desired contrast
- Scissors – to trim the fabric
- Sewing Machine – to stitch the quilt panel
- Iron & Ironing Board – to press the fabric
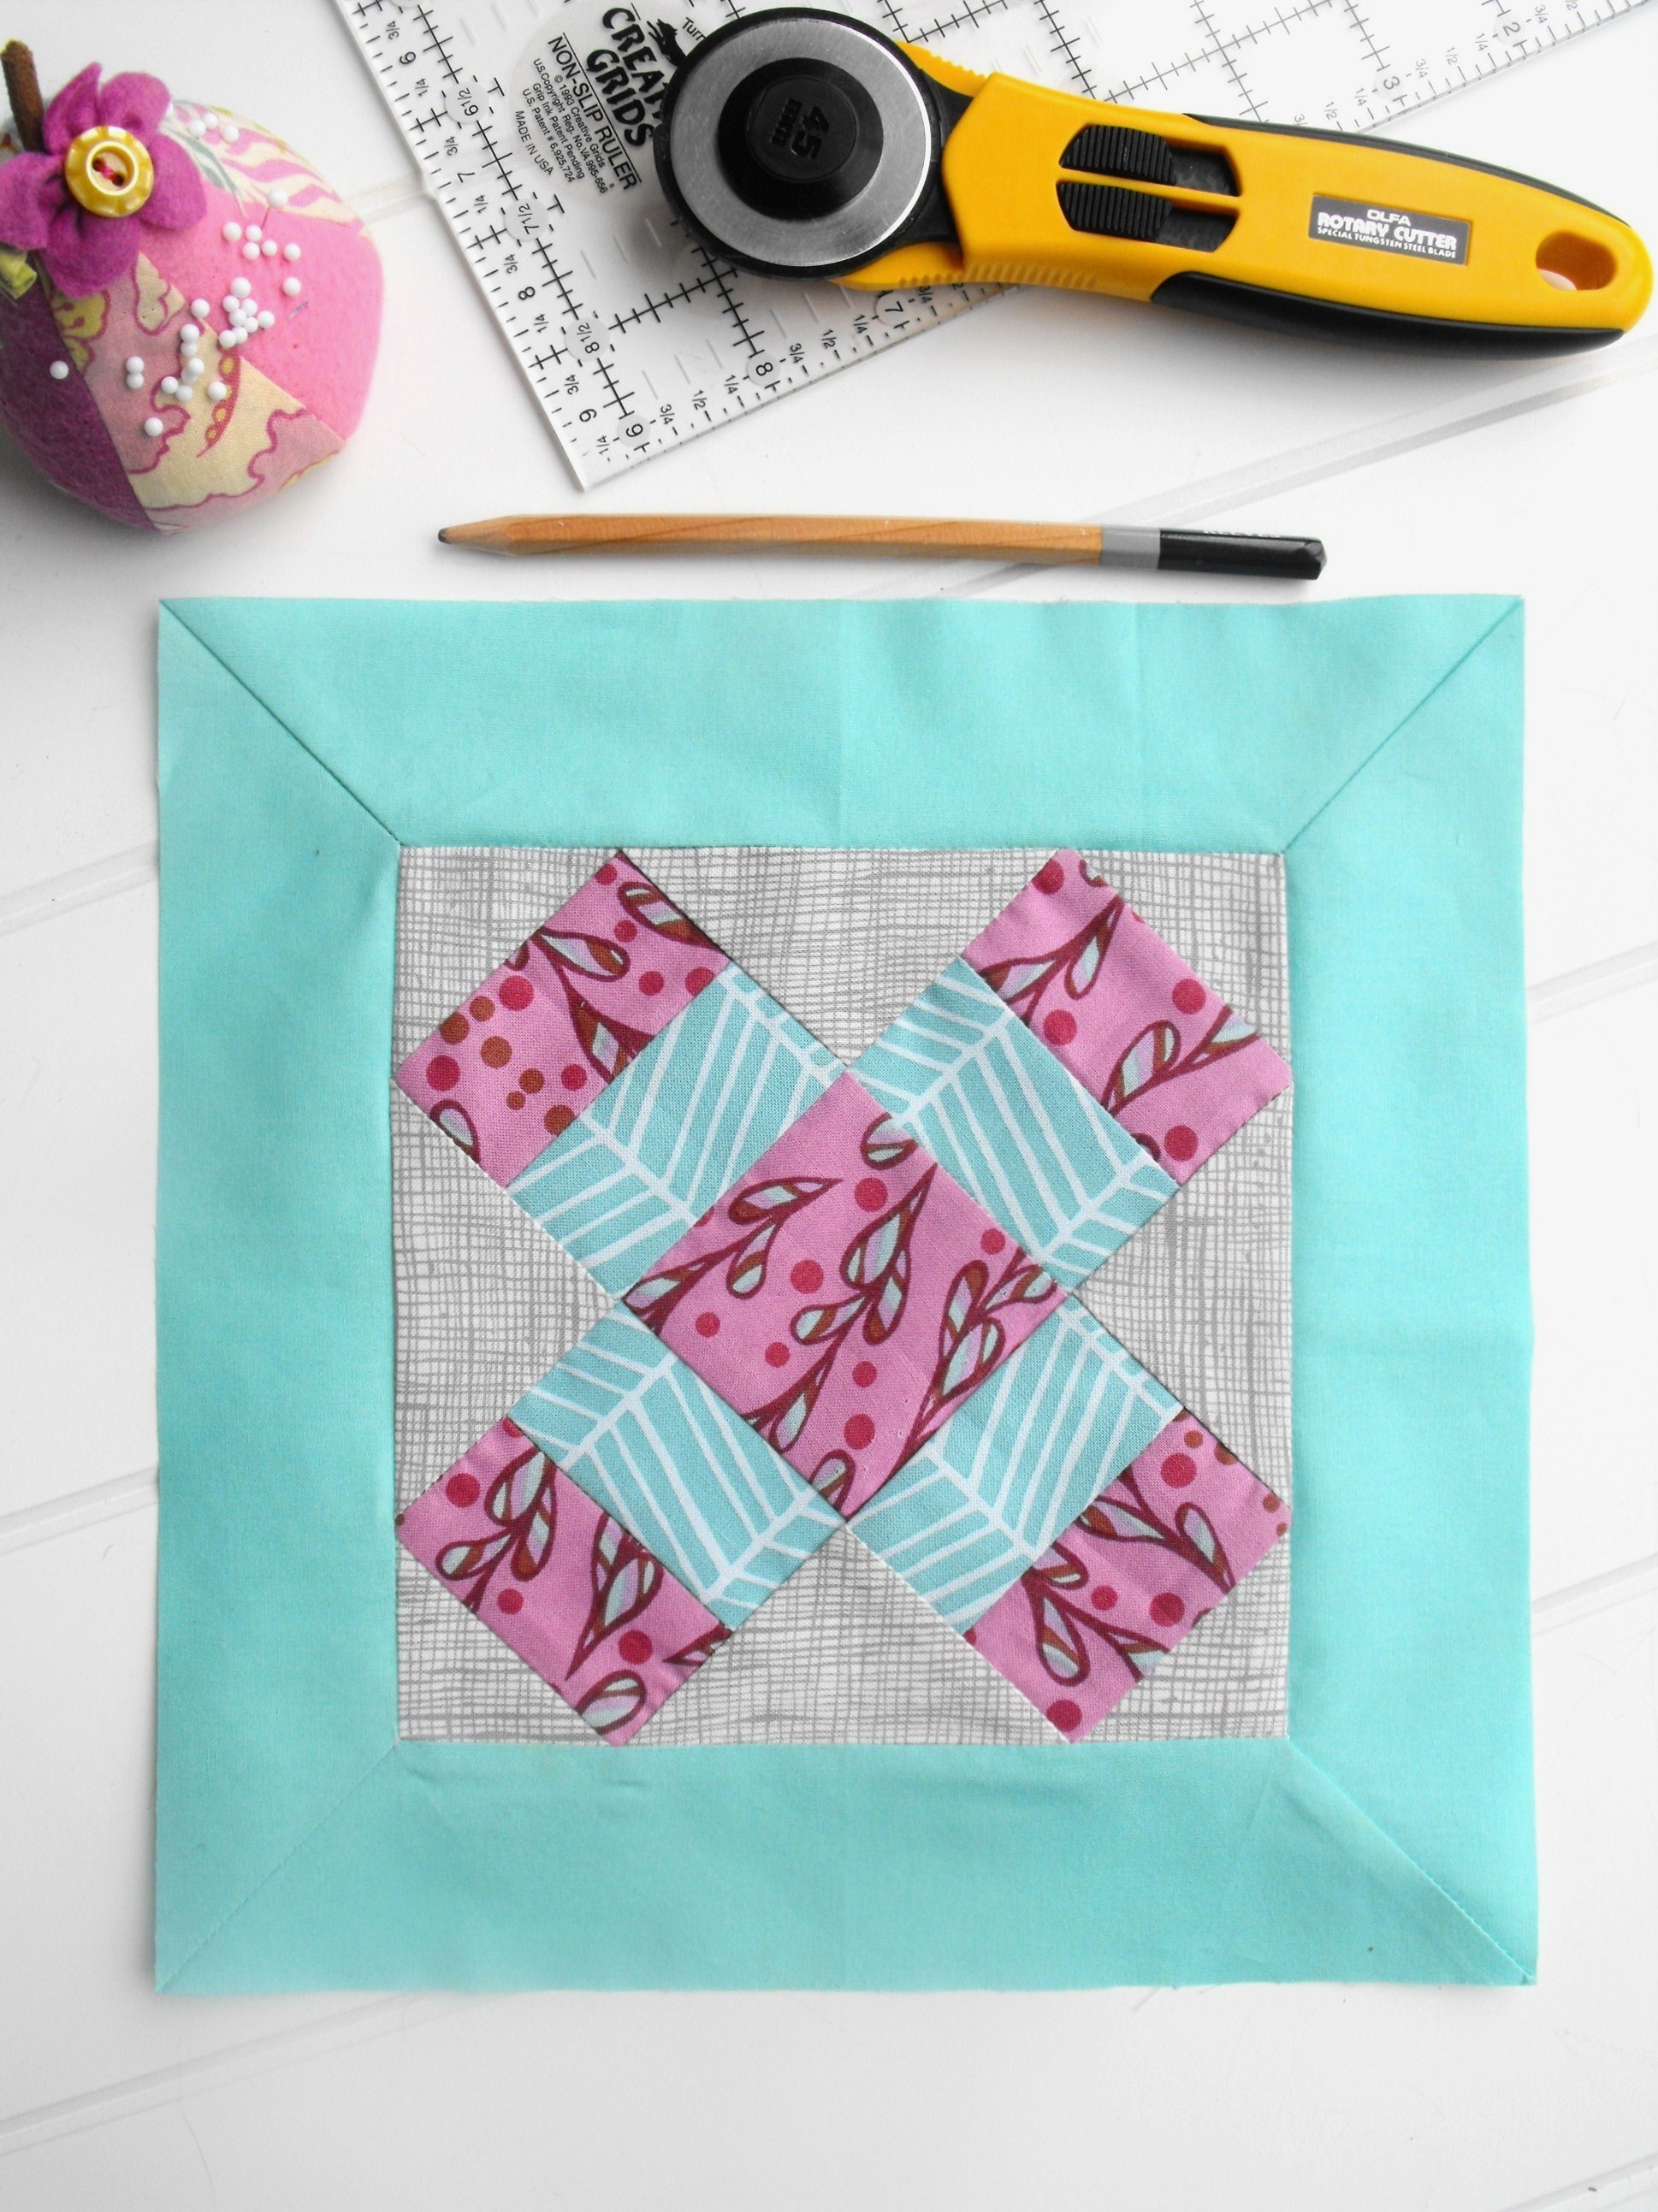
- Rotary Cutter & Mat – to cut the fabric
These are the materials needed to make a quilt panel wall hanging.
Preparing the Fabric
Choose a Panel – Select a panel that is suitable for the quilt wall hanging and is large enough to cover the required area.
Cutting the Panel – Cut the panel into pieces or strips according to the quilt pattern. Make sure to leave an extra inch or two around the edges of each piece.
Iron the Pieces – Lay the pieces of the panel flat and use an iron to press them smooth.
Adding a Backing – Place a piece of batting or thin fabric behind the panel pieces and pin the edges to secure it.
Basting the Pieces – Use a basting stitch to attach the batting or backing to the panel pieces.
Trimming the Edges – Trim away any excess fabric from the edges of the panel pieces.
Squaring the Fabric – Use a ruler and rotary cutter to square the edges of the panel pieces.
Starching the Fabric – Spray a light coating of starch on the panel pieces to stiffen the fabric and make it easier to work with.
Stitching the Quilt Panel
Once all the pieces of the quilt panel are cut, it’s time to stitch them together. To join two pieces of fabric, place them right sides together. Pin the edges together and stitch along the pinned seam. Make sure to remove the pins as you go. If the pieces are too large to fit through the machine, stitch in sections and then join the seams.
Once the pieces of the quilt panel are joined, press the seams to flatten them. To ensure that the seams match up, press the seams open and then press them to one side.
Finally, use a strong thread, such as quilting thread, to stitch the panel together. Start in the center of the panel and work your way out to the edges. Stitch the seam allowance down to the wrong side of the fabric.
This will give the panel a finished look and help to keep the seams in place. After the seam allowance is stitched down, it’s time to attach the backing and quilt the panel.
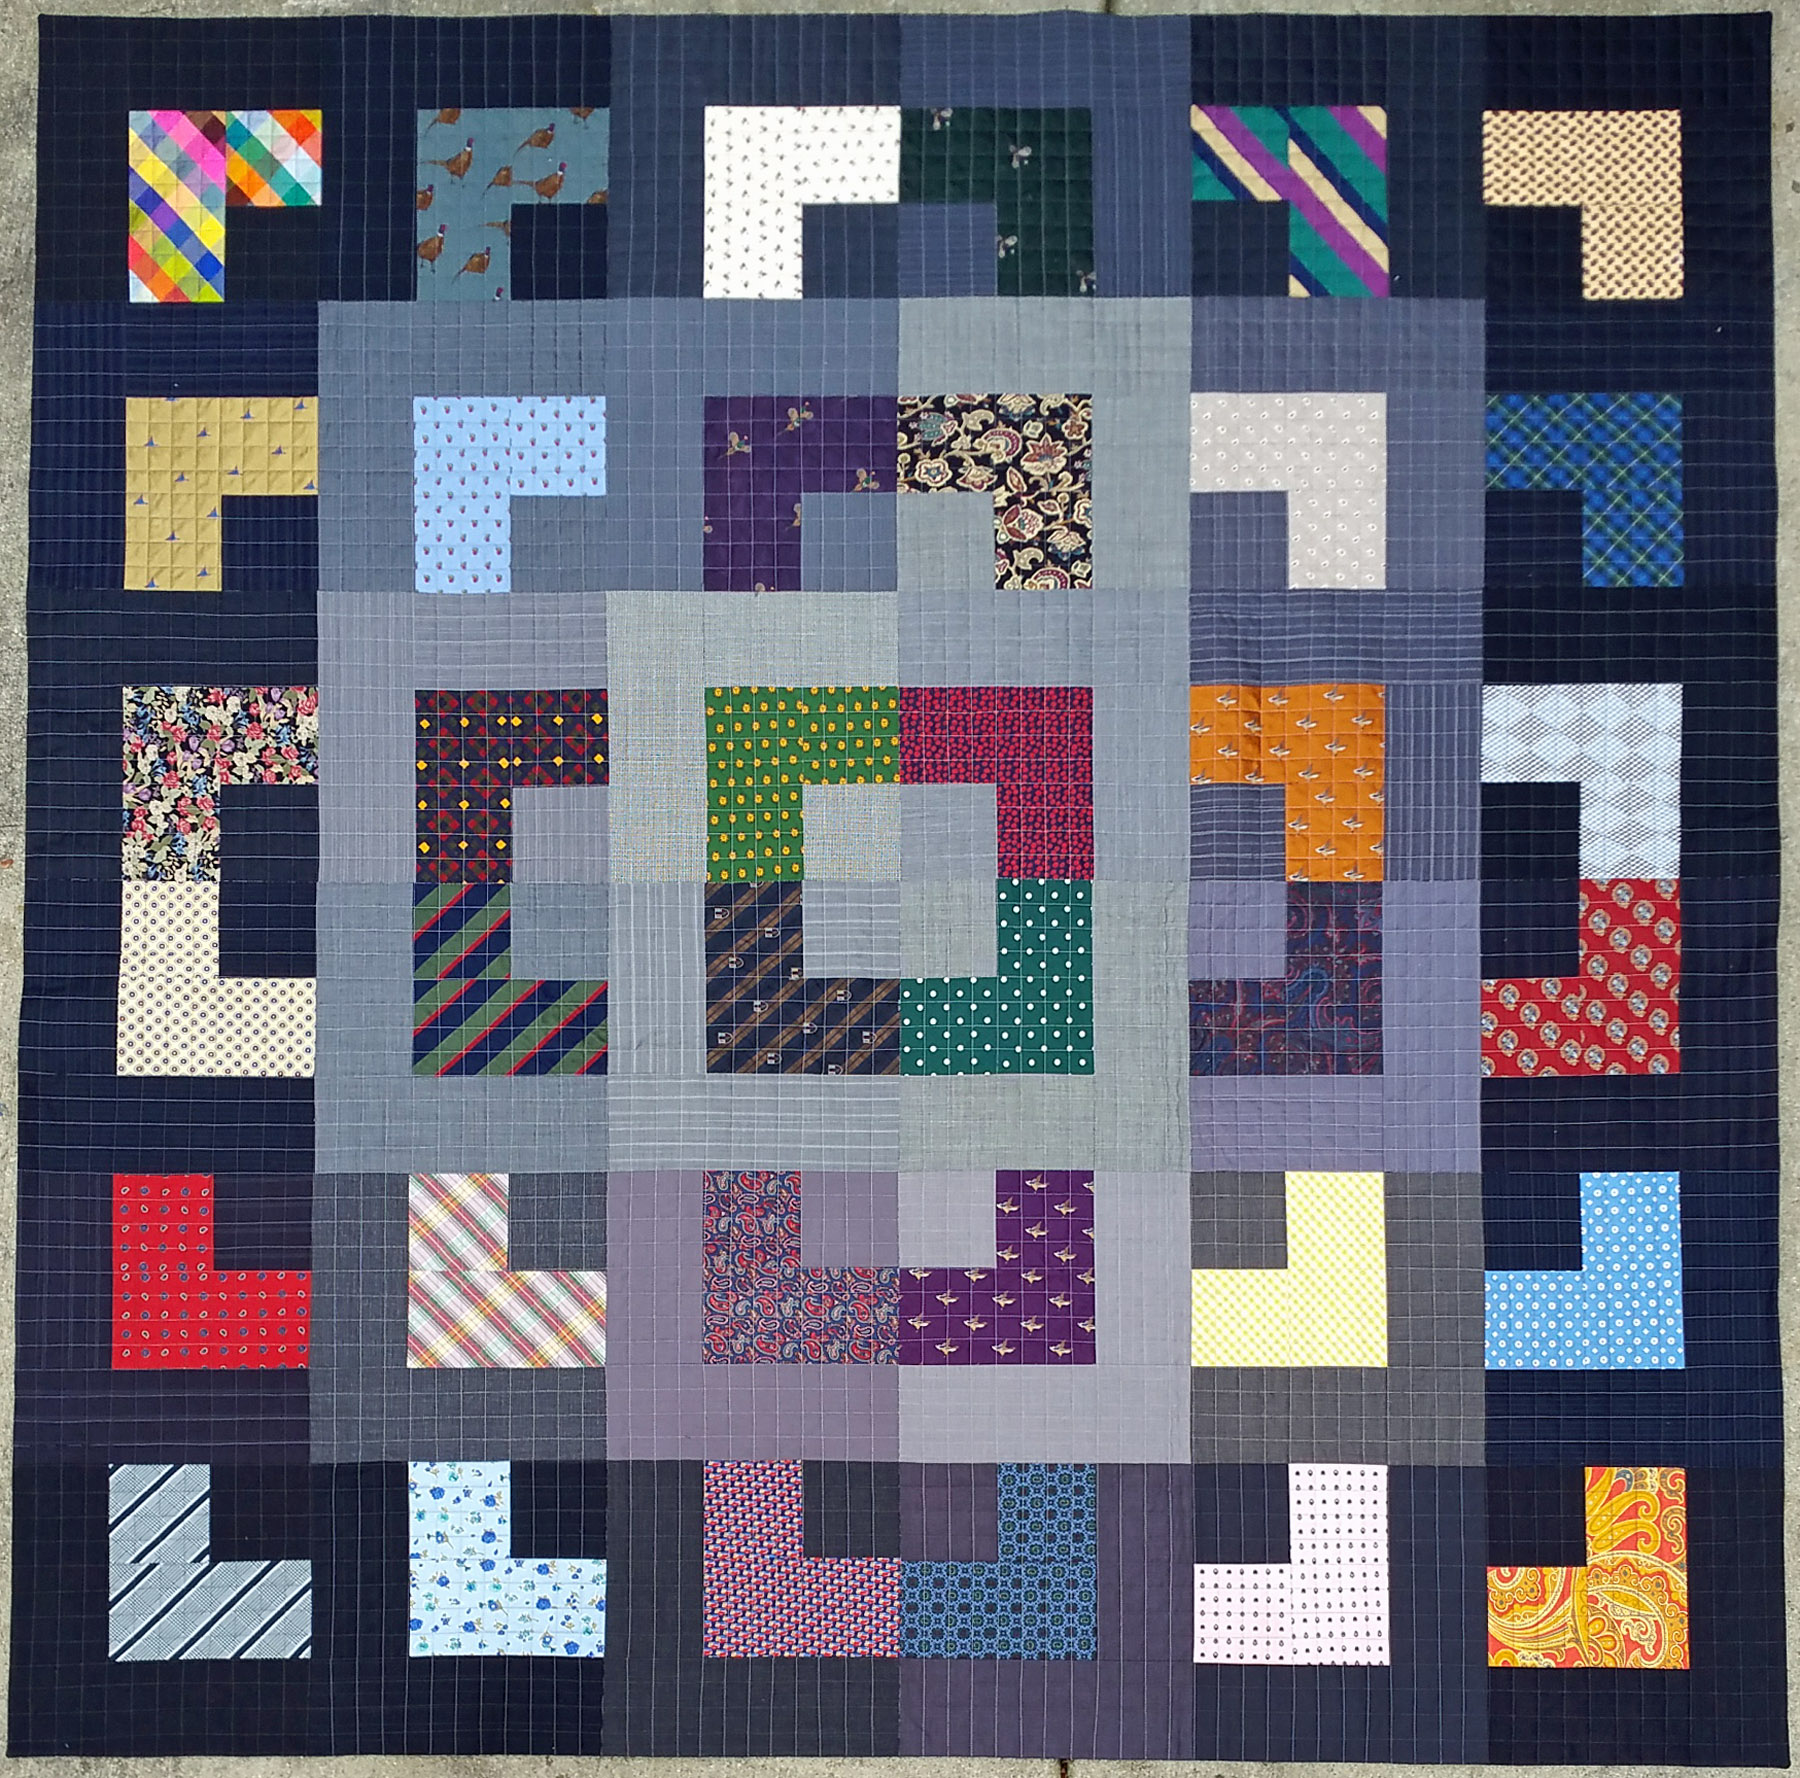
Adding Borders
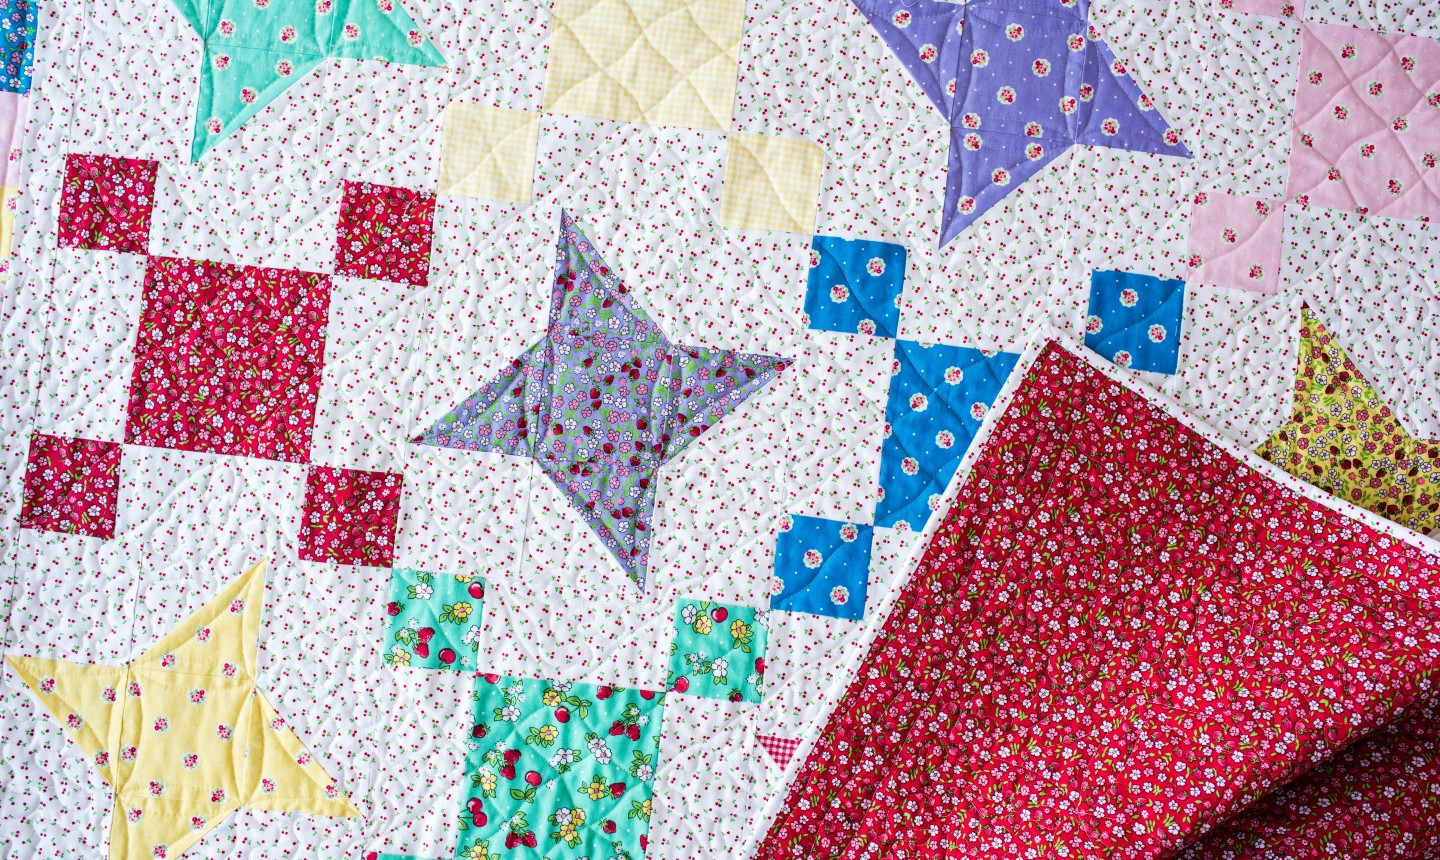
Once the panel is quilted to the backing, the panel is ready for borders. The borders are usually strips of fabric that are sewn onto the quilt. Borders can be cut from a single fabric or several fabrics pieced together to create a unique look. The width of the border strips will depend on the design and pattern desired.
To add a border, cut strips of fabric that are 1 ½ inches longer than the quilt’s width. Place the strips around the quilt and make sure the corners are square. Pin the strips along the quilt’s edges. Sew the strips together with a ¼ inch seam allowance. Press the seam allowances towards the border. Trim the excess fabric from the corners.
Repeat the steps for the remaining sides of the quilt, then add the binding. The binding is a single strip of fabric that is folded along the edges of the quilt and sewn in place. It finishes the quilt, giving it a finished look.
Adding the Backing
| Step | Instructions |
|---|---|
| 1 | Cut a piece of cotton fabric to the same size as the quilted panel. |
| 2 | Lay the panel on a flat surface and place the backing fabric on top. |
| 3 | Pin the backing fabric to the panel using quilting pins. |
| 4 | Thread a quilting needle with quilting thread. |
| 5 | Stitch the backing fabric to the panel using a quilting stitch. |
| 6 | Remove the pins and trim the excess fabric. |
Quilting the Wall Hanging
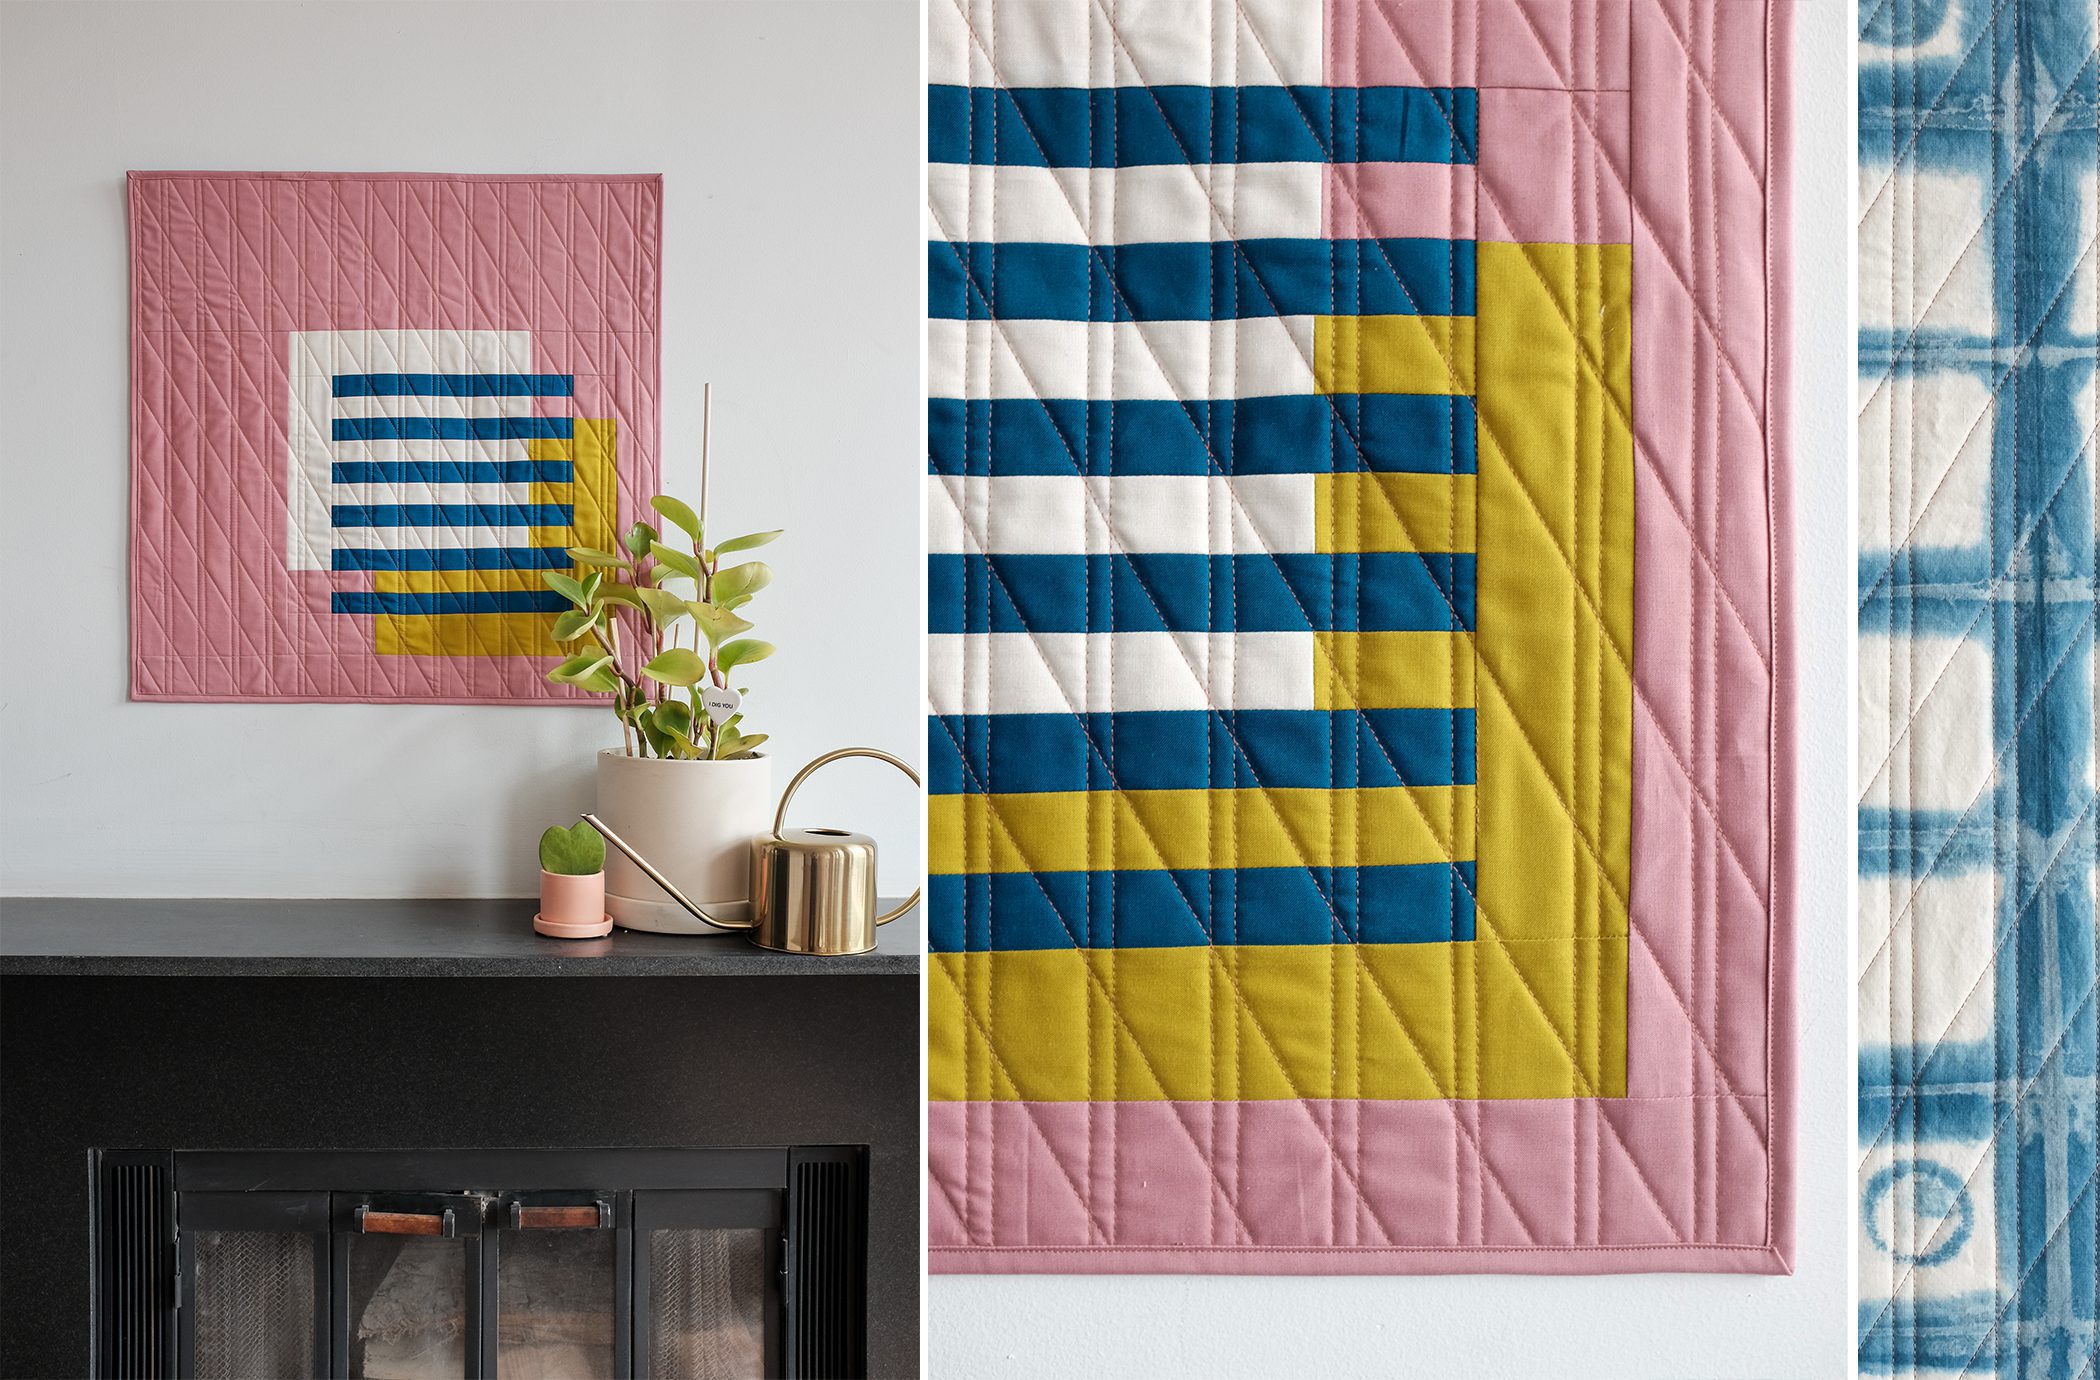
Once the panel and backing fabric are basted together, the quilting of the wall hanging can begin. Using a walking foot on the sewing machine, quilt as desired. If quilting free hand, use a darning foot. It is important to keep the quilting lines even and straight.
TIP: Use a quilting ruler and rotary cutter to ensure straight lines.
When selecting thread for quilting, choose a thread that blends in with the fabric. The thread should not be too thick or too thin. Cotton thread is usually the best choice.
Once quilting is complete, trim the edges of the wall hanging, leaving a 3/8” seam allowance. Then, press the edges with an iron and add a binding.
TIP: Use a 2 ½” wide binding for a nice finish.
Finally, the wall hanging is ready to be hung and enjoyed.
Finishing the Wall Hanging
- Trim the edges – Trim the edges of the quilt top, batting and backing fabric to make sure that all the layers are even.
- Layer the quilt – Lay the batting on a flat surface, then place the backing fabric on top of the batting. Place the quilt top on top of the backing fabric.
- Quilt the layers – Pin the layers together and quilt them together. Use a quilting ruler to keep the quilting lines even.
- Create binding – Cut strips of fabric for binding and sew them together to make a long strip. Attach the binding to the edge of the quilt.
- Sew the binding – Sew the binding to the quilt, making sure to keep it even and tight. Trim any excess binding.
- Finish the quilt – Hand stitch the binding to the back of the quilt. Trim any loose threads.
Frequently Asked Questions
What type of fabric should I use for the quilt?
- Cotton fabric is the best choice for quilting. It is lightweight, soft and breathable and comes in many colors and prints.
- Batting is a layer of material that gives the quilt its thickness and warmth. Cotton, wool and synthetic batting are all suitable for quilting.
- Linen fabric is also a good choice for quilting as it is durable and holds its shape well.
- Fleece is a synthetic fabric that is lightweight, easy to sew and is available in a variety of colors and patterns.
What is the Best Way to Cut the Fabric Pieces for the Quilt?
Using a sharp rotary cutter and a cutting mat is the best way to cut fabric pieces for a quilt. Make sure the mat is large enough to accommodate the entire fabric panel, and that the rotary cutter is well-maintained and sharp. Determine the size of the quilt pieces, then mark the fabric with a water-soluble fabric marker or quilting ruler. Cut along the lines of the marks, and press the cut fabric pieces with an iron.
How do I attach the backing fabric to the quilt?
Step 1: Prepare the backing fabric. Lay it out on a flat surface and trim the excess fabric, if necessary.
Step 2: Place the backing fabric on top of the batting, then the quilt top. Pin them together every few inches to hold them in place.
Step 3: Machine quilt or hand quilt the three layers together.
Step 4: Trim the batting and backing fabric to match the quilt top.
Step 5: Sandwich the batting and backing fabric between the quilt top and the backing fabric. Securely pin them together.
Step 6: Sew the three layers together, using a walking foot on the sewing machine or a whip stitch on the hand sewing needle.
What is the Best Way to Quilt the Panel Wall Hanging?
The best way to quilt the panel wall hanging is to first mark the quilting lines on the panel. This can be done with a fabric marker, pencil, or chalk. Next, use a walking foot on the sewing machine to stitch all the lines. Finally, quilt the panel with a batting of your choice and bind it with a coordinating fabric.
How do I attach a hanging sleeve to the quilt?
To attach a hanging sleeve, measure the width and length of the quilt and cut a piece of fabric that is slightly larger than the quilt. Fold the fabric in half lengthwise and sew the sides together. Turn the fabric right side out and press the seam flat. Sew the open end of the sleeve to the quilt top, leaving a 1/4 inch seam allowance. Turn the quilt over and pin the other end of the sleeve to the back of the quilt. Sew the sleeve to the back of the quilt, making sure to keep the seam allowance even on both sides.
Conclusion
Creating a panel wall hanging is a great way to add a personalized touch to your home. With this easy step-by-step guide, you’ll be able to make your own beautiful quilted wall hanging in no time. All you need is a few basic quilting supplies and some patience. So get quilting and enjoy the end result of your own beautiful creations!


