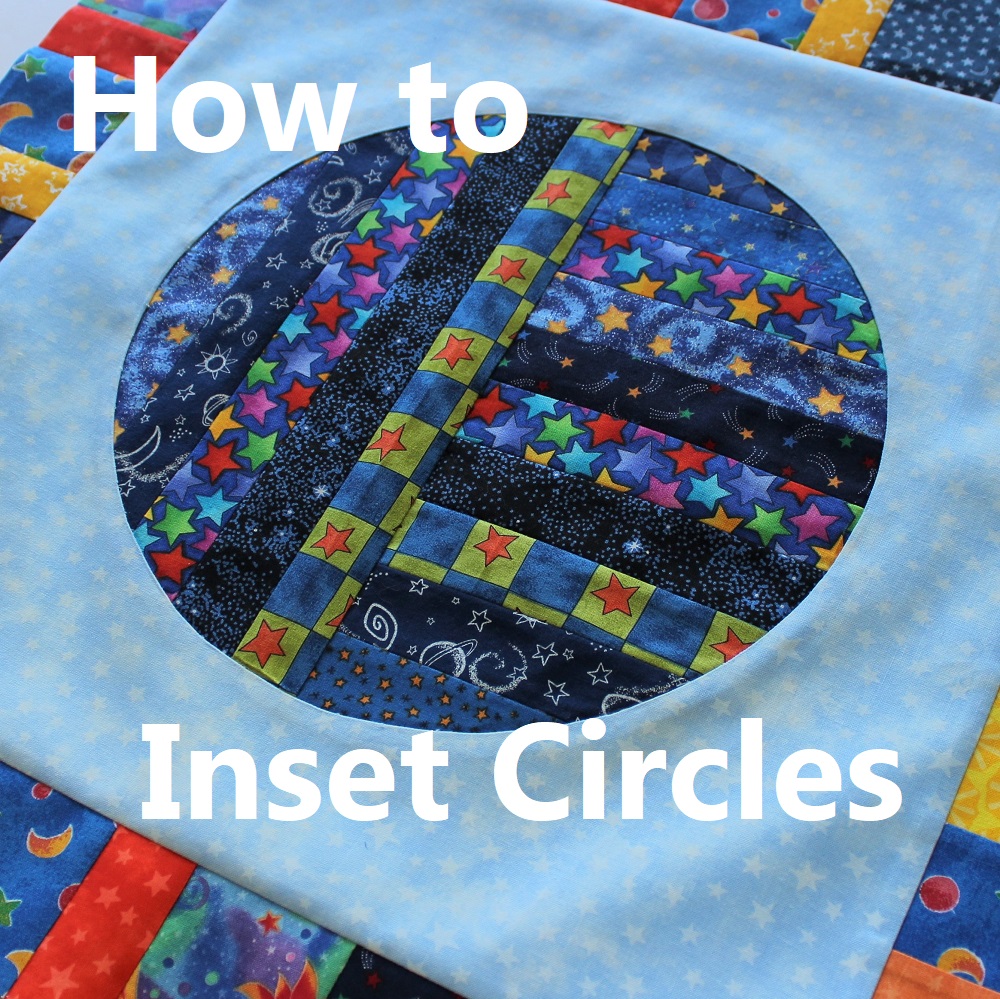
Do you want to learn how to quilt circles by machine? If so, you have come to the right place. This step-by-step guide will provide you with all the information you need to achieve perfect results when quilting circles by machine. Follow the instructions and you will soon be creating beautiful quilted circles with ease. So let’s get started!
What You’ll Need
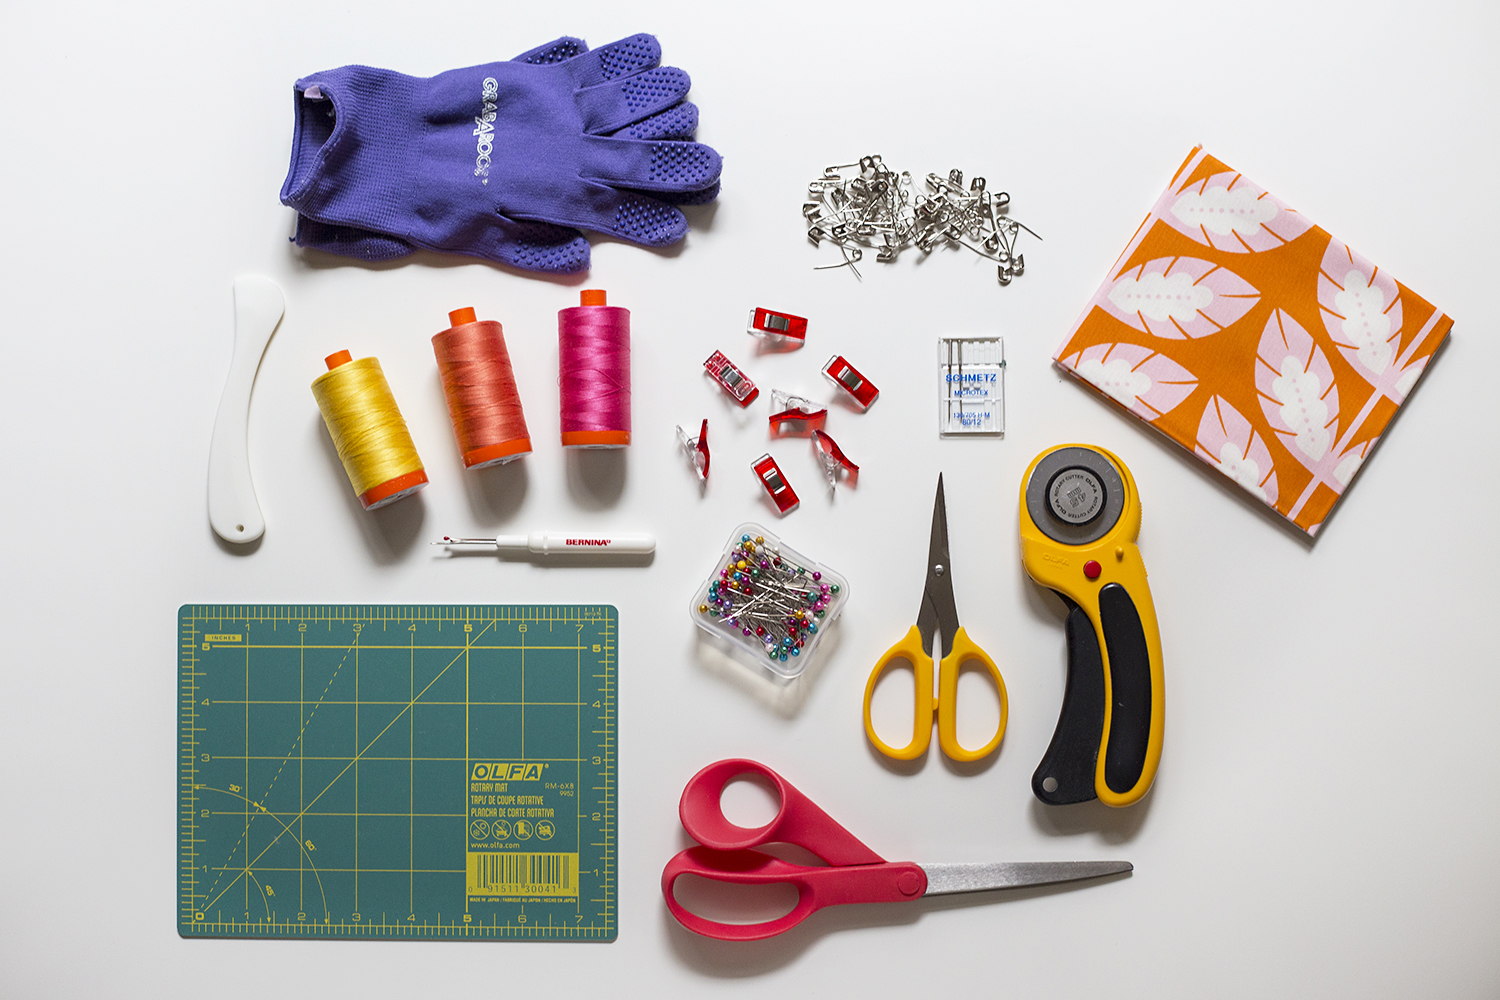
- Sewing Machine – preferably one with a walking foot attachment.
- Circular Template – a template with a circle design.
- Fabric – choose a light-weight fabric for quilting.
- Batting – batting is used for additional padding and insulation.
- Thread – choose a thread that is suitable for machine quilting.
With these materials, you can use the walking foot attachment on your sewing machine to quilt circles with ease. It is important to choose a lightweight fabric and thread, as this will make it easier to maneuver the template. Additionally, batting provides extra insulation and padding, allowing for a more comfortable quilting experience.
Preparing Your Machine for Quilting Circles
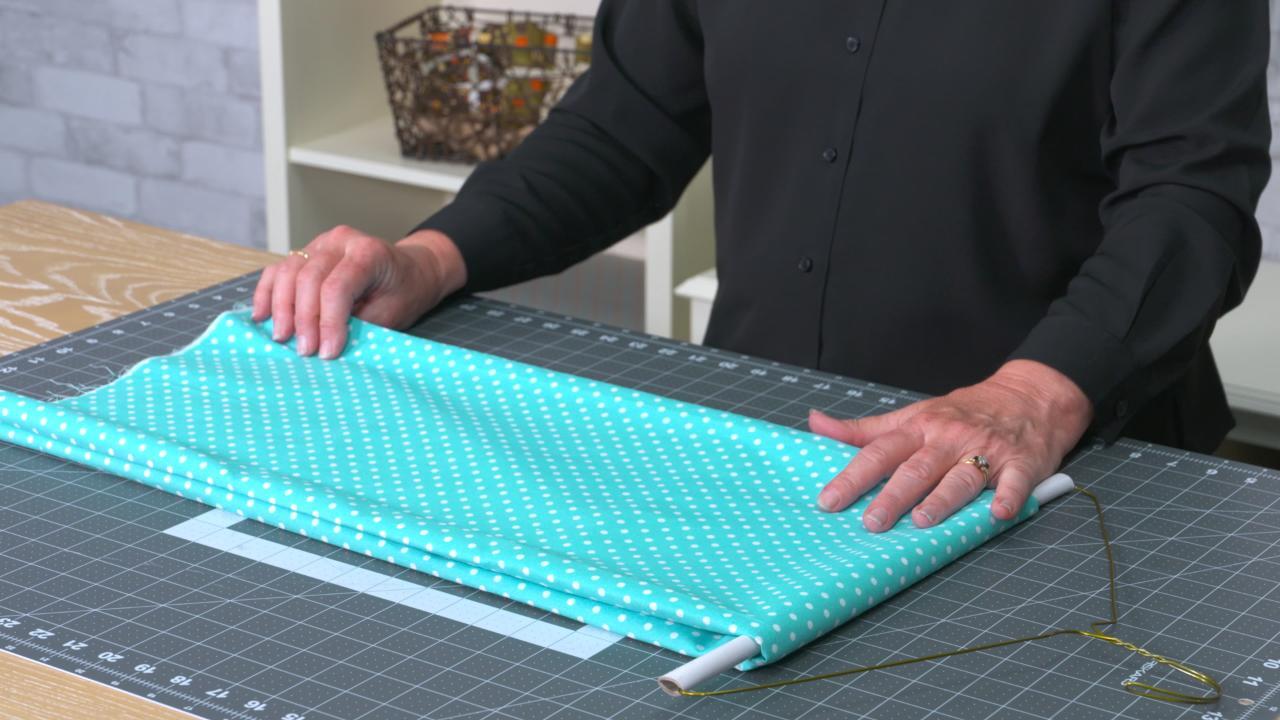
Before quilting circles on your machine, it is important to make sure your machine is properly set up and ready to go. This includes checking the tension, thread, and needle size as well as ensuring your machine is in good working order.
Tension
The tension must be balanced and not too tight or too loose. To check your machine’s tension, attach a piece of fabric to the machine and sew a few lines of stitching. If the tension is correct, the stitches should sit in the middle of the fabric.
Thread
It is important to use a quality thread that is suitable for your machine. When quilting circles, use a thread that is strong and has good stretch resistance.
Needle Size
A quilting needle should be used for quilting circles. It should be of the correct size for the type of fabric you are using. The needle should also be sharp and in good condition.
Machine Maintenance
Before quilting circles on your machine, it is important to make sure it is in good working order. Check the feed dogs, bobbin, and all moving parts to ensure they are all working properly.
By preparing your machine properly, you can ensure that your quilting circles will come out perfect every time. Follow these steps to ensure your machine is ready for quilting circles and that you can achieve the desired results when back a circle quilt by machine.
How to Quilt Circles with a Walking Foot
Setting Up the Walking Foot
The first step in quilting circles with a walking foot is to set up your machine correctly. Start by attaching the walking foot on to your machine. Make sure the foot is properly secured, and that the needle is in the correct position. Then, adjust the stitch length and tension according to the type of fabric you are using.
Walking Foot Technique
Mark the desired size of the circle onto the fabric. You can use a fabric marker or tailor’s chalk to do this. Ensure that you have enough fabric around the circumference of the circle to accommodate the walking foot.
Position the walking foot on the right side of the fabric, with the needle in the center of the circle.
Stitch around the circumference of the circle, making sure to keep the foot in the same position on the fabric. As you stitch, you will need to adjust the speed of the machine to ensure that the stitches are even and the fabric doesn’t bunch up.
Remove the walking foot from the machine and cut away any excess fabric.
Quilting circles with a walking foot can be a great way to add interest to your quilts! With a bit of practice, you’ll be creating perfect circles in no time.
How to Back a Circle Quilt by Machine
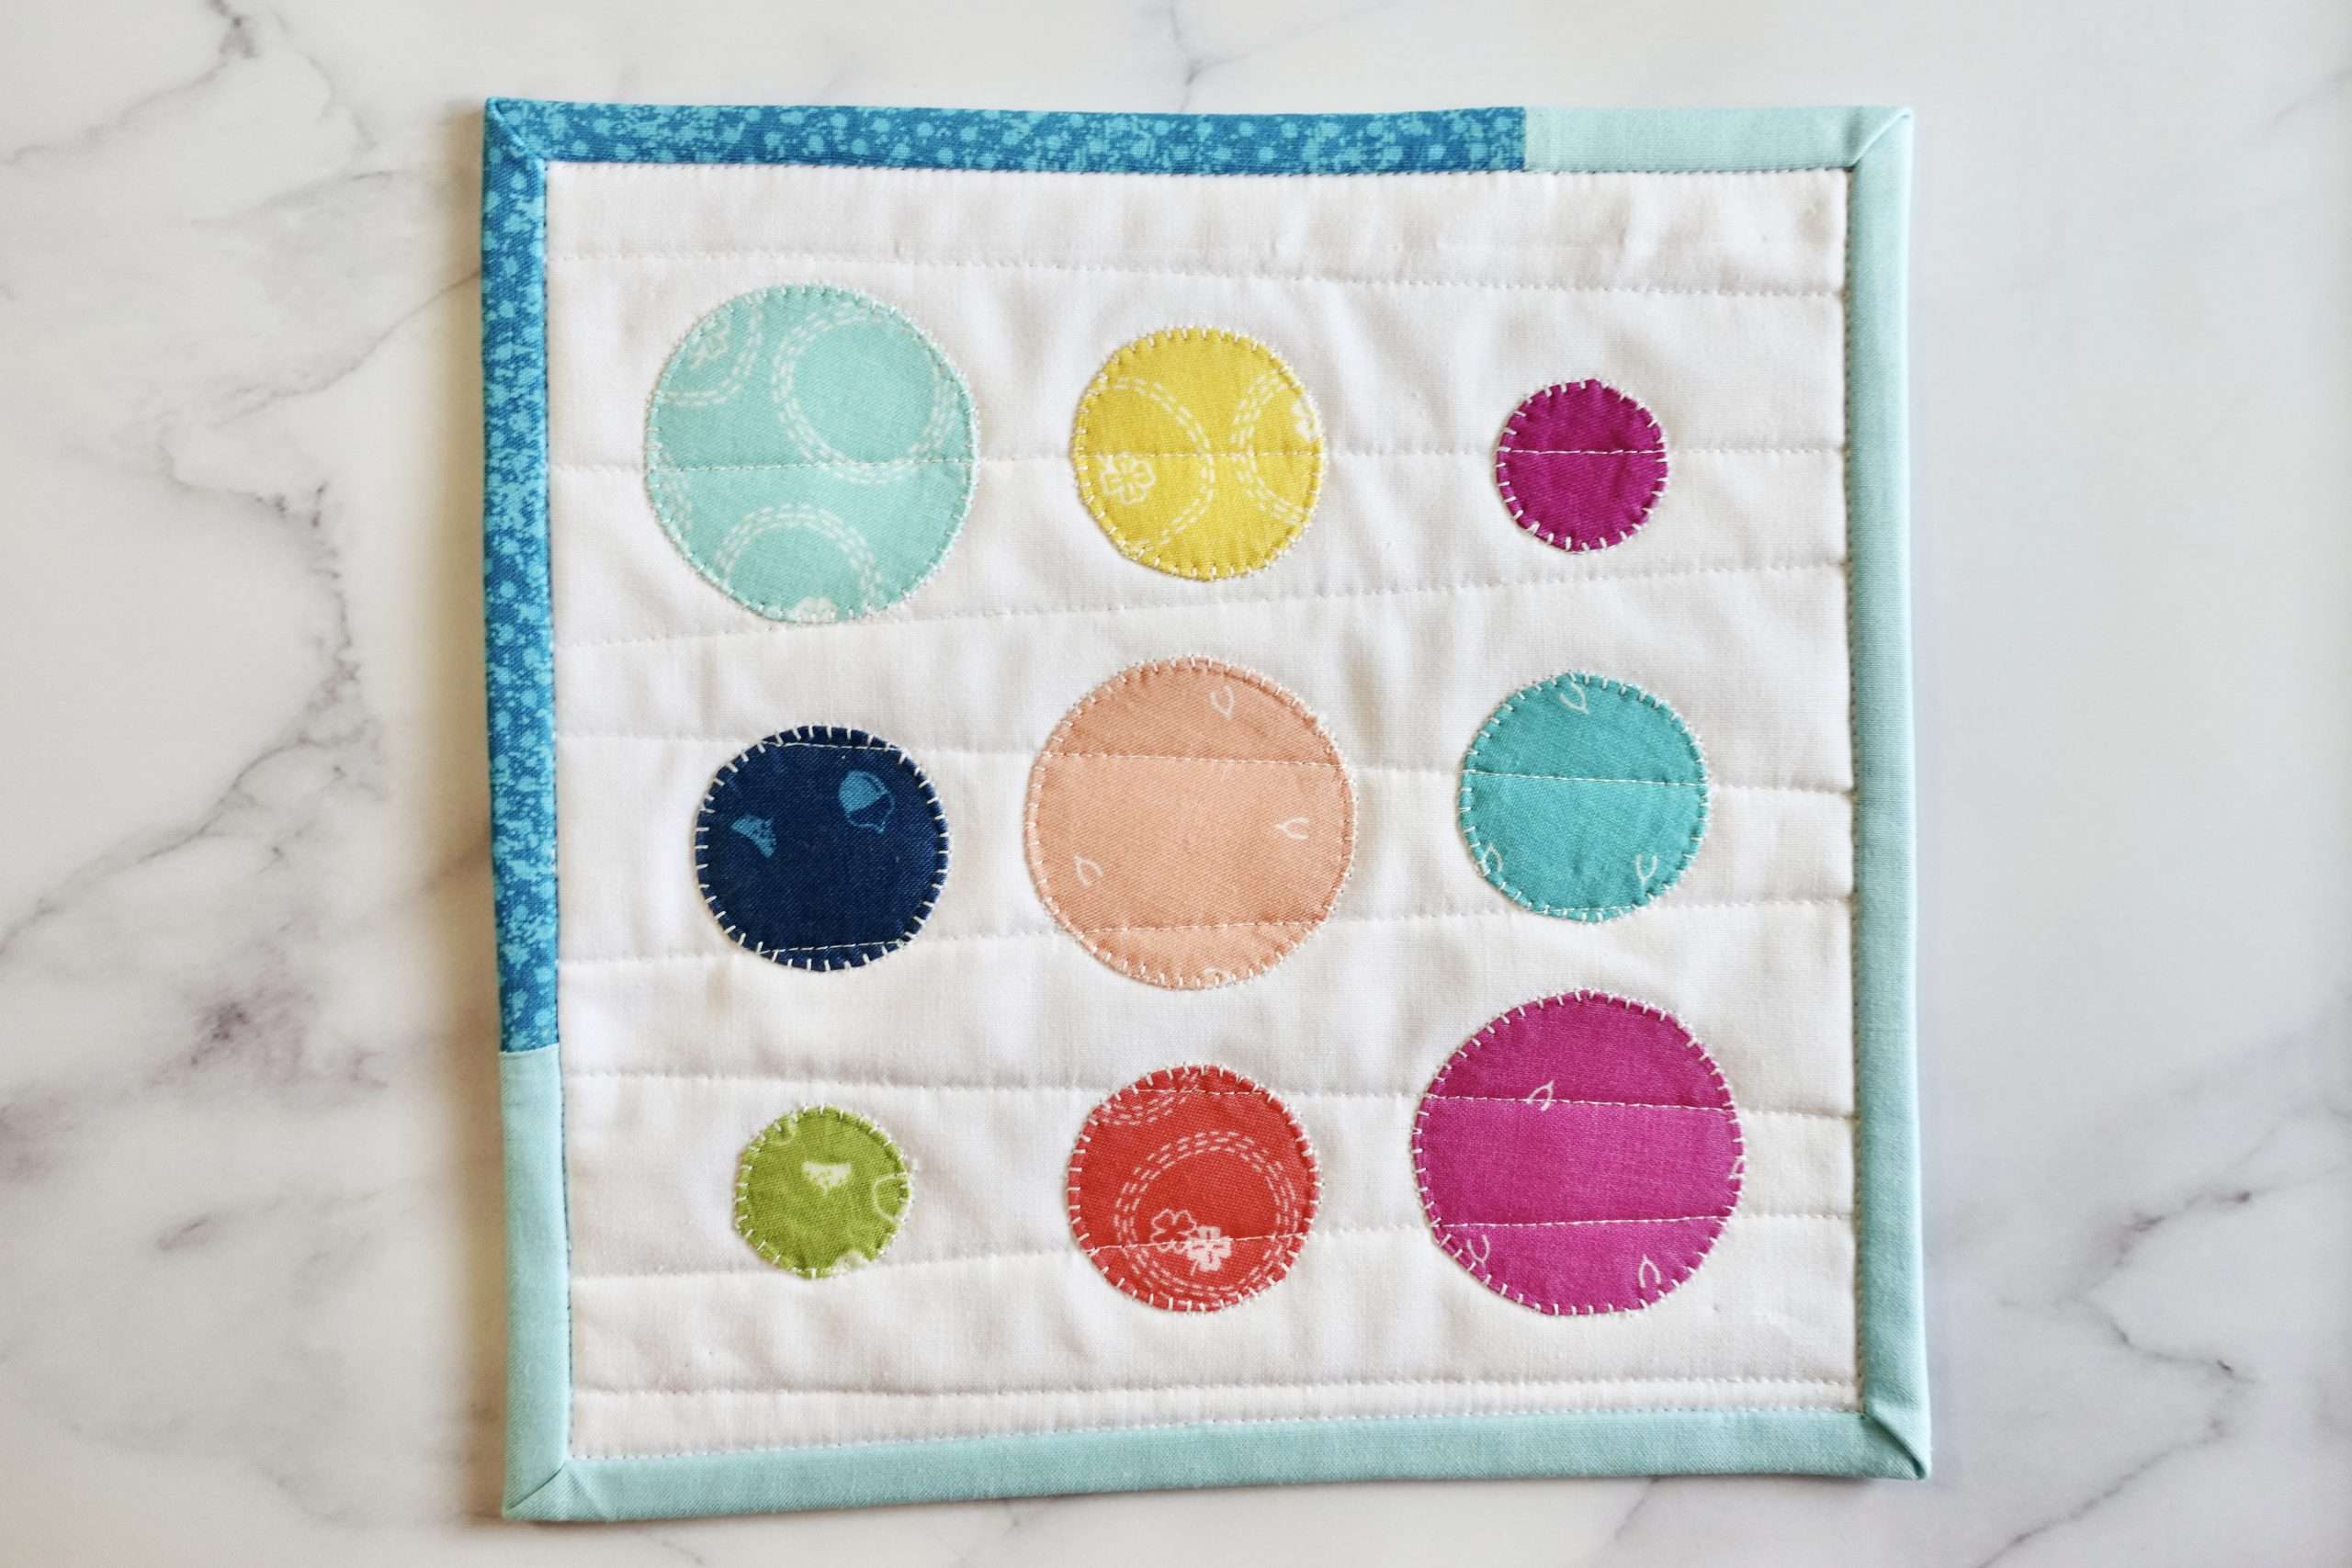
Setting Up the Machine
Prepare the machine. Thread the machine with your chosen thread. Make sure the bobbin is full and the upper thread is properly loaded and the tension is correct. Adjust the stitch length and width to your desired settings.
Add the quilt. Place the batting and backing fabric together and then place the quilt top on top. Make sure the quilt sandwich is taut and flat. Pin or baste the quilt layers together.
Backing a Circle Quilt
Set the quilt. Place the quilt on a flat surface and make sure the excess backing fabric is smooth and even. Sew the edge of the backing fabric to the quilt top, starting from the center and working outwards.
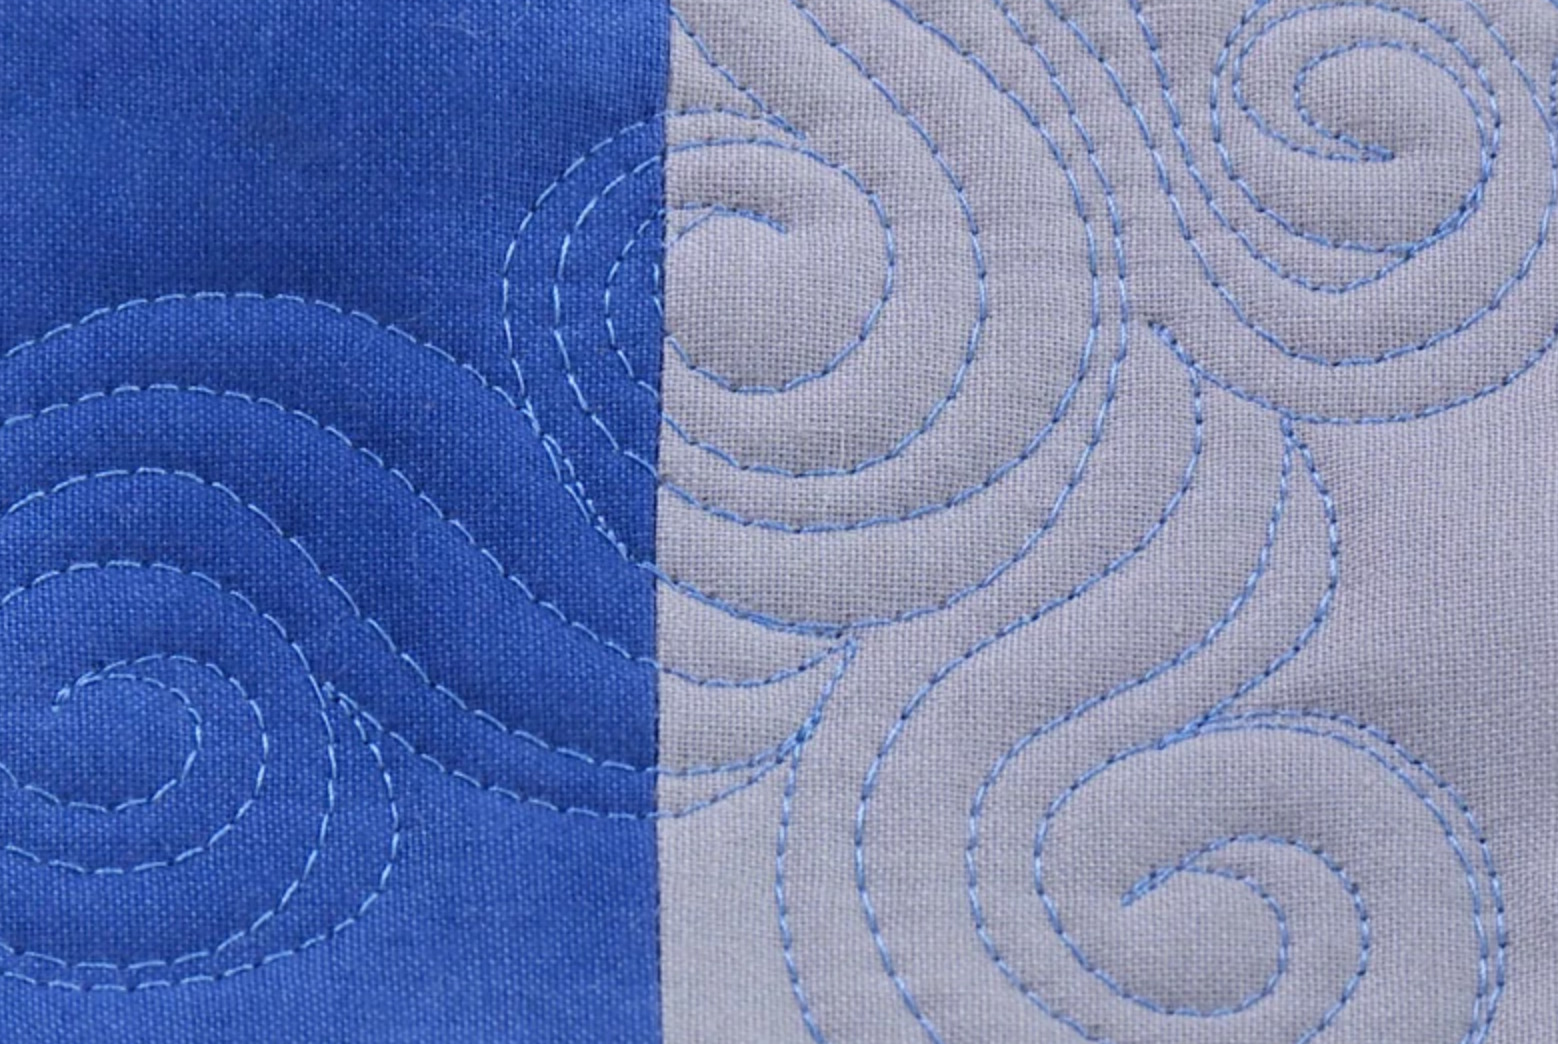
Quilt the circles. Start from the center of the quilt and create a free-motion quilting design. Use a quilting foot to make quilting easier. Move the quilt fabric as you stitch. Keep the stitches even and make sure the circles are uniform in size.
Secure the backing. When you reach the edge of the quilt, switch to a straight stitch and sew the backing to the quilt top.
Finish the quilt. Trim any excess batting and backing fabric. Congratulate yourself on a job well done!
Finishing Touches
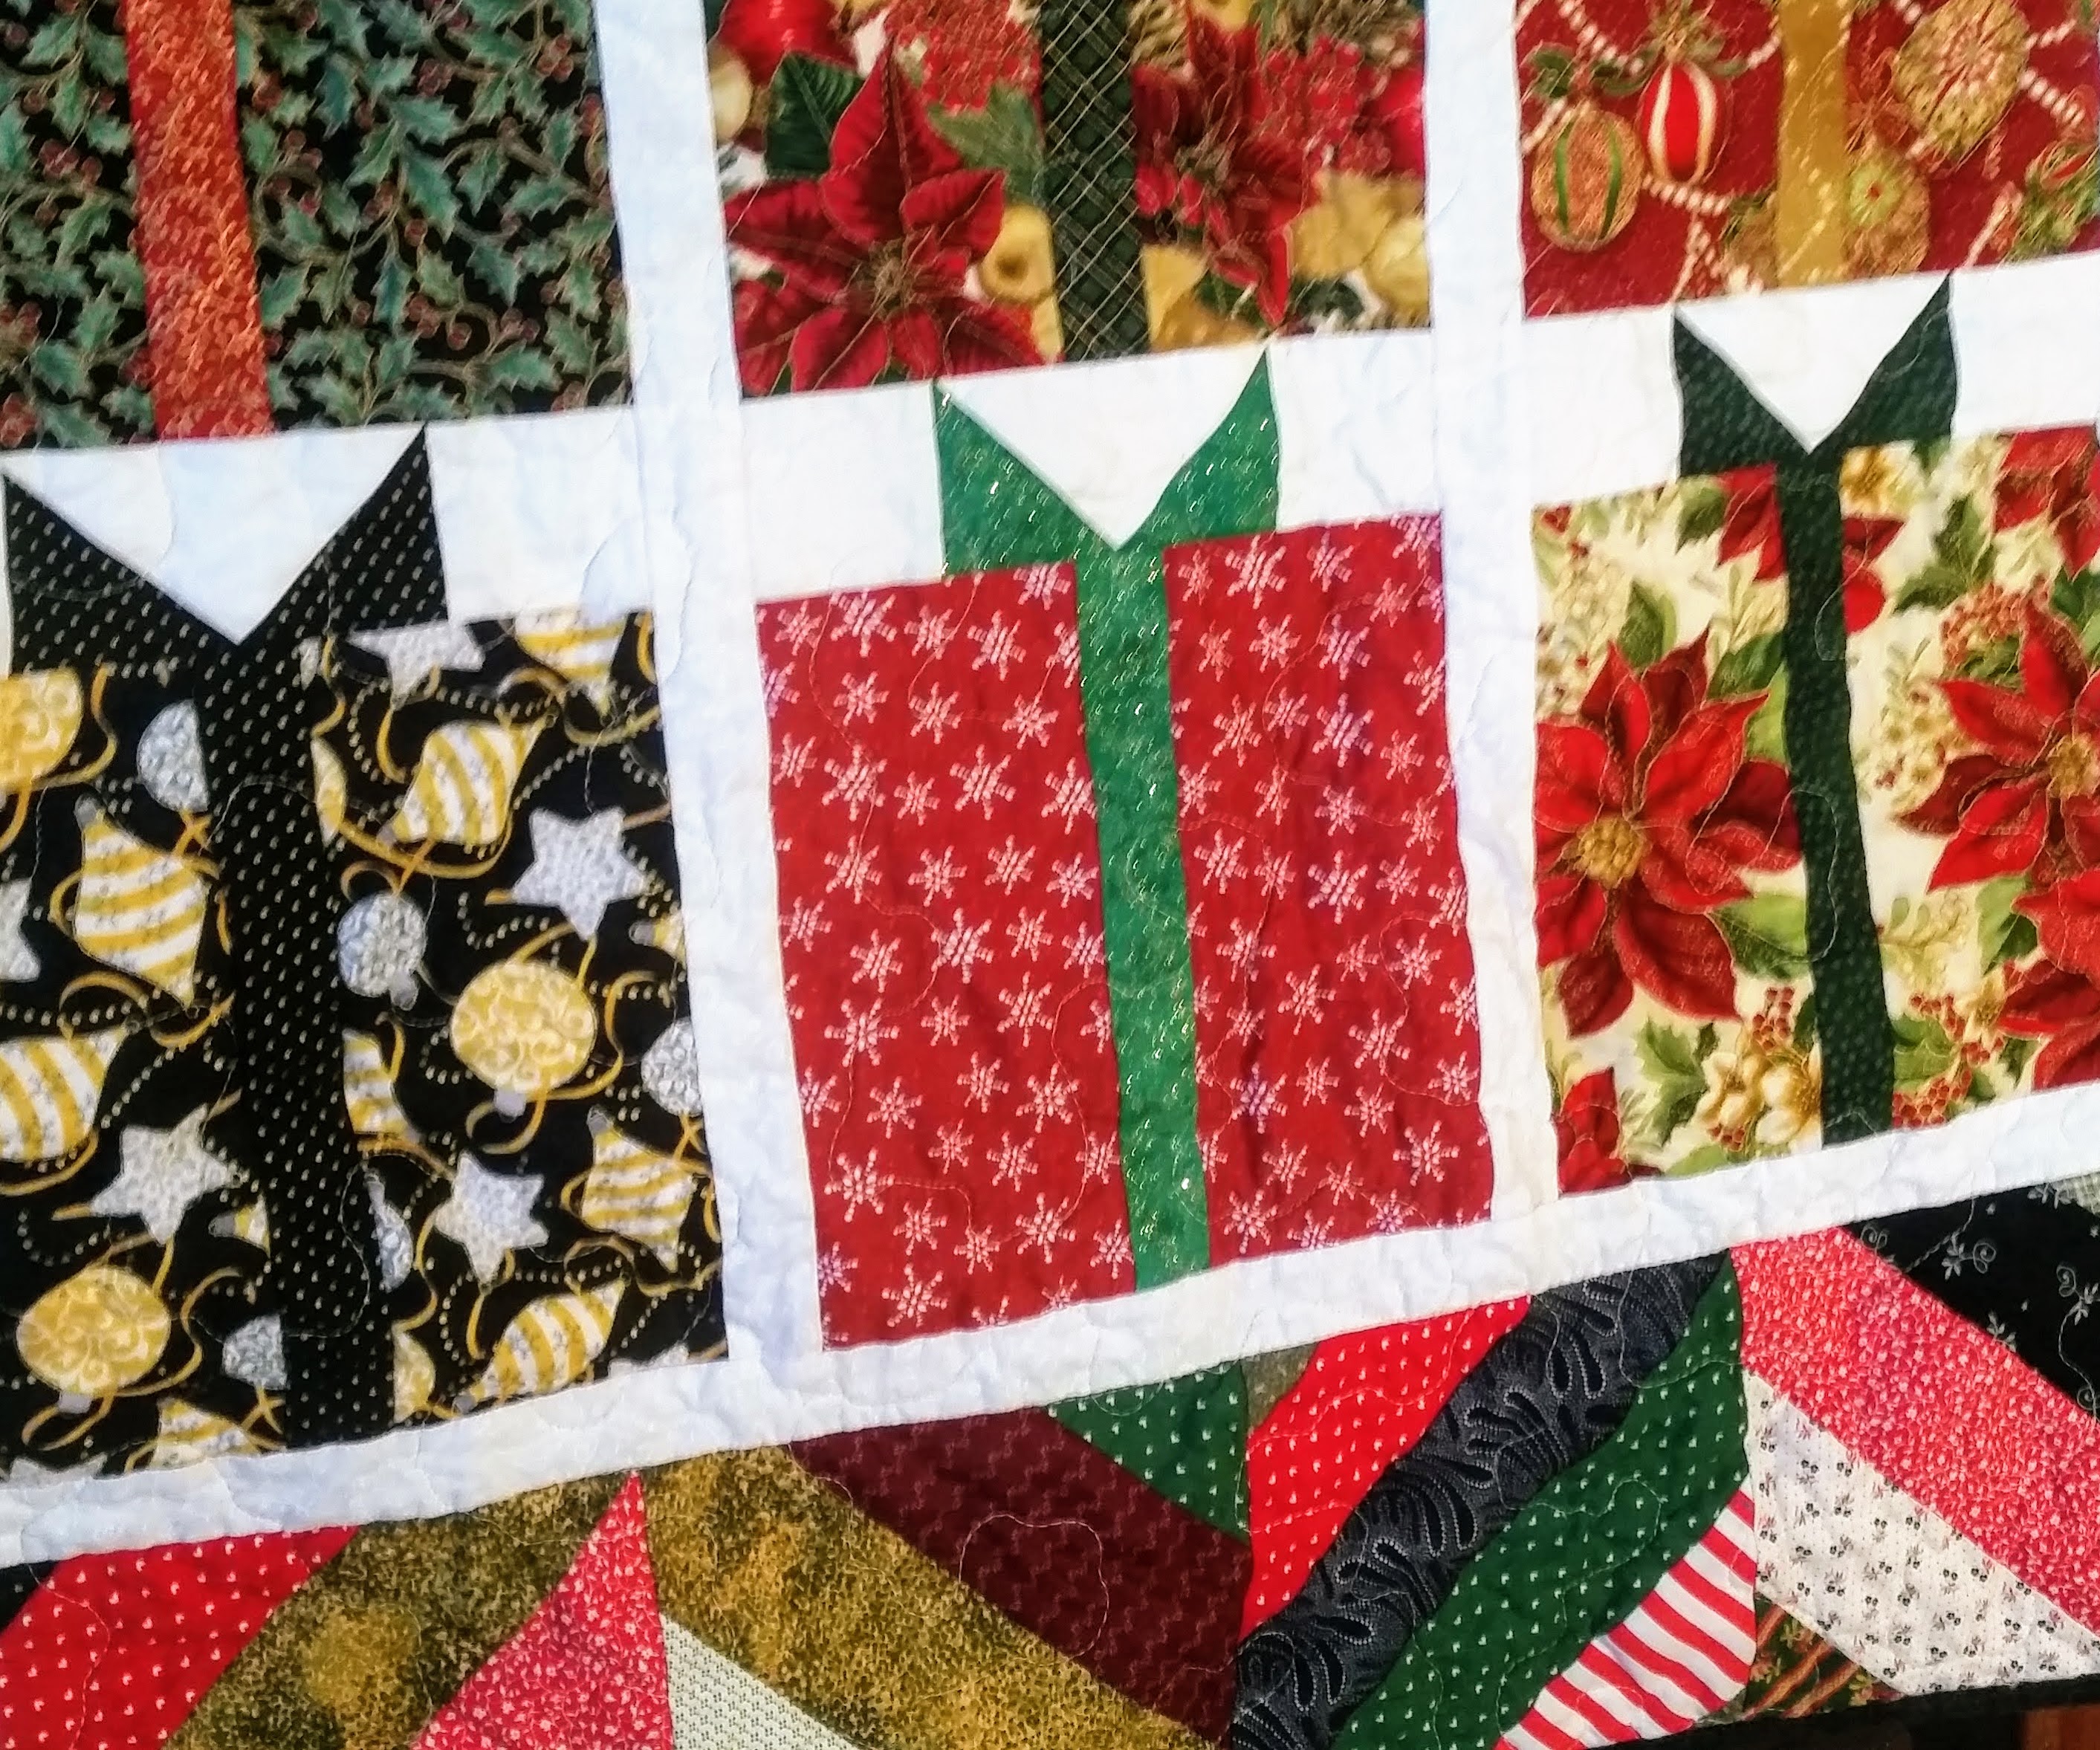
- Press your work and trim off any loose threads.
- Baste the quilt layers together, ensuring all layers remain flat.
- Machine quilt around your circles, in a repeating pattern.
- Trim the edges of the quilt, squaring it off, if needed.
- Bind the edges of the quilt and hand-sew the binding to the back.
Tips and Tricks
- Choose the Right Thread – Select a thread that blends in with the fabric and complements the design. For quilting circles, use a thread that is at least the same weight as the fabric.
- Choose the Right Needle – Use a sharp needle with a small eye that can penetrate the fabric easily. For best results, use a size 90/14 quilting needle.
- Use the Right Stitch Length – For quilting circles, use a stitch length of 1.5 to 2.0 mm. This will give you the best control over the fabric and the thread.
- Draw Your Circles – Before you begin quilting, it is important to draw your circles first. This will help you to stay on track and keep the quilting even.
- Practice – Quilting circles by machine can be tricky, so it is important to practice before attempting a quilt project. You can practice on scraps of fabric or a simple wall hanging.
Frequently Asked Questions
What type of Sewing Machine is Suitable for Quilting Circles?
A sewing machine with a free-arm feature and multiple built-in stitches is best for quilting circles. Look for a machine that offers a wide range of stitch widths and lengths, as well as a selection of decorative stitches. An adjustable pressure foot and adjustable stitch length are also essential features. A machine that can handle heavier fabrics, such as denim or canvas, is also recommended.
What type of Fabric is Best for Quilting Circles?
Quilting circles by machine requires fabrics with a tight weave and a good amount of body. Cotton blends and quilting cottons work best as they don’t stretch when manipulated and will hold their shape when quilted. Avoid fabrics with a lot of texture, such as velvets, as they may cause puckering. For best results, prewash the fabric to remove sizing and shrinkage.
How do I Know When to Stop Quilting a Circle?
Once the desired quilting pattern is achieved, the needle should be stopped in the down position. To ensure that the quilting is even, the last stitch should be made at the same distance from the center of the circle as the previous stitches. When satisfied with the quilting, the quilter should raise the needle and gently remove the fabric from the machine.
What kind of quilting foot should I use for quilting circles?
Walking Foot: A walking foot is a great choice for quilting circles. This foot has many adjustable settings that allow you to adjust the width of the stitch for a variety of shapes and sizes. The walking foot also has a guide that helps keep the fabric in place while it moves around the circle.
Free Motion Foot: A free motion foot is also an excellent choice for quilting circles. This foot has a metal arm that allows you to move the fabric in any direction while the needle remains in one place. This foot is great for creating intricate designs and allows for a lot of creative freedom.
Open Toe Foot: An open toe foot is a great option for quilting circles as it allows you to see the needle and fabric as you work. This foot has an open toe, which makes it easier to see the fabric and needle and to make sure that the needle is in the right position for the circle.
Darning Foot: A darning foot is also a great choice for quilting circles. This foot has a wide opening that allows you to easily see the fabric and needle as you work. The foot also has a guide that helps keep the fabric in place while it moves around the circle.
Clear Quilting Foot: A clear quilting foot is a great choice for quilting circles because it allows you to clearly see the needle and fabric as you work. The foot also has a guide that helps keep the fabric in place while it moves around the circle.
What is the Best Way to Sew a Perfect Circle?
Mark the Circle: Mark a desired circle pattern on the fabric with a tailor’s chalk or marker.
Secure the Fabric: Place the fabric under the presser foot and secure it with the help of pins, glue sticks, or a sticky stabilizer.
Use a Free-Motion Foot: Attach a free-motion foot to your sewing machine and lower the feed dogs.
Start Sewing: Start sewing from the center of the circle, gradually moving outward in a spiral.
Adjust Speed and Stitch Length: Adjust your speed as you sew, and make sure that the stitch length is consistent.
Secure the End: When you reach the starting point, secure the end with a few backstitches.
Trim the Edges: Trim the excess fabric around the circle and press with an iron.
Finish the Project: Once you’re finished, you can go ahead and finish the quilt project with your perfect circle.
Conclusion
Quilting circles by machine is a great way to add fun and unique designs to your quilts. With the right tools and a few simple tips, you can create beautiful, perfect circles with ease. Just remember to take your time, use a walking foot, and adjust your needle size and tension if needed. With practice and patience, you can create stunning quilts with the perfect circles you desire.
