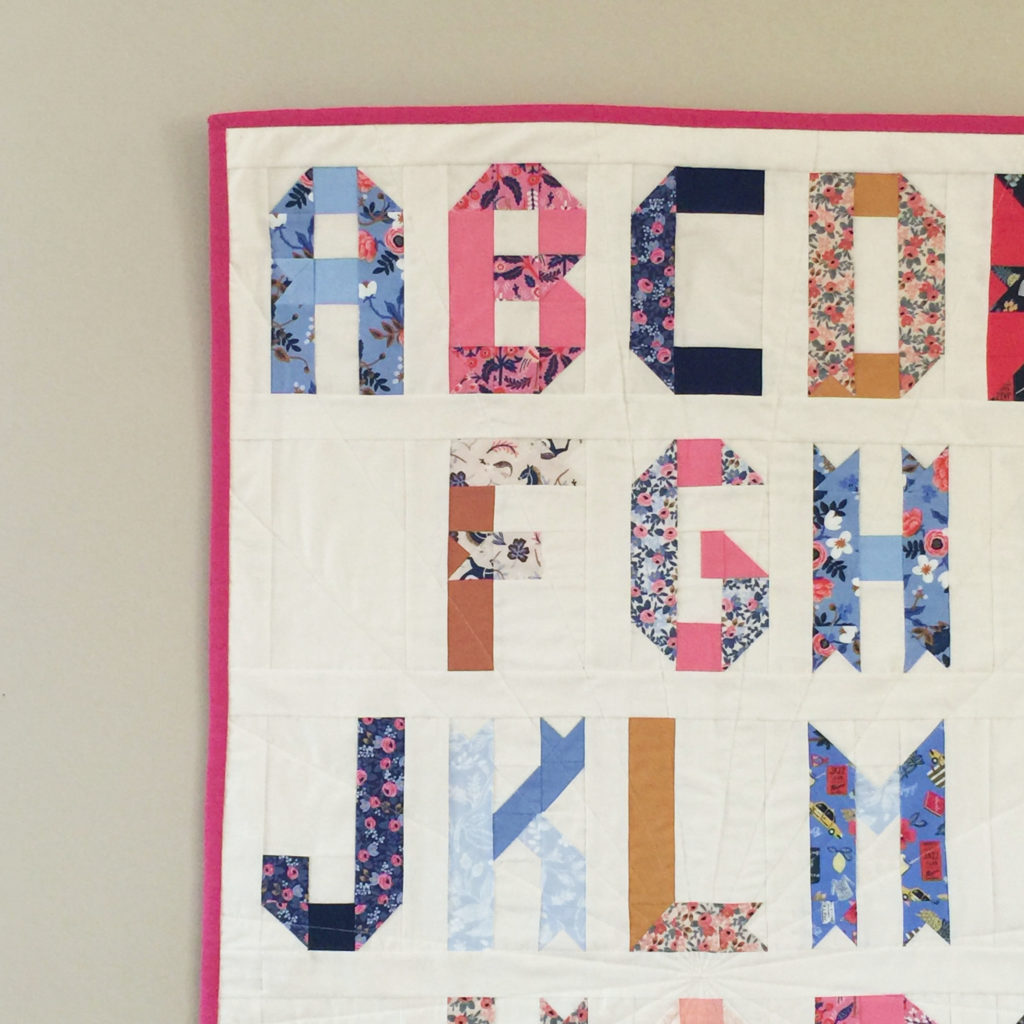
Are you looking to add a personal touch to your quilting projects? Quilting letters is a great way to do just that! This article will provide you with a step-by-step guide on how to quilt letters, so you can easily create beautiful designs for your quilt. So, if you’re ready to learn how to quilt letters, read on to gain all the knowledge you need to get started!
Materials Needed
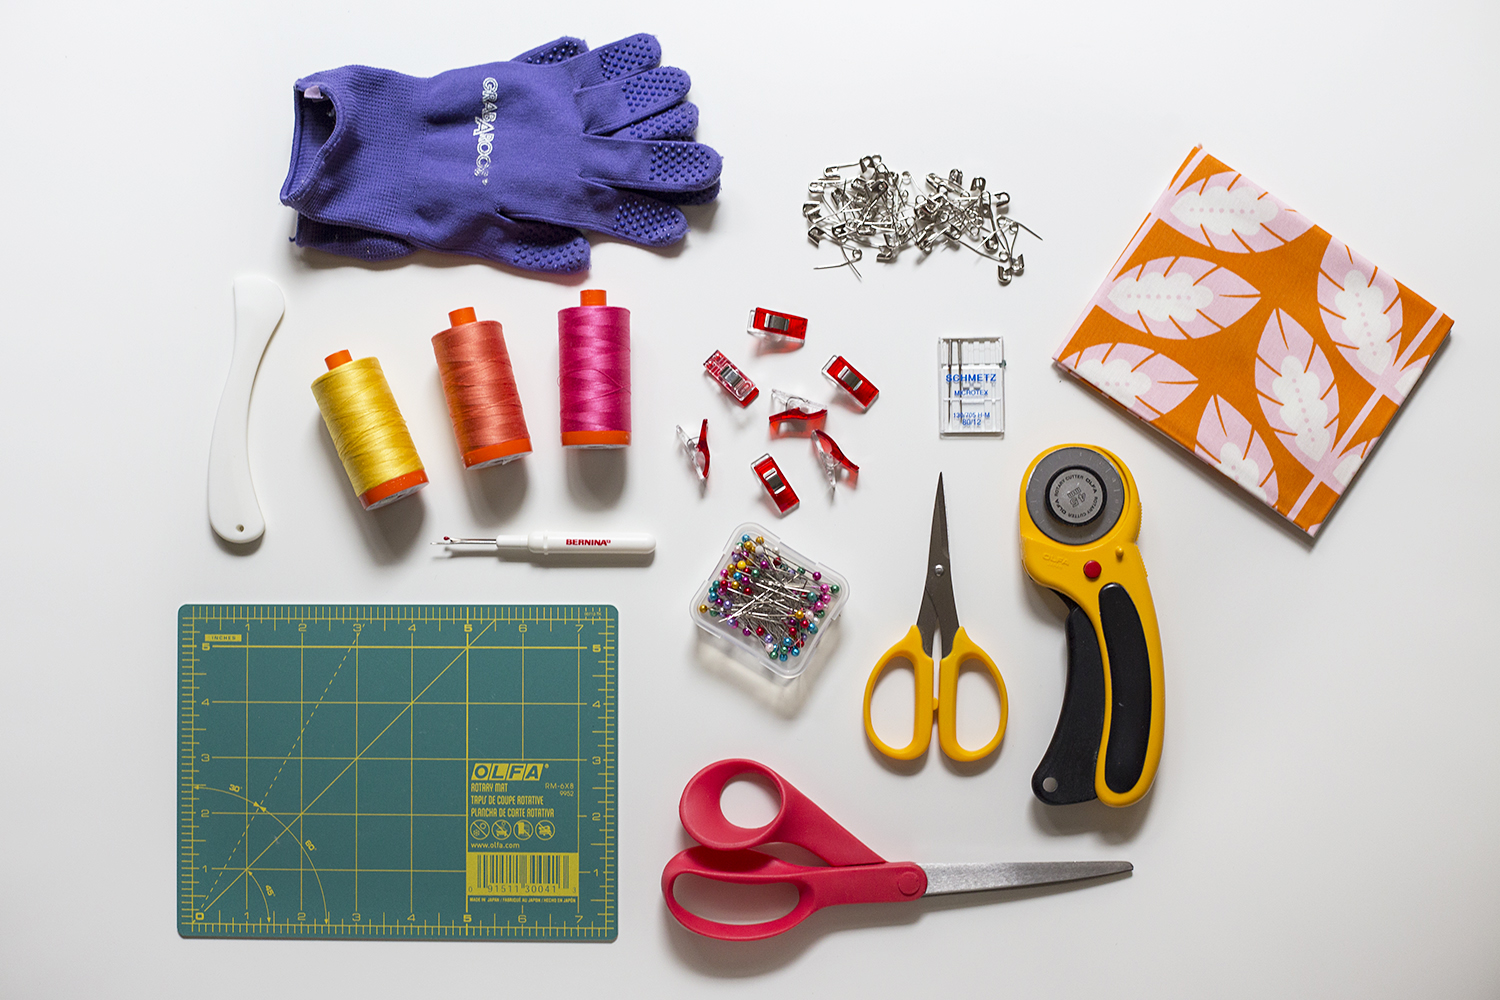
- Sewing Machine – for quilting letters on fabric
- Fabric – for quilting the letters onto
- Thread – for stitching the letters in place
- Fusible Webbing – for tracing the letters onto fabric
- Quilting Ruler – for tracing and measuring the letters
- Tape Measure – for measuring the fabric before quilting
- Scissors – for cutting the fabric and thread
The materials needed to quilt letters onto a sewing machine are a sewing machine, fabric, thread, fusible webbing, quilting ruler, tape measure, and scissors.
Preparing the Fabric for Quilting
Select your fabric. Choose a fabric that will allow your quilting thread to show up clearly, such as cotton or linen. Consider the color and pattern of the fabric to make sure it compliments your letter design.
Wash and dry the fabric. Pre-washing your fabric is important to make sure it doesn’t shrink after you have quilted it. Use a gentle cycle and mild detergent, then dry the fabric on a cool setting.
Iron the fabric. Ironing the fabric will help keep it flat and smooth while you quilt. Make sure to use a steam setting, as this will help relax the fabric fibers and make it easier to quilt.
Cut the fabric. Cut the fabric into the size and shape you need to fit your letter design. Make sure to use a sharp pair of scissors to ensure the edges are clean and even.
Layer the fabric. Place the fabric onto a thin piece of batting and then onto a backing fabric. Use safety pins to hold the layers together and prevent them from shifting while you quilt.
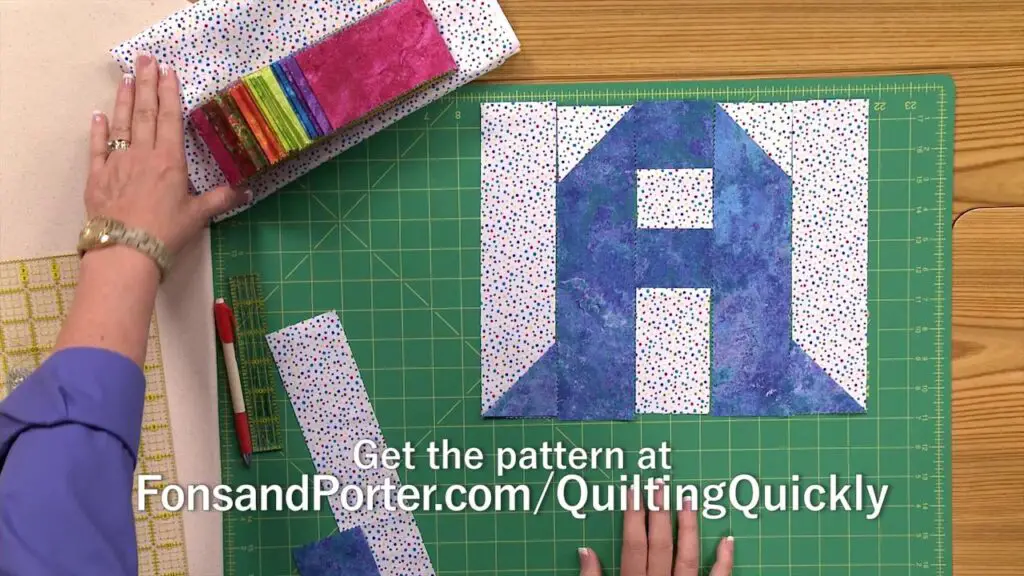
Marking the Letters
Quilting letters is a great way to personalize a quilt. The first step towards achieving the perfect letter is to mark the fabric. Marking the fabric helps in forming the letter’s outline, and is essential for making the quilt look neat and professional.
The simplest way to mark the fabric is by using tailor’s chalk. Tailor’s chalk is available in a variety of colors and is easily washable. It is important to select the right color chalk, as it should be visible against the fabric’s color.
Another way to mark the fabric is by using a marking pen or pencil. Marking pens are available in both water-soluble and water-erasable options. Depending on the type of fabric, it is important to select the correct marking pen. For example, if the fabric is dark, a white marking pen should be used.
Stencils can also be used to mark the fabric. Stencils come in a variety of designs and sizes and are a great way to create perfect letters. Stencils are also washable and can be reused.
After marking the fabric, using a ruler and a rotary cutter, cut out the marked letters. It is important to ensure that the letter is cut out perfectly. If not, it will not look neat when quilted.
Finally, use a quilting machine to quilt the letter onto the quilt. Quilting machines can be used to stitch the letter onto the quilt with a single pass. Ensure that the stitching is even and not too tight or too loose.
When the letter is quilted, the quilt is ready to be used.
Sewing the Letters
Using a Sewing Machine
Stitching letters onto a quilt by hand can be time consuming, so using a sewing machine can be a great time saver. After cutting out the letter shapes, place them face down on the quilt top, and use a fabric marking pen to draw a line around the edges. Then, use a straight stitch to sew around the lines. When finished, turn the letters right side up, and press them with a dry iron to make them lie flat.
Hand Sewing the Letters
For an added touch of detail, consider hand sewing the letters. After tracing the letters onto the quilt top, use a running stitch to sew around the edges. To ensure the edges are even and the stitches are the same size, use a thimble or the back of a spoon to press the fabric. When finished, press the letters with a dry iron to make them lie flat.
Finishing the Quilting
- Press the quilt – Press from the back side of the quilt to prevent the stitches from sinking into the batting.
- Trim excess batting and backing – Trim away the excess batting and backing fabric around the edges of the quilt.
- Bind the edges – Fold a strip of fabric in half lengthwise, press it and stitch it to the edges of the quilt.
- Finish with hand stitches – Sew any loose threads or binding with a hand stitch.
Adding Borders
Borders can add a lot of personality to your quilted letter. Borders can be made of strips of fabric, bias tape, ric rac, or any other trim that you have available. The border can be a single strip or multiple strips of different fabrics and trims mixed together. The key is to make sure the border is wide enough to frame the letter.
Step 1: Measure the length of each side of the letter and add two inches for seam allowance. Cut strips of fabric or trim to the desired length. Sew the strips together if using multiple strips.
Step 2: Position the border strip along the edge of the quilted letter. Pin or baste the border in place.
Step 3: Sew the border to the letter using a ¼ inch seam allowance. Make sure the raw edges of the border and the letter are even. If the border strip is too short, add a small strip of fabric to the end to make it fit.
Step 4: Repeat steps one through three for the remaining sides of the quilted letter.
Step 5: Trim any excess fabric or trim. Your quilted letter is now ready to be used in your quilt!
Finishing the Quilt
Once the quilt top is complete and the batting has been added, the quilt will need to be quilted. To quilt the letters, it is best to use a walking foot or a free-motion quilting machine. Both methods require the quilter to move the quilt in a specific direction to ensure the letters will stay in place during the quilting process.
When quilting with a walking foot, the quilter will start at the outer edge of the quilt and work their way inward. They will need to follow the curves of the letters and the seams of the quilt top. As the quilter works their way to the innermost section, they may need to free-motion quilt to achieve the desired letter shape.
When quilting with a free-motion quilting machine, the quilter will move the quilt as they stitch, using their hands to guide the quilt top. The quilter will need to follow the curves of the letters, stitching as close as possible to the edge of the letter.
When the quilting is complete, the quilt will need to be squared up and the edges bound. The binding can be a simple straight-grain binding or a decorative binding.
Once the binding is complete, the quilt is ready to be enjoyed!
Frequently Asked Questions
What type of fabric is best to use for letter quilting?
- Cotton – Cotton fabrics are the most popular choice for quilting because they are lightweight, durable, and often come in a wide variety of colors and patterns. Plus, they can be pre-washed to eliminate shrinkage.
- Fleece – Fleece is a great choice for letter quilting because it’s soft and thick, so it won’t stretch or sag. Plus, fleece won’t fray or unravel like cotton or other fabrics, so you don’t have to worry about stitching the edges.
- Linen – Linen is a great choice for letter quilting because it’s lightweight, yet very durable. Plus, linen is very absorbent, so it’s great for letter quilting projects that require a lot of stitching.
- Batting – Batting is a great choice for letter quilting because it provides a firm, yet cushiony backing for the quilted letters. Plus, batting is easy to manipulate, so it’s perfect for creating intricate designs.
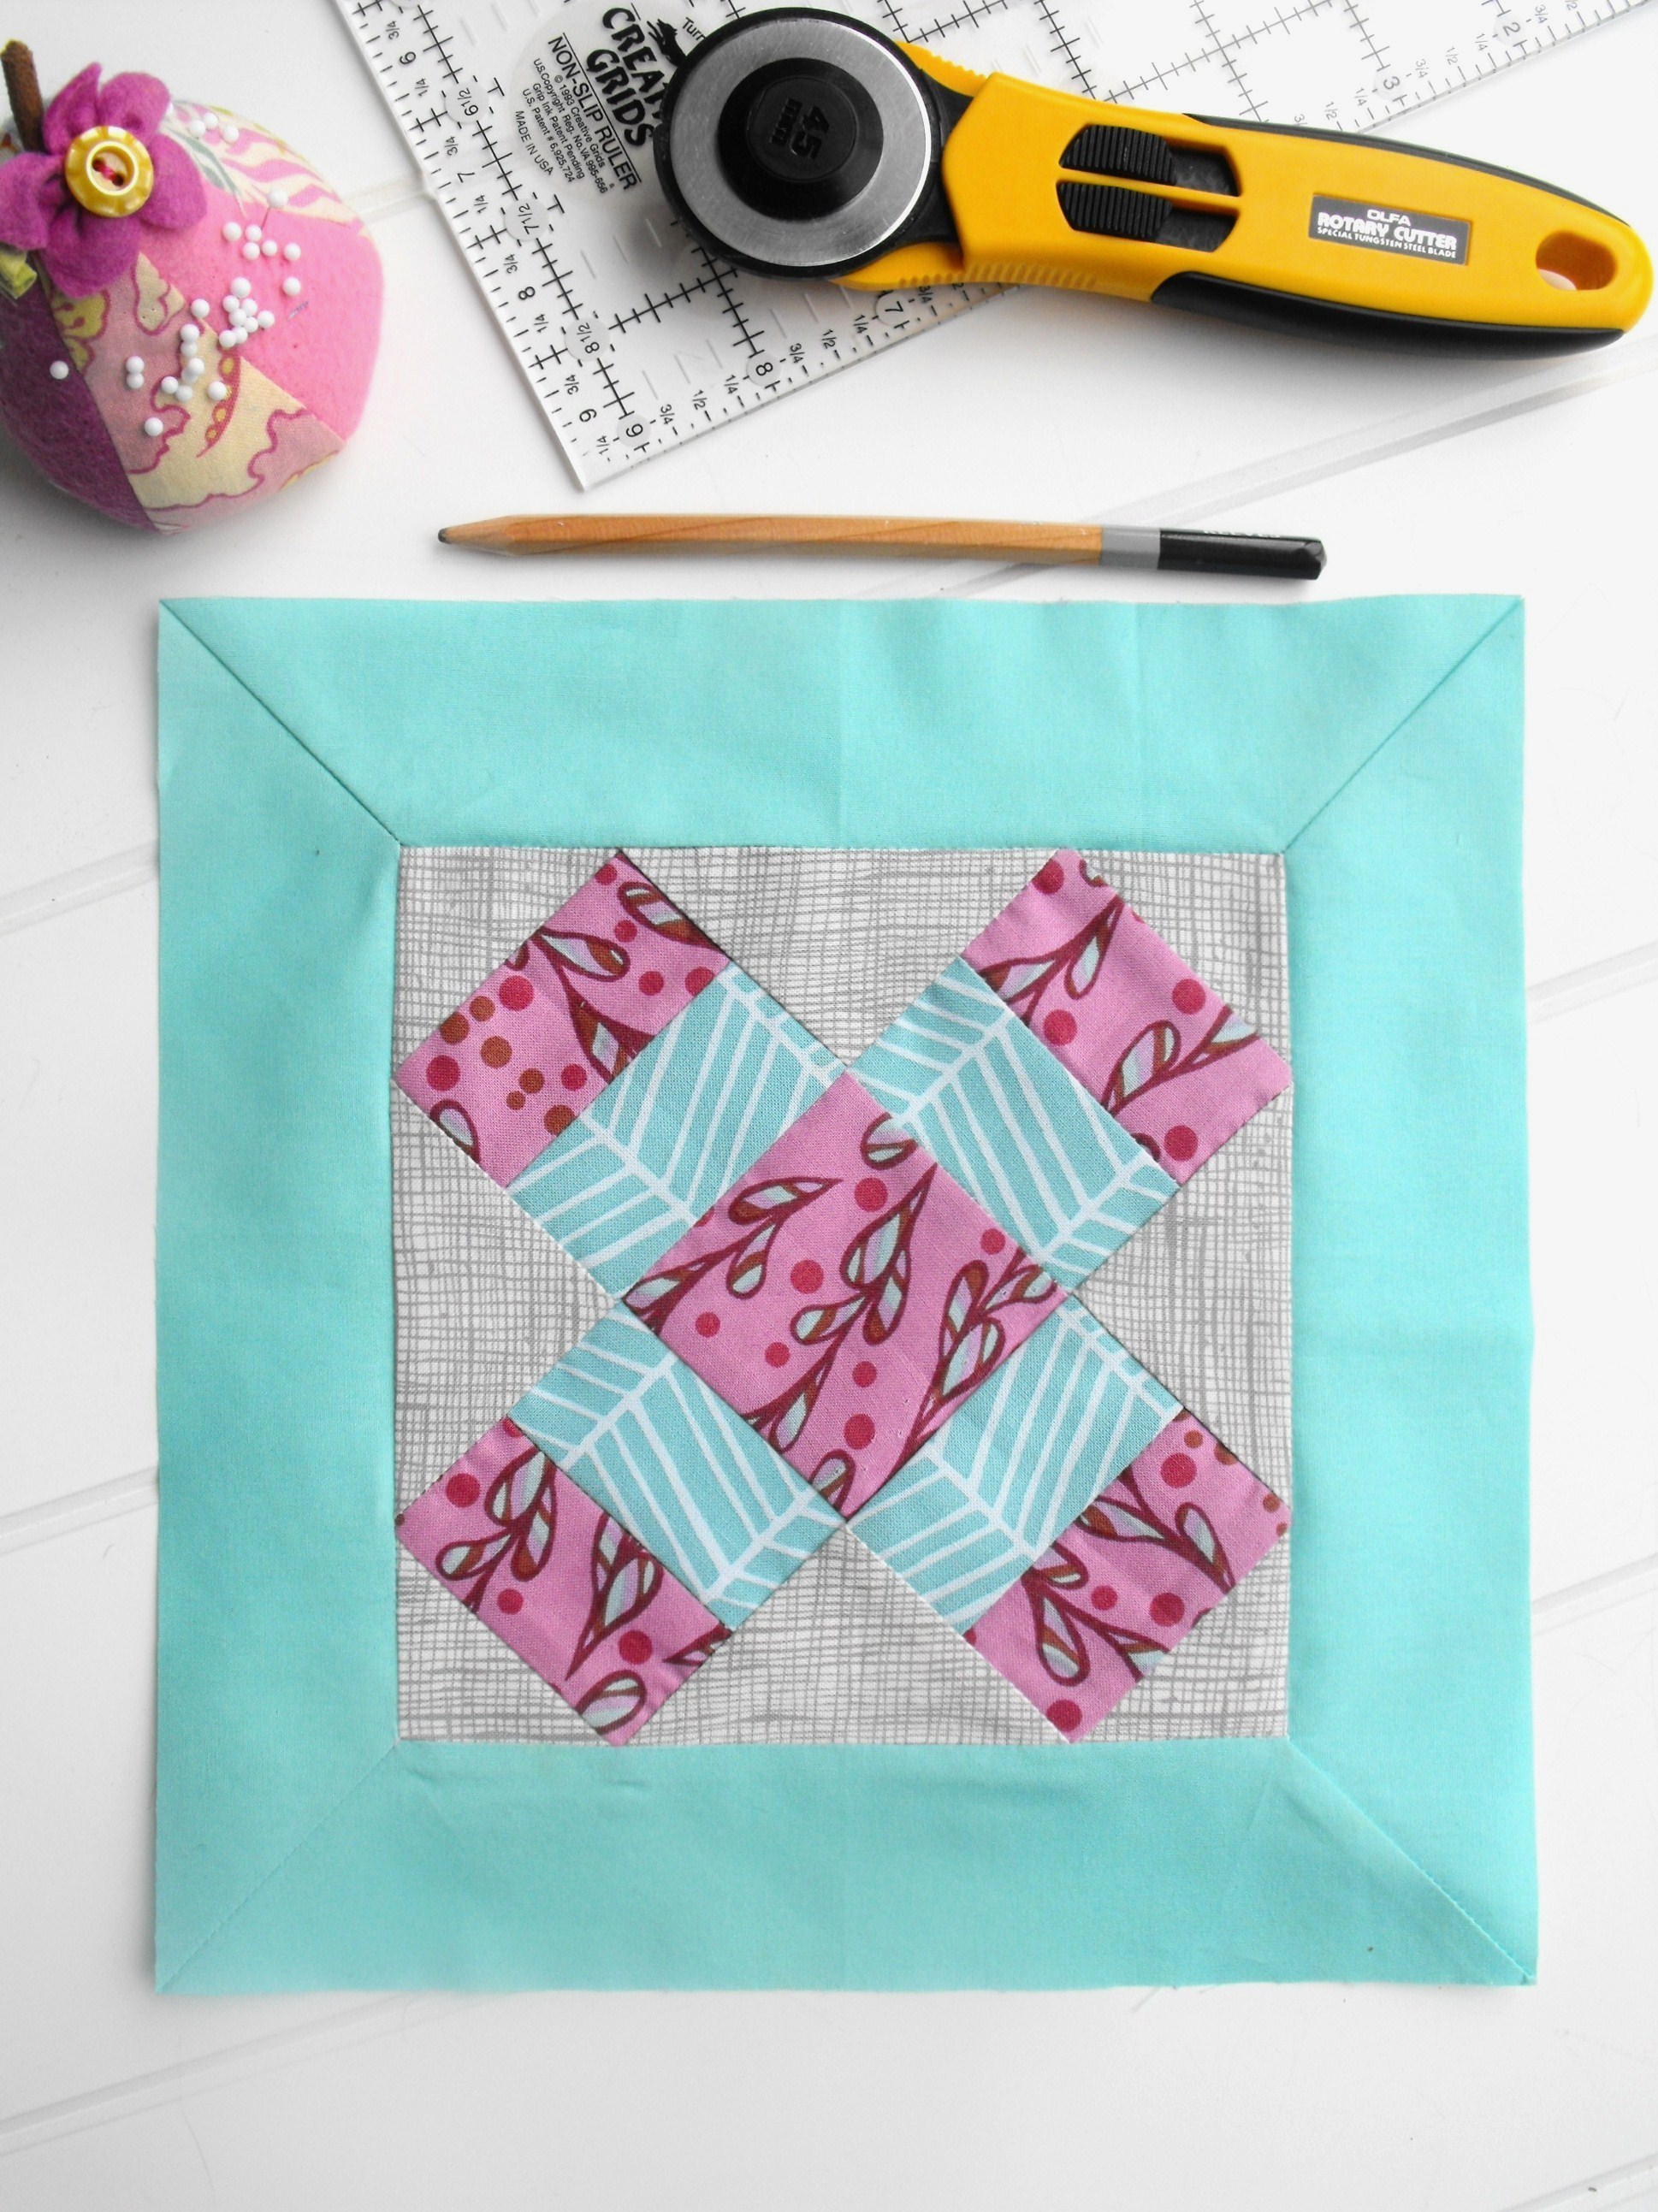
What Tools and Materials are Needed for Letter Quilting?
- Fabric: Quilting fabric, such as cotton, in various colors
- Thread: Quilting thread in various colors to match the fabric
- Scissors: Fabric scissors, paper scissors, and embroidery scissors
- Ruler: A quilting ruler for measuring and cutting fabric
- Pins: Quilting pins for holding fabric in place
- Rotary Cutter: A rotary cutter for cutting fabric
- Sewing Machine: A sewing machine for stitching fabric together
- Iron: An iron for pressing fabric
- Letter Template: A printed letter template for tracing and cutting letter shapes
What type of lettering is best to use for quilting?
Satin Stitch Lettering – Satin stitch lettering is one of the most popular methods for quilting letters. It is an embroidery stitch that creates a smooth, glossy finish on fabric. When quilting satin stitch lettering, the stitches should be close together, so that they fill in the shape of the letters.
Appliqué Lettering – Appliqué lettering is a great way to add a unique, personal touch to your quilt. The letters are created by cutting out fabric of a different color or pattern and then adhering it to the quilt with a sewing machine or fabric glue.
Felt Lettering – Felt lettering is a great alternative to appliqué lettering. It is easy to use and can be cut into a variety of shapes and sizes. It also has a nice, soft finish, which can make it perfect for quilting.
Free-Motion Quilting – Free-motion quilting is an embroidery technique that allows you to create unique, custom designs. You can use it to quilt letters by moving the fabric under the needle of the sewing machine and creating a pattern of stitches.
Computerized Quilting – Computerized quilting is a great way to quickly and easily quilt letters. You can use a computerized quilting machine to create intricate designs with a variety of fonts, colors, and sizes.
How Can I Ensure That My Letters Stay Centered and Evenly Spaced?
Mark the Center of Your Fabric – Before you begin quilting, use a ruler to measure the center of your fabric and mark it with a pin.
Choose a Stencil – Select a stencil that is the size and shape of the letters you want to quilt.
Use a Lightbox – Trace the stencil onto a lightbox and position the fabric over it. This will help you keep the letters centered and evenly spaced.
Pin the Letters – Pin the edges of the stencil to the fabric to help keep it in place as you quilt.
Quilt the Letters – Begin quilting the letters, using a stitching line as a guide. Make sure to keep the quilting line even and parallel to the edge of the stencil.
Remove the Stencil – After quilting the letters, remove the stencil and pins. Your letters should be centered and evenly spaced.
How can I ensure that my quilted letters look neat and even?
Choose the Right Fabric: Select cotton fabric with a small-scale print or a solid color. Avoid fabric with large designs or patterns, as they may be difficult to stitch.
Stabilize Fabric: Before quilting, use a stabilizer or interfacing to keep the fabric from stretching or fraying.
Use a Quilting Template: Use a template to trace your letter onto the fabric, then cut it out. This will help you create a more symmetrical, even letter.
Use a Walking Foot: A walking foot will help keep the layers of fabric and batting together while quilting.
Test the Stitch: Test the stitching on a scrap piece of fabric before quilting the letter. This will help you adjust the stitch length and tension if needed.
Take Your Time: Patience is key when quilting letters. Take your time and make sure to go slowly and evenly.
Conclusion
Creating quilted letters is a great way to add a personal touch to your quilting projects. By following the steps outlined in this article, you can create beautiful, intricate quilted letters with ease. With practice, you will be able to make quilted letters of any size and style. Have fun experimenting with different fabric colors and patterns to create quilted letters that are uniquely yours.


