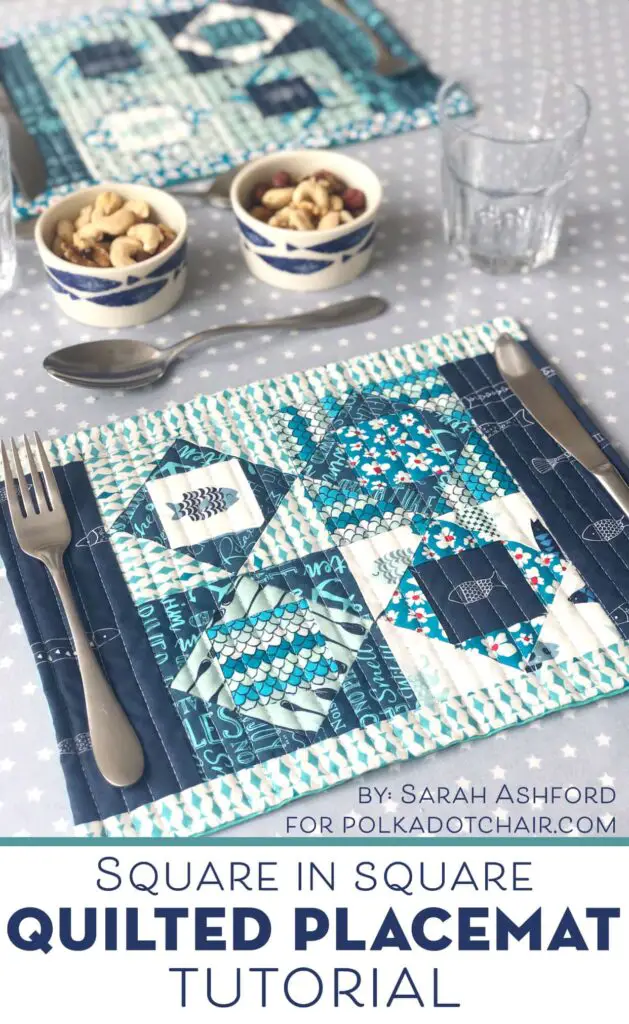
If you want to learn how to quilt placemats easily and quickly, this step by step guide is for you. Quilting placemats can be a fun and rewarding project that does not require a lot of time or effort. Here, you will learn how to quilt placemats using basic supplies and materials, as well as some helpful tips and tricks. With these simple instructions, you will have beautiful, custom placemats in no time.
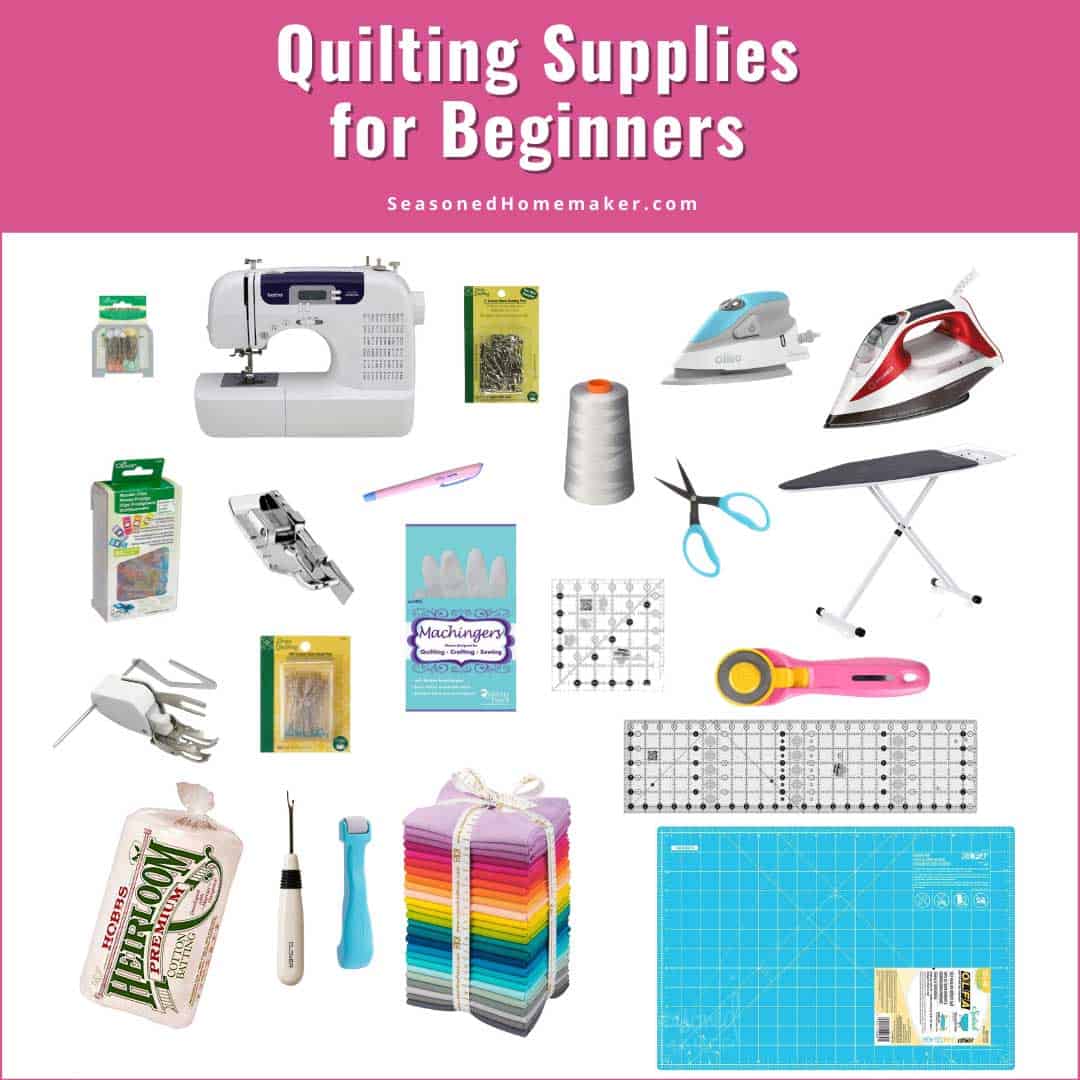
Materials Needed
| Item | Quantity |
|---|---|
| Fabric (cotton or quilting fabric) | 2 pieces – 12 * 12 inches each |
| Batting | 2 pieces – 12 * 12 inches each |
| Thread | 1 spool |
| Scissors | 1 pair |
| Pins | 1 pack |
| Sewing machine | 1 |
Making quilted placemats for beginners requires several supplies. The materials include fabric, batting, thread, scissors, pins, and a sewing machine. The fabric should be cotton or quilting fabric, two pieces that measure 12″ by 12″. The same size batting should also be used, and one spool of thread should be enough. A pair of scissors, one pack of pins, and a sewing machine are also essential.
Step by Step Guide
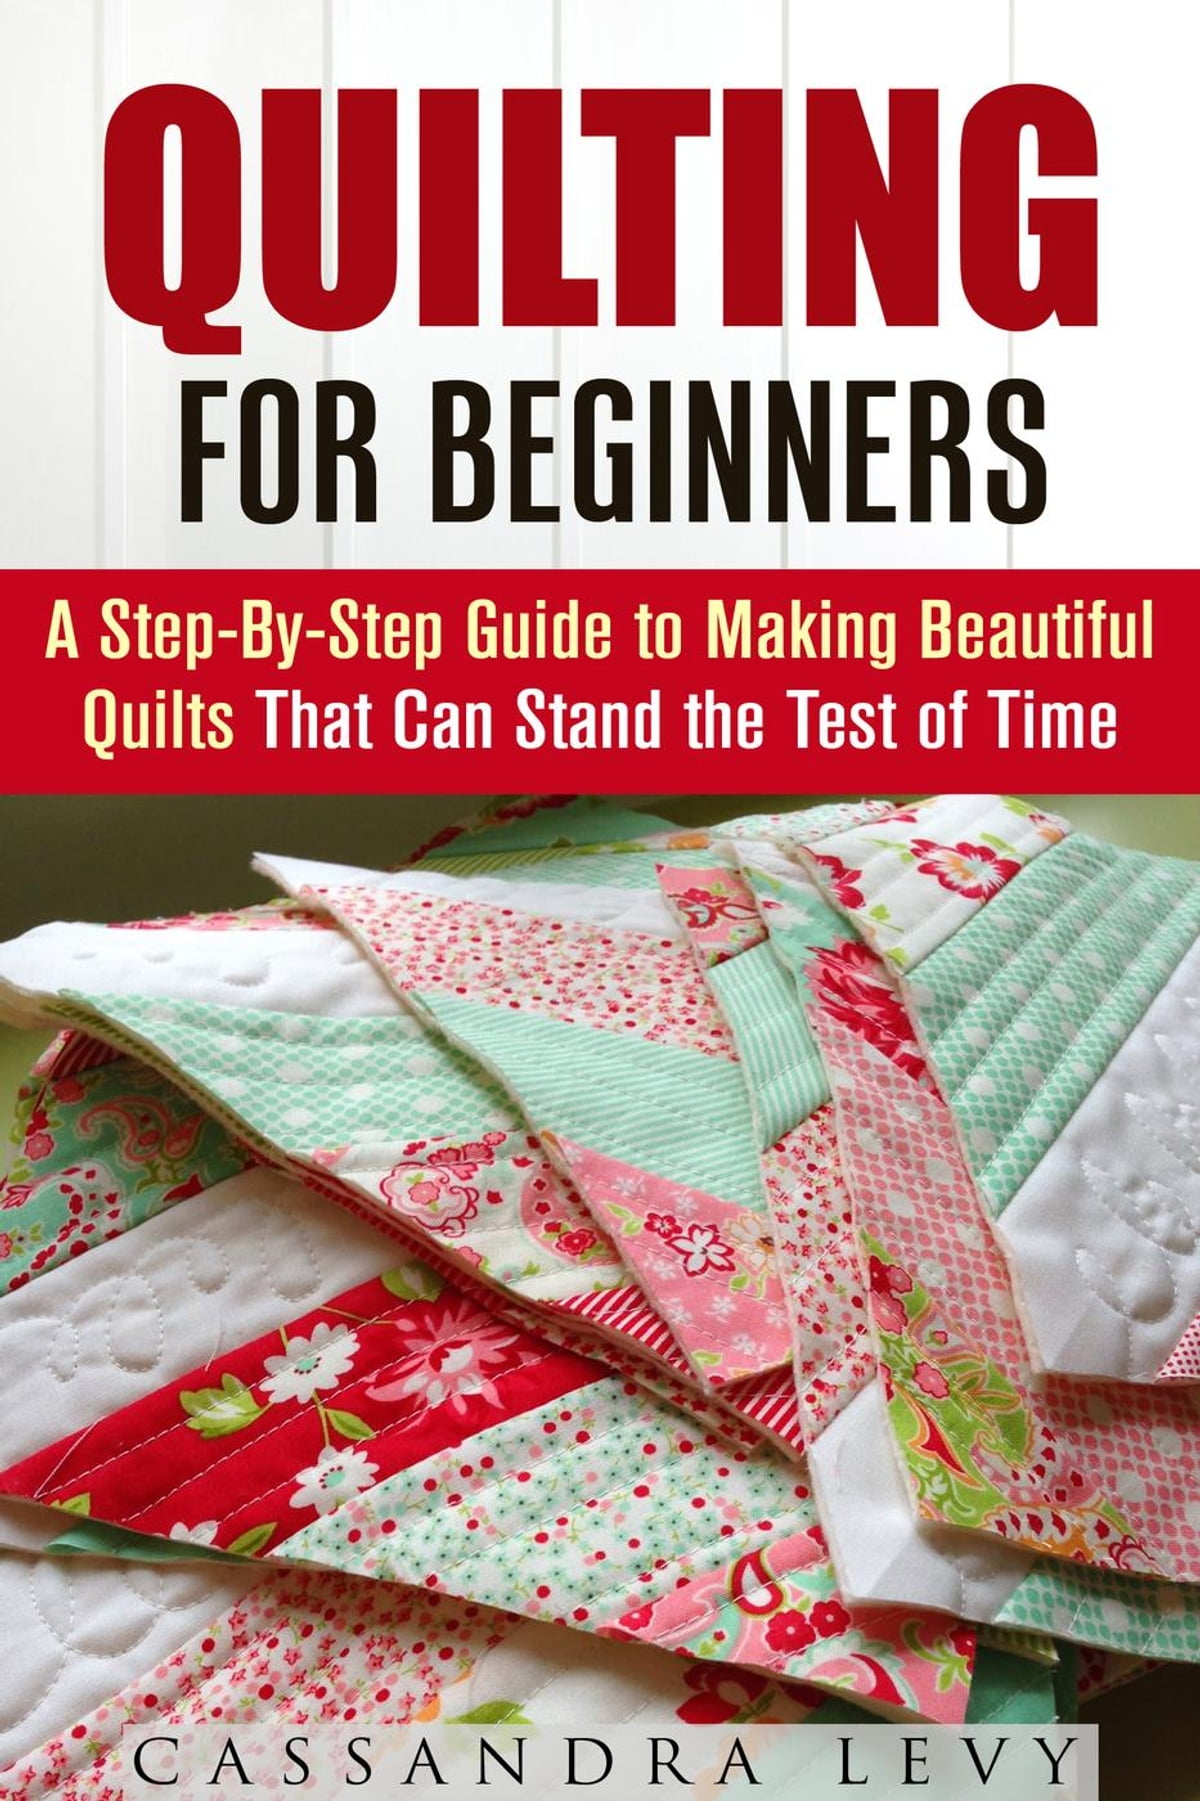
Selecting a Placemat
Choose a placemat pattern that suits your style, such as traditional, modern, or abstract. Make sure to choose a pattern that will match the décor of your dining room. Consider the size of the placemat and the amount of fabric needed.
Cutting the Fabric
Cut the fabric for the placemat according to the pattern. Be sure to use a ruler and rotary cutter for precise cutting.
Assembling the Placemat
Lay out the fabric pieces in the order specified by the pattern. Be sure to pin pieces together before sewing. Sew the fabric pieces together to form the placemat.
Quilting the Placemat
Machine quilt the placemat by stitching in the ditch or outlining the pieces. Choose quilting patterns to give the placemat texture and dimension.
Finishing the Placemat
Cut away any excess fabric from the placemat. Secure the placemat by zigzag stitching around the edges. Press the placemat with an iron.
Tips for Quilting Placemats for Beginners
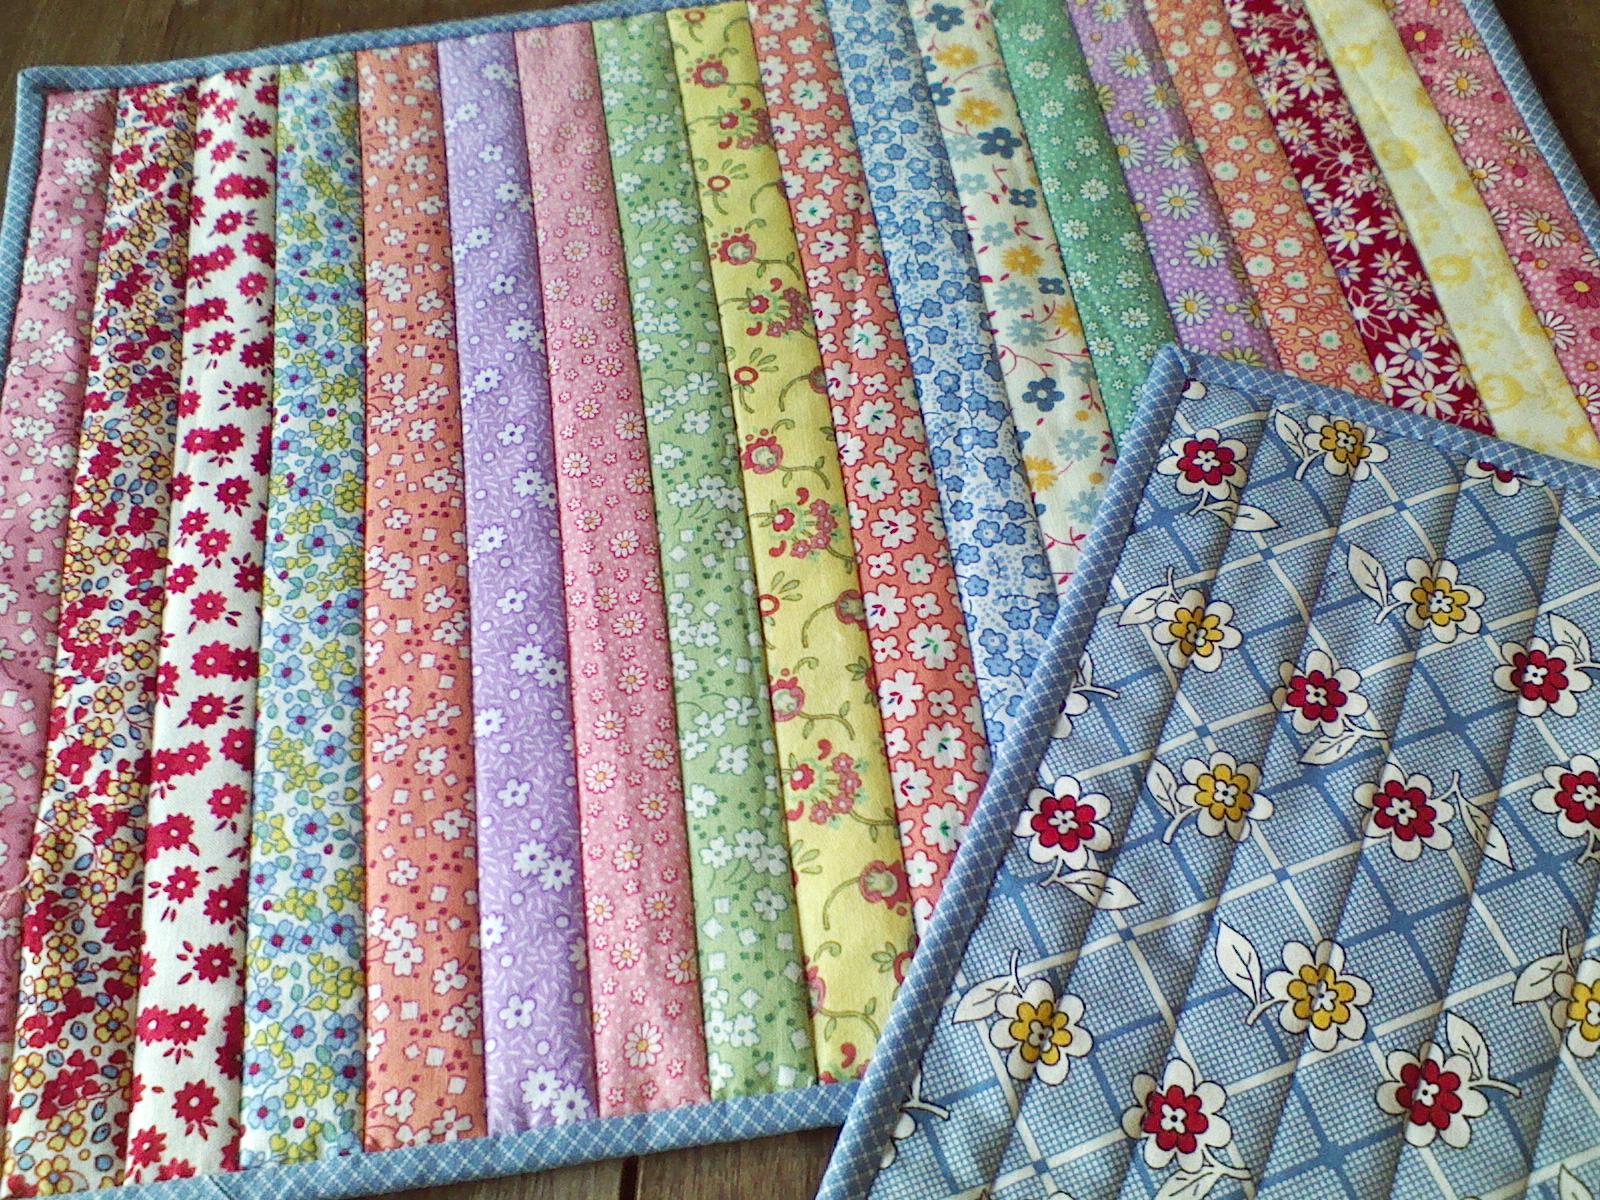
Choose the Right Fabric: When it comes to quilting placemats, the fabric is the most important element. Choose a fabric that is strong, durable and won’t fray easily. Look for medium-weight 100% cotton fabrics for a more professional look.
Select the Right Thread: Use a medium-weight thread that is suitable for your fabric. Select a thread color that won’t show through the fabric and will help to highlight your quilting design.
Choose the Right Batting: Choose a batting that is compatible with your fabric. Consider using a cotton batting for a more traditional look or a polyester batting for a softer feel.
Cut the Fabric Accurately: Accurate cutting is essential for quilting placemats. Use a rotary cutter, cutting mat and ruler to ensure that the fabric pieces are cut accurately.
Mark Your Quilting Lines: Once the fabric has been cut, mark the quilting lines on the placemat. Use a chalk marker to draw lines for quilting.
Sew the Pieces Together: Sew the pieces of fabric together according to the quilting pattern. Use a ¼ inch seam allowance and backstitch at the beginning and end of each seam.
Quilt the Placemat: Start quilting the placemat by following the quilting lines. Move the fabric slowly as you quilt to ensure that the stitches are even.
Trim Excess Threads: Once the quilting is complete, trim any excess threads. Take care to not cut the fabric.
Baste the Quilted Placemat: Baste the quilted placemat to the batting. Use safety pins or basting glue to secure the placemat to the batting.
Bind the Edges: Bind the edges of the quilted placemat using a bias tape. Sew the bias tape in place with a ¼ inch seam allowance and overcast stitch.
Finish the Placemat: Press the quilted placemat with a dry iron to set the stitches. Use a spray starch for a crisp finish.
Enjoy Your Finished Placemats: Finally, enjoy your quilted placemats. You’ve just made beautiful placemats for your home – congratulations!
Now that you know how to quilt placemats, you can create beautiful quilted placemats for your home or as gifts. Have fun quilting!
Machine Quilting a Placemat
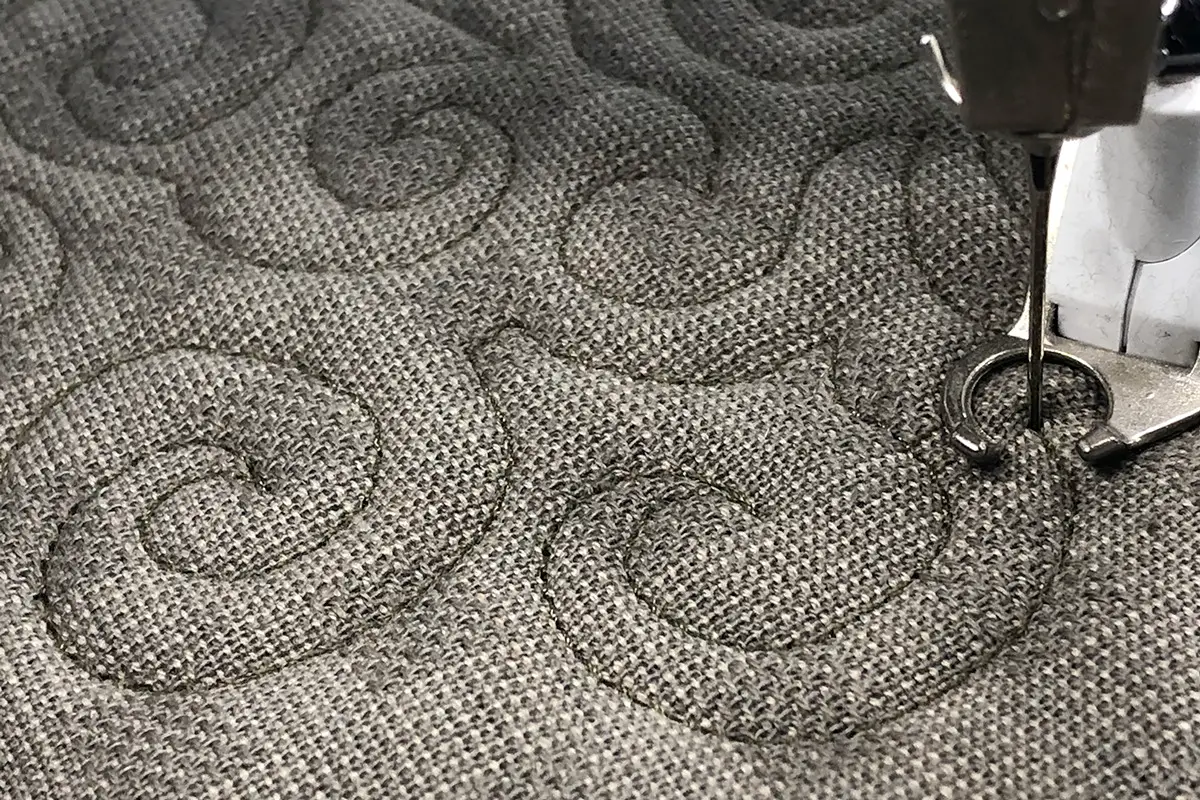
Cutting The Fabric: Start by cutting two pieces of fabric that are approximately the same size. The size should be at least 12” x 18”. Cut batting slightly larger than the fabric pieces.
Creating The Quilt Sandwich: Place the batting piece on the table. Layer the two pieces of fabric, right sides together, on top of the batting. Pin in place.
Quilting The Placemat: Using a sewing machine, stitch around the perimeter of the placemat at a ¼” seam allowance. Start at one corner and quilt across one side, then the opposite side, then the remaining two sides. Be sure to backstitch at the beginning and end.
Finishing The Placemat: Trim the excess batting and fabric from the edges. Turn the placemat right-side out. Push out the corners and press with an iron. Topstitch around the perimeter of the placemat to give it a neat finish and prevent fraying.
Conclusion: Machine quilting a placemat is a fun and easy way to create a unique piece of home décor. With a few supplies and a bit of patience, you can make a beautiful quilted placemat for your dinner table.
Troubleshooting
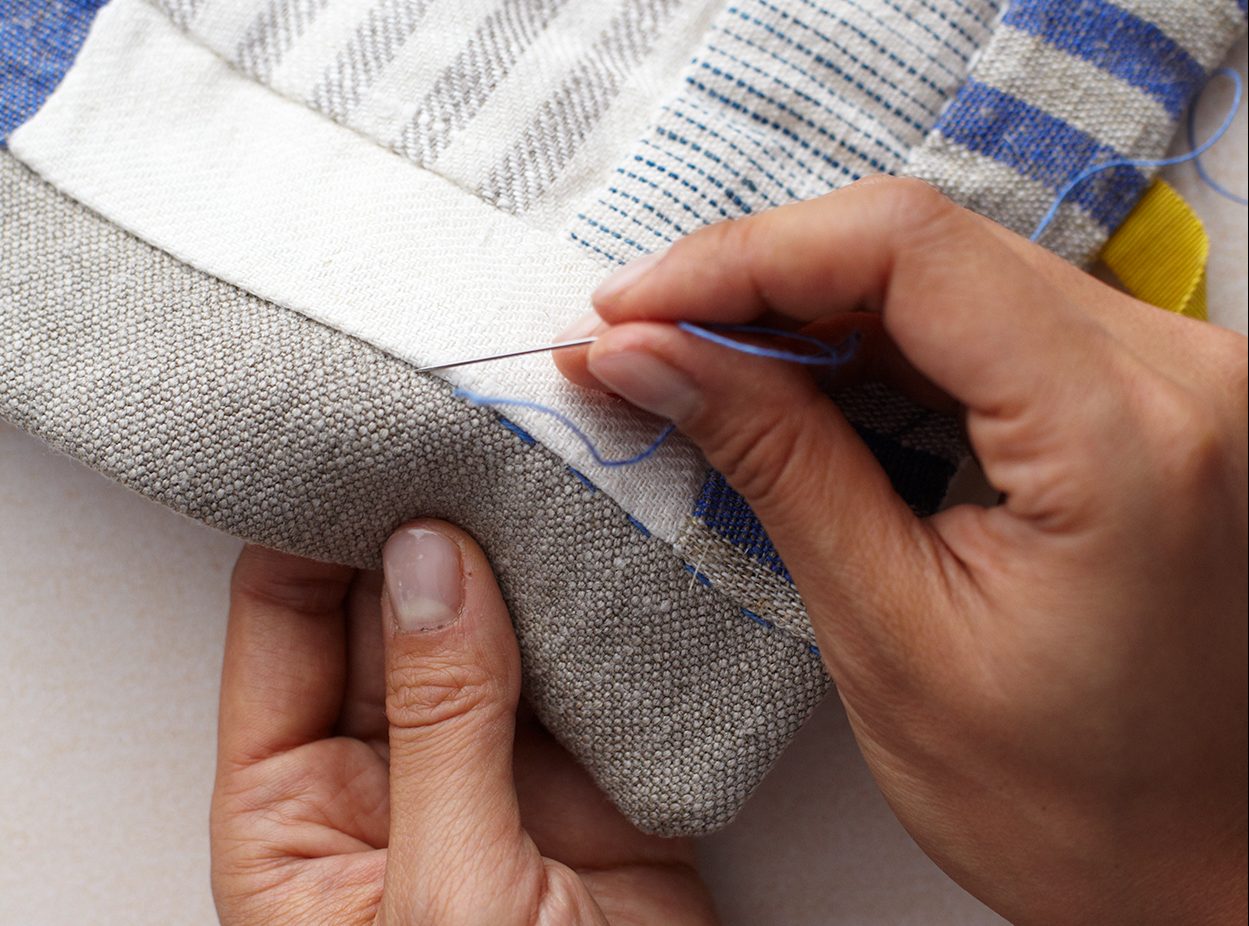
Seams Not Lining Up: If the seams don’t line up correctly, you may need to adjust the tension on your machine. Check the manual for instructions on how to do this.
Fabric Not Feeding Properly: If the fabric is not feeding properly, check to make sure the presser foot is down and that the feed dogs are up. If the feed dogs are down, the fabric will not move properly.
Stitches Too Loose: If the stitches are too loose, you may need to adjust the stitch length. Increasing the stitch length will make the stitches tighter.
Thread Breaking: If the thread is breaking, check your thread tension. If it’s too tight, it will cause the thread to break. Adjust the tension accordingly.
Machine Skipping Stitches: If the machine is skipping stitches, check the needle. Make sure it’s the correct size and type for the fabric you’re using. If not, replace it. Also, check the bobbin and make sure it’s the right type and tension.
Alternative Quilting Techniques
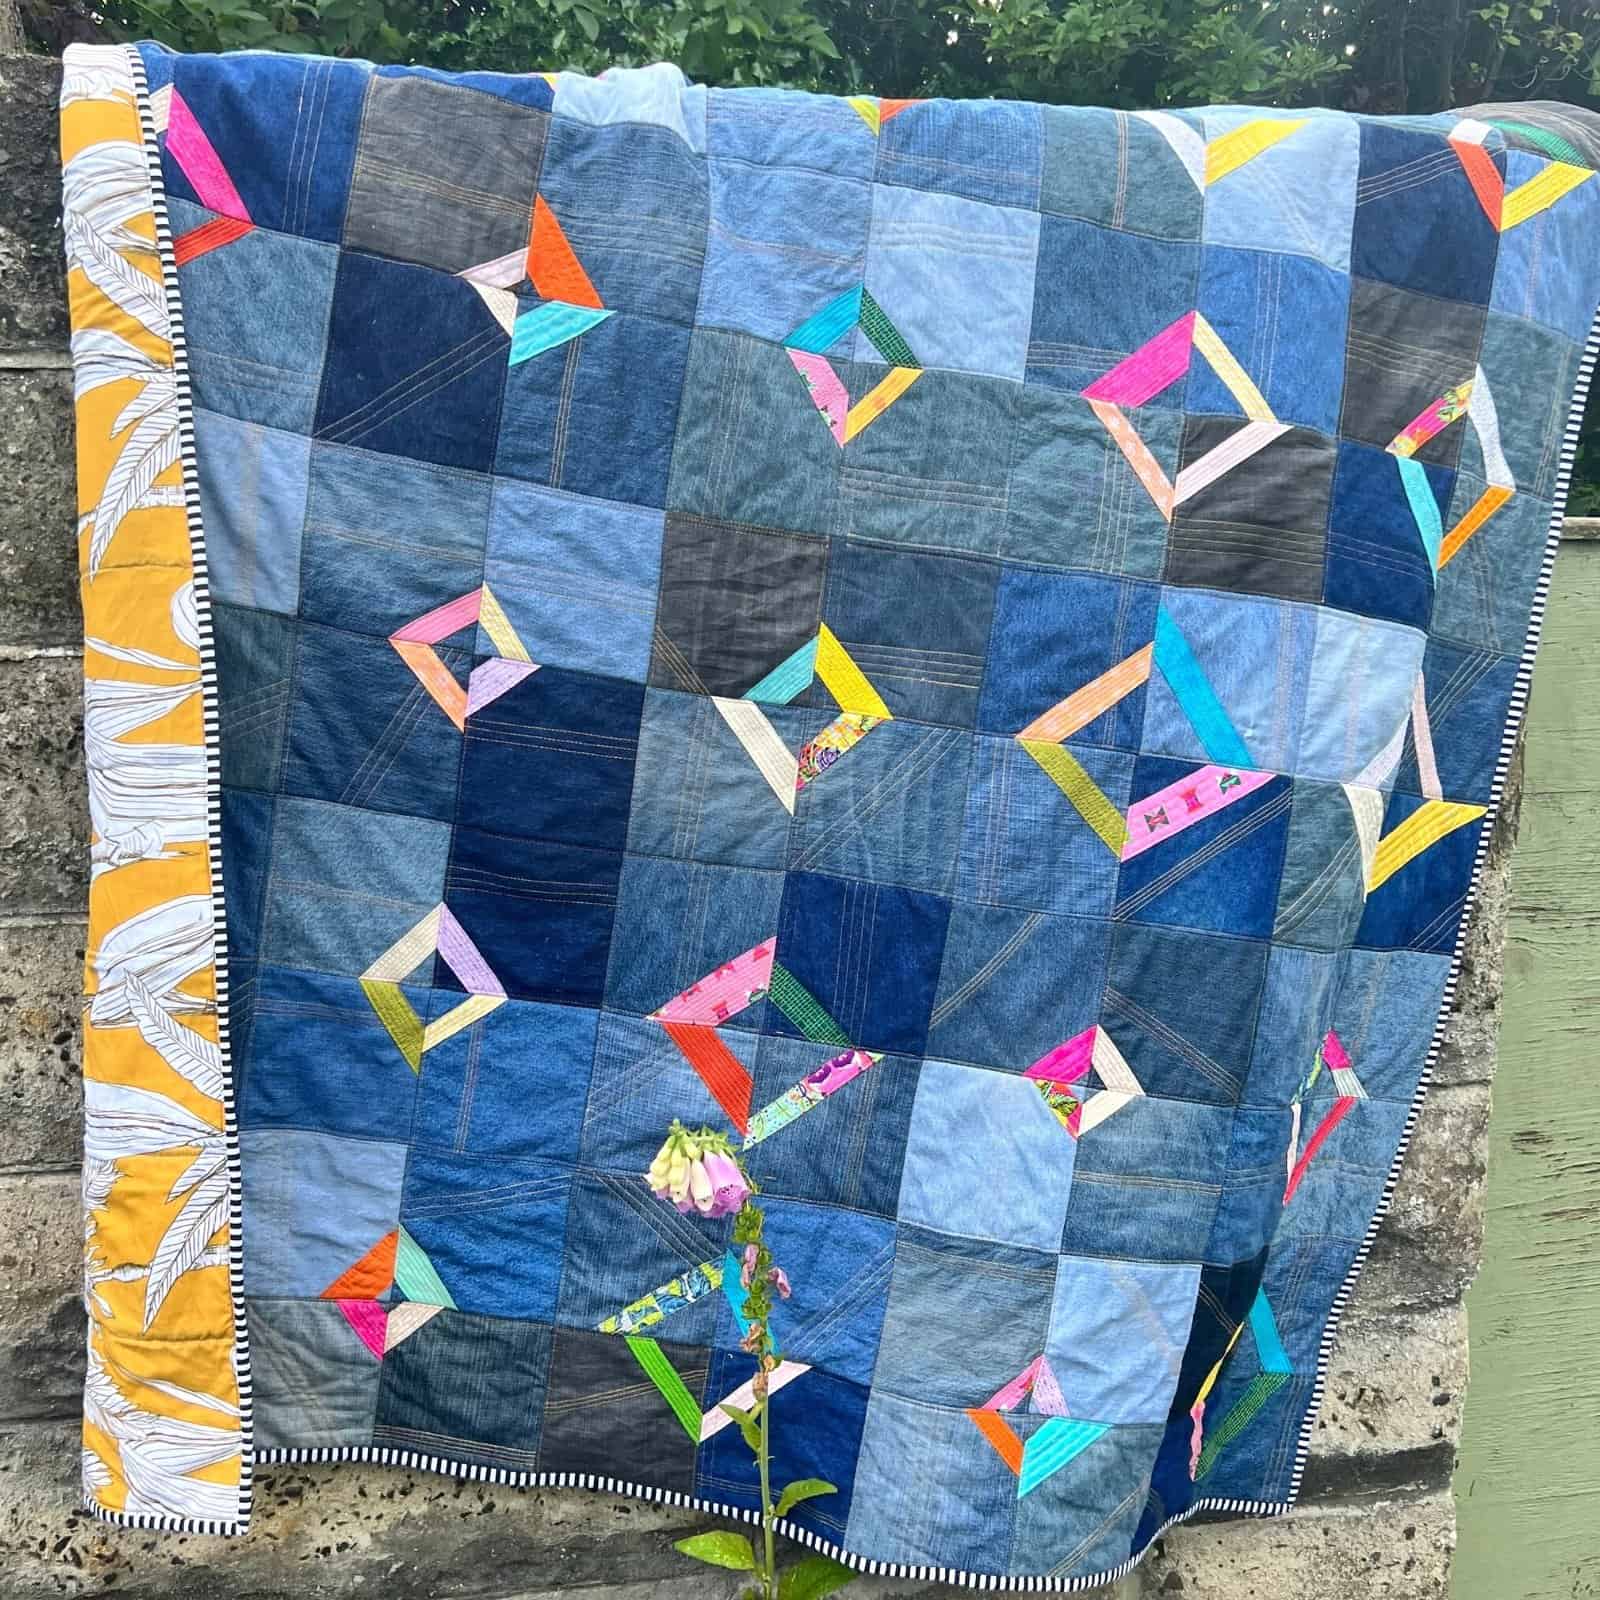
- Strip Piecing: This is a quilting technique that involves sewing strips of fabric together to form larger blocks. It is a great way to use up scraps of fabric, and can create beautiful, intricate designs.
- Paper Piecing: This type of quilting involves using paper templates to create intricate designs. This technique requires a lot of precision as the paper template needs to be cut and placed accurately. It can be used to create beautiful, complex quilts.
- Raw Edge Applique: This technique involves using fabric pieces to create decorative shapes and patterns on a quilt. The fabric pieces are cut to size, and then applied to the quilt with a running stitch. This technique is great for creating unique, abstract designs.
- English Paper Piecing: This quilting technique involves using paper templates to create shapes and patterns. The paper templates are then used to securely hold the fabric pieces in place, before being stitched together. This technique is great for creating intricate, detailed quilts.
- Foundation Piecing: This technique involves stitching fabric pieces onto a paper foundation. The paper foundation provides a guide for the fabric pieces, and makes it easier to create intricate patterns. This technique is great for creating quilts with detailed patterns and designs.
Care and Maintenance of Quilted Placemats
- Cleaning: Machine wash in cold water on a gentle cycle. Dry on a low heat. Remove any wrinkles with a warm iron.
- Storing: Store in a cool, dry place. Avoid direct sunlight and exposure to moisture.
- Repairing: If the quilting stitches become loose or unraveled, use a needle and thread to re-stitch them.
- Pressing: Use a warm, dry iron to press the quilted placemats. Do not use steam.
- Mending: If the fabric is torn, use a needle and thread to mend it.
- Replacing: If the fabric is too worn or faded, replace it with a new fabric.
Frequently Asked Questions
What type of fabric is best for quilting placemats?
- Cotton: Cotton is an ideal fabric for quilting placemats because it is lightweight and durable. Cotton is also easy to work with and available in a variety of colors and prints. It is also a good choice when looking for a fabric that will be easy to clean.
- Wool: Wool is a great choice for quilting placemats because it is durable and long-lasting. Wool is also very easy to work with and can be found in a variety of colors and prints. It is also very easy to clean.
- Linen: Linen is another great choice for quilting placemats as it is lightweight and strong. Linen is also easy to work with and can be found in a variety of colors and prints. It is also easy to clean.
- Synthetic Fabrics: Synthetic fabrics, such as polyester, are also great choices for quilting placemats because they are lightweight and strong. Synthetic fabrics are also easy to work with and can be found in a variety of colors and prints. They are also very easy to clean.
What tools and supplies are needed to quilt placemats?
- Fabric: Choose a quilting-weight cotton fabric for the top, batting, and backing.
- Ruler: A quilting ruler is necessary for measuring and cutting.
- Rotary Cutter: To cut long, straight lines.
- Scissors: For cutting threads and small intricate shapes.
- Pins: For securing layers of fabric together.
- Sewing Machine: For stitching pieces together.
- Thread: Choose a color of thread that blends with the fabric.
- Iron: For pressing seams and fabric.
How Much Time Should I Expect to Spend Quilting Placemats?
Quilting placemats can take anywhere from a few hours to a few days depending on the complexity of the quilt. Factors like the size of the placemats, the number of colors and fabrics used, and the complexity of the design all have an effect on the time it will take to complete the project. For a basic quilt with a few colors and simple designs, expect to spend around 6 to 8 hours. More complex quilts with intricate designs and many colors will take much longer.
What are some tips to ensure my placemats look professional?
- Choose high-quality fabric – select fabric that is durable and won’t easily fray.
- Choose coordinating colors – pick colors that match or complement each other.
- Cut the fabric evenly – use a rotary cutter for straight lines and scissors for curves.
- Use a walking foot – this will help prevent fabric from shifting as you quilt.
- Press your seams – this will ensure your seams are neat and your placemats are flat.
- Use binding – binding will give your placemats a finished look.
Are there any special techniques I should use when quilting placemats?
Piecing: When quilting placemats, it’s important to ensure that the pieces fit together correctly. Use an accurate ¼-inch seam allowance and press your seams open to reduce bulk and ensure that the seams nest together correctly.
Basting: Use temporary basting to hold the fabric layers together before quilting. This will help to ensure that the layers remain in place and don’t shift during the quilting process.
Quilting: When quilting, use a walking foot to help keep the layers from shifting and to ensure even stitching. Straight lines, free-motion quilting, and basic quilting motifs will all work well on placemats.
Binding: Use a single-fold binding to finish off your placemats. This will give them a professional, finished look.
Conclusion
Quilting placemats is a great way to add a personal touch to your tableware. With the right materials and knowledge, you can quilt your own placemats quickly and easily. While it may take some practice to get the perfect results, with a few simple steps you can have a beautiful set of handmade placemats for your next dinner party.
