Are you looking for a step-by-step guide on how to sew different size quilt blocks together? If yes, then you have come to the right place! In this article, we will discuss the basics of quilt-making and provide a comprehensive guide on how to sew different size quilt blocks together. We will cover the different types of quilt blocks, the materials you will need, and the techniques you will use to create a beautiful quilt. By the end of this article, you will have all the knowledge you need to create stunning quilts in no time!
What You Need to Piece Together Quilt Blocks of Different Sizes
To piece together quilt blocks of different sizes, you will need the following:
A sewing machine – A sewing machine is essential for quilting, as it will help you to stitch the blocks together with precision.
Fabric scraps – You will need fabric scraps in various colors and patterns for the quilt blocks. Make sure that the fabric is pre-washed and ironed before cutting.
Rotary cutter – A rotary cutter will help you in cutting the fabric scraps into quilt blocks of different sizes, which will make it easier to piece the blocks together.
Quilting rulers – Quilting rulers will allow you to accurately measure and cut the fabric into the desired sizes for the blocks.
Quilting pins – Quilting pins are used to hold the fabric pieces together as you piece them together. This will ensure that your quilt blocks remain in place while you are sewing them together.
Hand sewing needle – You will need a hand sewing needle to secure the edges of the blocks together.
Thread – Thread is necessary to sew the blocks together. You will need different colors of thread to match the colors of the fabric.
Iron – An iron is needed to press the blocks together and secure the seams. This will give the quilt a professional finish.
Once you have all the necessary materials, you can begin piecing the quilt blocks together. Make sure to measure and cut the fabric to the same size for all the blocks to ensure that the quilt looks even when it is finished.
How to Piece Together Quilt Blocks of Different Sizes
Step 1: Gather the Tools Necessary
Before beginning to quilt, it is important to have the right tools. The most essential tools are a sewing machine, thread, scissors, pins, and an iron. Make sure to have these items close at hand, as they will be used throughout the quilting process.
Step 2: Lay Out the Blocks
Once the tools are gathered, start by laying out the quilt blocks. Arrange the blocks in a way that will look pleasing when finished. This can be done on a large flat surface, such as a table or the floor. Consider the pattern that will be used when piecing together the blocks, as this will determine how the blocks should be arranged.
Step 3: Prepare the Blocks for Sewing
Once the blocks are arranged, prepare them for sewing. This includes pressing the fabric and making sure all of the seams are lined up correctly. Use an iron to press the fabric and pins to keep the seams in place.
Step 4: Sew the Blocks Together
Once the blocks are ready, it’s time to sew them together. Start by sewing the blocks that have the same size. Use a straight stitch and a ¼-inch seam allowance. Make sure to backstitch at the start and end of each seam.
Step 5: Finish the Quilt Top
Once the blocks are all sewn together, it’s time to finish the quilt top. Trim any excess fabric and press the seams to ensure that the quilt top looks neat and flat. Use an iron to press the seams open or to one side, depending on the desired look.
Creating a quilt with blocks of different sizes is a great way to add interest and dimension to a quilt. With the right tools and techniques, anyone can learn how to quilt odd size squares together to create a unique quilt that will be enjoyed for years to come.
Tips for Quilting with Various Sizes of Squares
1. Marking: Mark the seam lines of the largest and smallest squares to ensure accurate alignment. This will help you piece the multi size quilt blocks together accurately.
2. Seam Allowance: Increase the seam allowance of the smallest square to match the seam allowance of the largest square. This will help you align the squares easily.
3. Pressing: Make sure to press the seams open after piecing the squares together. This will help reduce bulk and help the blocks lay flat.
4. Chain Piecing: If you are piecing many of the same size blocks, use chain piecing to speed up the process. This will help you quickly and accurately piece the blocks together.
5. Matching Seams: When piecing the multi size quilt blocks together, match the seams as best as you can. This will help ensure the blocks lay flat and look even.
6. Seams on the Outside: When possible, place the seams on the outside of the quilt. This will help prevent the seams from showing through the quilt top.
7. Larger Blocks: If using a large block, sew the smaller blocks to the larger blocks first. This will help ensure accuracy and make your quilting easier.
How to Get Quilt Squares the Same Size
Trim the Blocks
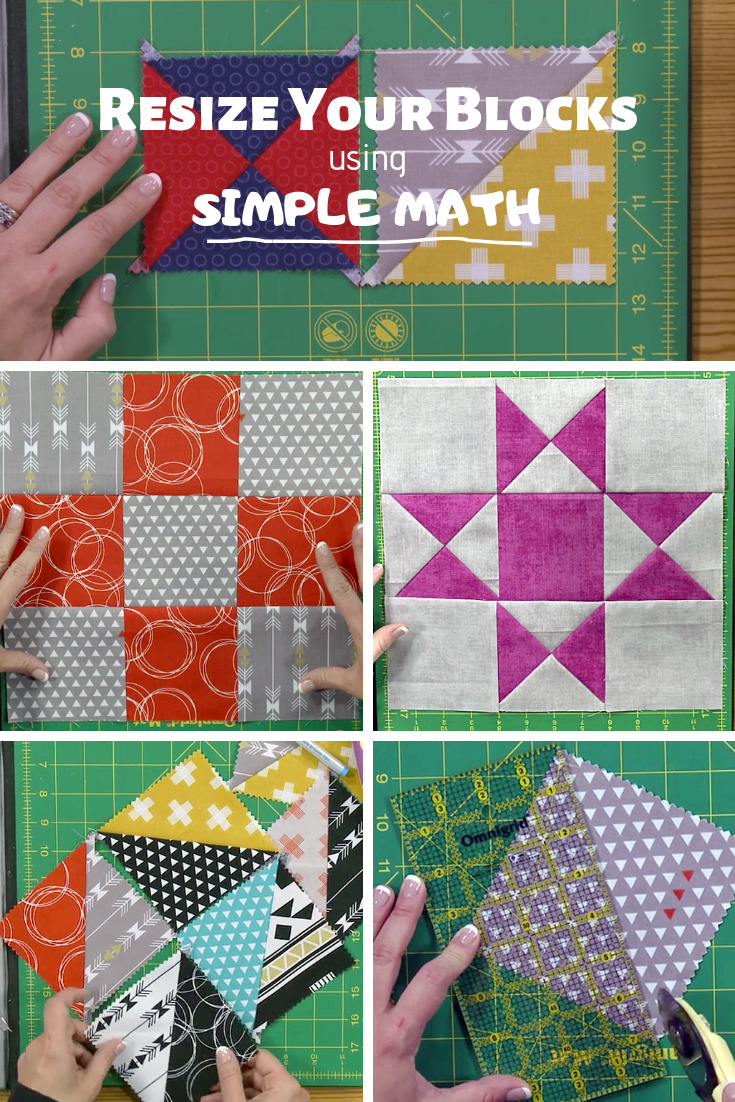
To ensure all the quilt squares are the same size, you will need to trim them. If necessary, use a ruler and rotary cutter to trim the excess fabric from each block until they are all the same size.
Create a Template
You can create a template out of cardboard or lightweight poster board. Draw the desired size of the quilt square on the template and then use it as a guide to cut each block. This will ensure that all the blocks are the same size and shape.
Use a Rotary Cutter
Using a rotary cutter and ruler is the most accurate way to get quilt blocks that are the same size. Place the ruler against the fabric and then use the rotary cutter to cut the fabric along the edges of the ruler. This will ensure that all the blocks are the same size.
With these tips, you can easily quilt various sized squares together for a beautiful quilt!
How to Quilt Odd Size Squares
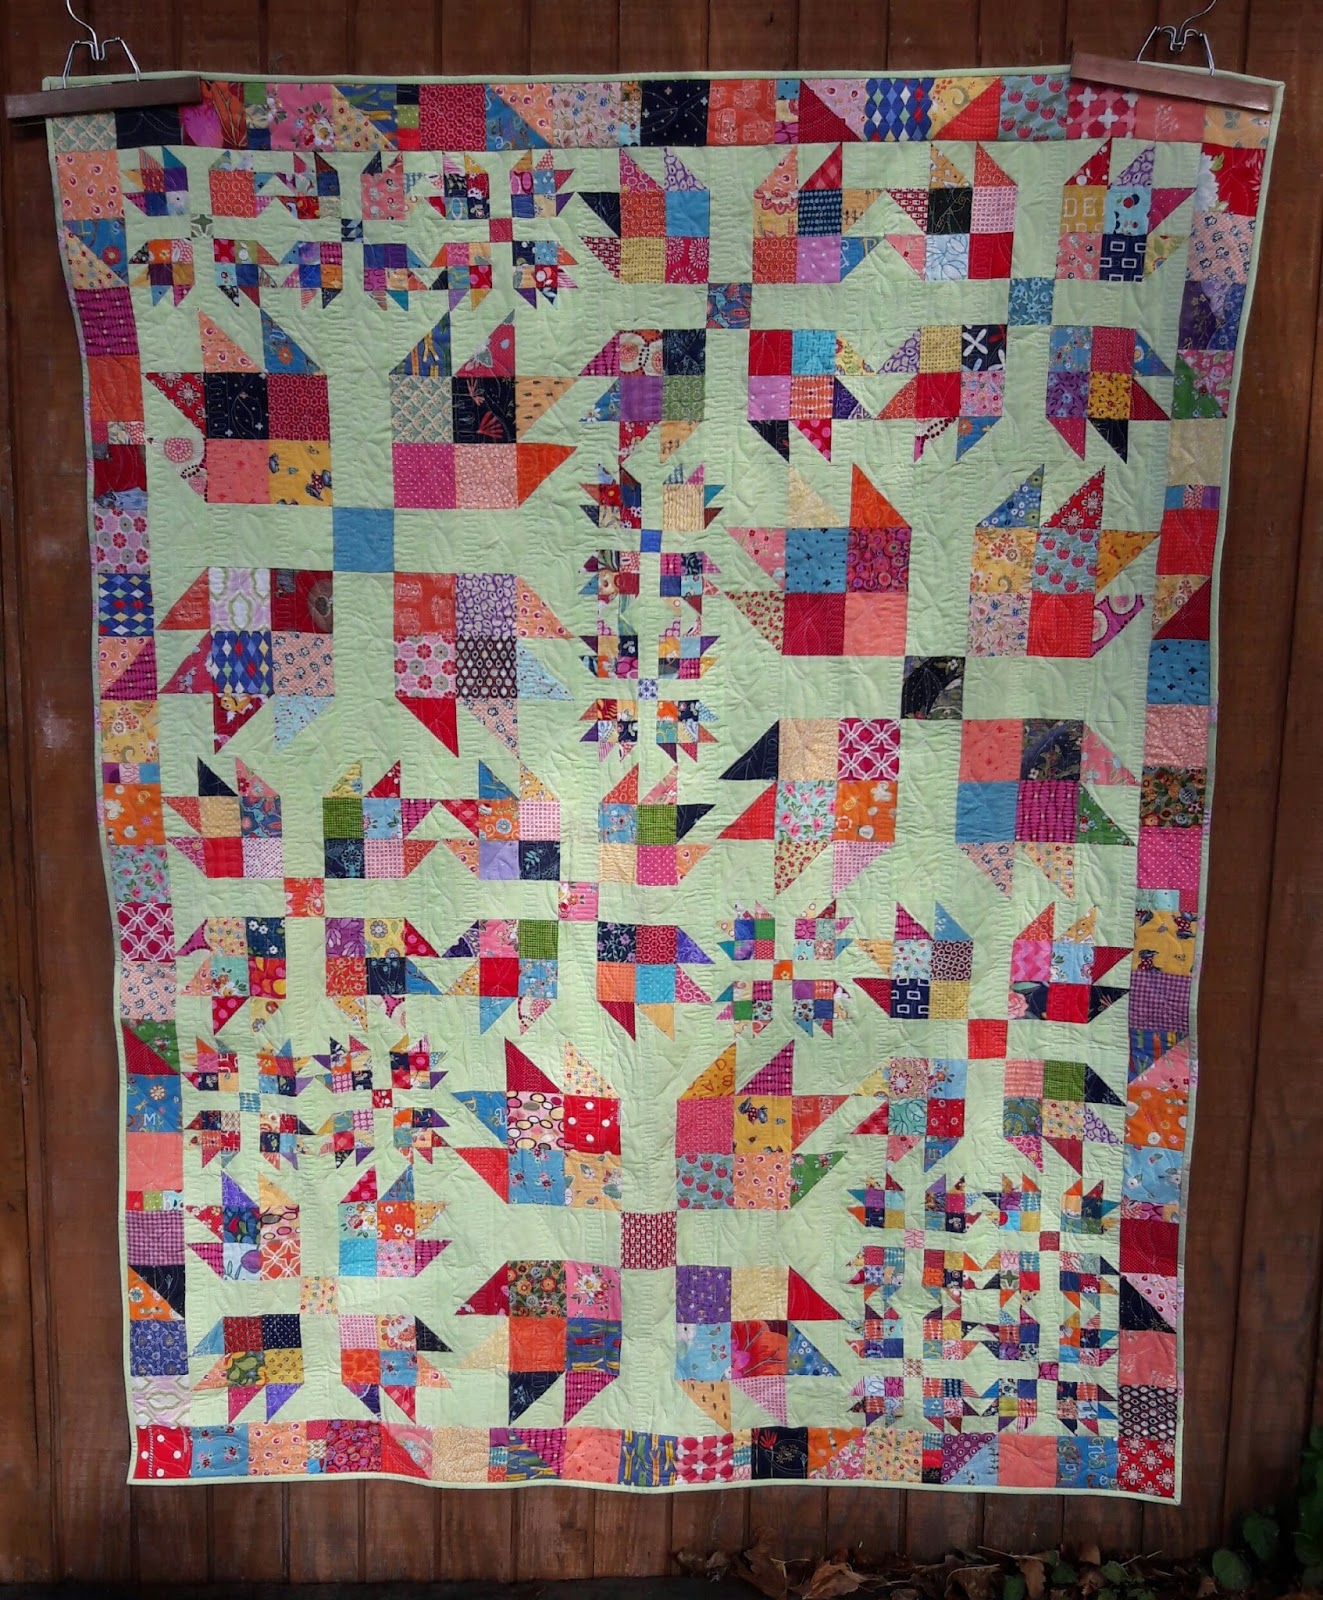
Quilting odd size squares can be quite tricky as it involves working with different types of shapes and sizes. For this task, you will need to measure, mark, and sew the pieces together accurately to create a quilt block. Here are the steps to follow:
Step 1: Take your squares and measure them to determine their size, then mark the center of each square.
Step 2: Place the right sides of two squares together, making sure the center marks match up. Pin the squares together and sew a ¼ inch seam around the edges.
Step 3: Repeat step two for all the remaining squares, making sure the center marks are aligned.
Step 4: Once all the squares are sewn together, press the seams open. To flatten the seam allowance, use a pressing cloth and press the seam to one side.
Step 5: Trim the quilt block to the desired size.
Step 6: Quilt the block using a walking foot or free motion quilting.
Following these steps will ensure that you have a properly quilted odd size square.
How to Quilt Multi Size Quilt Blocks
- Choose the Right Fabrics: Select fabrics that coordinate with the quilt project and provide enough contrast to bring out the details of the quilt blocks.
- Cut the Fabric Pieces: Cut the fabric pieces to the size of the quilt pattern. Each quilt block will be made up of several smaller pieces.
- Assemble the Quilt Blocks: Sew each piece of the quilt block together, following the pattern instructions.
- Lay out the Quilt Blocks: Arrange the quilt blocks on the quilt top according to the pattern. Make sure to sew the blocks together in a way that will create a balanced design.
- Sew the Quilt Blocks Together: Sew the quilt blocks together using a ¼” seam allowance. If the blocks are different sizes, try to line up the seams as much as possible.
- Add Borders: To finish the quilt, add a border around the quilt top. This will help to frame the quilt blocks and create a finished look.
Frequently Asked Questions
What Supplies Do I Need to Sew Quilt Blocks Together?
To sew quilt blocks together, you will need: sewing machine, thread, pins, scissors, and seam ripper. Additionally, you may need a seam guide and quilting ruler for more precise measurements.
What size of seam allowance should I use when sewing quilt blocks?
When sewing quilt blocks together, the seam allowance should be 1/4 inch. This will ensure that the blocks line up perfectly when joined, and that the quilt will hold its shape when finished. To ensure accuracy, use a seam guide on the sewing machine, or a ruler and marking pencil to mark the seam allowance before sewing.
What is the Best Way to Match Seams when Sewing Quilt Blocks?
- Pin Seams: Pinning the two fabric pieces together is the best way to match seams for quilt blocks. Place the pins perpendicular to the seam line at regular intervals. This helps to keep the fabric from shifting while sewing.
- Use a Seam Gauge: Using a seam gauge is a great way to keep your seam allowances consistent. Place the gauge along the seam line, and use a pencil or marking pen to draw a line. This will help ensure that the fabric pieces are lined up perfectly.
- Press Seams: Pressing the seams correctly will also help with matching the fabric pieces. Pressing the seams open or to one side will ensure that the fabric pieces are lined up correctly and the seams will match perfectly.
- Use a Seam Ripper: If you don’t get the seams matched correctly the first time, don’t worry. You can always use a seam ripper to remove the stitches and start again.
How do I sew curved seams when sewing quilt blocks?
To sew curved seams, start by pinning the two pieces of fabric together, right sides facing. Be sure to match any notches or markings and use plenty of pins to keep the fabrics from shifting. Use a small stitch length and a walking foot to ensure even stitching. Carefully sew the seam, following the marked line and removing pins as needed. Finally, press the seam open and trim the seam allowance.
How do I ensure a consistent size for my quilt blocks when sewing them together?
To ensure consistent size for the quilt blocks when sewing them together, it is recommended to measure and trim each block before sewing. Use a ruler and rotary cutter to trim any excess fabric from the blocks. Alternatively, use templates or special rulers to accurately trim the blocks to the desired size. Additionally, use a ¼-inch seam allowance when sewing, and press each seam as you go. This will help to keep the blocks consistent and ensure that the quilt looks neat and professional.
Conclusion
Sewing together quilt blocks of various sizes is a simple process that requires precision and patience. Using a quarter-inch seam allowance and a lot of pins to keep the blocks in place, sew each block together, making sure the seams match up. After the quilt blocks are sewn together, press the seams open and your quilt top is finished.


