Sewing quilt squares together can be a daunting task for beginners, but with the right steps, it can be a rewarding experience. This article will provide a step-by-step guide on how to sew quilt squares together, from selecting the fabric to putting the finishing touches on the quilt. With this guide, you’ll learn the basics of quilt construction, along with tips and tricks for a successful quilt. So grab your fabric and needle, and let’s get started on creating the quilt of your dreams!
What You Need
Fabric
Choose the fabric for your quilt squares. Consider the size, color, and pattern of the fabric. Think about how the quilt squares will look when sewn together.
Thread
Select thread for sewing the quilt squares together. Choose a thread color that will blend with the fabric.
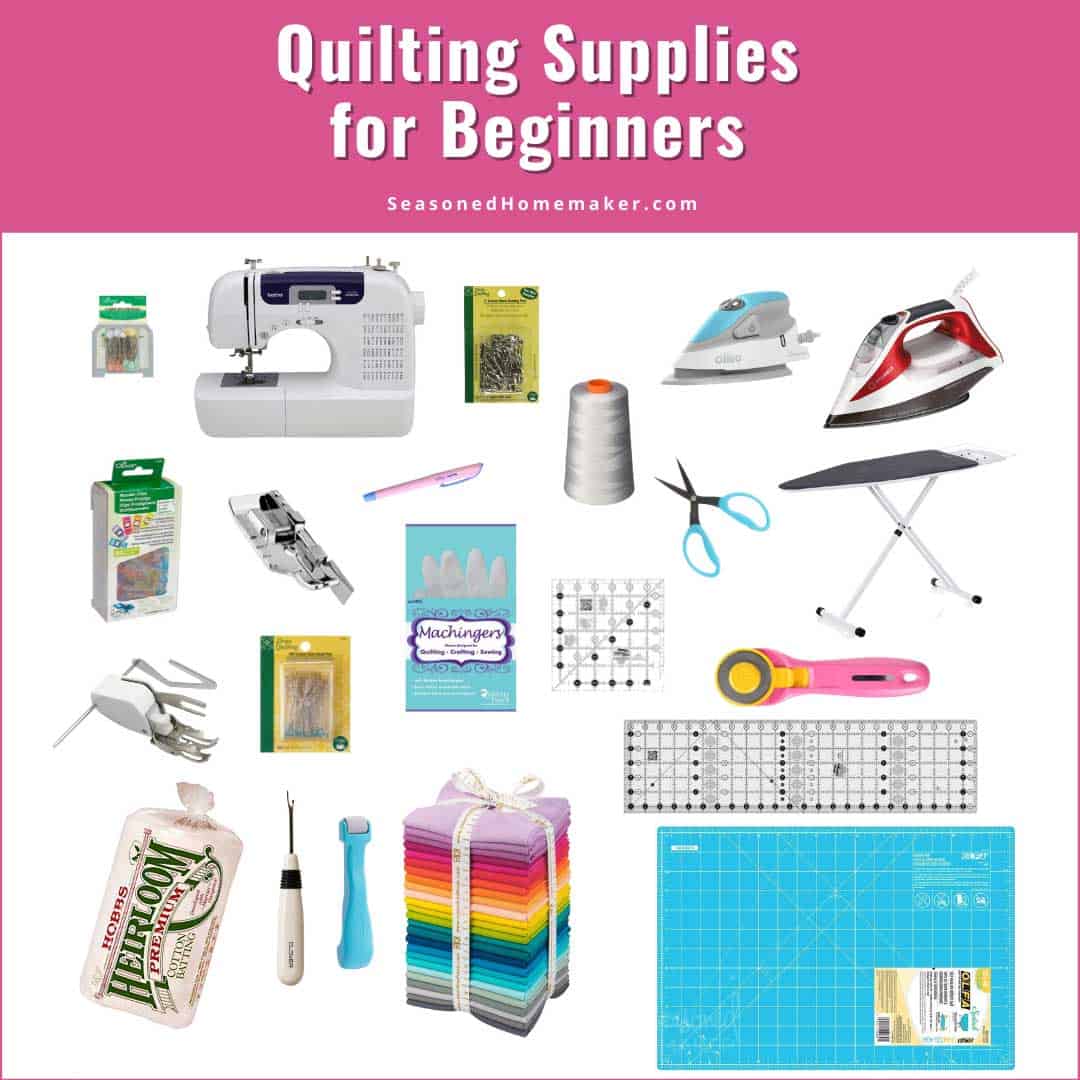
Sewing Machine and Other Supplies
Gather the supplies you will need to sew the quilt squares together. These may include a sewing machine, pins, scissors, and seam ripper. Make sure you have everything you need before you begin.
Now that you have your supplies, you are ready to learn how to sew quilt squares together.
Cutting the Squares
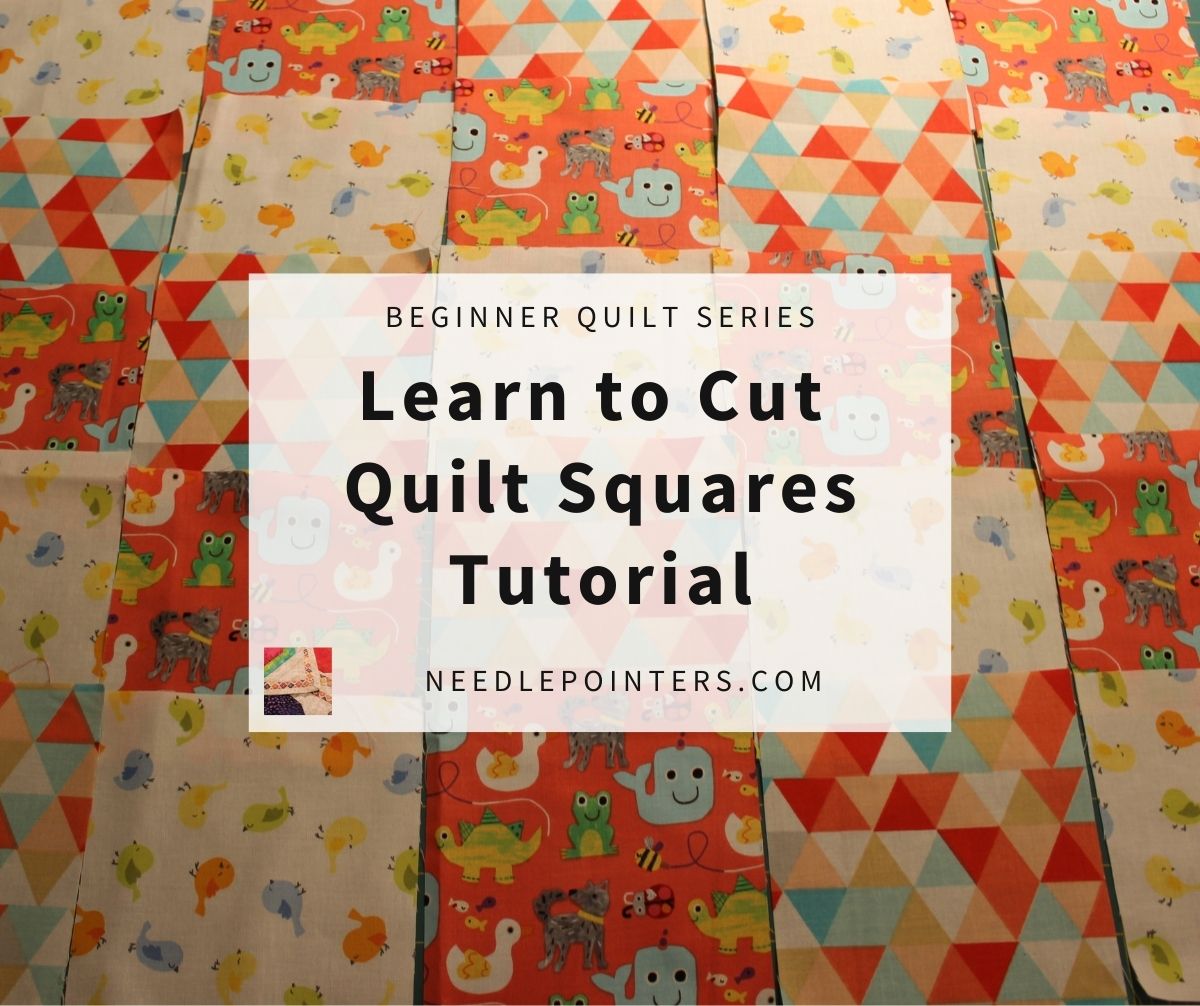
To get started with how to quilt squares as a single piece, you need to first cut out the fabric. Take the fabric that you wish to use for the quilt and cut it into squares. Make sure to cut the fabric accurately, as any cutting errors will be visible in the finished quilt. To ensure accuracy, you might want to use a cutting mat and a rotary cutter. Once the fabric is cut into squares, you are ready to move on to the next step.
| Rotary Cutter | Cutting Mat |
| Fabric | Squares |
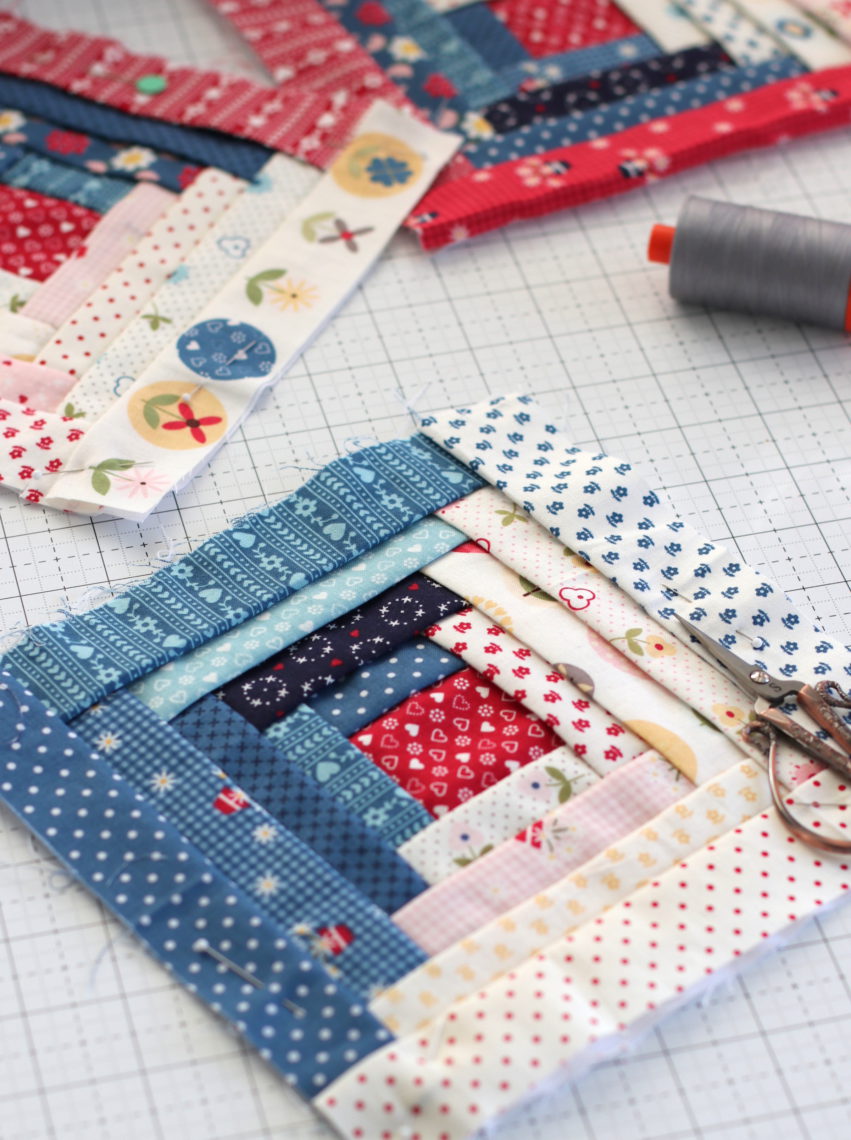
Assembling the Quilt Squares
- Choose the Layout: Before you start sewing, it is important to decide how you want to lay out the quilt squares. You can arrange them in a pattern or randomly.
- Pair the Squares: After you have chosen the layout, you will need to pair the quilt squares. You can either pair them randomly or keep the same pattern as you have chosen for the layout.
- Pin the Squares: Once the squares are paired, you will need to pin them together. This will help you to keep the squares in place while you are sewing them together.
- Sew the Squares: Once the squares are pinned together, you can start sewing them together. Be sure to use a straight stitch and make sure the edges of the squares are lined up properly.
- Press the Seams: After you have sewn the squares together, you will need to press the seams. This will help to keep the quilt looking neat and tidy.
- Trim the Seams: Once the seams are pressed, you will need to trim the excess fabric from the seams. This will help to keep the quilt looking neat and tidy.
Quilting with pieces together is a great way to create a one-of-a-kind quilt. By following the steps above, you can easily assemble the quilt squares and create a beautiful quilt.
Stitching the Quilt Blocks
- Using a Sewing Machine: The best way to attach quilt pieces together is to use a sewing machine. This is the quickest and most accurate method. Begin with setting your machine to a straight stitch and adjusting the stitch length to about 12-15 stitches per inch. Make sure to use a special quilting foot to help guide the fabric as you stitch.
- Using a Thread and Needle: If you don’t have a sewing machine, you can still attach quilt pieces together with a needle and thread. Use a strong thread, such as quilting cotton, and a large-eyed needle. Begin by knotting the thread and then hand sew the pieces together in a running stitch. Make sure that the stitches are small and even, so that the quilt holds together securely.
- Finishing the Quilt: Once all the quilt pieces have been stitched together, you will need to finish the quilt by adding a border. Begin by cutting fabric strips that are the same width all around. Then attach the strips to the edges of the quilt with a sewing machine or needle and thread. Once the border is attached, you can add a backing and batting to complete the quilt.
Once all the quilt pieces have been stitched together, you can finish putting the quilt pieces together by adding a border, backing, and batting. With the right tools and techniques, you can create a beautiful quilt that will last for years to come.
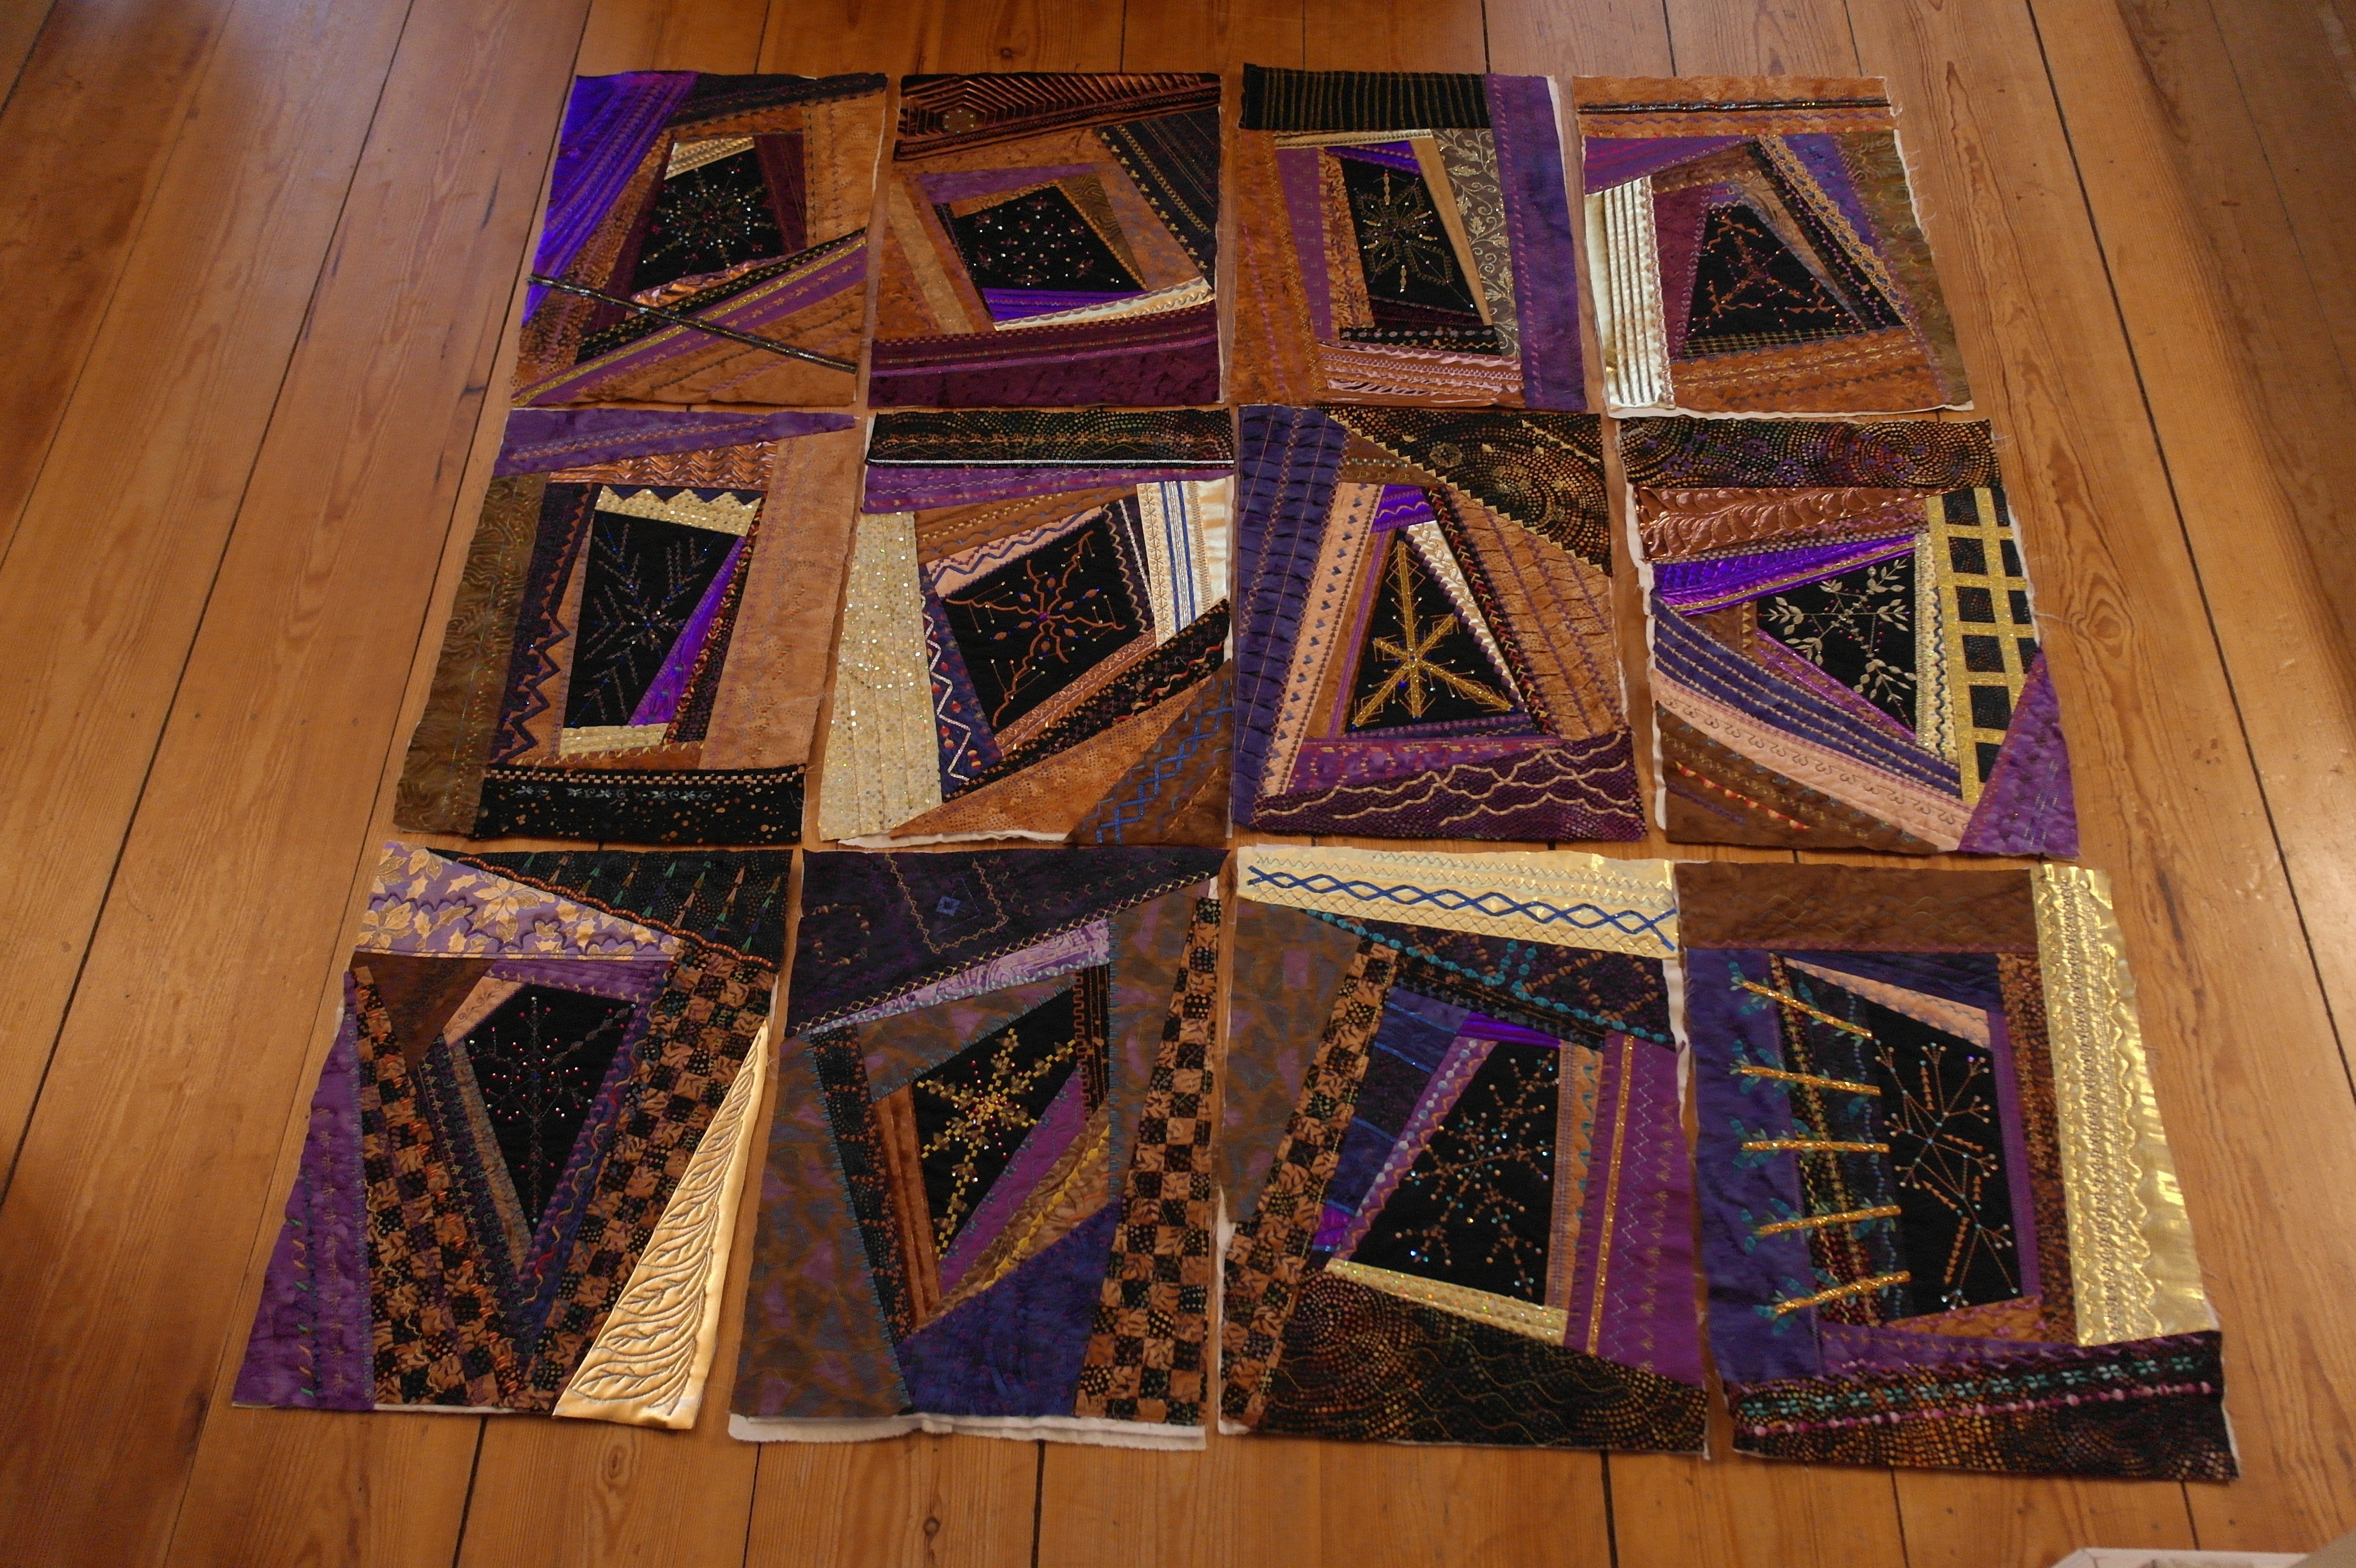
Finishing the Blocks
- Lay the quilt blocks out on the floor or a large table, rearranging them until you are satisfied with the pattern.
- Starting from the outer edge, pin two blocks together with the right sides of the fabric facing each other.
- Sew the two blocks together using a ¼” (6.4 mm) seam allowance.
- Continue to pin and sew each pair of blocks together until all the blocks are connected.
- Press the seams open or to the side, depending on the quilt pattern.
- If desired, stitch the seams again to reinforce them.
- You have completed how to piece quilt blocks.
Basting the Quilt

- Basting is a temporary stitching that holds the quilt top, batting, and backing together before it is quilted together.
- It is done with a long running stitch, with a large needle, and a long thread.
- A quilting frame or hoop is used to keep the layers tight while basting.
- Basting prevents shifting of the layers while sewing the quilt squares together.
- It can also be done with safety pins, but the pins can become a nuisance when quilting.
- When basting, it is important to use an even number of stitches in each direction.
- It is also important to keep the stitches close together but not so close that they will interfere with the quilting process.
- Basting is best done on a flat surface, and it is important to keep the quilt top, batting, and backing neat and tidy while basting.
Quilting the Pieces Together
| Step | Description |
|---|---|
| 1 | Arrange quilt squares according to desired design. |
| 2 | Pin quilt squares together. |
| 3 | Thread the needle with the quilting thread. Knot the end. |
| 4 | Starting from the outside of the quilt, begin to quilt the pieces together. Start from the corner and move to the center. |
| 5 | Continue quilting around the quilt squares, carefully following the design. |
| 6 | When finished, knot the quilting thread and cut off the excess. |
Once the quilt squares have been pinned together and the design has been decided on, it’s time to start quilting them together. Begin by threading a needle with quilting thread and knotting the end. Starting from the outside of the quilt, begin to quilt the pieces together. Start from the corner and move toward the center. Continue quilting around the quilt squares, carefully following the design. When finished, knot the quilting thread and cut off the excess.
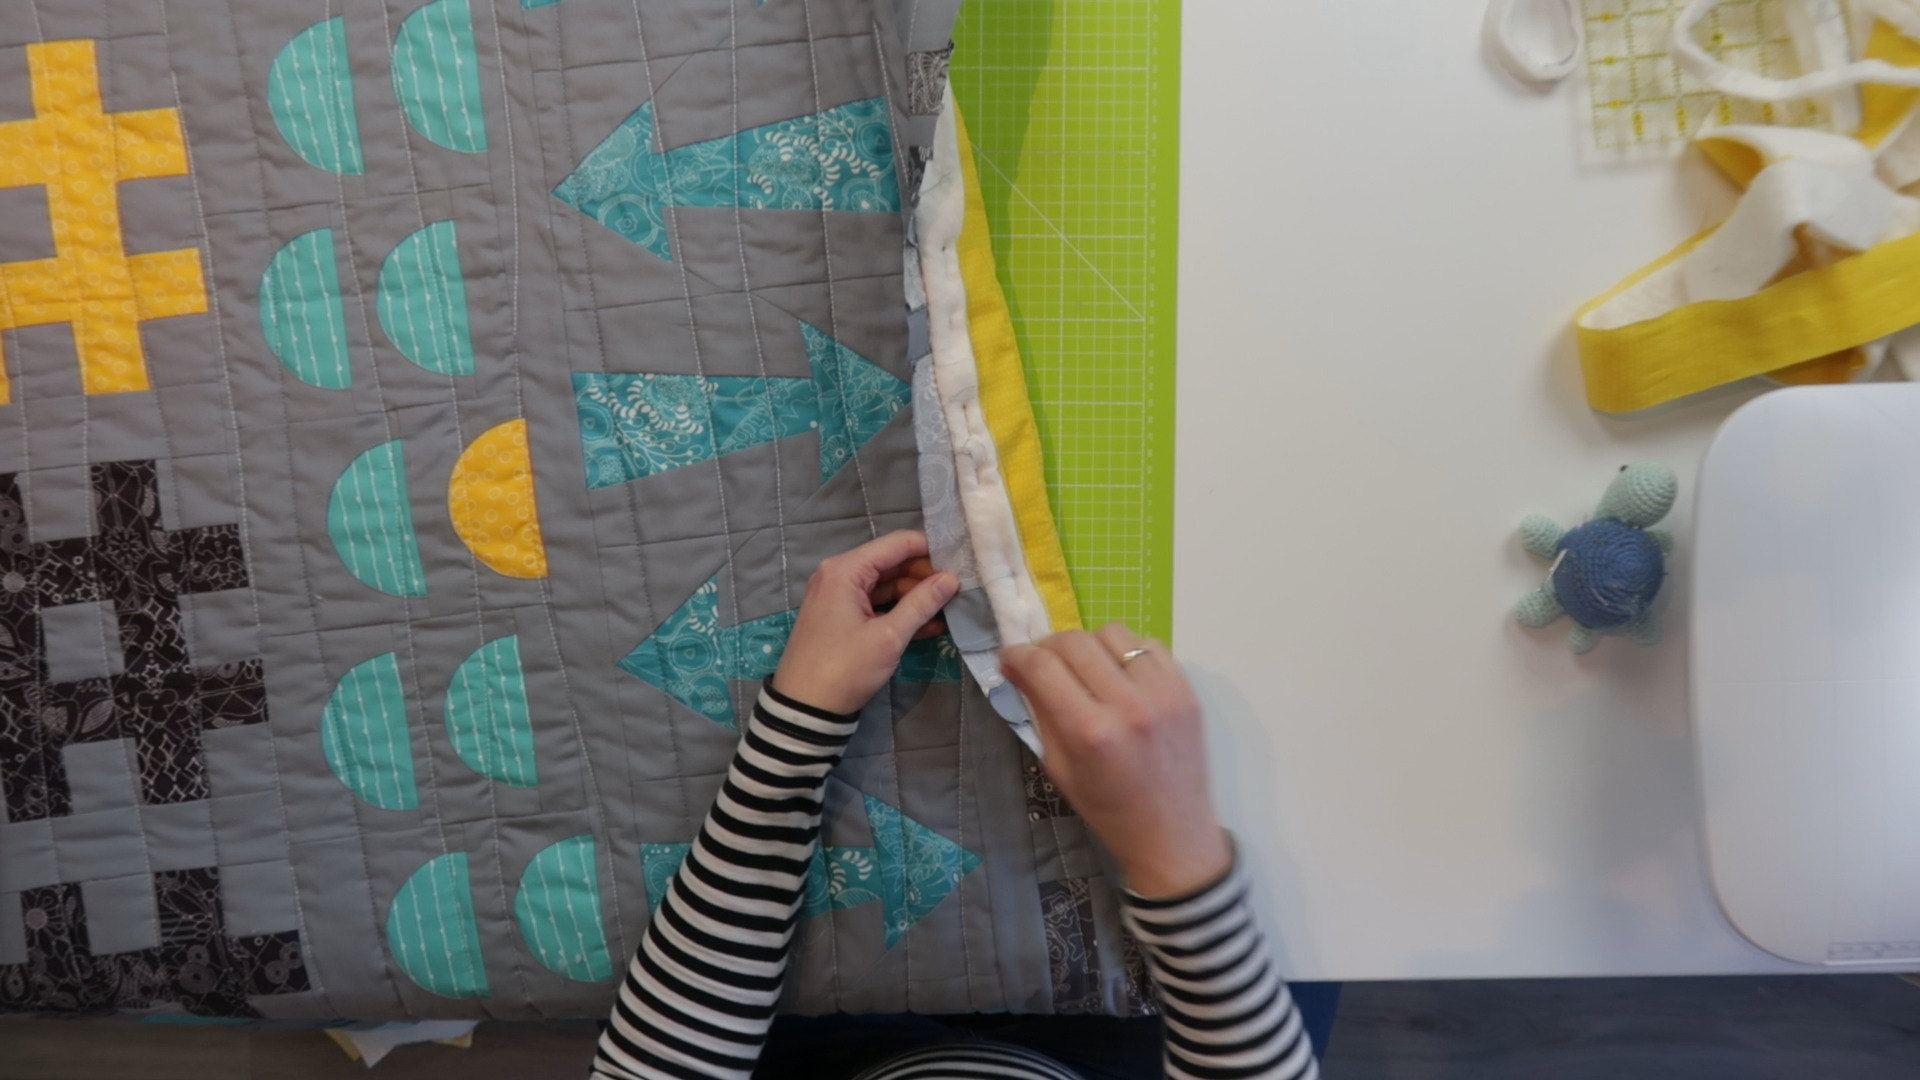
Finishing the Quilt
Once all the quilt squares have been pieced together, the quilt is ready to be finished. The first step is to lay the quilt top on a flat, clean surface and smooth out any wrinkles or bumps. Next, layer the quilt top with a batting material and a backing fabric, and pin the layers together with safety pins. Trim the edges of the batting and backing fabric to match the quilt top.
Finally, use a running stitch to sew the quilt layers together. If desired, a decorative stitch such as a cross-stitch can be used instead. When finished, tie the quilt with a quilt knot or a quilt binding to secure the edges. After the quilt is complete, it is ready to be used or gifted.
Following the steps above will help you create a beautiful, durable quilt with quilt squares.
Frequently Asked Questions
What Types of Quilt Squares are Best to Use?
Choosing the right quilt square fabric is important for creating a successful quilt. Generally, quilt squares should be made from 100% cotton fabric, as this will be easier to work with and will last longer. Cotton fabric also tends to be more breathable and soft, making it an optimal choice for quilting. For added durability, select fabric with a higher thread count. Additionally, look for quilt squares that are pre-washed, as this will help the fabric resist shrinking when washed in the future.
What Tools Are Necessary for Sewing Quilt Squares Together?
A sewing machine, thread, scissors, pins, fabric and batting are essential for sewing quilt squares together. A rotary cutter, mat and ruler may also be useful for cutting the fabric and batting. An iron and ironing board are also useful for pressing seams. A walking foot attachment for the sewing machine may help when sewing thicker layers of fabric and batting together.
What type of stitch is best for quilt squares?
Straight Stitch – This is the most common stitch used for quilt squares, as it is the simplest, fastest, and most secure. It also requires very little thread, making it the most economical choice.
Zigzag Stitch – This stitch creates a wavy pattern, and is the most commonly used for mending and decorative purposes. It can be used to secure the edges of quilt squares, and is also less likely to come undone with wear and tear.
Running Stitch – This stitch is used to secure quilt squares in place and is best used with a heavy thread. It is also the most time-consuming stitch and requires the most thread.
Saturn Stitch – This stitch is used to create a decorative pattern on quilt squares. It creates a star-like shape and is usually used with a heavier thread.
Cross Stitch – This stitch is commonly used to create decorative patterns on quilt squares. It is time-consuming, but creates an intricate and eye-catching design.
Buttonhole Stitch – This stitch is used to secure the edges of quilt squares, and is also used to create decorative patterns. It is best used with a heavy thread for durability.
Is there a particular order to sewing quilt squares together?
Yes, there is a particular order to sewing quilt squares together. Begin by laying out all of the quilt squares in the desired pattern. Then, sew the quilt squares together in rows from left to right, top to bottom. Finally, stitch each row together, matching the seams and pressing them open. When all the rows are joined, the quilt is complete.
How can I use different fabrics to make a quilt?
- Choose the Right Fabric – Consider the qualities of the fabric when deciding which to use. Choose lightweight fabrics such as cotton, flannel, muslin, or linen. Avoid heavier fabrics such as denim, wool, or fleece.
- Choose the Right Color – Pick fabrics with complementary colors to create the desired look for your quilt. Consider stripes, plaids, solids, and prints to create a pleasing blend.
- Choose the Right Design – Decide what type of quilt you want to make. Choose from patchwork, pieced, appliqued, quilted, or embroidered designs.
- Cut the Fabrics – Cut the fabrics into equal size squares or rectangles, depending on the quilt design.
- Lay Out the Pieces – Lay out the pieces of fabric to create a pattern. Make sure the pattern is balanced and consistent across the quilt.
- Quilt the Pieces Together – Sew the pieces of fabric together, using a quilting stitch. Use a quilting foot on the machine to ensure even stitches.
- Add a Backing – Create a backing for the quilt by layering two pieces of fabric and stitching them together. The backing can be either fabric or batting.
- Finish the Quilt – Finish the quilt with a binding around the edges. Sew the binding onto the quilt by hand or with a machine.
Conclusion
Sewing quilt squares together is a simple process. With the right supplies, along with the steps provided in this guide, you can easily create a beautiful quilt. With practice, you can even make professional-looking quilts that will be admired by family and friends.
References
- How to Sew Quilt Squares Together: A Step-by-Step Guide (Craftsy.com)
- Quilt in a Day: Sew-Together Method (Thesprucecrafts.com)
- How to Sew Quilt Squares Together (Quiltingdaily.com)


