Are you interested in learning how to stipple quilt, and create a beautiful, lasting heirloom that can be passed down for generations? Stipple quilting is a great way to add texture and dimension to your quilting projects, and the process is simpler than you may think. In this article, we will unlock the secrets of how to stipple quilt and guide you through the process of creating a unique, handmade quilt that your family can enjoy for years to come.
What is Quilt Stippling?

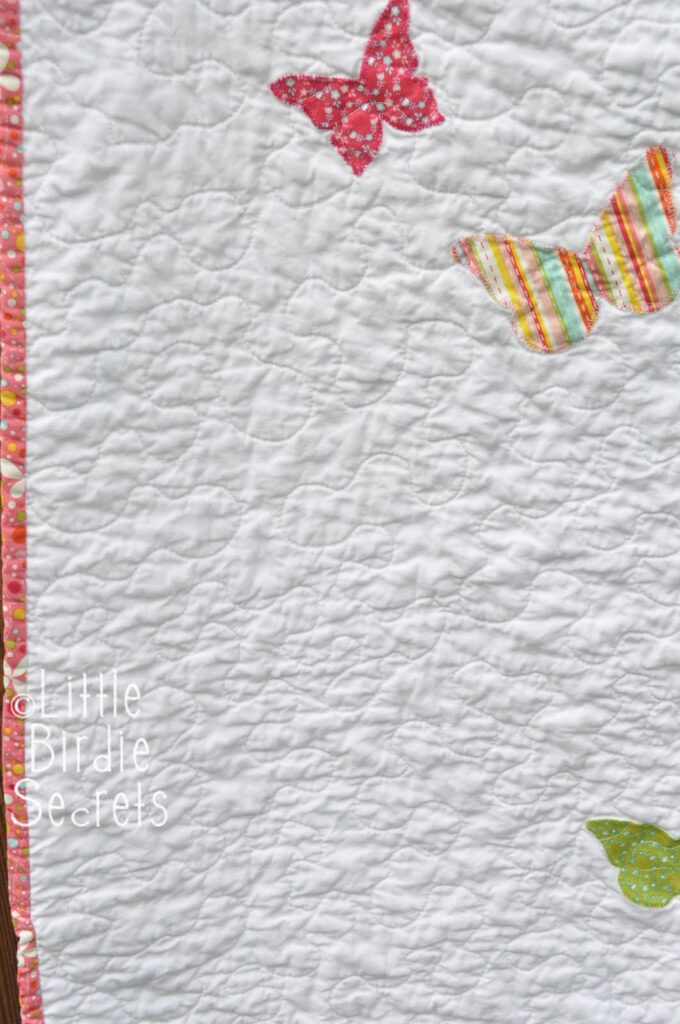
Quilt stippling is a form of free motion quilting that creates a meandering loop pattern, similar to a stippled painting. This technique is used to fill large areas on quilts with a uniform pattern. It’s a great way to add texture and interest, while keeping quilting simple.
How to Stipple Quilt Free Motion
- Set-up your machine for free motion quilting. This includes lowering the feed dogs, attaching a free motion quilting foot, and adjusting the tension.
- Start with a practice piece of fabric to get used to the technique. Draw a large square, and practice quilting within the lines. This will help you to get used to the free motion quilting motion.
- Once you’re comfortable, begin quilting on the quilt. Move the fabric in a serpentine pattern, keeping the stitches uniform in size and length. Don’t worry if they don’t look perfect – the beauty of quilt stippling is that it doesn’t have to be perfect to look great.
- Continue stippling until the entire quilt top is filled. If you need to stop, tie off the thread with a few small back stitches.
- When you’re finished, quilt the backing and batting together in the same pattern. This will create a unified look.
What Materials are Needed for Quilt Stippling?
Quilt stippling is a great way to add texture and dimension to a quilt. To create a beautiful quilt stippling design at home, you will need the following materials:
| Material | Description |
|---|---|
| Quilt Sandwich | A quilt sandwich consists of a top layer, batting, and backing. All three layers should be quilted together. |
| Thread | Choose a 100% cotton thread in a color that contrasts with the fabric of your top layer. |
| Quilting needle | A quilting needle should be size 8 or 9 for best results. |
| Quilting hoop | A quilting hoop can help keep your quilt layers taut while stitching. |
| Pins | Safety pins can be used to secure the layers of the quilt sandwich. |
| Marking Pen | A marking pen can help you create the pattern you want to stitch. |
With these materials, you have everything you need to learn how to stipple a quilt at home.
What are the Different Techniques for Quilt Stippling?
Free Motion Stippling
Free motion stippling is a form of quilting where stitches are made in a free-form or loopy pattern. It’s often done with a sewing machine, but can also be done by hand. The quilting line can be varied in length and shape, allowing for a lot of creativity. Free motion stippling is a great way to add texture to a quilt and create an interesting design.
Home Stippling
Home stippling is a form of quilting that is used to finish a quilt. This type of stippling is usually done with a sewing machine, but it can also be done by hand. Home stippling is usually done in a circular or loopy design, and it is often used to cover large areas of a quilt. It can also be used to create decorative borders or other patterns.
Baby Quilt Stippling
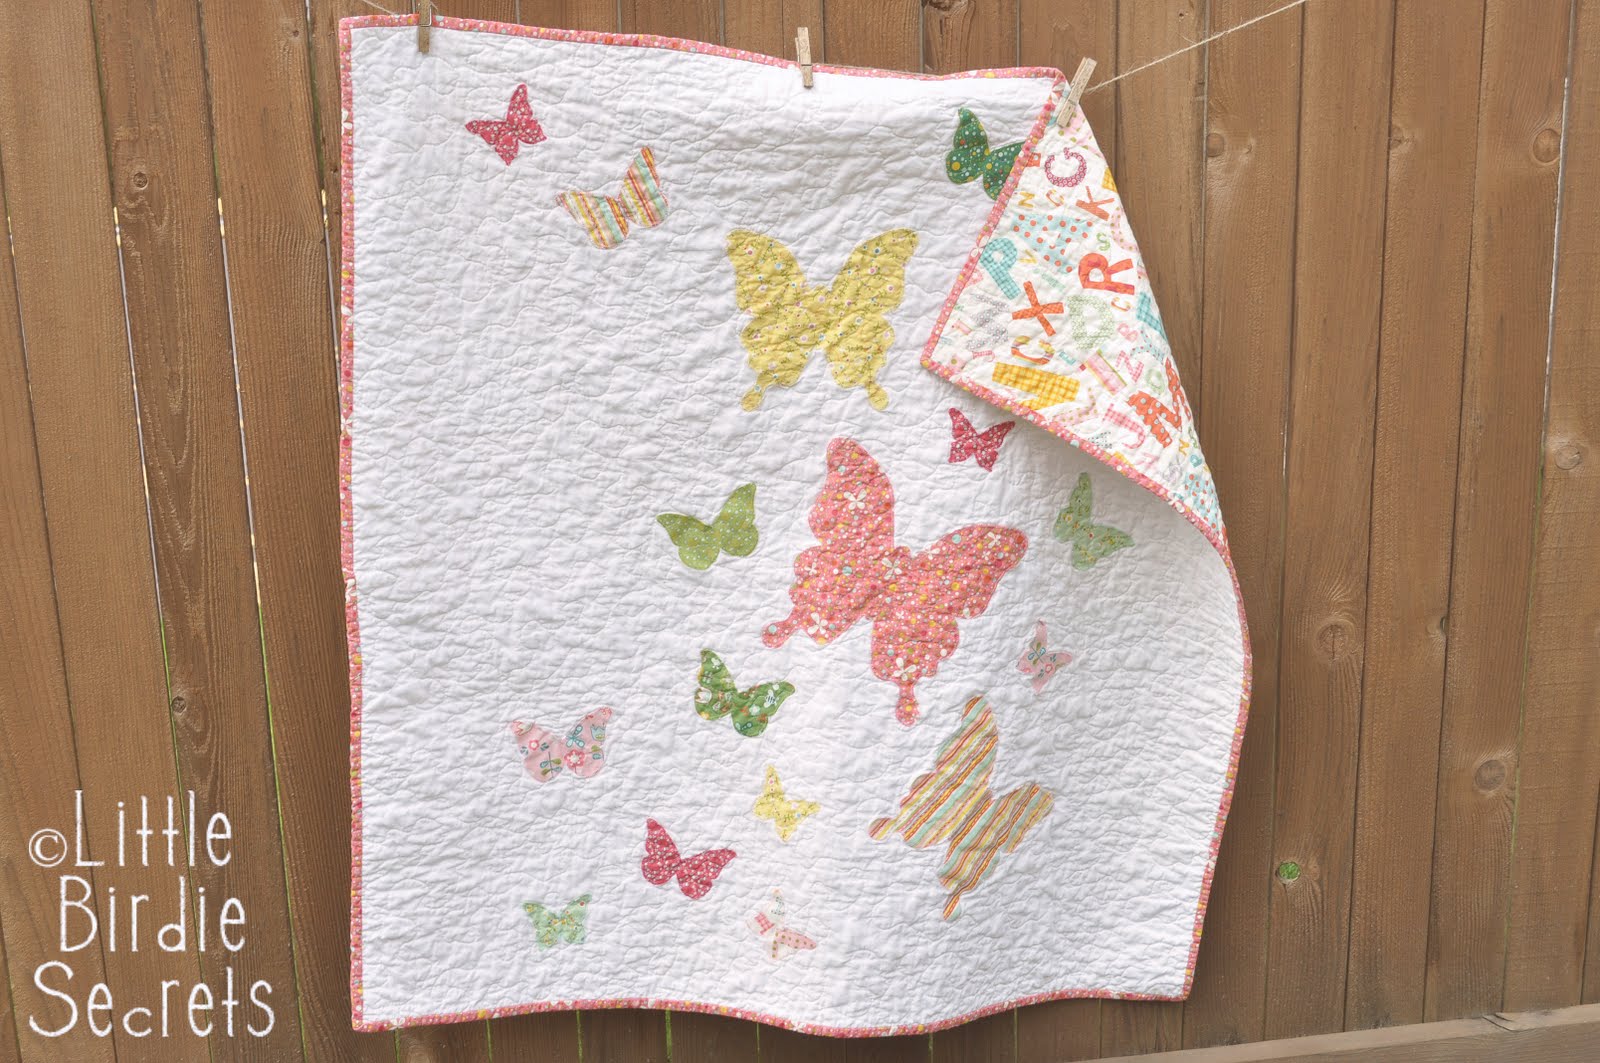
Baby quilt stippling is a form of quilting specifically designed for baby quilts. It is usually done with a sewing machine, but can also be done by hand. This type of stippling is usually done in a loopy or circular design, and it is often used to create decorative borders or other patterns. How to stipple a baby quilt is a popular topic among quilters, and there are many tutorials available online to help you get started.
Large Quilt Stippling
Large quilt stippling is a form of quilting that is used to finish large quilts. This type of stippling is usually done with a sewing machine, but can also be done by hand. It is usually done in a loopy or circular design, and it is often used to cover large areas of a quilt. It can also be used to create decorative borders or other patterns.
What are the Steps of the Quilt Stippling Process?
Preparing the Quilt
Before starting the stippling process, it is important to ensure that the quilt is ready to be stippled. This includes pre-washing the fabric, pressing it flat, and making sure that all of the seams are secure. Once the quilt is ready, it is time to start the stippling process.
Applying the Stipple Design
The next step is to apply the stipple design. This can be done by using a variety of tools, such as a quilting ruler, template, or free-motion quilting foot. Depending on the size of the quilt, it is important to use the appropriate tool to ensure that the stippling design is even and consistent. For how to stipple a large quilt, it is best to use a template for more accurate results.
Finishing the Quilt
Once the stippling process is complete, it is time to finish the quilt. This includes trimming the edges, pressing the quilt, and binding any raw edges with a binding tape or fabric. For added protection, the quilt can be sprayed with a quilt finish to protect it from wear and tear. After the quilt is finished, it is ready to be enjoyed!
How to Create Quilt Stippling Samples?
- Choose a Fabric: Select a fabric that is quilting weight with a tight weave to make your sample.
- Cut the Fabric: Cut a piece of fabric that is 1/4 inch larger than the desired sample size.
- Mark the Quilt: Use a quilting pen, chalk pencil, or water-soluble marker to mark your quilt with a grid, lines, circles, and/or other shapes.
- Stipple the Quilt: Start by stitching a few lines, then add circles and other shapes. Make sure to keep your stitches uniform, and vary the length, width and direction of your stitches.
- Trim the Quilt: Trim the excess fabric from the sample, leaving a 1/4 inch seam allowance.
- Press the Quilt: Press the sample with a warm, dry iron to flatten the stipples.
Once you have created your stippling sample, use it as a template to create a full-size quilt with stippling. This how to stipple a quilt tutorial will help you stitch a beautiful quilt with a variety of stippling designs.
What Can Be Done with Quilt Stippling Samples?
Quilt stippling samples can be used to create a variety of beautiful quilt designs, including:
The quilt stippling samples can also be used to create custom quilt designs, such as:
- Creating a quilt block design
- Creating a quilt pattern
- Creating a quilt border design
- Creating a quilt sashing design
- Creating a quilt piecing design
The quilt stippling samples can also be used to create quilt projects, such as:
- Creating a quilt top
- Creating a quilt batting
- Creating a quilt backing
- Creating a quilt binding
- Creating a quilt label
Finally, quilt stippling samples can also be used to create quilt embellishments, such as:
- Creating a quilt border
- Creating a quilt applique
- Creating a quilt embroidery
- Creating a quilt patchwork
- Creating a quilt ruching
No matter what type of quilt project you are working on, what to do with quilt stippling samples can help you create a beautiful, unique quilt.
Frequently Asked Questions
What Type of Fabric is Best for Stippling Quilts?
Cotton is the most popular fabric choice for stippling quilts, as it is lightweight and easy to work with. Cotton is also highly durable and can withstand frequent washing, making it a great choice for quilts that will be used and washed often. Wool is another popular fabric choice, as it is soft and warm, but can be more expensive than cotton. Polyester is an inexpensive choice, but is not as durable as cotton or wool.
What special tools are needed to create a stippled quilt?
- Sewing Machine: A good quality sewing machine is essential for creating a stippled quilt. Look for one with adjustable features and the ability to sew multiple layers of fabric.
- Rotary Cutter: A rotary cutter is a must for cutting fabric accurately and quickly. It will help you to cut strips and squares of fabric for your quilt with ease.
- Quilting Ruler: A quilting ruler is a must for measuring and marking your fabric pieces. It’s usually 12” in length and comes with a non-slip underside to ensure accuracy.
- Quilting Pins: Quilting pins are used to hold the layers of fabric together while sewing. They are available in a range of sizes, so choose one that suits your project.
- Iron and Ironing Board: A good quality iron and ironing board are essential for stippling. The iron will help to press the fabric pieces into place, while the ironing board will provide a smooth surface for working with.
- Stippling Template: A stippling template is a must for creating intricate quilting designs. It will help you to draw the desired quilt pattern onto your fabric.
How long does it usually take to create a stippled quilt?
Stippling a quilt is a time consuming process and there is no definitive answer as to how long it takes. However, there are a few factors to consider when estimating the time it will take you to complete a stippled quilt. These include:
- Size of the quilt: The larger the quilt, the more time it will take to complete. Generally, larger quilts require more time and more fabric.
- Stippling pattern: Some patterns are more complex than others, and this can drastically affect the amount of time needed to complete the quilt.
- Experience level: If you are an experienced quilter, it can take less time to complete a stippled quilt than if you are a beginner. Experienced quilters are more familiar with techniques and tools, so they can work quicker.
On average, it can take anywhere from a few hours to several days to complete a stippled quilt, depending on the above factors. To make the process smoother, it is important to take your time and plan ahead. It is also important to practice and become familiar with the techniques and tools needed to complete the quilt.
What Types of Quilting Techniques Can Be Used When Stippling?
Stippling is a quilting technique which involves creating small, overlapping circles to fill the quilt top. It can be used as a background fill, or to create a more detailed pattern. Common quilting techniques used when stippling include:
Echo Stippling: This involves stitching a circle and then stitching a smaller circle within it, repeating the process.
Peaky Stippling: This involves stitching two or more circles of varying sizes, with the larger circles stitched first and the smaller circles stitched in the middle.
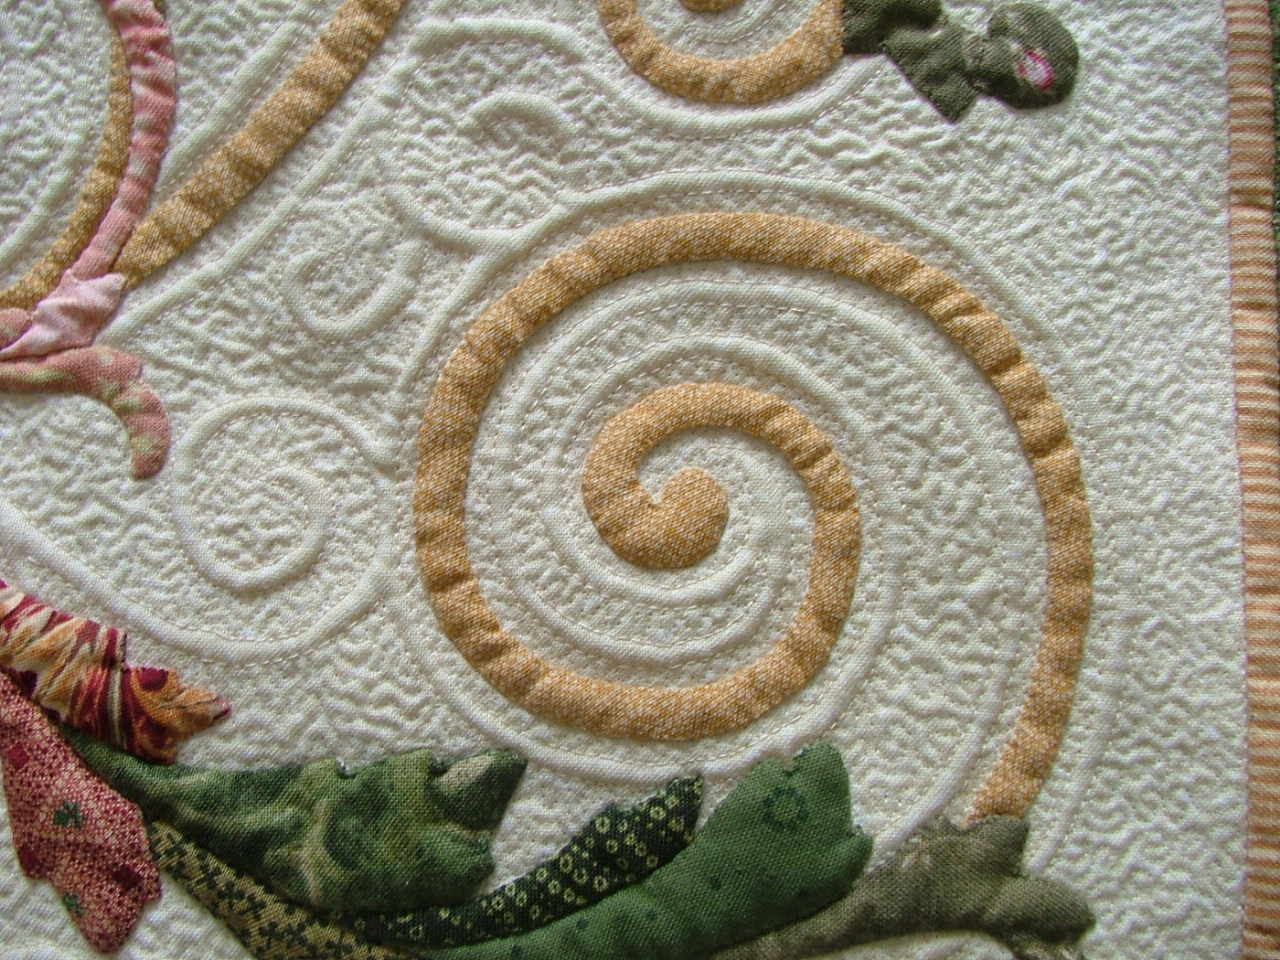
Feather Stippling: This is a more intricate type of stippling technique, in which the circles are arranged in a feather-like pattern. The circles are usually all the same size, with the center circles larger than the outer circles.
Meandering Stippling: This involves stitching circles in a random pattern, with no particular order or pattern. The circles can be the same size or different sizes.
What are the Best Practices When Creating a Stippled Quilt?
- Planning: Before starting to stitch, plan out the overall quilt design. This includes deciding on the size, shape, color scheme, and the type of quilting stitch you will use.
- Fabric Selection: Be sure to select high-quality, wrinkle-free fabric for your quilt. The fabric should also be color-fast and have a high thread count.
- Thread Selection: Choose a thread that is strong and resistant to fraying and tangling. Cotton thread is a good choice as it is lightweight and can be easily manipulated.
- Pattern: The pattern you choose will depend on the size of the quilt and the type of quilting stitch you are using. Draw out your pattern on a piece of graph paper to ensure accuracy.
- Stitching: Start off by stitching the center of the quilt, then work your way outward. Use a ruler or quilting hoop to ensure that the stitches are even and consistent.
- Backing: When the top layer is complete, attach a backing fabric to the back of the quilt. This will help to keep the stitches in place and prevent the quilt from fraying.
- Finishing: When all of the stitching is complete, finish off the quilt with a binding and add a label to the back. This will help to preserve your quilt for years to come.
Conclusion
Stippling quilting is a great way to create a beautiful, timeless heirloom that will be treasured for generations. With a few basic tools and materials, anyone can learn how to stipple quilt and create a work of art that will be enjoyed for years to come. With practice and dedication, you can improve your skill and create stunning pieces that will be cherished for a lifetime.


