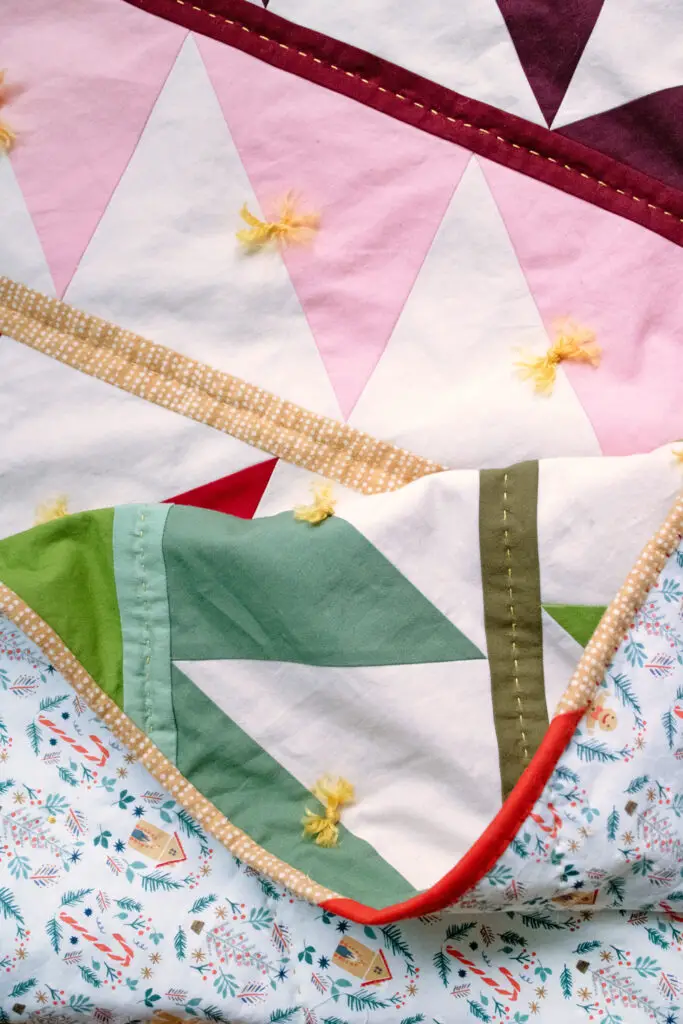
Are you looking for a way to tie a quilt without a frame? Tying a quilt without a frame is a great way to save time and money while still creating a beautiful quilt. This step-by-step guide will show you how to tie a quilt without a frame, and will provide you with tips and tricks to make the process easier.
Differences Between Tying a Quilt Without a Frame and On a Frame
- Time: Tying a quilt on a frame is generally faster than tying it without a frame, as the frame provides a secure base for the quilt and makes it easier to move the fabric around.
- Ease of Use: Tying a quilt on a frame requires more skill than tying it without a frame, as the frame needs to be adjusted in order to hold the fabric in the correct position.
- Mobility: Tying a quilt on a frame allows for more mobility than tying it without a frame, as the frame can be moved around and the quilt can be worked on in different locations.
- Cost: Tying a quilt on a frame is generally more expensive than tying it without a frame, as the frame needs to be purchased and can be costly.
- Stability: Tying a quilt on a frame provides more stability than tying it without a frame, as the frame provides a secure base to work on.
Tying a quilt on a frame is a great way to get a professional-looking finish, but it does require more skill and cost more than tying a quilt without a frame. While tying a quilt on a frame is faster and provides more mobility and stability, it is important to consider your budget and skill level when deciding which method to use for your quilt.
Materials Needed for Tying a Quilt Without a Frame
- Quilt batting
- Fabric for the quilt top
- Matching thread
- Needle
- Scissors
- Ruler or measuring tape
- Pen or pencil
- Chalk or fabric marker
Quilt batting: Quilt batting provides the cushion and insulation to the quilt. It is available in different thicknesses and different levels of warmth, so you can choose the right one for your quilt.
Fabric for the quilt top: Choose a fabric that is durable and may be washed in cold water. Quilting fabric is usually the best choice, as it is strong and has a tight weave which helps the quilt last longer.
Matching thread: Choose a thread color that matches the fabric and is designed for use with quilting projects. This will ensure that the thread does not break or fray easily.
Needle: Use a needle that is designed for quilting projects. This type of needle will be strong enough to penetrate the layers of the quilt without breaking.
Scissors: Choose a pair of scissors that are sharp and designed for cutting fabric. This will ensure that the fabric does not fray or become misshapen when cut.
Ruler or measuring tape: Use a ruler or measuring tape to ensure that the pieces of the quilt are cut to the right size.
Pen or pencil: Use a pen or pencil to mark the placement of the quilt pieces on the fabric.
Chalk or fabric marker: Use chalk or a fabric marker to draw the quilting lines on the fabric. This will help ensure that the quilting lines are even and straight.
Step-by-Step Guide for Tying a Quilt Without a Frame
Step 1: Gather all of the necessary supplies, including the quilt top, batting, and backing fabric.
Step 2: Place the backing fabric and batting on a flat surface, and lay the quilt top on top of them.
Step 3: Pin the three layers together, using plenty of pins to ensure that the quilt top does not move or shift during the tying process.
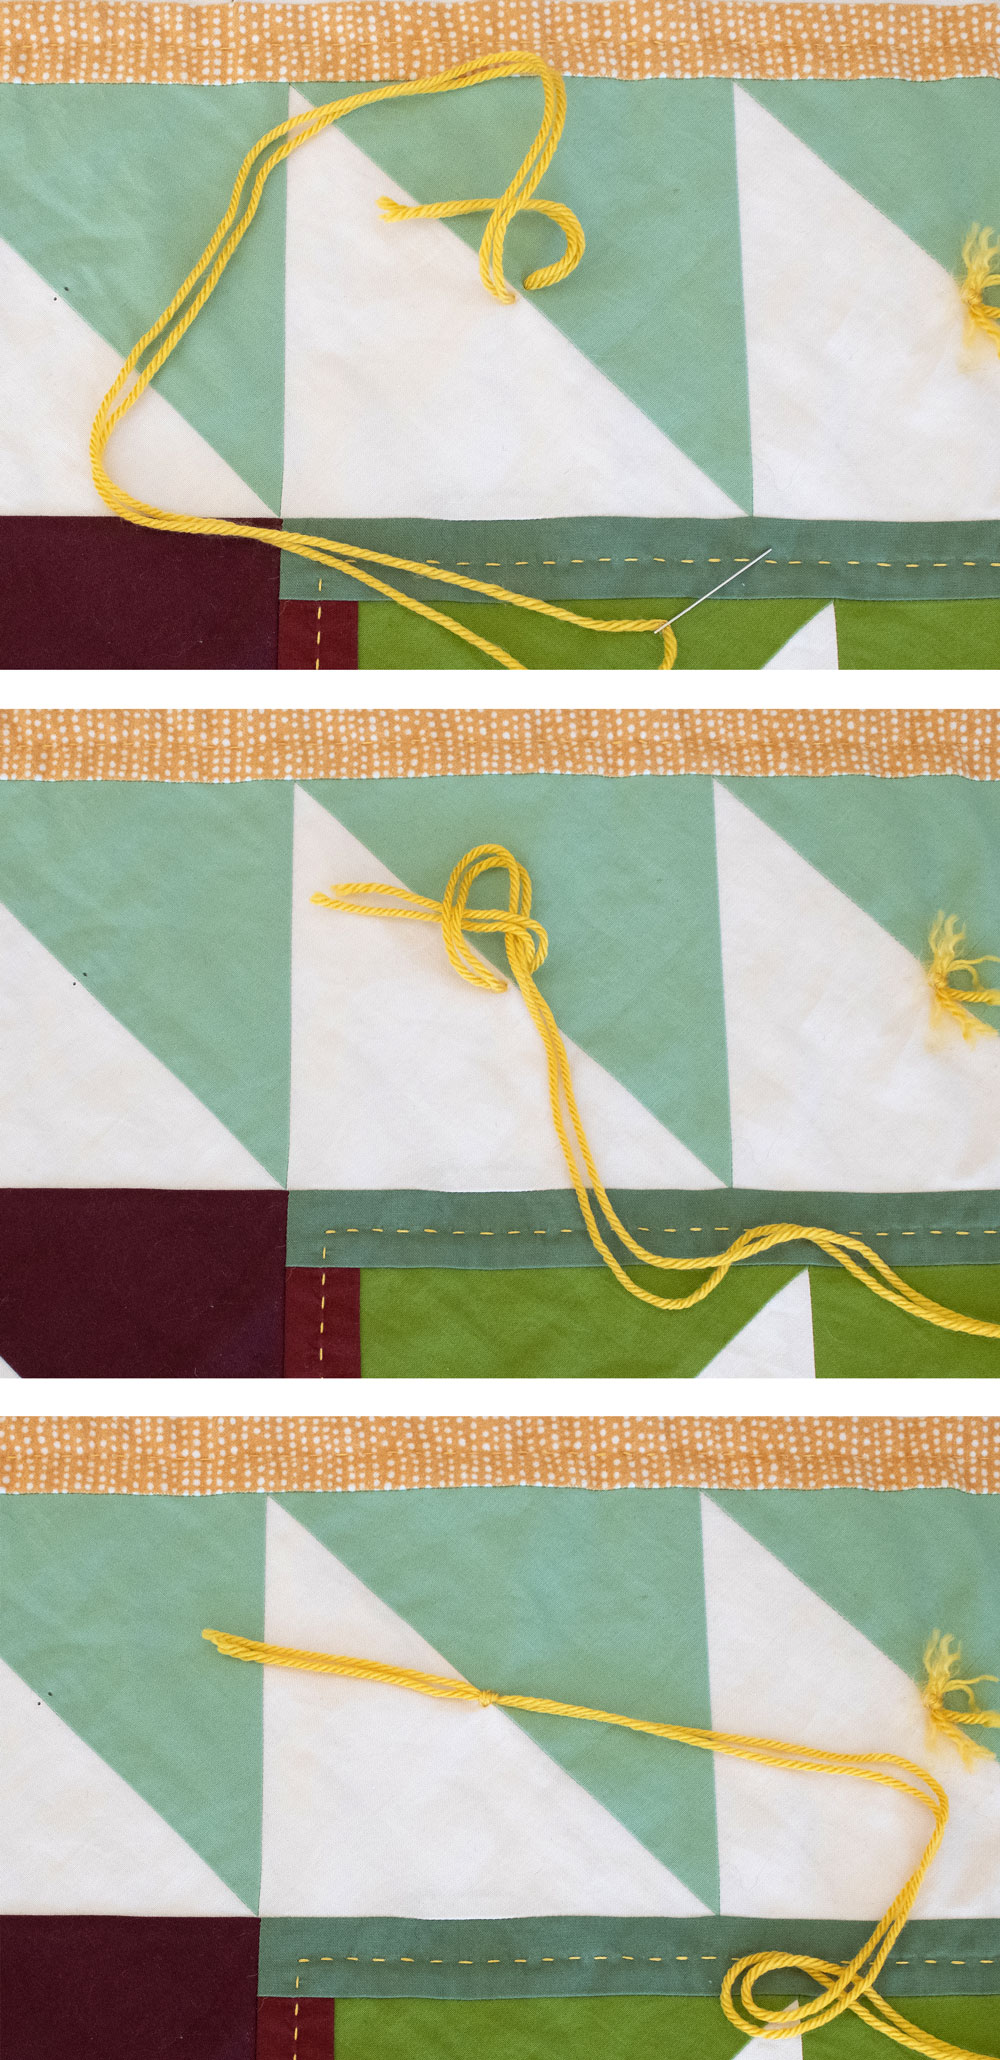
Step 4: Thread the needle with a length of yarn that is long enough to tie the quilt in several places.
Step 5: Tie the quilt in several places, making sure to knot the threads securely.
Step 6: Trim any excess threads, and remove the pins.
Step 7: Remove the quilt from the flat surface and enjoy!
Step 1
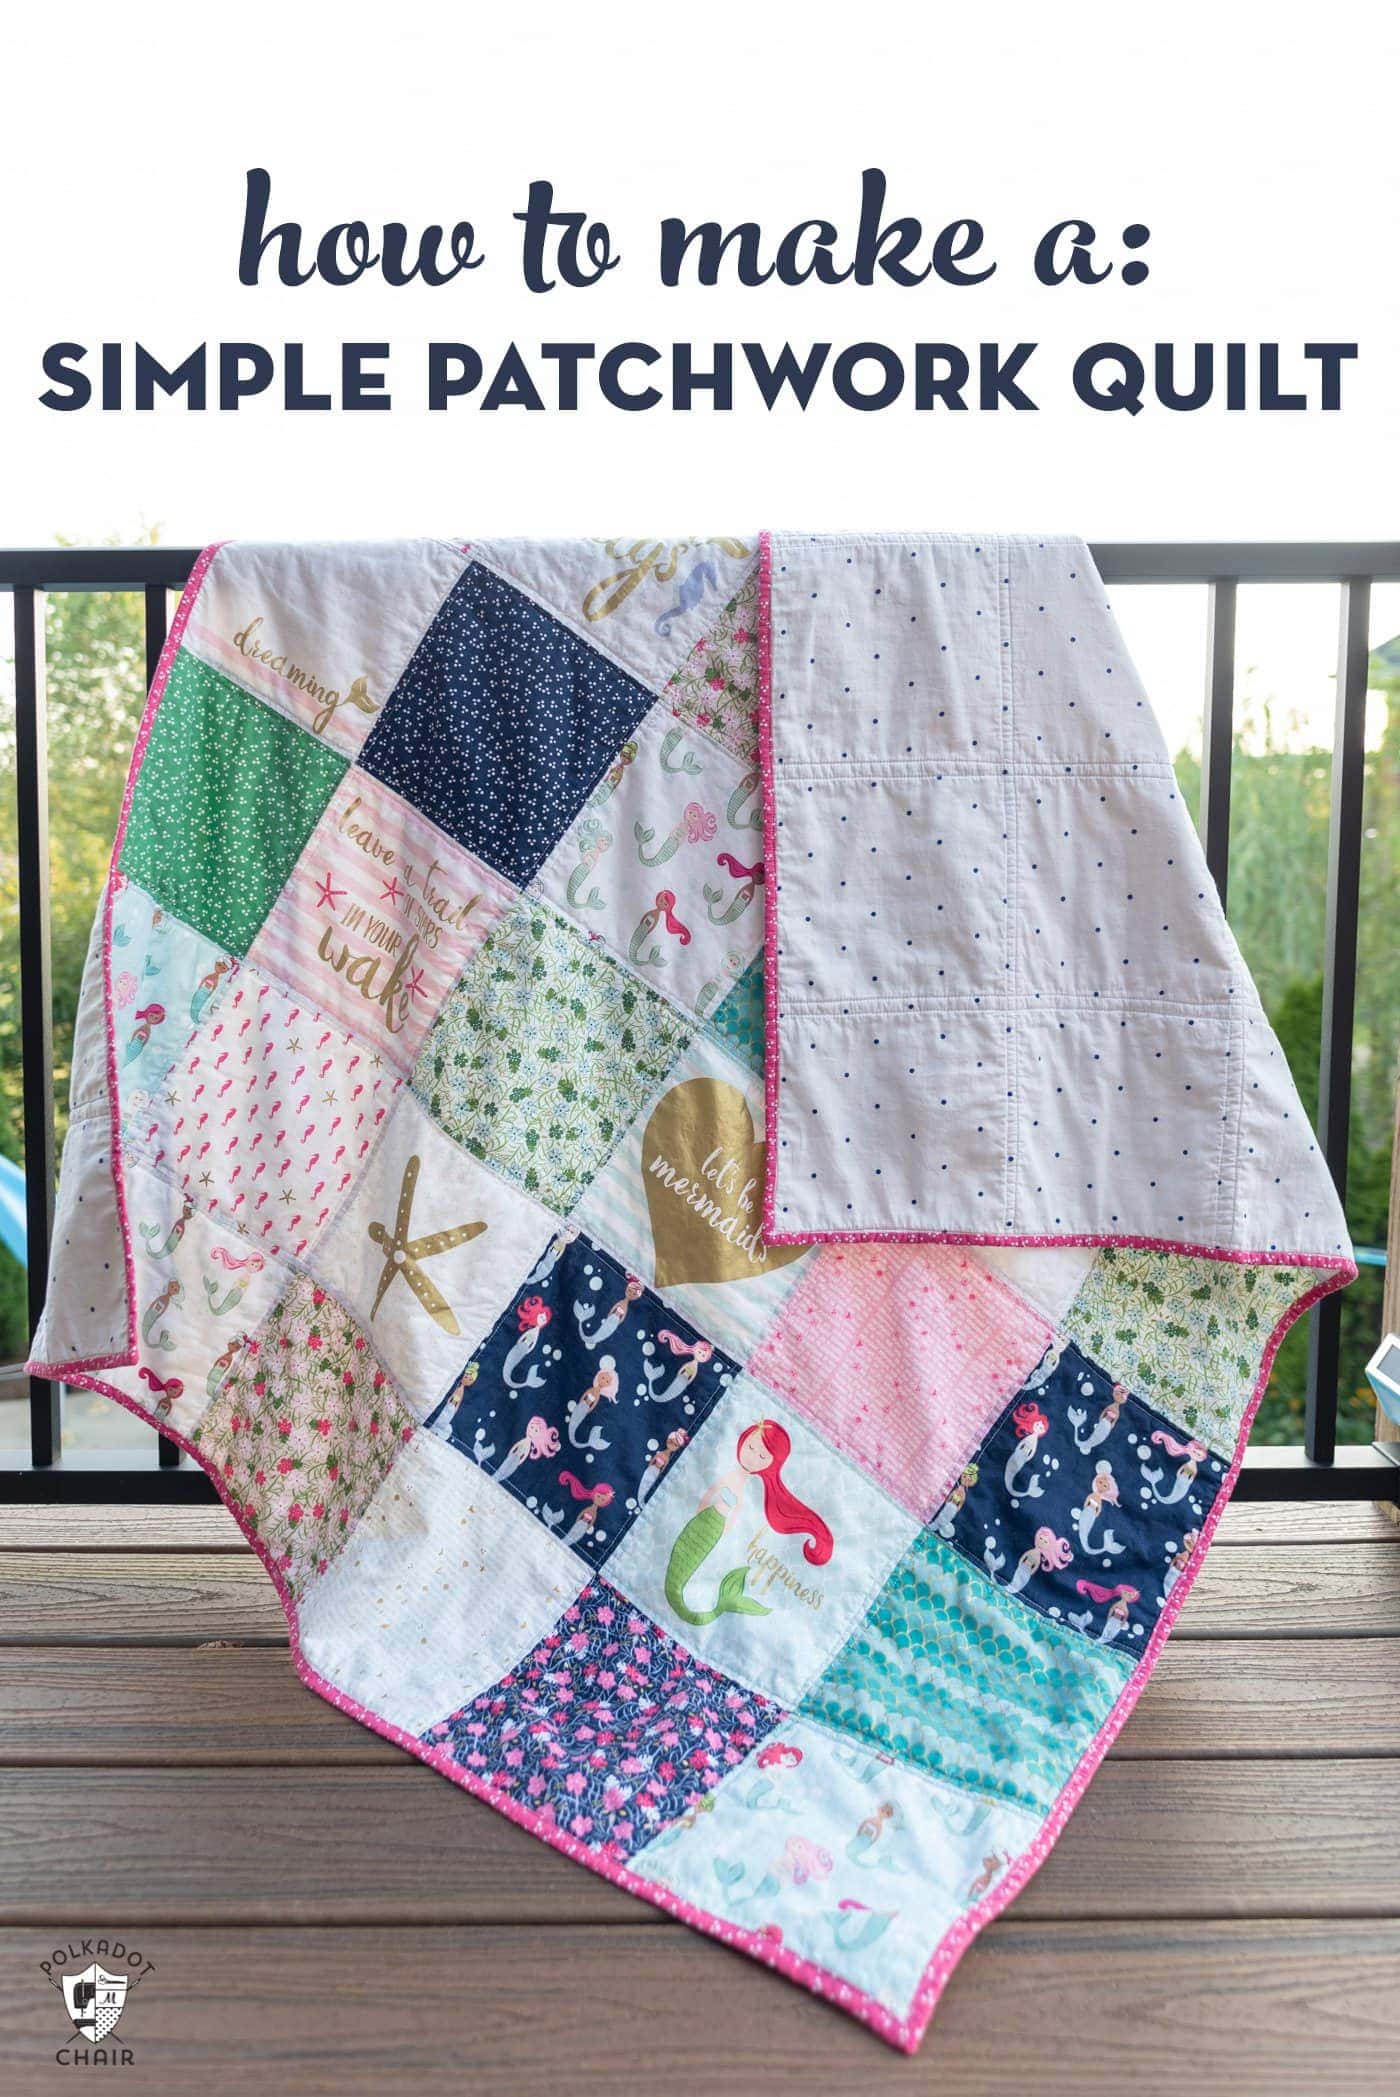
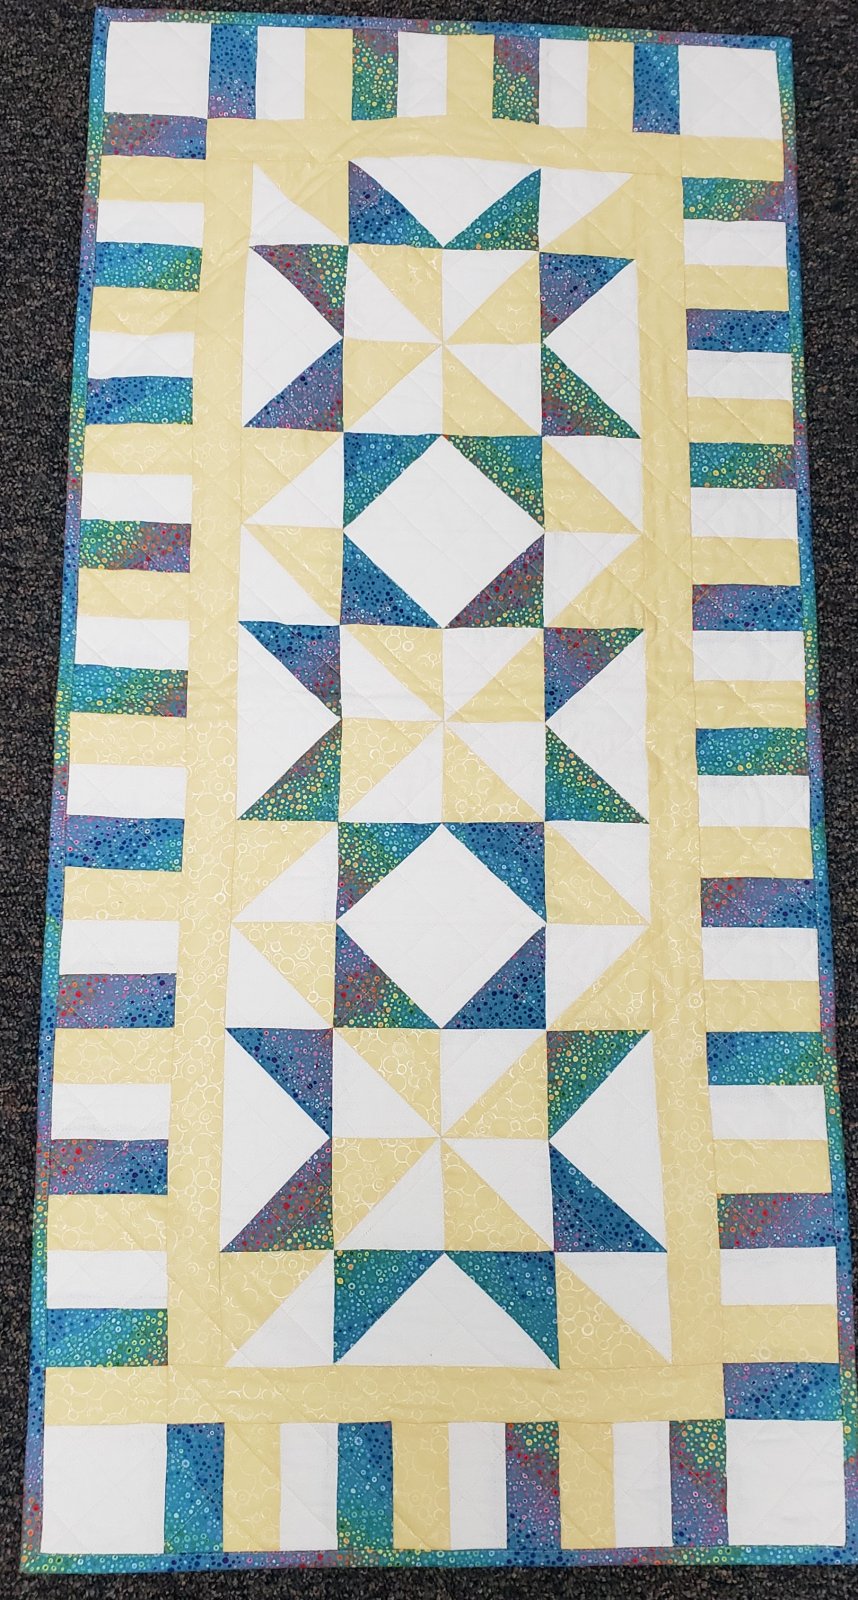
- Gather the materials – You will need batting, backing fabric, quilt top fabric, thread, scissors, measuring tape, and quilting needles.
- Lay out the batting – Place the batting on a flat surface such as a floor or table and make sure that the edges are even.
- Lay out the backing fabric – Place the backing fabric on top of the batting with the right side of the fabric facing up. Make sure that the edges are even.
- Lay out the quilt top fabric – Place the quilt top fabric on top of the backing fabric with the right side of the fabric facing up. Make sure that the edges are even.
Step 2
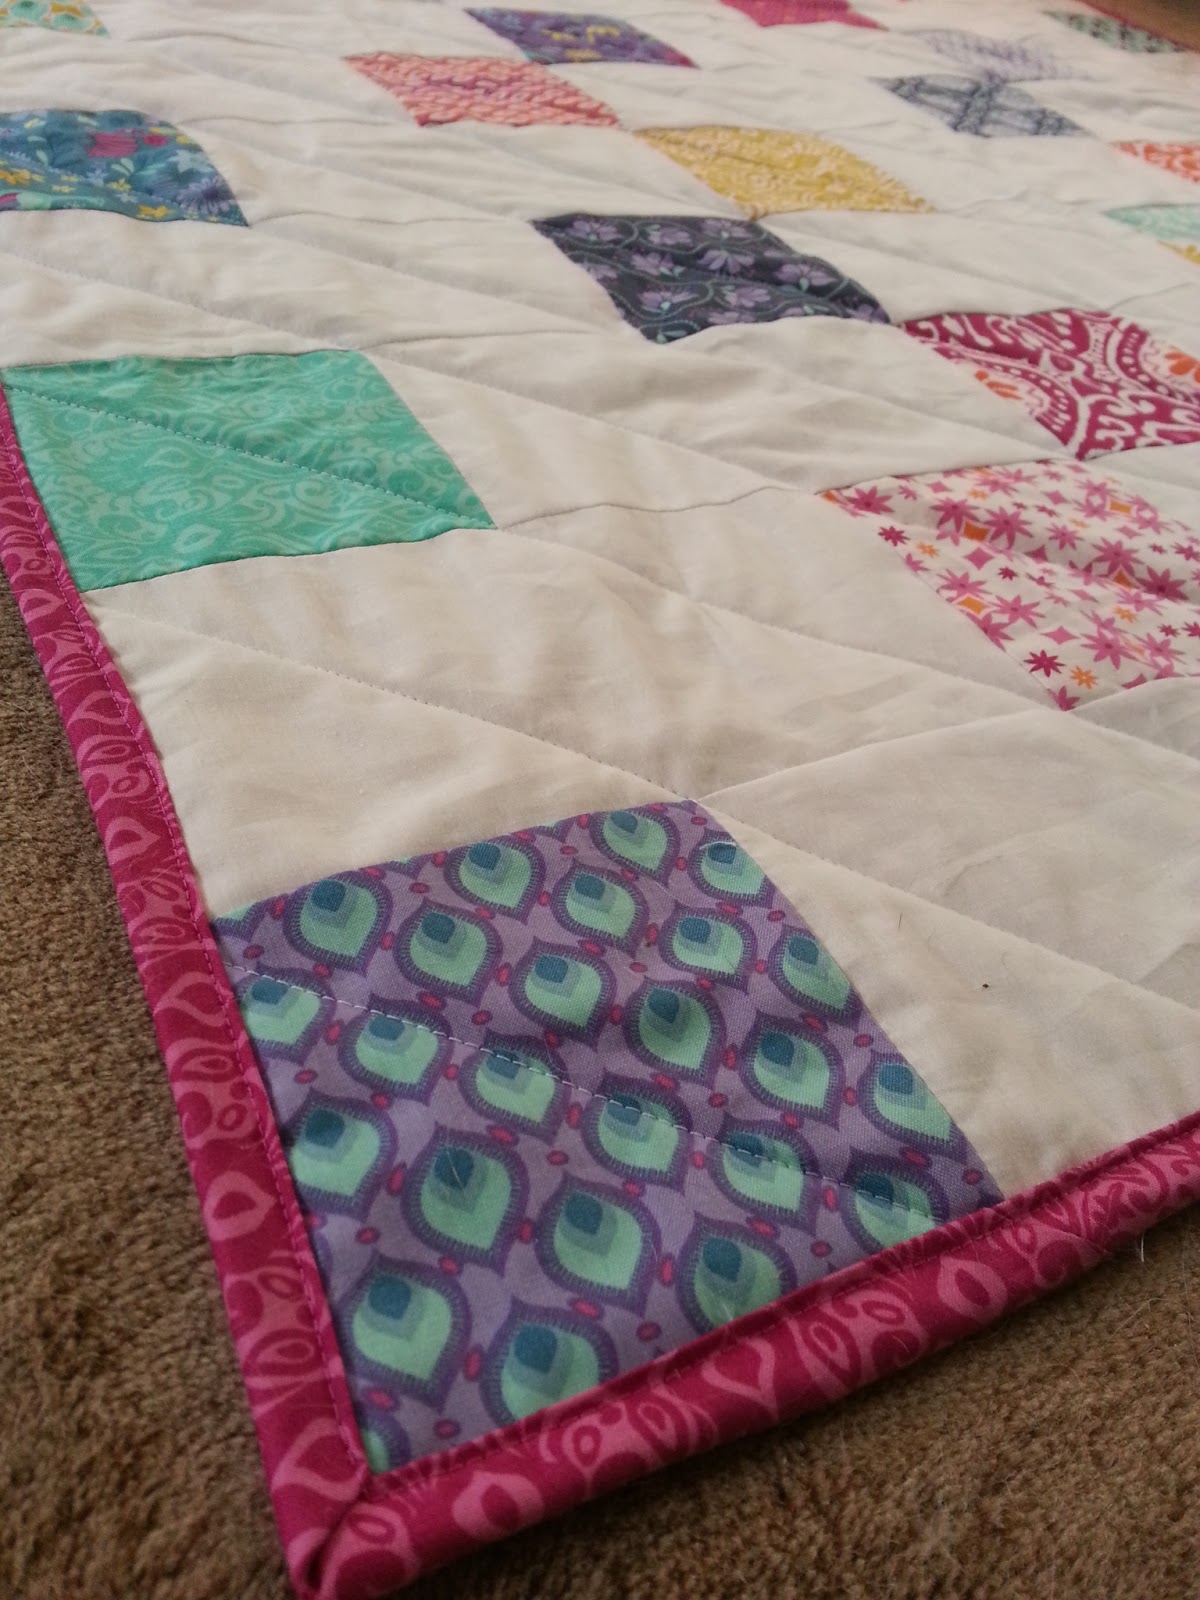
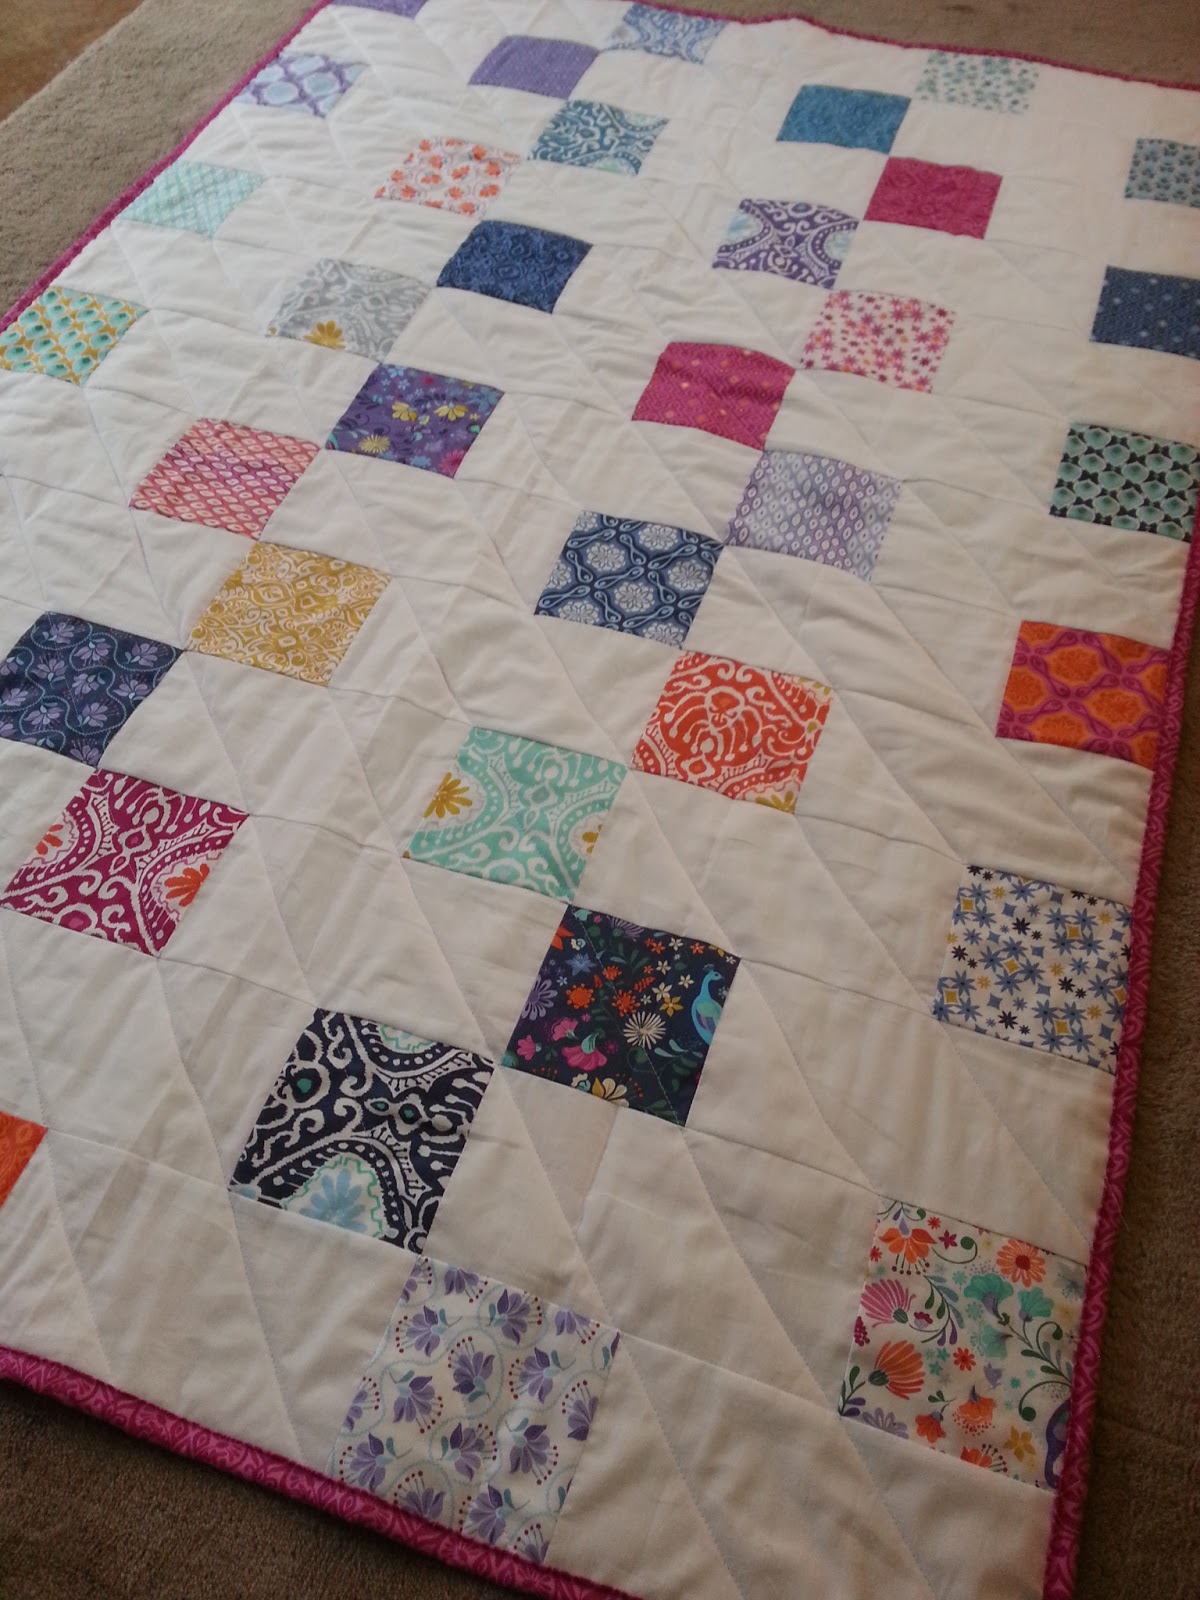
- Fold the Quilt: Take the quilt and fold it to create a half-rectangle shape. Make sure to press down the edges firmly to ensure that the fold is held in place.
- Attach the Fabric: Take the fabric and attach it to the back of the quilt along the folded side. Use fabric glue or a sewing machine to secure the fabric, making sure to leave no gaps.
- Draw the Line: Draw a line down the center of the quilt using a ruler and a pen or a fabric marker. Make sure the line is straight and evenly spaced.
- Cut the Pieces: Cut the quilt along the line that was drawn. Make sure to cut the fabric along the lines and not the quilt itself. Once the pieces are cut, set aside the excess fabric.
Step 3
- Tighten the Knots: Begin tightening the knot, making sure not to pull it too tight. Start from the center and work your way outwards, pulling the knot gently but firmly. This will ensure that the knot is secure and that the quilt will not slip or move during the tying process.
- Secure the Knots: Once all the knots are tied, use a needle and thread to secure them. Sewing the knots will ensure that they remain tight and that the quilt will stay in place when it is finished.
- Trim the Thread: Cut off any excess thread and then use scissors to trim the knots to make them even. This will give the finished quilt a professional look.
Step 4
| Using the Needle | Using the Thread |
|---|---|
| 1. Thread the needle with a single strand of thread. | 1. Cut about 1 yard of thread. |
| 2. Insert the needle through the top layer of fabric, about 1/4 inch from the edge. | 2. Thread the needle with the thread. |
| 3. Insert the needle through the bottom layer of fabric, about 1/4 inch from the edge. | 3. Tie a knot at the end of the thread. |
| 4. Pull the thread taut. | 4. Insert the needle through the top layer of fabric, about 1/4 inch from the other edge. |
| 5. Tie a knot at the end of the thread. | 5. Insert the needle through the bottom layer of fabric, about 1/4 inch from the other edge. |
| 6. Pull the thread taut. | 6. Pull the thread taut. |
| 7. Repeat for all four corners. | 7. Tie a knot at the end of the thread. |
Step 5
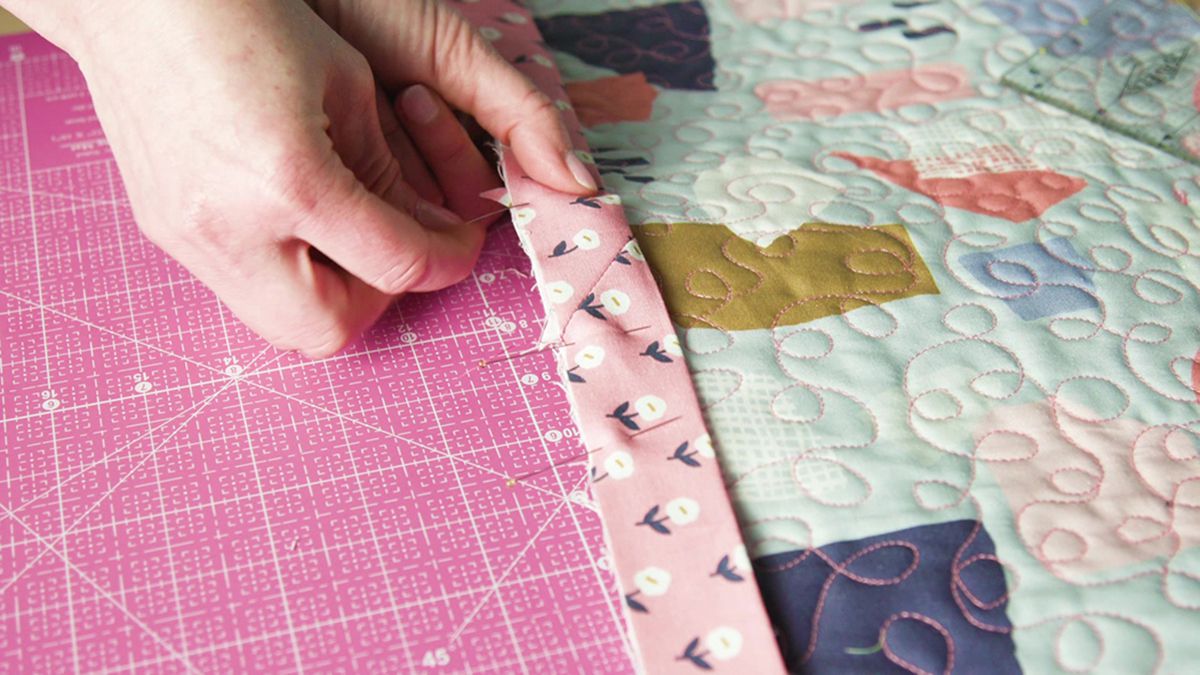
Take the 8-inch pieces of yarn and thread them through the needle. Begin at one of the marked points and go in a clockwise direction, pushing the needle through the back side of the quilt and bringing it out at the next marked point. Pull the thread through and make sure that the knot is tight. Repeat this pattern with each marked point, tying a knot at the end.
When all the points have been tied, tie the two ends of the yarn together in a tight knot to secure the quilt. Trim off any excess yarn and your quilt is now ready to be used on a frame or without a frame.
Benefits of Tying a Quilt Without a Frame
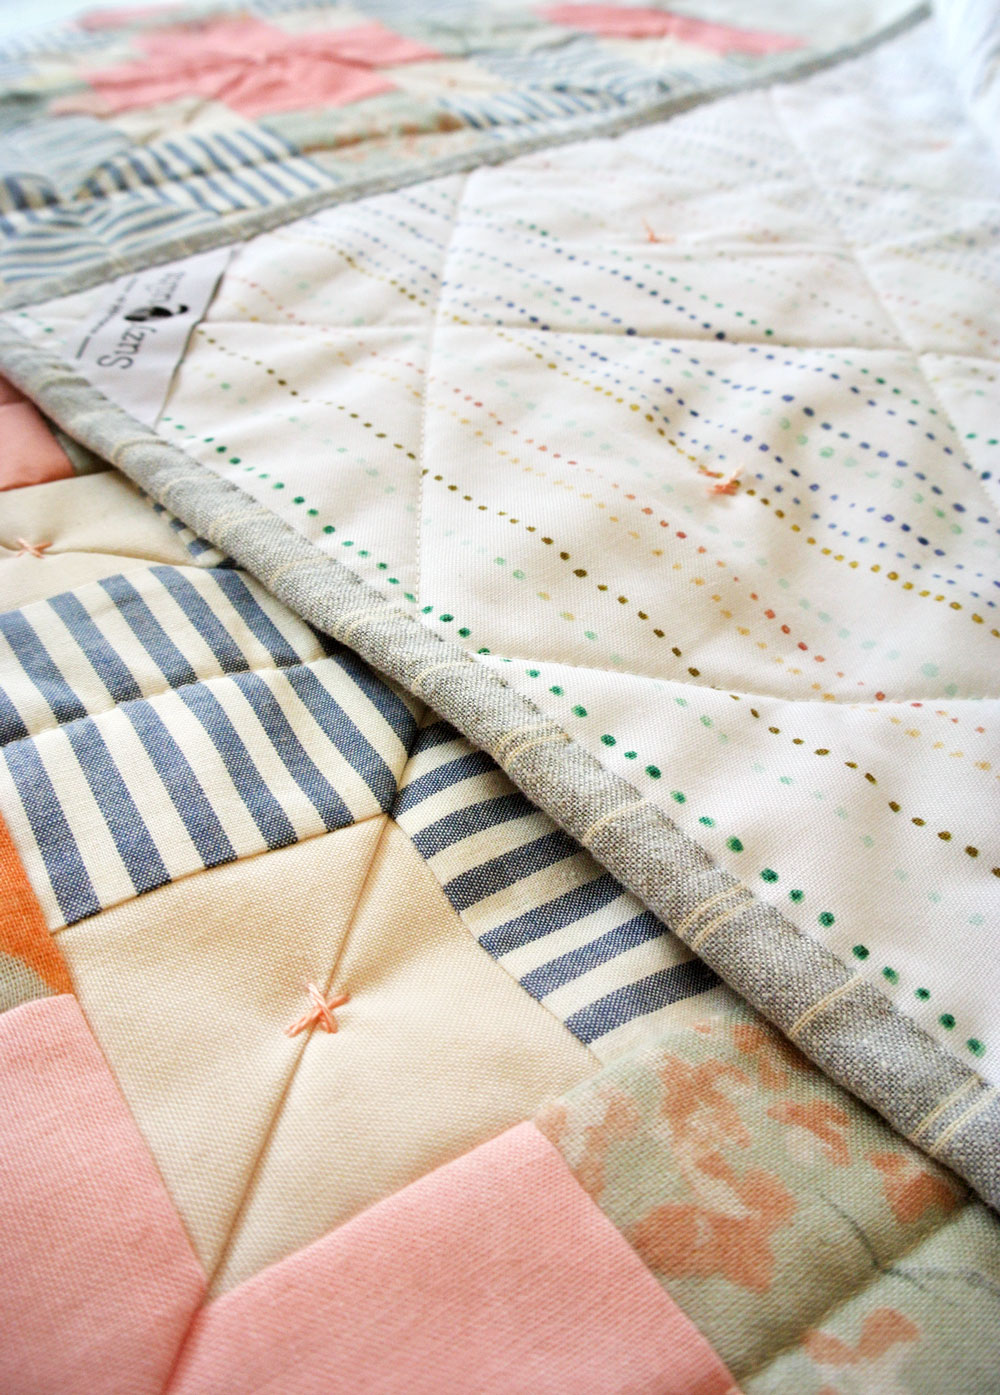
Tying a quilt without a frame is a great way to quickly and easily finish a quilt without the expense and hassle of using a quilting frame. This method is simple and requires minimal supplies, making it an ideal option for quilters of all skill levels. Here are some of the benefits of tying a quilt without a frame:
| Benefits | Description |
|---|---|
| Affordable | Using this method does not require any expensive quilting frames or hoops. |
| Quick and Easy | Tying a quilt without a frame is a relatively quick and simple process. |
| Portable | This method does not require any large, bulky frames or hoops, making it easy to transport the quilt. |
| Requires Minimal Supplies | The only supplies needed are thread, needles, and scissors. |
| Suitable for All Skill Levels | This method is suitable for quilters of all skill levels, from beginner to advanced. |
Tying a quilt without a frame is an excellent way to quickly and easily finish a quilt without the expense and hassle of using a quilting frame. Whether you are a beginner or a seasoned quilter, this method is a great option for completing your quilt.
Using a Frame to Tie a Quilt
Step 1: Gather the materials needed for the project: quilt batting, quilt top, quilt backing, quilt frame, yarn or thread.
Step 2: Place the quilt backing on the quilt frame. Make sure that the backing is flat and straight.
Step 3: Place the quilt batting on top of the backing. Make sure that the batting is spread evenly and smooth.
Step 4: Place the quilt top on top of the batting. Again, make sure that the top is smooth and flat.
Step 5: Begin tying the quilt by knotting a piece of yarn or thread to the edge of the quilt. Tie the yarn in a square knot, making sure that the knot is tight.
Step 6: Continue tying the quilt in a grid pattern. Make sure to knot the yarn or thread tightly, and make sure that the knots are all the same size.
Step 7: When the quilt is finished, remove the quilt from the frame and trim away any excess batting or backing.
Step 8: Enjoy your new quilt!
By using a frame to tie a quilt, quilters can create a beautiful quilt without having to hand-tie the quilt. This method is much faster and easier than hand-tying and can produce a high quality quilt. For those looking to tie a quilt without a frame, check out our article on how to tie a quilt without a frame or how to tie a quilt on a frame.
Materials Needed for Tying a Quilt On a Frame
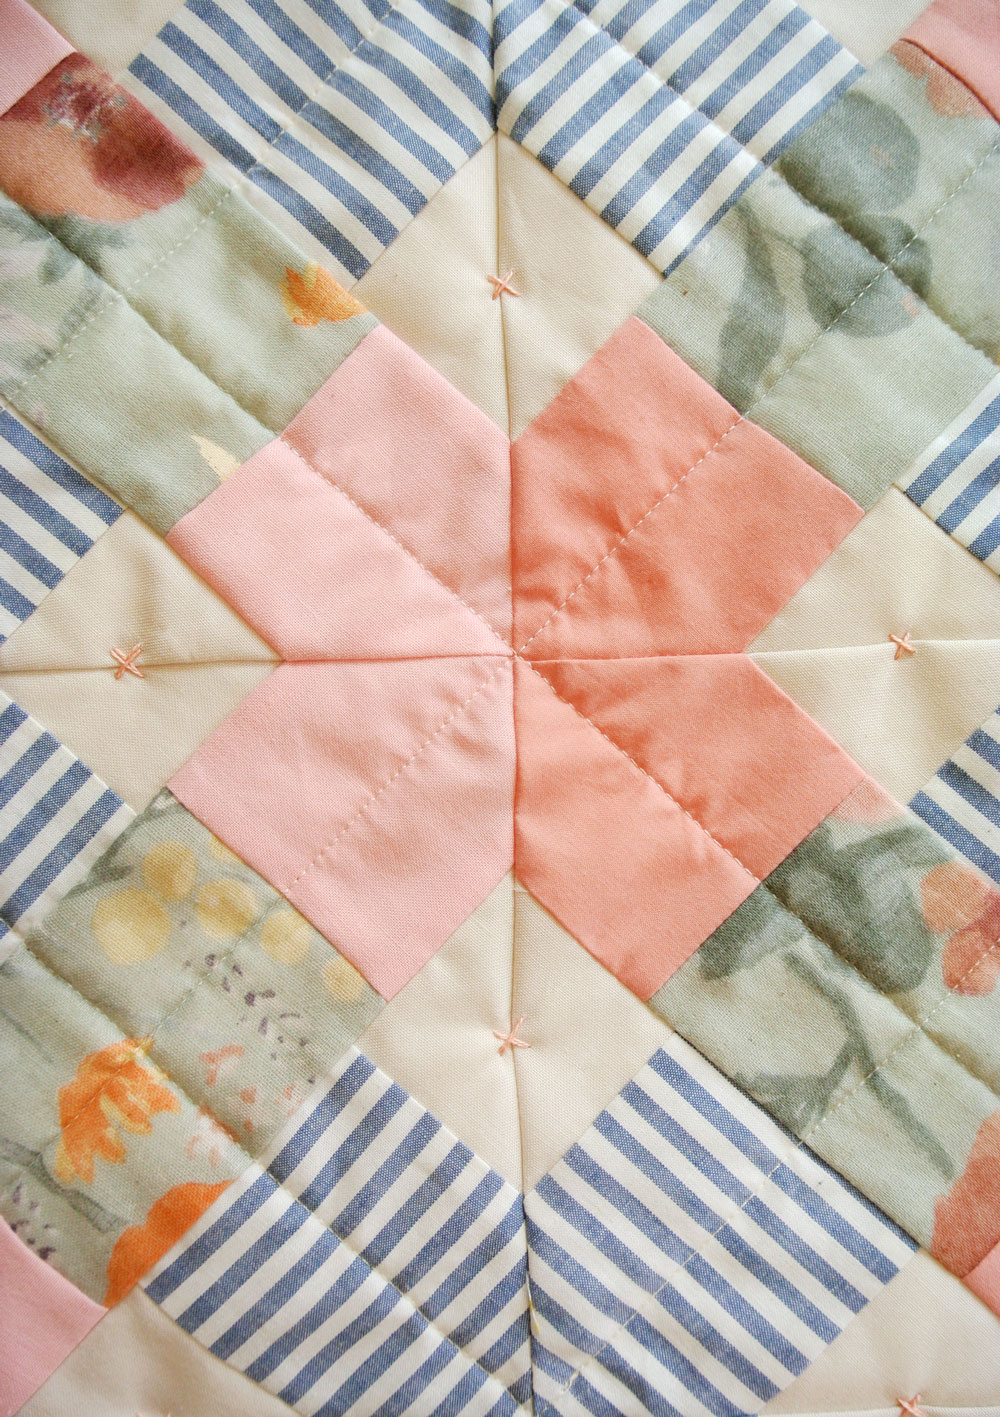
- Quilt Top: Choose a fabric suitable for the project you are creating. Make sure it is thick enough to hold the quilt’s weight.
- Batting: A layer of batting (or wadding) is necessary to create a cushion between the quilt top and backing fabric.
- Backing Fabric: Choose a sturdy fabric that is either the same size as the quilt, or slightly larger.
- Quilting Frame: This is an essential item for tying a quilt on a frame. It provides a secure and stable surface for quilting.
- Thread: You will need a thread that is strong enough for the weight and thickness of the quilt.
- Scissors: Use scissors specifically made for cutting fabric.
- Pins: Pins are used to keep the layers of fabric and batting in place while you are quilting.
- Needles: Choose needles that are suitable for the fabric and thread you are using.
The materials needed for tying a quilt on a frame include a quilt top, batting, backing fabric, a quilting frame, thread, scissors, pins, and needles. The quilt top should be made from a fabric that is thick enough to hold the quilt’s weight. A layer of batting between the quilt top and backing fabric is necessary to create a cushion. The backing fabric should be a sturdy fabric, either the same size as the quilt or slightly larger. The quilting frame provides a secure and stable surface for quilting. Thread, scissors, pins, and needles should be selected according to the fabric and thread weight.
Step-by-Step Guide for Tying a Quilt On a Frame
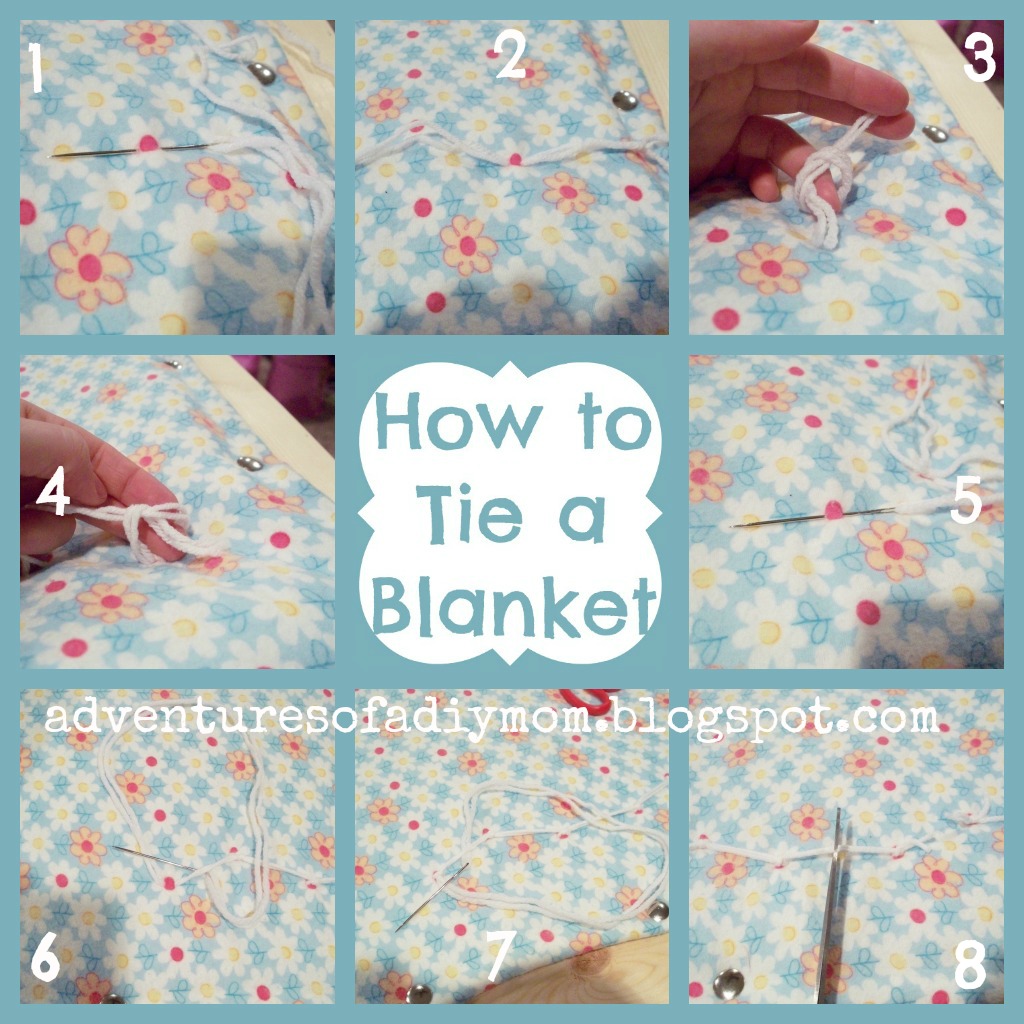
Step 1: Gather the necessary supplies: quilt, quilt frame, yarn or embroidery thread, and a large needle.
Step 2: Place the quilt on the frame and secure it with tacks.
Step 3: Determine the quilting pattern. This can be done by drawing a design on the quilt with a pencil, or by simply picking a pattern.
Step 4: Start quilting by tying the quilt at each point in the pattern. This can be done by threading a large needle with yarn or embroidery thread and knotting it at each point.
Step 5: After all the quilting points are tied, trim the excess yarn or embroidery thread.
Step 6: Remove the quilt from the frame and admire your work!
By following this step-by-step guide, you can easily tie a quilt on a frame, no matter if you are a beginner or an experienced quilter. This method of quilting is great for anyone looking to add a unique touch to their quilts.
Step 1


- Gather the Supplies – You will need quilt batting, a needle, thread, and a quilt top.
- Lay Out the Batting – Place the batting on a flat surface, such as a table or the floor. Make sure it is smooth and wrinkle-free.
- Lay Out the Quilt Top – Place the quilt top right side up on top of the batting. Smooth out any wrinkles.
- Pin the Layers Together – Pin the quilt top and batting together, using safety pins.
Step 2


- Prepare the Supplies: Tie a quilt without a frame requires some supplies. You will need a large flat surface, a pair of scissors, approximately 10-20 yards of yarn, a large needle, and a 2-3 yard piece of twine.
- Cut the Yarn: Cut ten to twenty pieces of yarn, each measuring two to three yards long. Make sure they are all the same length.
- Thread the Needle: Thread the large needle with the twine and tie a knot at the end. This will make it easier to slide the needle through the quilt.
- Tie the Quilt: Begin tying the quilt by pushing the needle through the first layer of fabric and then through the second layer. Pull the needle and twine through the layers. Tie a knot in the twine, about one inch from the quilt. Repeat this process for the entire quilt.
- Secure the Yarn: After all the layers have been tied, secure the yarn by tying a knot at the end of the twine. Cut the excess twine and knot the yarn securely. The quilt is now ready for use.
Step 3


- Gather the three strands of yarn and tie them in a knot close to the quilt. Make sure the knot is secure and tight.
- Attach the yarn strands to a long dowel or a stick that is at least 1-2” in diameter. This will help keep the yarn strands in place and prevent them from slipping off.
- Tie a double knot at the end of the yarn strands to secure them to the dowel or stick. This knot should be tight enough so that the yarn strands do not slip off.
- Loop the yarn strands over the dowel or stick, and then bring them back up and around the quilt. Make sure the loops are tight and secure.
- Tie a knot at the end of the yarn strands to secure the loops. This knot should be tight enough so that the yarn strands do not slip off.
Tying a quilt without a frame is a great way to save money and time. It is also a great way to give a plain quilt a more finished look. With a few simple steps, you can quickly and easily tie a quilt without a frame. The key is to make sure that the knots are secure and tight, so that your quilt will stay in place.
Step 4


- Place the quilt on a flat surface with the wrong side facing up.
- Separate the batting and backing, and lay them on the quilt.
- Using a sharp needle and thread, stitch the three layers together.
- Make sure that the stitches are close together and that they go through all three layers.
- Start in the center of the quilt and work your way outwards.
- When you reach the edges, make sure to use a knot or a secure stitch to prevent the threads from coming undone.
For those who want to learn how to tie a quilt without a frame, this is an important step. It ensures that the quilt is securely attached and that it won’t come apart. For those who want to learn how to tie a quilt on a frame, this step might be skipped, as the quilt will already be stitched together.
Step 5


Secure the ties firmly by hand-stitching them in place. To do this, use a running stitch, and make sure that the stitches are small and even. Start by threading the needle and tying it off at the end. When you are finished tying the knots, thread the needle through the center of the ties and back out through the quilt fabric. Pull the thread tight and tie off the thread with a knot. Finally, trim off any excess thread.
You have now successfully tied a quilt without a frame. You can also use this method to tie a quilt on a frame if you wish.
Benefits of Tying a Quilt On a Frame
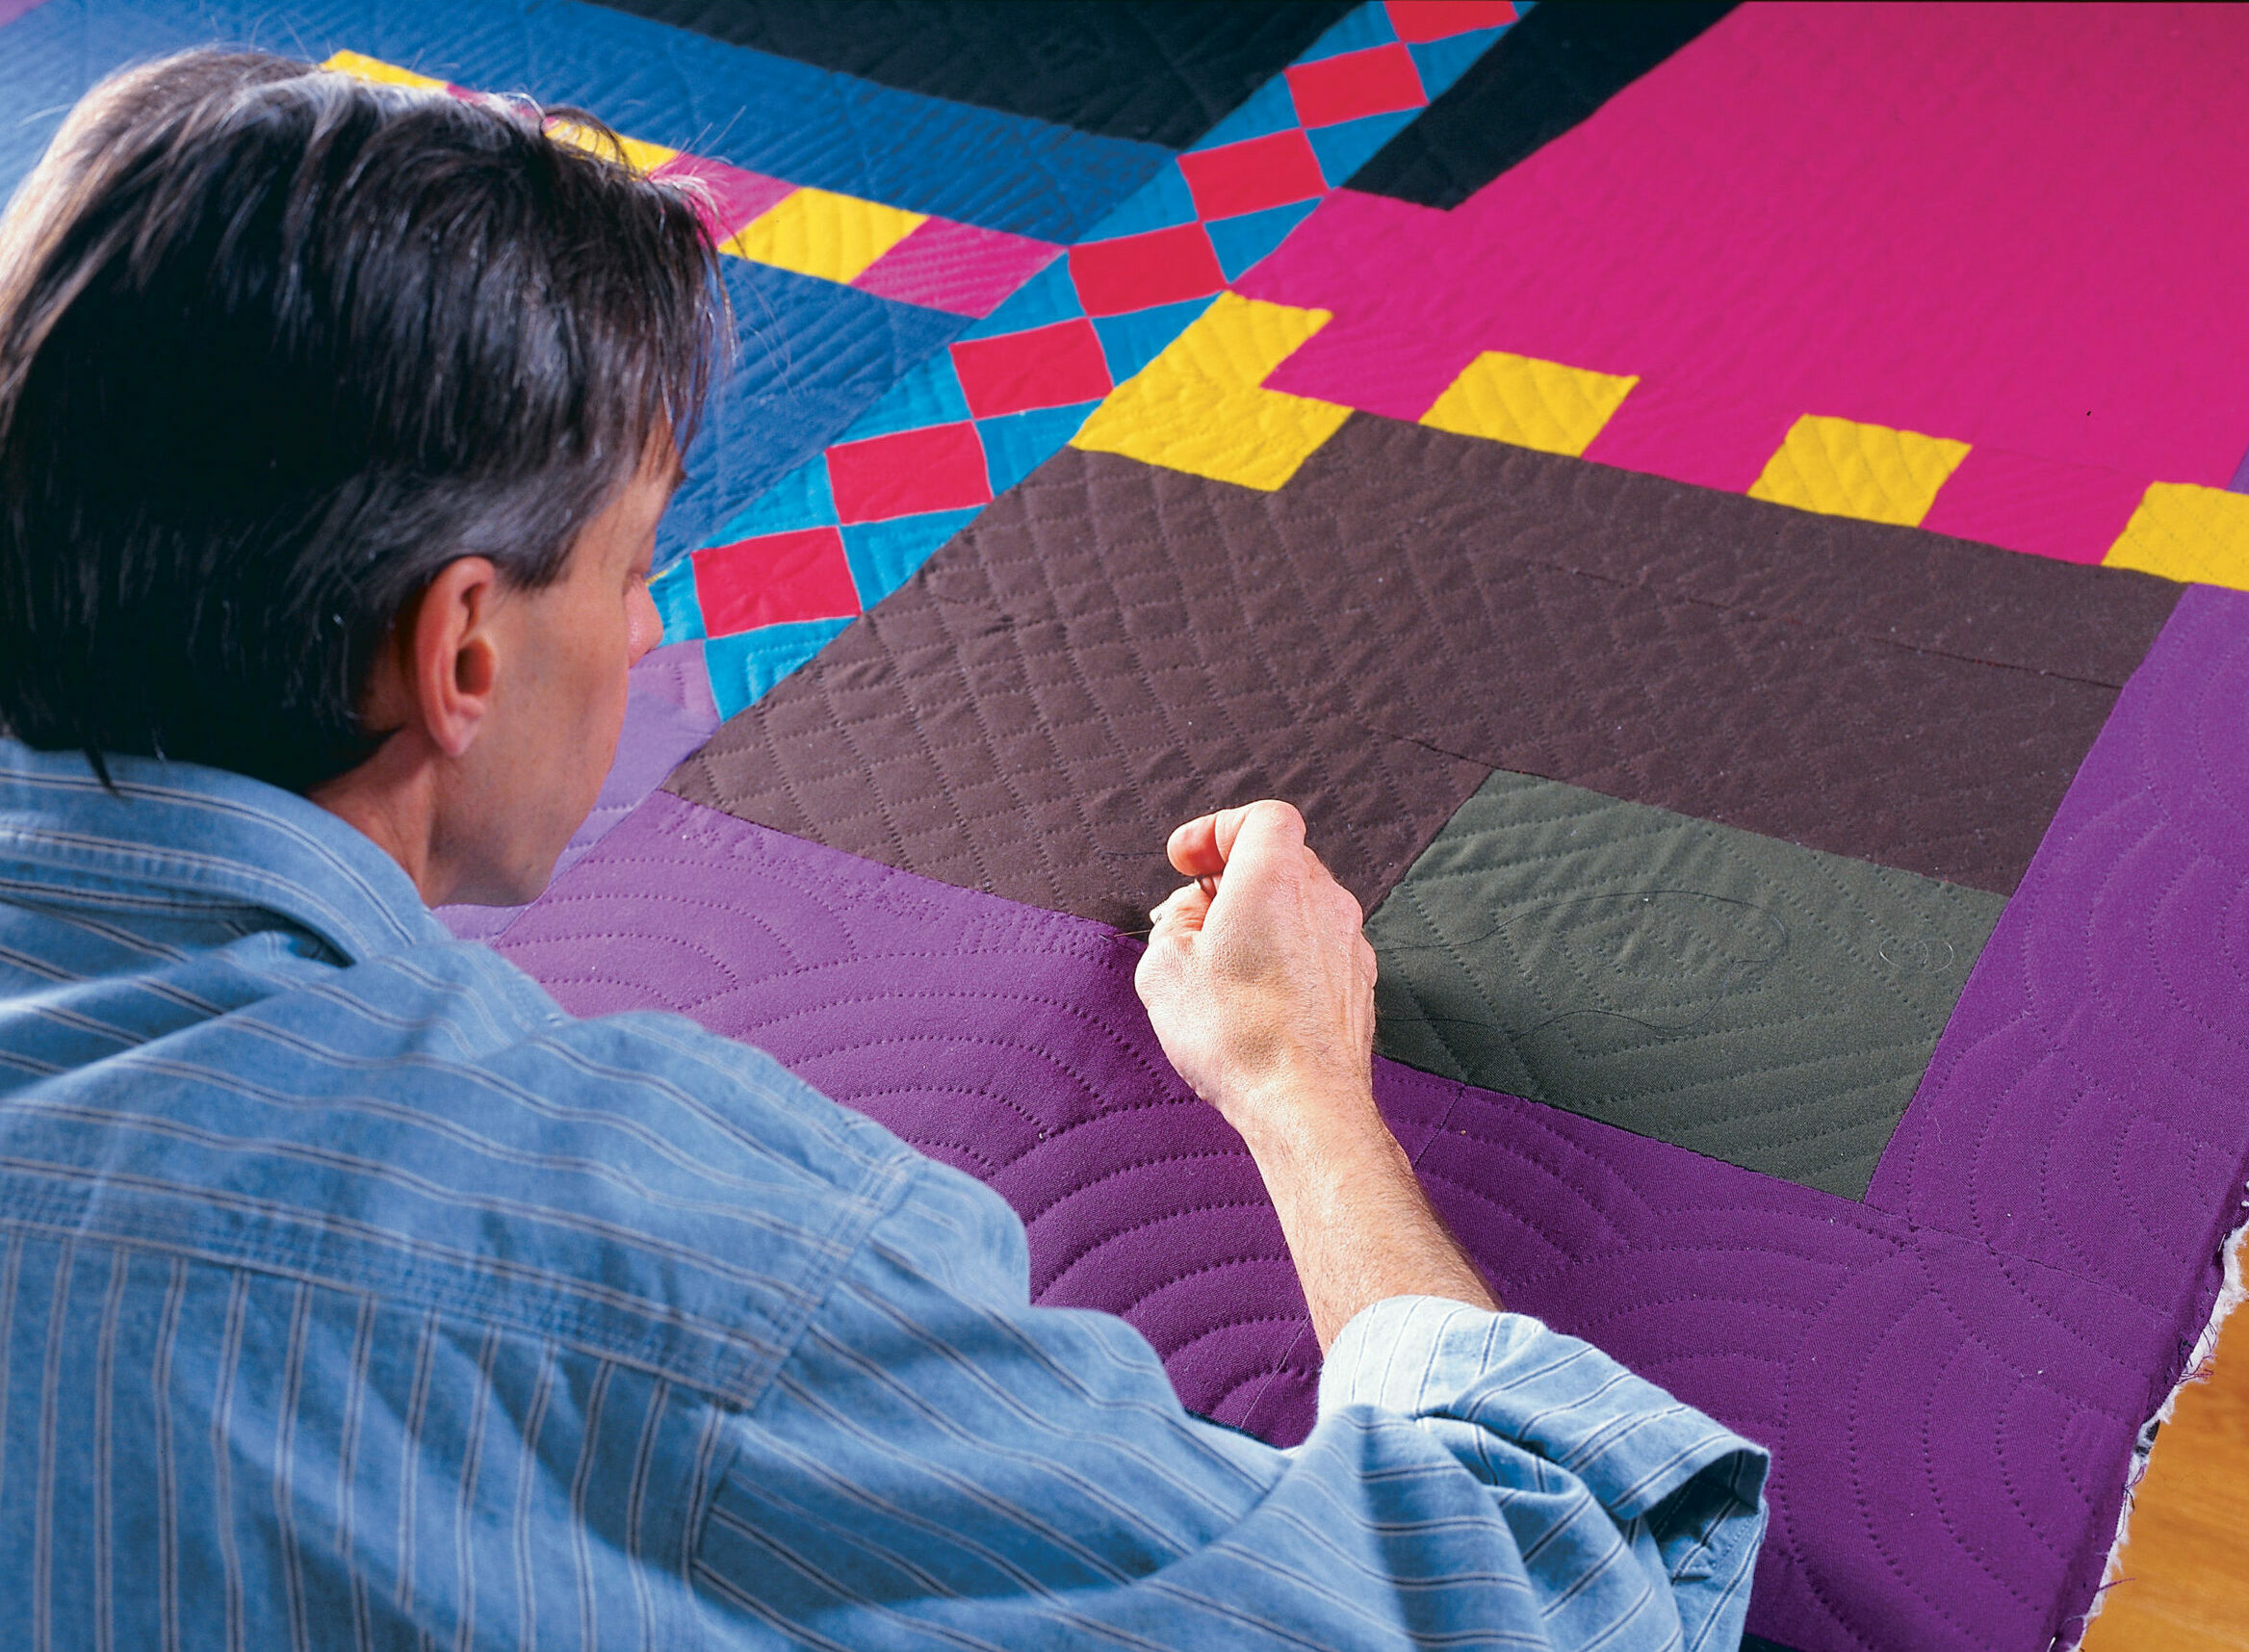
Tying a quilt on a frame offers several benefits over tying it without one. Not only does using a frame ensure that the quilt is held taut and secure, it also provides a more even surface for tying, making the process easier and faster. Additionally, the frame provides extra support and stability, reducing the risk of the quilt shifting or unravelling during the tying process.
The following table summarizes some of the benefits of tying a quilt on a frame:
| Benefits | Details |
|---|---|
| Taut and Secure | The frame ensures that the quilt is held taut and secure. |
| Even Surface | A frame offers a more even surface for tying, making the process easier and faster. |
| Extra Support and Stability | The frame provides extra support and stability, reducing the risk of the quilt shifting or unravelling. |
Using a frame is a great way to ensure that the quilt is tied properly, and it will make the process much easier and faster. Although tying a quilt without a frame is possible, it is not recommended, as it can be difficult to keep the quilt taut and secure and make sure that it remains even.
Tips for Tying a Quilt
1. Choose the Right Thread – Choose a thread that matches the quilt’s fabric in both color and weight. This will ensure your knots are secure and the thread won’t show through the quilt top.
2. Place Quilt on a Flat Surface – Place your quilt on a flat surface to ensure knots are even and secure. You can use a table or the floor.
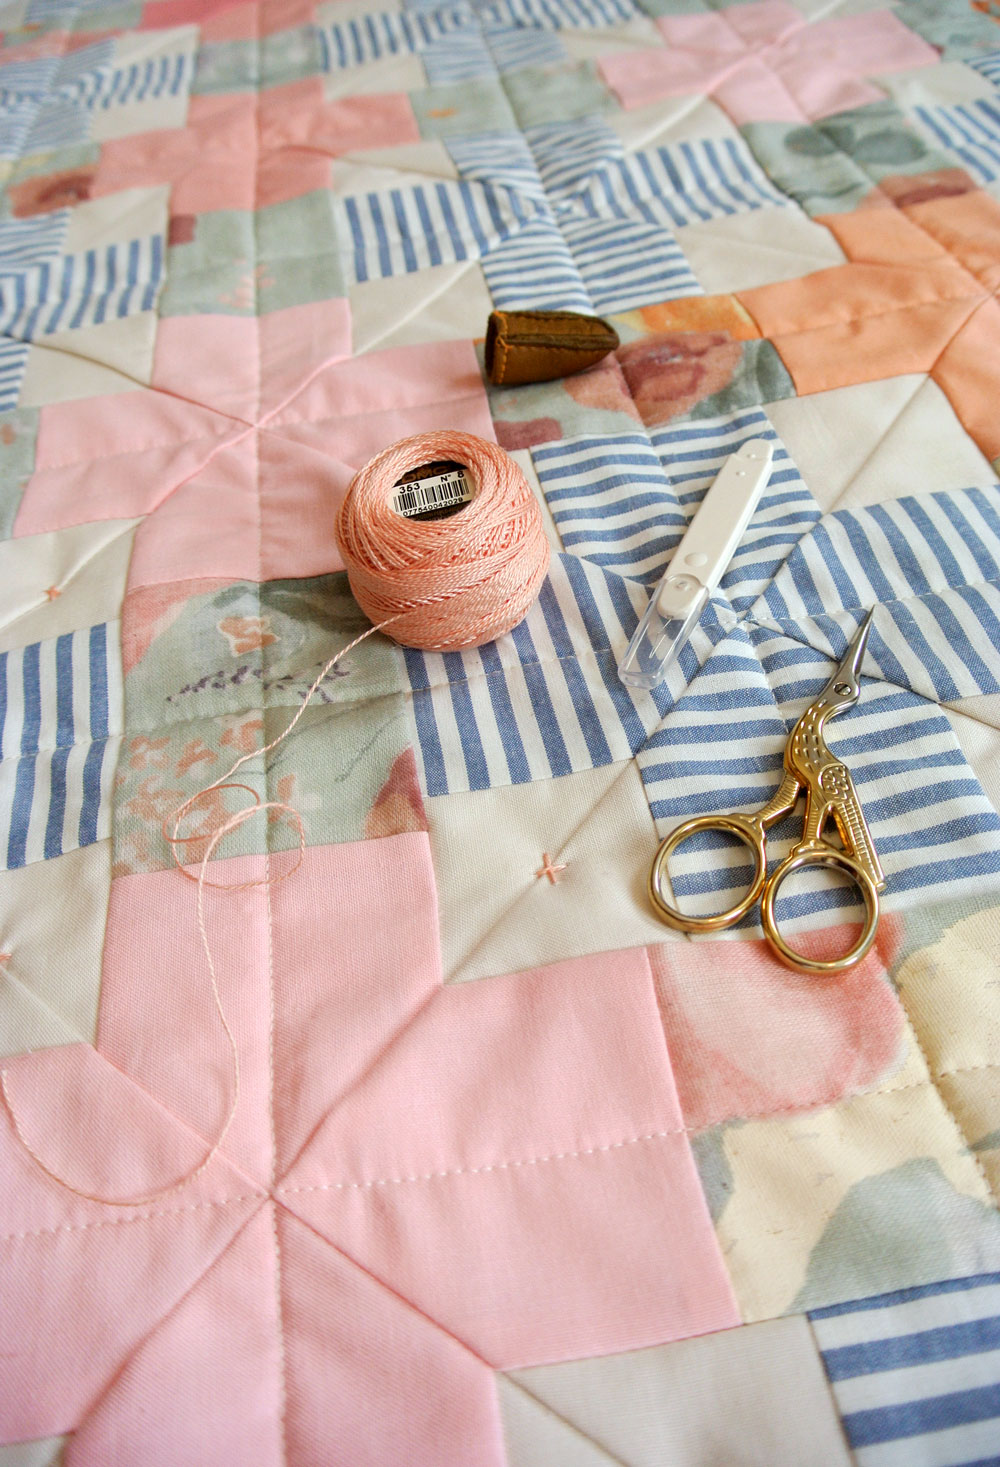
3. Use a Thimble – To protect your fingers from the needle and thread, use a thimble when tying the quilt.
4. Make Even Knots – Make sure each knot is the same size. This will give your quilt a neat, even look.
5. Tie Each Square – Tie each square of the quilt, not each corner. This will keep the quilt together more securely.
6. Use a Long Needle – A longer needle will make it easier to thread the quilt and tie the knots.
7. Put a Knot at the End – To secure the thread, put a knot at the end of each section you’ve tied.
8. Cut Threads Close to Knots – Trim the threads close to the knots to keep the quilt looking neat.
Following these tips will help you tie your quilt without a frame and ensure it is secure and looks great.
Frequently Asked Questions
What Kind of Quilting Technique is Used to Tie a Quilt?
Tying a quilt without a frame requires a simple quilting technique, often referred to as “knotting” or “knotted quilting.” This technique is used to secure the three layers of the quilt together: the top, batting, and backing. To tie a quilt, a special knotting needle, typically with a large eye, is used to make a loop at the top of the quilt, which is then pulled through the batting and tied off at the back of the quilt. The loops should be spaced approximately 4-6 inches apart and can be tied off with a square or half-hitch knot. Once the quilt is tied off, it is ready to be quilted.
What other materials are needed to tie a quilt?
- Cotton batting: A thin layer of batting is needed to provide warmth and cushioning for the quilt. It should be thick enough to provide a comfortable layer of cushioning, but thin enough to allow the quilt to be tied easily.
- Tying yarn: Any strong yarn, such as cotton or wool, can be used for tying a quilt. It should be the same color as the quilt fabric to blend in.
- Needle: A large needle is needed to sew the yarn through the quilt and batting.
- Scissors: A pair of scissors will be needed to cut the yarn.
- Quilt binding: A strip of binding will be needed to finish the edges of the quilt.
Do I need to use pins when tying a quilt?
- Seams: To keep your quilt seams secure, use pins to hold the fabric in place as you sew.
- Tie-Offs: Pins are essential for tying off the ends of the quilt. Use pins to hold the fabric in place and ensure the ties are secure.
- Basting: If you are basting your quilt, use pins to hold the batting in place. This ensures that the batting is evenly distributed throughout the quilt.
In summary, pins are an essential tool when tying a quilt without a frame. Whether you are sewing seams, tying off the ends, or basting the batting, pins are necessary to ensure the quilt is securely assembled.
How should I secure the knots when tying a quilt?
- Tighten the Knots: After each knot is tied, pull it tight to ensure it is secure.
- Secure the Threads: After each knot is tied, use a needle to secure the loose threads.
- Choose the Right Thread: Use a thread that is strong and durable. Nylon or polyester work well for quilt tying.
- Knot the Thread: Use a double knot to secure the thread in place.
- Finish with a Knot: After tying all the knots, seal the thread with one last knot.
What should I do if the quilt is too large to fit on a frame?
If the quilt is too large to fit on a frame, there are still ways to tie the quilt without a frame. Instead of using a quilting hoop, use two dowels of equal length and width. Place the dowels in the center of the quilt and use a yarn needle to make a running stitch along the edges of the dowels. This will help keep the batting in place while tying the quilt. Alternatively, you can use a quilting frame, just make sure that it is large enough to fit the quilt.
Conclusion
Tying a quilt without a frame is a great way to save time and money, and with the right tools and techniques, you can easily achieve a beautiful, even quilt. With some careful planning and a bit of practice, you can quickly and confidently tie your quilt without any assistance.
