
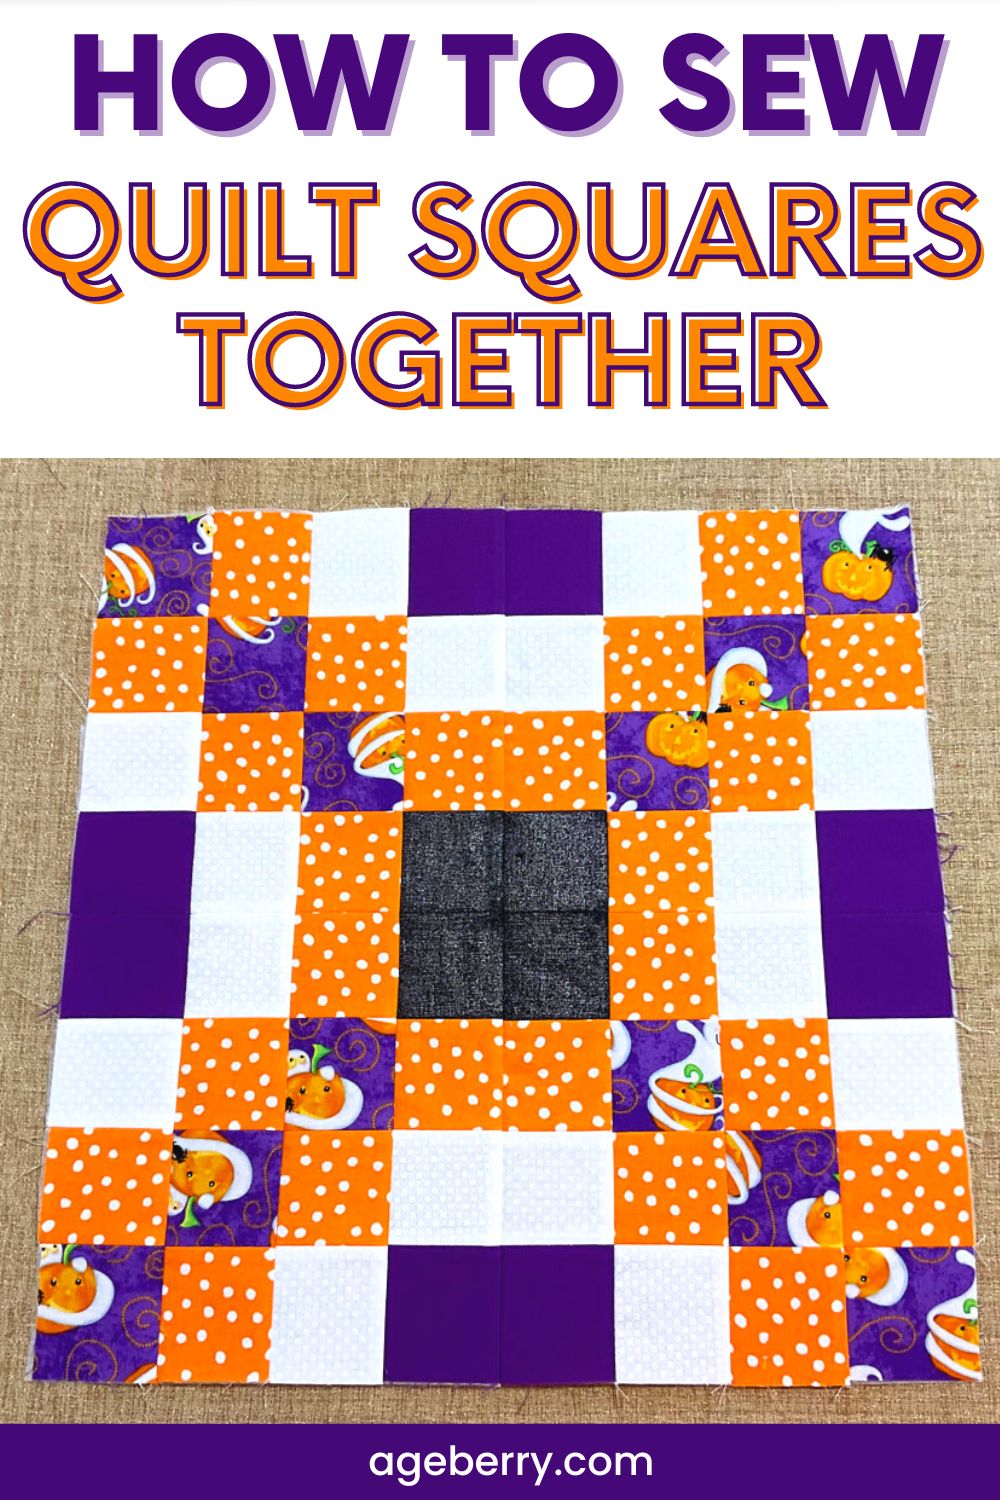
Sewing quilt squares is a fun and rewarding way to create a beautiful quilt that you can enjoy for years to come. With the right materials and some guidance, you can use this step-by-step guide to learn how to sew quilt squares and create a quilt masterpiece of your own.
Materials Needed
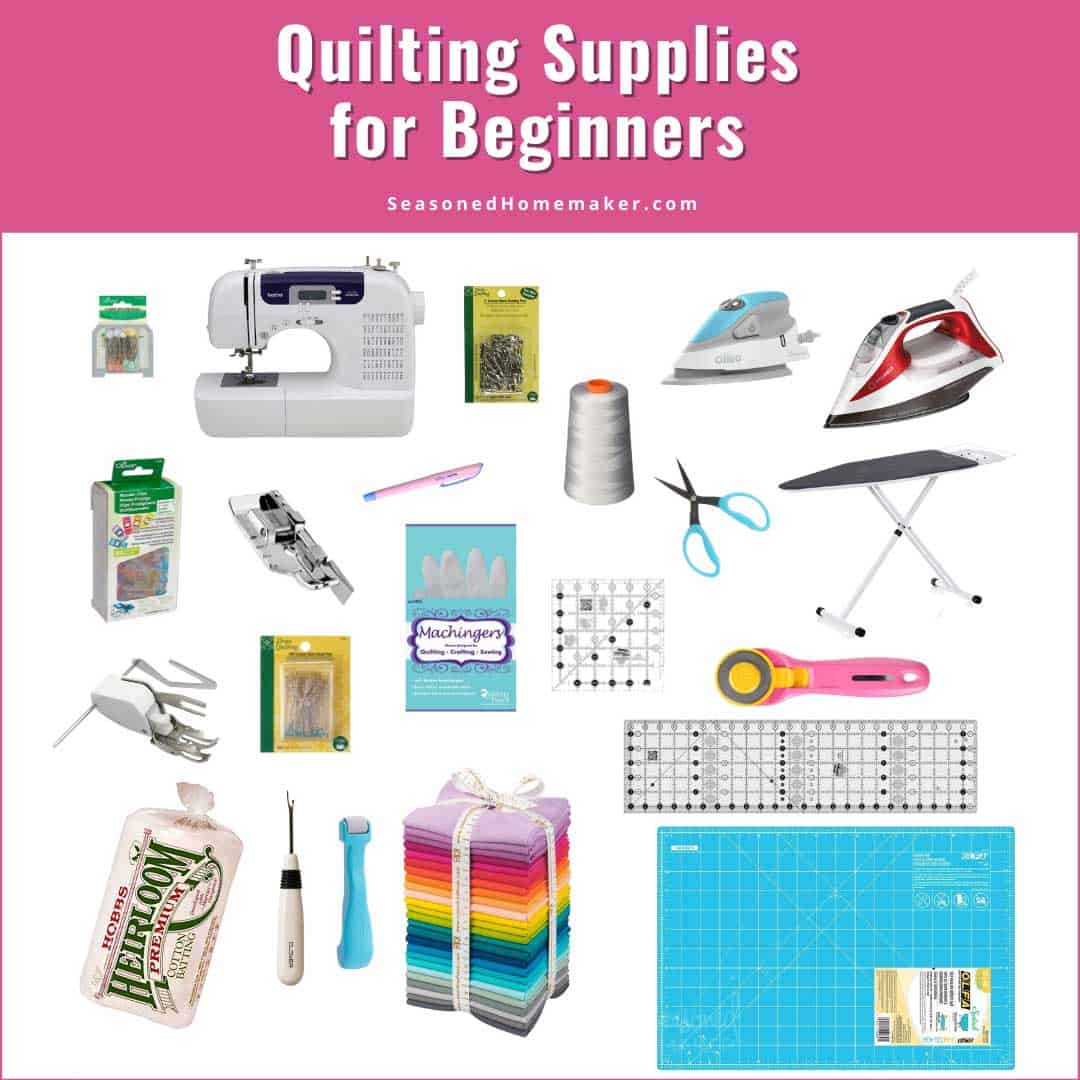
- Fabric scraps: A variety of fabric scraps in different colors, patterns and textures can be used to piece together a quilt square.
- Rotary Cutter: A rotary cutter is a great tool for cutting fabric into precise shapes.
- Sewing Machine: A sewing machine can be used to quickly and accurately stitch together quilt squares.
- Thread: Thread can be used to join the quilt squares and to add decorative stitches.
- Iron: An iron is useful for pressing and smoothing out the fabric pieces before sewing them together.
- Pins: Pins are used to temporarily hold the fabric pieces in place while they are being sewn together.
Using these materials, you can easily learn how to piece a quilt square.
Preparing the Fabrics
- Choose the fabrics you want to use for your quilt. You can use cotton, linen, or any other fabric that is suitable for your quilt.
- Wash and dry your fabrics according to the washing instructions on the label. This will ensure that your quilt won’t shrink after you have finished making it.
- Iron the fabrics to remove any wrinkles. This will make it easier to work with the fabric.
- Cut the fabrics into squares. Make sure that the squares are the same size and shape so that they will fit together when you piece the quilt together.
Cutting the Fabrics
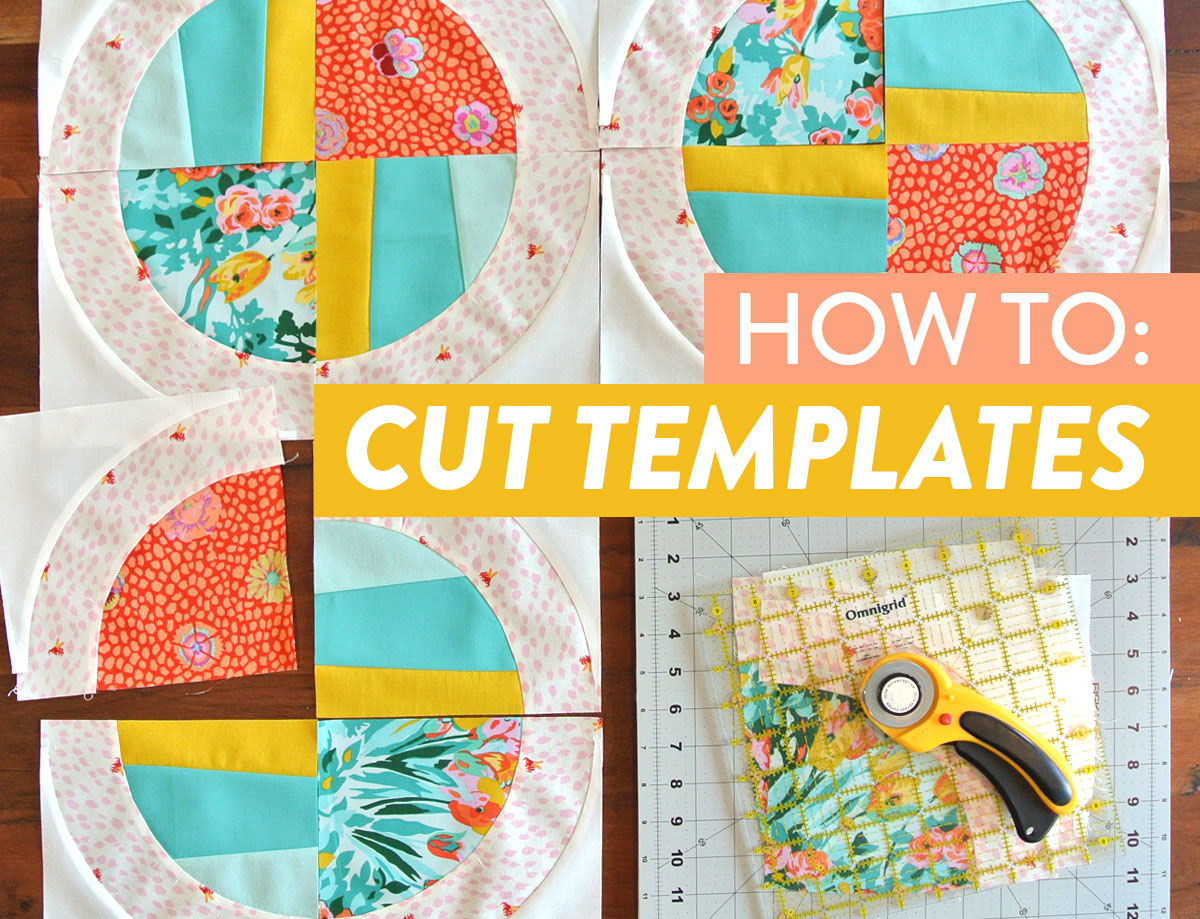
- You will need to start by cutting your fabric into equal-sized squares. Use a ruler and rotary cutter for accurate, straight cuts.
- When cutting fabric for a quilt, it’s important to cut accurately as any errors can become more visible as you assemble the quilt top.
- To ensure the quilt top is pieced together straight and accurately, use a ruler to measure and mark the fabric before cutting.
- Use the ‘strip-piecing’ method to cut multiple squares in a row by folding the fabric in half and making a single cut.
- To piece together the quilt squares, stitch a scant ¼” seam with the right sides of the fabric together.
- To make sure the quilt top is laid out in a straight pattern, use a quilting ruler to measure and mark the seam allowance.
Arranging the Pieces
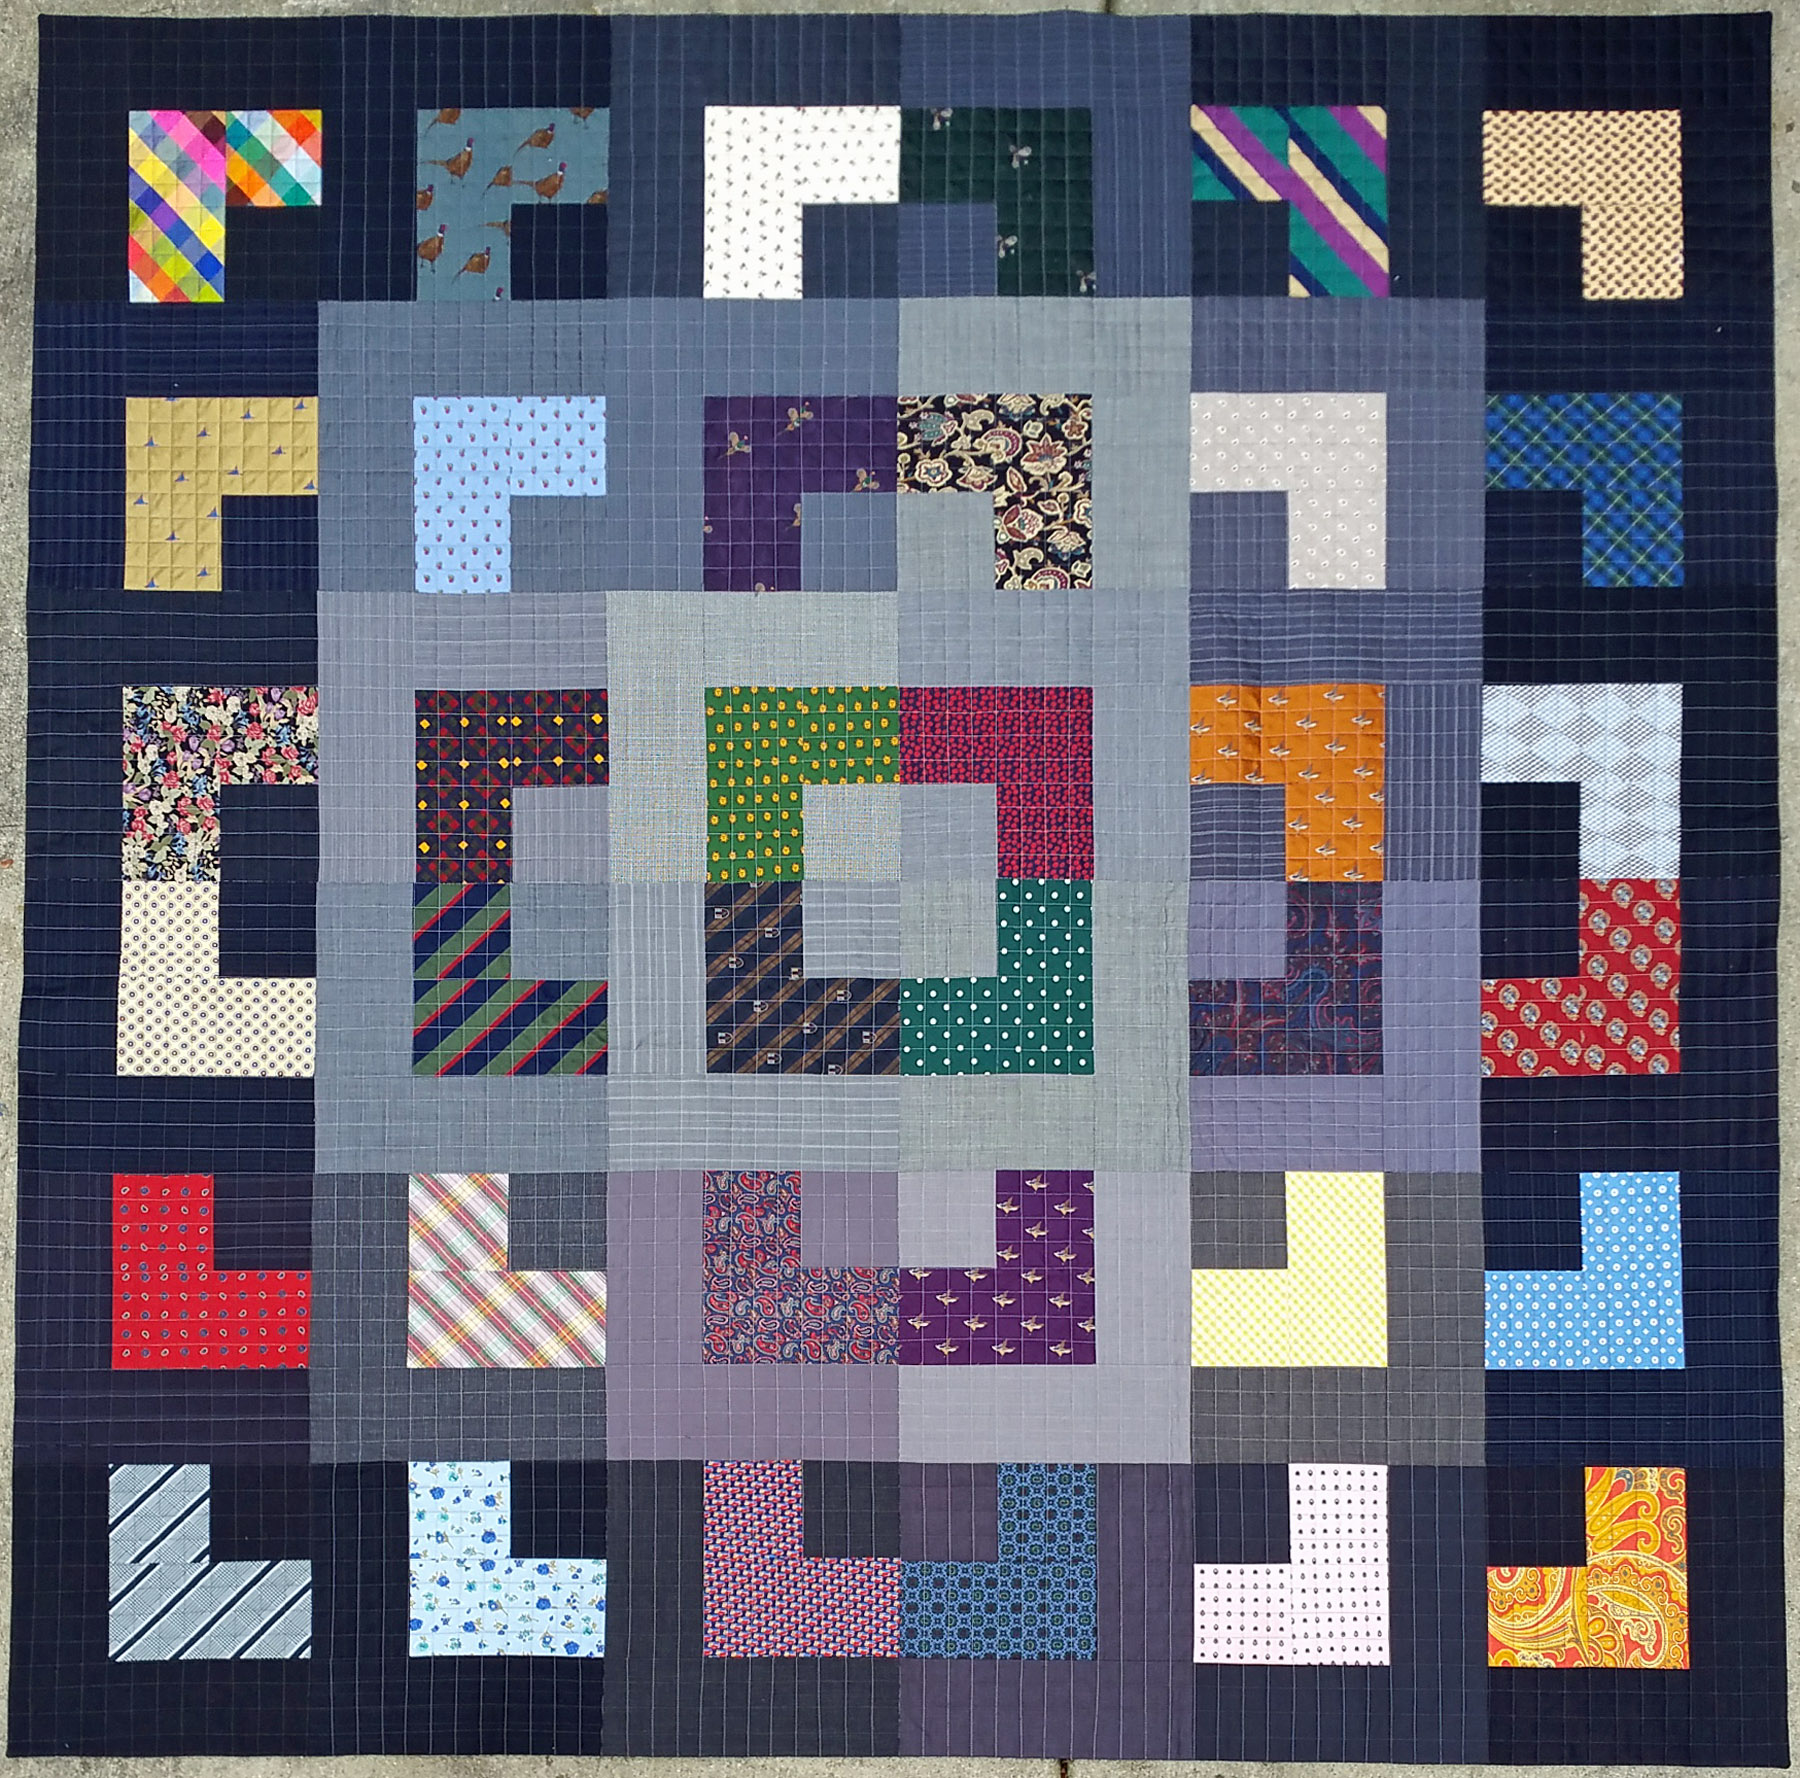
- Select a Pattern: Decide on a quilt pattern, such as a checkerboard, pinwheel, or patchwork.
- Identify the Blocks: Determine the number of blocks that need to be sewn together and choose fabrics to create the chosen pattern.
- Arrange the Blocks: Lay out the blocks on a large flat surface to arrange them in the desired pattern.
- Mark the Placement: Use a pencil to mark the location of each block on the surface.
- Adjust the Blocks: Make any necessary adjustments to the arrangement of the blocks.
Piecing the Squares
- Use the Right Tools – To ensure your quilt squares are pieced together correctly and securely, use a sewing machine and quality thread. Make sure to use a needle that is specifically designed for quilting.
- Choose the Right Fabric – Select a fabric that is 100% cotton and free of any synthetics or blends. Cotton fabric is easier to sew and produces a better end result.
- Start by Cutting – Begin by cutting the fabric into squares. To ensure precise piecing, cut the squares the same size. If it is a quilt block, it is best to measure the block and use those measurements to cut your squares.
- Layout the Squares – Create the quilt pattern by laying out the squares in the desired order. Make sure to lay them out in a way that you know the order you will be sewing them in.
- Sew the Squares – Begin by sewing two of the squares together. Make sure to use a ¼ inch seam allowance and stitch in a straight line. After sewing the first two squares together, add the next square and continue in this manner until all of the squares are sewn together into the quilt block.
- Press the Seams – After all of the squares are sewn together, press the seams open. This will help to make the seams flat and uniform.
Pressing the Seams
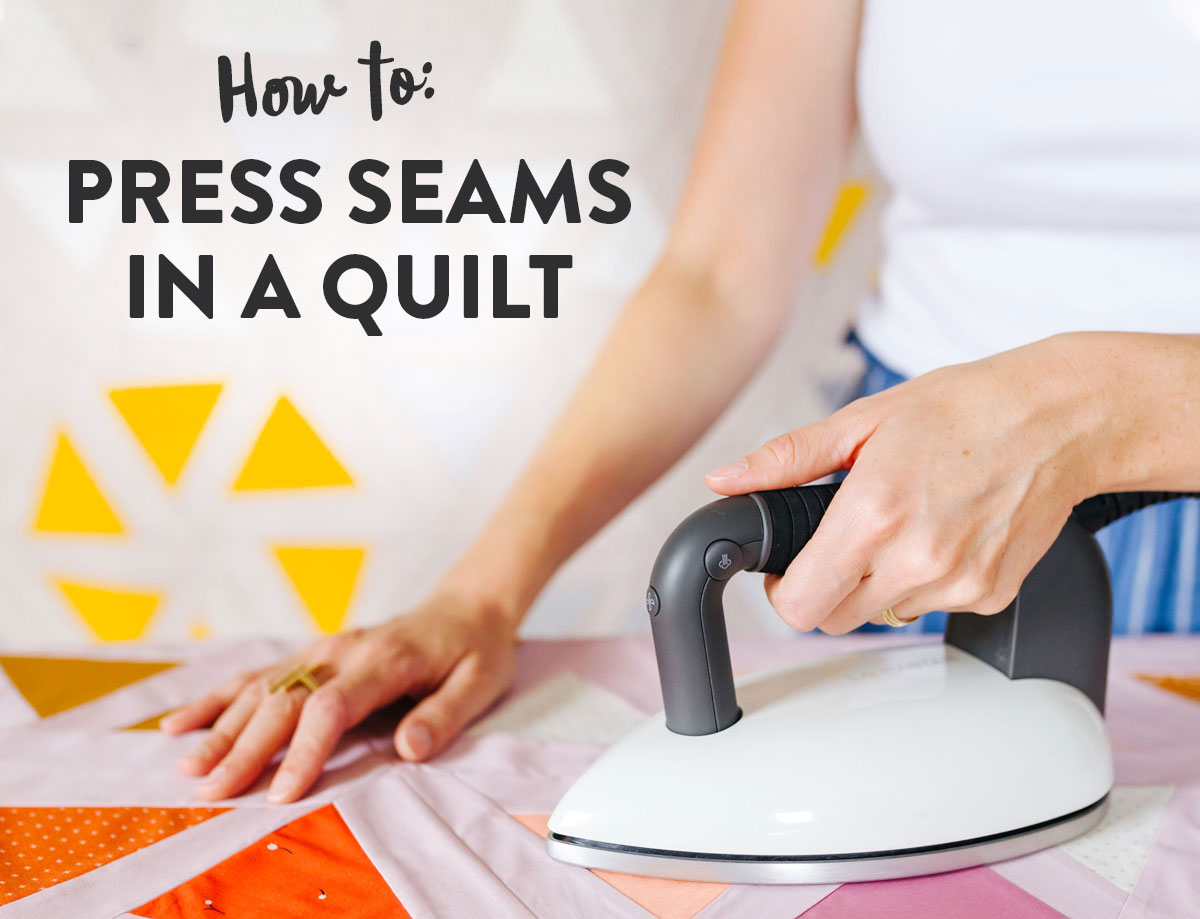
When sewing quilt squares, it is important to press the seams in order to achieve a professional-looking quilt. The pressing of the seams helps to flatten them and hold them in place, preventing them from shifting when the quilt is washed.
For best results, press the seams in the following order:
| Step | Instructions |
|---|---|
| 1. | Press the seams of all the quilt squares before joining them. |
| 2. | Press the seams open when joining the quilt squares. |
| 3. | Press the seams of the joined quilt squares flat. |
When pressing the seams, use a warm iron and press in the direction of the seam. Do not drag the iron over the fabric, as this may distort the fabric and cause puckering.
Pressing the seams is an important part of the quilt-making process, as it helps to create a neat, professional-looking quilt.
Stitching the Blocks Together
- Lay out the quilt squares in the desired pattern and size. Arrange them in columns and rows, and make sure the pattern is correct.
- Pin the quilt squares in place. This will help keep them aligned and prevent them from shifting as you work.
- Thread the sewing machine with a coordinating thread. It should match the color of the quilt fabric.
- Begin stitching the columns of quilt squares together. Start at the top of the first column, and sew down to the bottom. Make sure that the seams are lined up and that the stitching is even.
- Repeat the process for all of the columns. When you have finished stitching the columns together, start stitching the rows together.
- Stitch the rows together. Start at the left side of the quilt and sew down to the right. Make sure that the seams are lined up and that the stitching is even.
- Continue stitching until all of the quilt squares are connected. When you are finished, you will have one large quilt top.
Stitching the Squares Together Straight for the Quilt Top

- Lay the first two quilt squares right sides together, matching up the edges.
- Pin the squares together.
- Using a ¼ inch seam allowance, sew the squares together.
- Repeat until all the squares have been sewn together.
- Match each seam with the seams of the adjacent squares.
- Press all the seams in one direction.
- Pin the seams together.
- Sew the seams together, using a ¼ inch seam allowance.
- Press the seams of the quilt top flat.
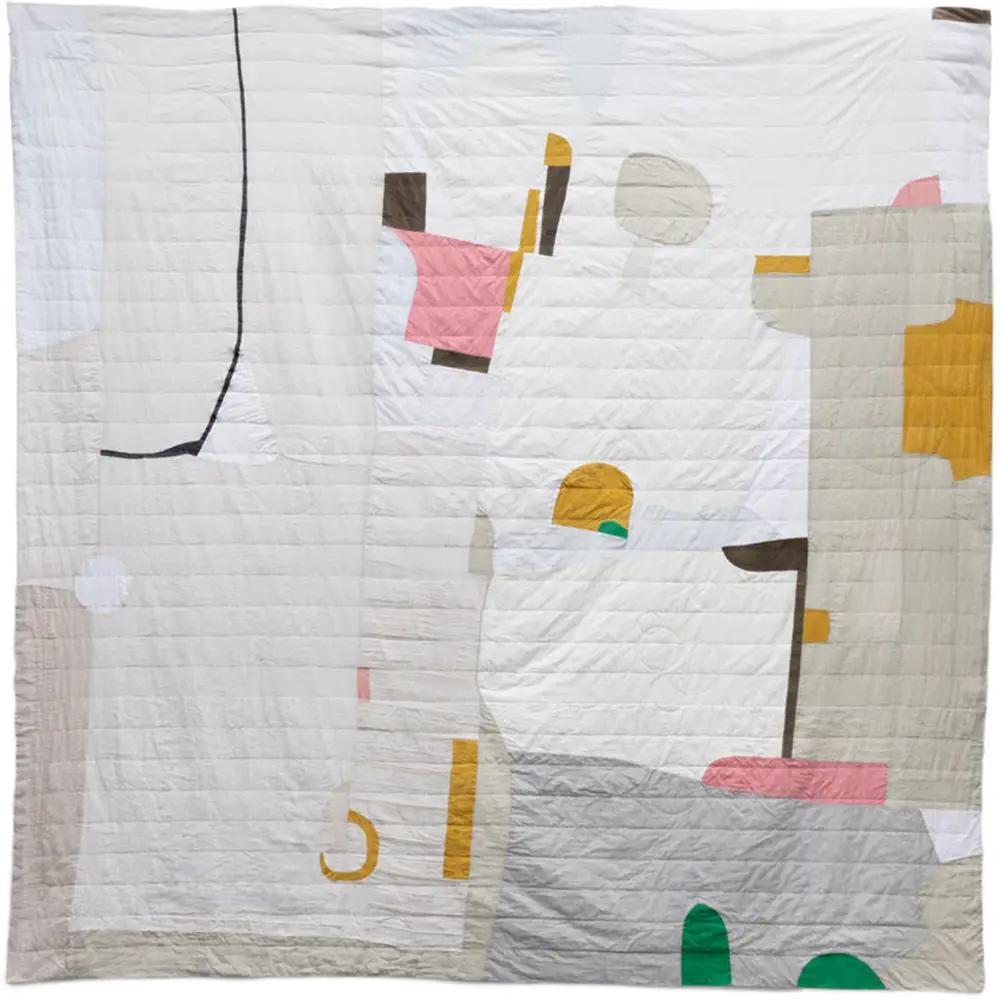
Finishing the Quilt Top
After piecing all the quilt squares together and stitching them together straight for the quilt top, the quilt top is now complete. The next step is to attach a batting and backing. The batting should be cut a few inches larger than the quilt top. The backing should be cut to the same size as the batting.
To attach the batting, layer the quilt top, batting, and backing in that order. Use safety pins to secure the layers together. Then, stitch the layers together along the edges, using a regular or walking foot. Once the layers are secured, the quilt top is complete.
| Steps | Description |
|---|---|
| 1 | Piecing all the quilt squares together |
| 2 | Stitch squares together straight for quilt top |
| 3 | Cut batting a few inches larger than quilt top |
| 4 | Cut backing same size as batting |
| 5 | Layer quilt top, batting, and backing in that order |
| 6 | Secure layers with safety pins |
| 7 | Stitch layers together along edges |
Frequently Asked Questions
What type of fabric should I use for my quilt squares?
When selecting fabric for quilt squares, it is important to consider the design and durability of the fabric. Cotton and poly-cotton blends are the most popular fabrics used for quilt squares. Cotton is a breathable fabric that is strong and durable. Poly-cotton blends are great for quilt squares because they are soft and lightweight, yet strong and long-lasting. Other fabrics to consider include wool, flannel, and silk. Consider the pattern and color of the fabric when selecting for your quilt squares.
How Much Fabric Will I Need for a Quilt?
The amount of fabric you need for a quilt depends on the size of the quilt and the size of the quilt squares. Generally, a quilt that is 60″x80″ requires 5-7 yards of fabric, depending on the size of the quilt squares. A larger quilt will require more fabric. You should also consider adding extra fabric for any borders, binding, or backing you may want to add.
How do I choose the right thread for my project?
- Match the thread weight to your fabric weight: Choose a thread that is the same weight or slightly finer than your fabric. For lightweight fabrics, use a lightweight thread. For heavier fabrics, use a heavier thread.
- Match the thread type to your fabric type: Use a poly-cotton thread for poly-cotton fabrics, and a polyester thread for polyester fabrics.
- Choose the right color: Choose a thread color that matches the fabric. If you want to make the seams stand out, choose a contrasting color that complements the fabric.
- Choose the right length: Choose a thread length that is long enough for your project. Longer threads are better for larger projects and work best with a thread stand.
What Type of Needles Should I Use for Quilting?
When sewing quilt squares, there are several types of needles to choose from. The most common types of needles for quilting are:
- Sharp needles – These needles have a very sharp point which makes them ideal for piercing through several layers of fabric.
- Quilting needles – These needles have a slightly rounded point which helps them to pass through fabric without damaging it.
- Universal needles – These needles are the most versatile and can be used for a variety of sewing tasks, including quilting.
When choosing a needle for quilting, it is important to select one that is appropriate for the fabric you are working with. A sharp needle is best suited for quilting with heavier fabrics such as denim, while a quilting needle is better for quilting with light-weight fabrics such as chiffon or silk. Universal needles can be used for both types of fabric.
Once you have chosen the right needle for quilting, it is important to ensure that you use the correct size. The size of the needle you need will depend on the type of fabric you are quilting and the thickness of the thread you are using. For example, a size 90/14 needle is generally recommended for quilting with lightweight fabrics, while a size 100/16 needle is better for quilting with heavier fabrics.
Finally, it is important to remember to replace your needle regularly as worn or damaged needles can cause skipped stitches and other problems.
At the end of the day, choosing the right needle for quilting can make a huge difference in the quality of your finished project. Selecting the appropriate needle size and type for the fabric and thread you are using will result in a smooth and even stitch with minimal damage to the fabric.
What are the Best Techniques for Assembling a Quilt?
Block Assembly: Start by assembling individual quilt blocks, typically consisting of several pieces of fabric. Be sure to press each block after sewing and check for accuracy. When all blocks are complete, arrange them into a design and sew them together.
Border Assembly: If desired, quilt borders can be added to the quilt top. Measure the quilt top to determine the length and width of the quilt borders. Cut out the border fabric and sew it to the quilt top.
Quilt Sandwich: Now that the quilt top is complete, it is time to make the quilt sandwich. This involves placing the quilt top on top of a layer of batting and a backing fabric. Pin the layers together and quilt as desired.
Binding: Finally, finish the quilt with binding. Cut strips of fabric for the binding and sew them together. Attach the binding to the quilt and finish with a hand or machine stitch.
Conclusion
Sewing quilt squares is a fun and rewarding hobby. With the right supplies, a little bit of patience, and following the steps outlined above, you can create a beautiful quilt masterpiece of your own. Have fun and enjoy the creative process!


